Flash Photography: Pick Up 6 Key Tips for Nailing Your Flash
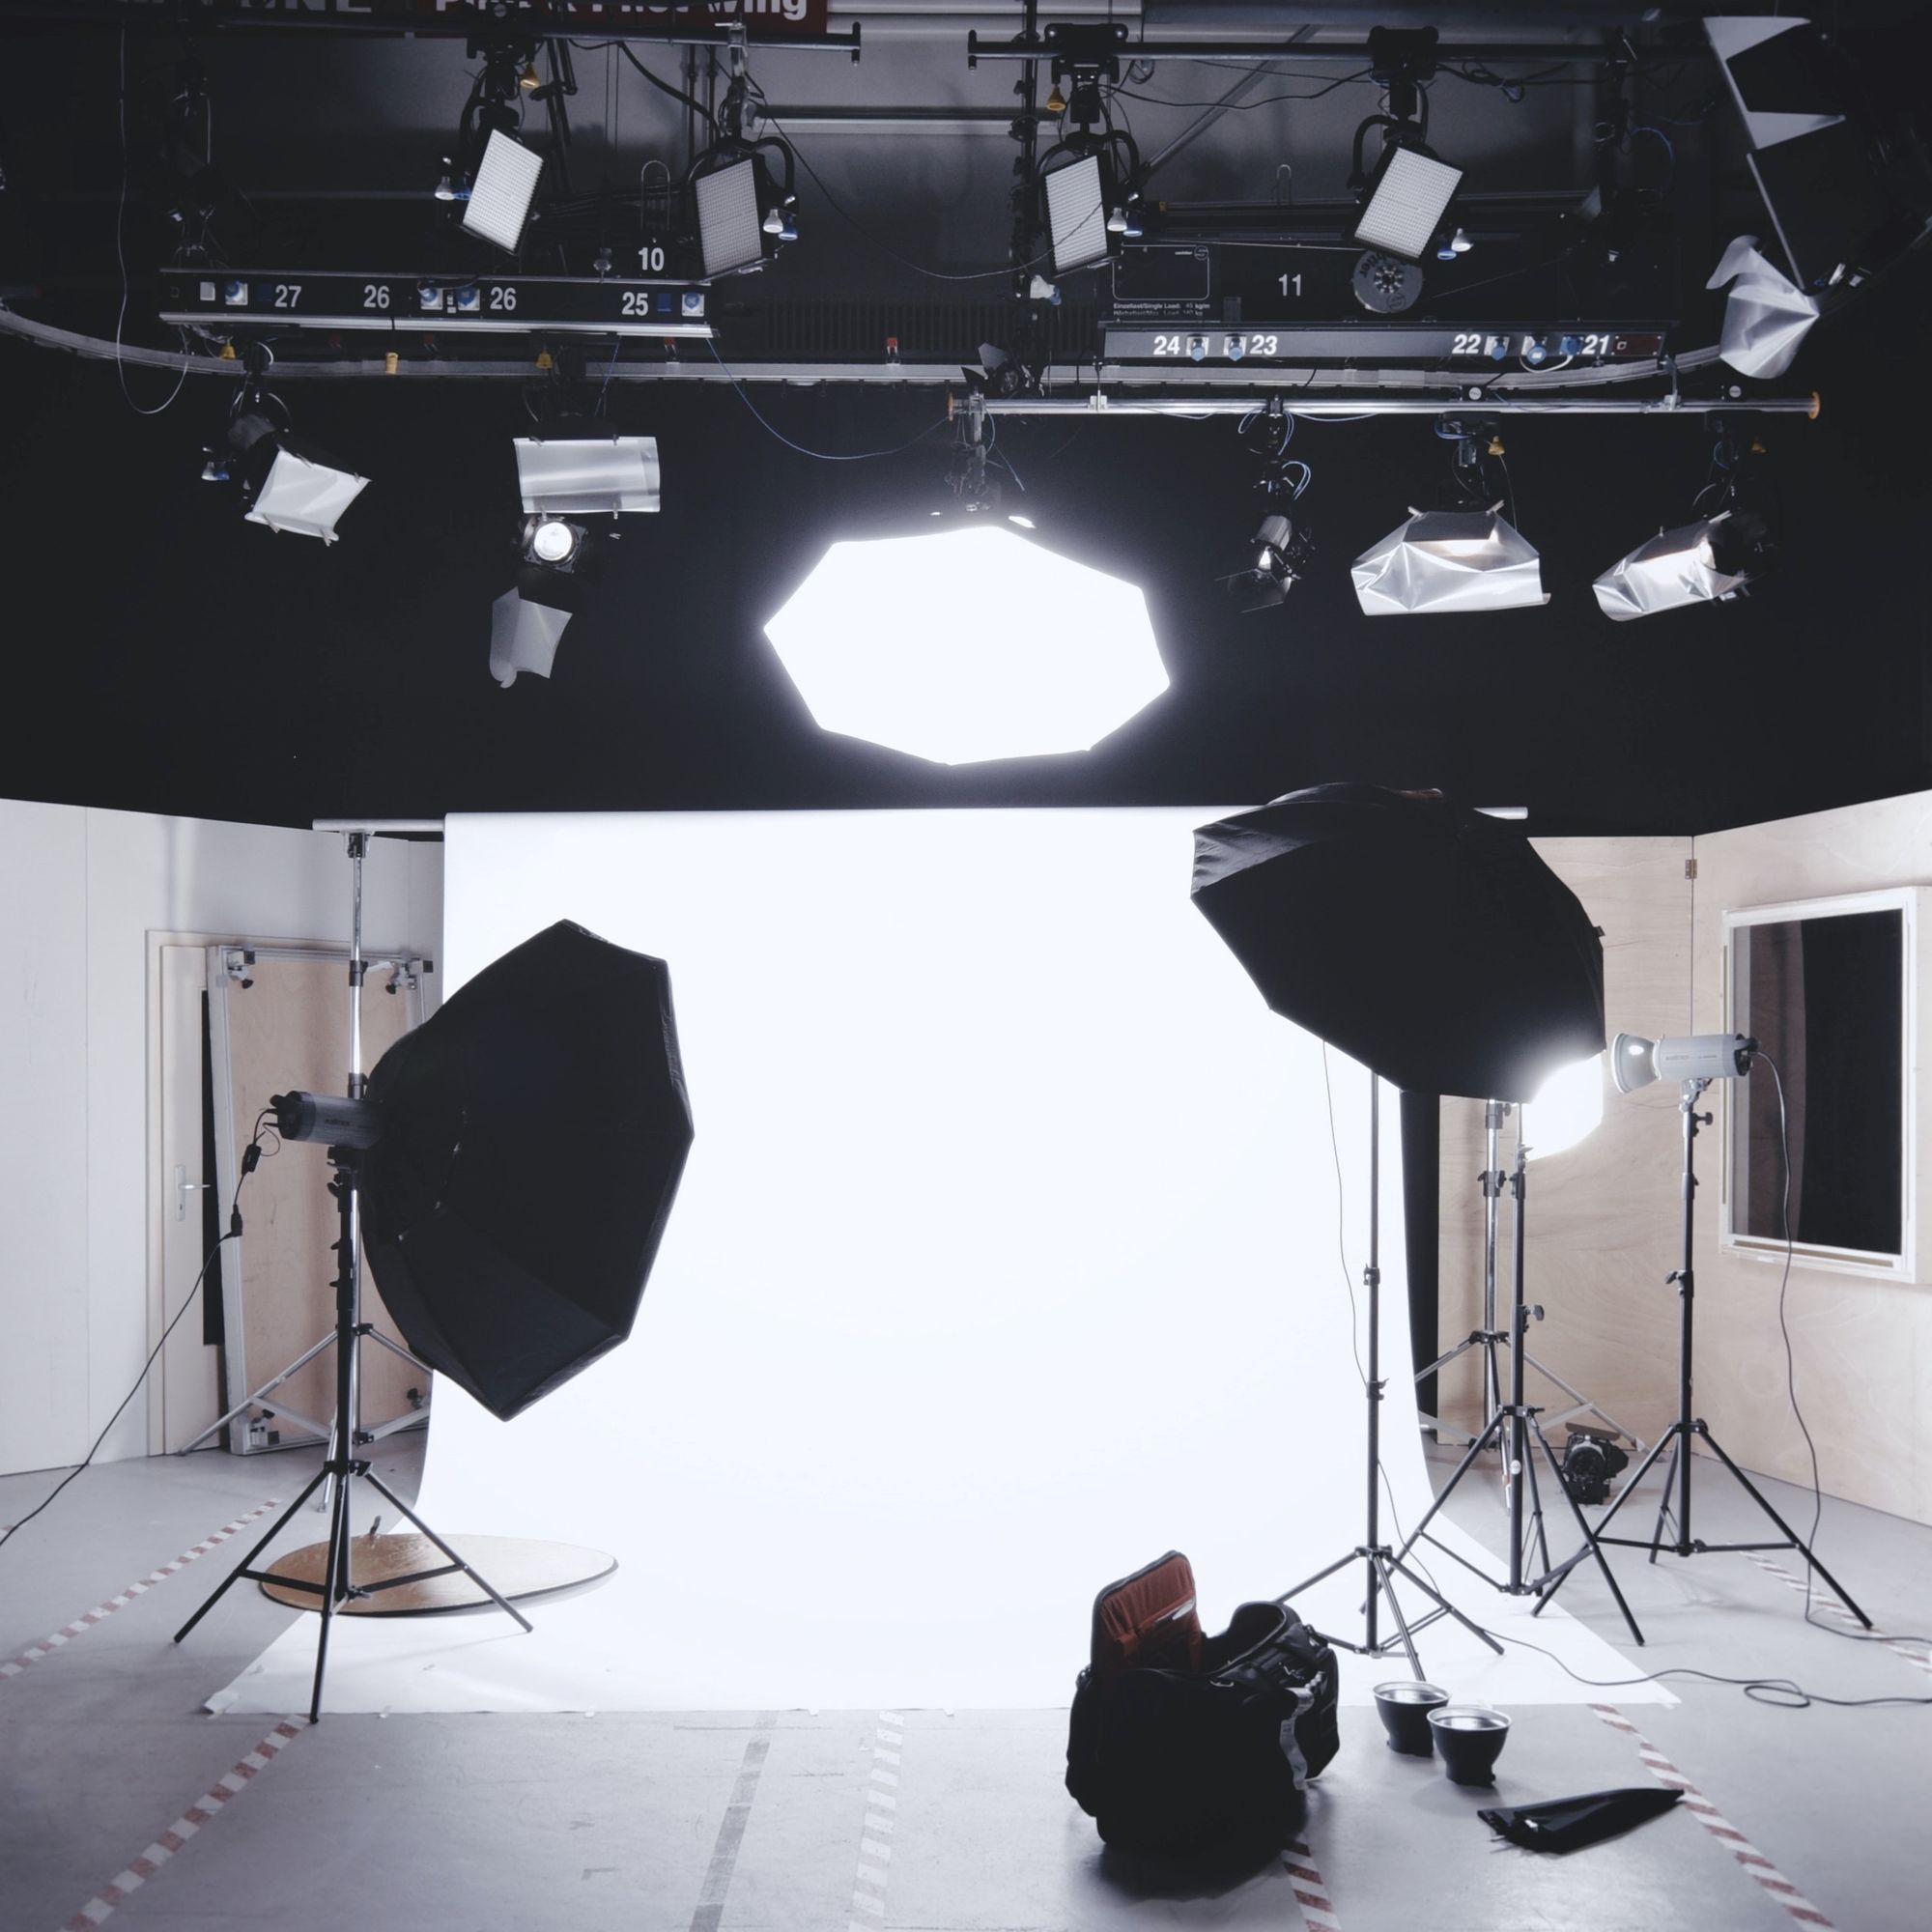
Rent film gear from local filmmakers.
Rent film gear from local filmmakers.


Lighting up your photographs is one of the most important things when capturing great images. How do you do this? Master the art of flash photography.
Follow along, and learn all you need to know to start your journey!
If you want to learn more about photography, consider reading our article on photography 101. Here you will learn all of the basics of photography!
Why do you need a flash?
- Adjust the direction of your light
- Adjust the number of light sources
- Use it to balance out the natural light sources
- Adjust the strength of your light source
- Adjust the color of the lights
- Reduce red eyes in portraits
- Illuminate subjects from far away
When do you need to use flash?
- When you need to remove or reduce shadows
- When you're inside
- When it's nighttime
- When you need to isolate your subject
- When the natural lighting isn't good enough
- When you have to take sharp images
What is the difference between TTLs and manual flash?
When it comes to flashes, we mainly talk about two different types: TTL and Manual flash.
We'll go through each of these two types to give you a better idea of the differences.
TTLs
TTL means Through The Lens, and it refers to communication happening between your camera and the flash. The camera and flash communicate together, so the camera can determine the light levels when pressing the shutter release.
It uses this information to determine how strong the flash should light up. It makes it easy for any photographer to get great lighting in their photos.
Manual flash
If you're an experienced photographer or want to get more control of your photographs, you should consider using manual flash. The manual flash setting makes you in charge of the levels.
First, you have to know the best levels and understand your flash well. With the manual, you make sure that each picture is equal in exposure, making it easier to deal with in post-production.
What is the difference between bounce flash and direct flash?
It's also good to know is the difference between the bounce flash and a direct flash. Strap in, and you'll know in less than 2 minutes!
Bounce flash
Using bounce flash is the concept of using bounce lighting to give your pictures a softer look. Essentially you point your flash to a wall, ceiling, or other surface areas to bounce the lighting.
It creates a softer-looking light, which contrasts with the hard light a flash typically produces.
Bounce flash is used by event photographers, real estate photographers, and other types of photographers who need soft light.
Direct flash
Direct flash is more self-explanatory. It uses the flash, mounted on or close to your camera, to light up your subject directly.
Photographers use this when they want their subjects to stand out, so they use the hard light to highlight their subjects.
Some use it in portrait photography to create sharp-looking images. Direct flash can produce shocking and raw-looking pictures and is used by some portrait and street photographers.
6 Essential tips for nailing flash photography
So how exactly do you nail flash photography?
It's not easy, but it is doable! It will take practice, but once you've done it enough it will feel as natural as taking a breath.
We've made six essential tips for you to get used to using your flash.
1. Practice the essential lighting patterns
There are plenty of well-known lighting patterns to guide the photographers. It has almost become a science. But don't think that using a commonly known lighting pattern will make your photography feel like everyone else.
You can still put your spin on it. However, it doesn't hurt to learn the basics of lighting patterns. It helps you understand how to manipulate, modify, and adjust light and what it can do for your photographs.
If you're interested in learning these patterns, you can read our articles on photography lighting or portrait lighting. Here you'll learn essential lighting techniques: Rembrandt lighting, butterfly lighting, etc.
2. Know your shutter speed and aperture settings
Your shutter speed and aperture are part of the most important settings to know.
Your shutter speed determines how long your shutter is open when taking a photo. The amount of light changes proportionally with the shutter speed. 1/500s will let in half as much light as 1/250s. If you're in a situation with low light, try a slower shutter speed and vice versa.
The aperture is measured in f-stop and is stylized as f/2, f/4, f/8, etc. It will determine how much light you let in, and f/8 will let in less light than an f/4 lens.
So look up your lens to figure out what type of f-stop settings it has, as it will determine how much light you will need when taking photos.
3. Balance the flash with ambient light
You can balance the flash by using ambient light. Of course, it depends on how you want your picture to look. A higher flash with a short shutter speed creates a dramatic effect, and a low one with a high shutter speed creates a more natural and darker image.
Ambient light is the light that's present in the location you're at. It's not easy to work with different types of lighting, but part of mastering photography is to learn to work with ambient lighting.
Sunlight can be ambient light, and you can use it as a backlight when using your flash in portraits. Keep this in mind when you're photographing outside.
4. Diffuse your flash
Instead of using bounce flash techniques, you can also diffuse your flash. Diffusing your flash means covering your flash with some material to modify it.
You can typically get specific types of products called diffusers. These will create a larger but softer light. It is great when you don't want a harsh flash, but you have trouble finding surfaces to bounce your lighting on.
5. Use colored flash gels
If you want to go for a specific tint or color in your photographs, you can consider using colored flash gels. Colored flash gels are essentially colored material you put in front of your flash to produce a different colored flash.
These are great to use if you want to give your images a colder or hotter look without using Photoshop. It will look better than if you were to use photo editing software, in most cases at least!
6. Enable high-speed flash sync
Last but not least, it is a good idea to use high-speed flash sync, if you're planning on shooting fast shutter speed.
This makes your flash fire for a longer time, illuminating your subject while the sensor is fully exposed. Due to the minimum amount of light during fast shutter speeds, this is great to ensure that you capture as much light as possible.
Up Next: Explore more photography lighting techniques
I hope you learned a thing or two about flash photography!
If you want to learn more about lighting up your pictures, you can read our articles on photography lighting or portrait lighting. Here you'll learn everything you need to know about lighting techniques!
What is flash photography?
Flash photography is photography done using a flash to light up your subjects.
What is flash photography good for?
Flash photography is great for having full control over the light.
What do you need for flash photography?
You need a camera and a flash.