Lighting in Photography Explained & 11 Fundamental Lighting Types
Rent film gear from local filmmakers.
Rent film gear from local filmmakers.


Photography is a field where lighting is king. It doesn't matter how expensive your camera is or how beautiful your frame is. If you don't have the proper lighting, it will show in the end result!
But don't worry, because I am here to teach you all about the basics of lighting in photography. So follow along, and learn all you need to know to start your journey!
If you want to learn more about photography in general, consider reading our article on photography 101. Here you will learn all of the basics of photography!
Why is lighting in photography important?
Lighting is one of the most important elements in photography. Lighting helps set the mood, tone, and atmosphere.
It's probably more important than having a professional-level camera. Because if you don't have good lighting, it will, especially, show on a high-end camera. But with good lighting, even a smartphone can be sufficient for taking great pictures.
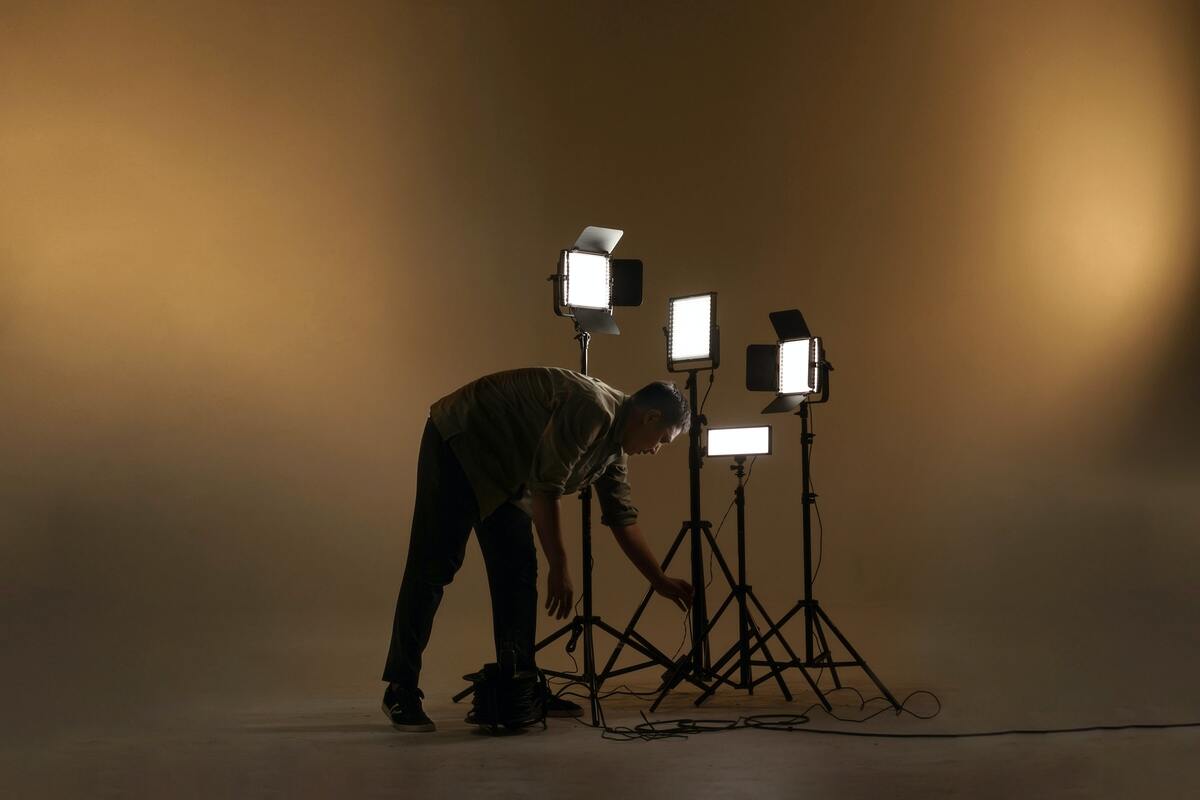
How lighting can affect photography
Lighting affects how the subject appears in the frame. You can cast light from the side to give the photo a dramatic look. You could also light your subject's hair if you're doing a portrait, and they're blending into the background.
Lighting has many ways to affect photography. It all depends on how you use it. You shouldn't expect to learn all of the techniques right away. But a good starting point would be to get a lighting source and experimenting. See if you can tell the difference.
Color temperature
You might not be able to see it, but some light sources might appear to give different colors of light than they actually do. That's why most cameras have a white balance feature.
White balance is basically a feature that imitates the human brain into thinking that objects are white, even when they're not. White Balance is based on color temperature. This is measured using the Kelvin Scale.
Essentially white balance used the color temperature of the object to add either cold or warm light to balance it out.
This means that if you're taking pictures of a cabin in the snow, you could add orange light to even out the colors. You could also add more blue light to emphasize the cold environment.
It is good to understand how color temperature works and how it can be manipulated if you need to.
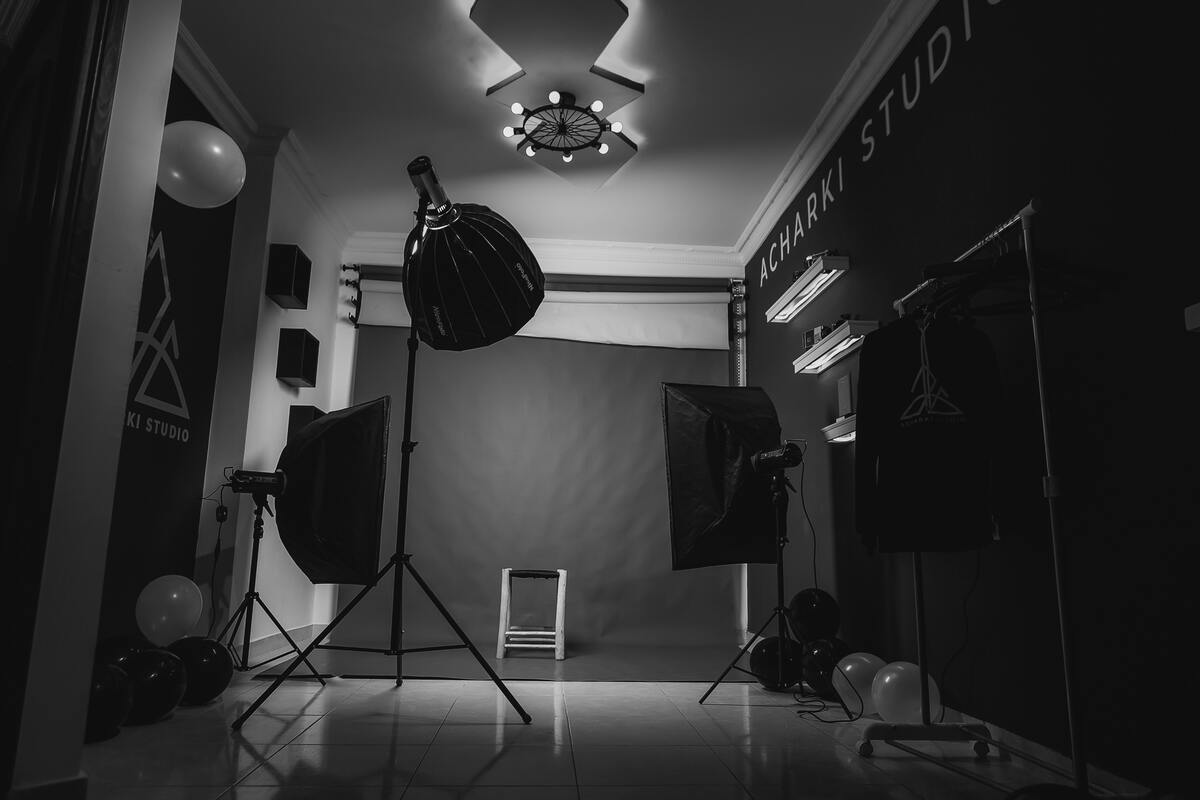
11 fundamental photography lighting types
There are different lighting types and styles to use, but we have gathered the 11 fundamental types.
If you know these 11 lighting types, you will have no problem in most photography scenarios.
1. Ambient light
Ambient light is any light source that's present at the shoot, which you didn't bring yourself. For example, in a café, the ambient light is the lightbulbs, light from the windows, or light from neon signs and such.
Ambient light can be a blessing or a curse. Sometimes it can create a cool atmosphere or tone for your shoot. Other times it can interfere with your shoot, and you will have to bring extra equipment to even out the light.
It's always a good idea to scout the location before you decide on shooting, so you know if the ambient light will make it difficult or not.
2. Natural light
Natural lighting is pretty self-explanatory it's basically all lighting caused by the sun. This is something you have to deal with if you're shooting outside or in places with windows.
If you don't have a lighting source yourself, practicing with natural lighting is a good alternative. It is required if you do landscape photography.
You can use cloudy or sunny days to your advantage, depending on what you want to achieve. Just try to shoot with the sun in your back, so you can avoid glares in the picture.
You can also use the golden hour to get amazing shots. It is one of the greatest benefits of natural lighting.
3. Fill light
Fill light is a method of lighting used to fill out all the dark areas of your photo with light. Fill light is typically needed in a three-point lighting setup when your key light casts shadows on your subject. You will need to fill out these shadows with a fill light.
You can use a lighting rig, but you can also use a cheaper option like walls or reflective material to reflect the light on your subject. If you don't have extra light at hand, experiment with the location of your shot and reflective material.
4. Backlight
The backlight is the last light in the three-point lighting setup. It is typically used to separate the subject from the background by creating a halo effect around the model. The light is placed behind the subject and positioned slightly over the head.
5. Soft light
Soft light is typically used to have a natural look on your subject. It is a light source that wraps around the subject to create soft edges in the image.
You typically use a large light source or a light source that hits the subject at a steep angle. The sun can be a great source of soft light if shot at the right time of day. The safest bet for natural soft light is taking pictures right after sunset.
6. Hard light
Hard light, sometimes called solid light, is a direct light source that gives hard and defining edges to the subject. Hard light is used if you want to focus on specific areas. It can also be used to increase the intensity and seriousness of the photo.
To achieve hard light, you will have to do the opposite than with soft light. You will need a small light source that is further away.
7. Loop lighting
Loop lighting is a lighting method that is typically used in portrait photography. Loop lighting creates a circular pattern with the shadows by the nose of the subject. It gives depth to the portrait without being too dark. It even helps define features in the face of the person.
To do loop lighting, you have to set up your light above eye level of the subject. The light should be angled slightly down at about 45 degrees of your model. You can always try out with different angles to see which fits your model's face the best.
8. Short lighting
Short lighting is another method used in portrait photography. Short lighting is when you light up the part of the model's face that's furthest from the camera. Short lighting gives a dramatic effect by applying a heavy contrast and narrowing the face.
To achieve this, you set up your light at a 45 degrees angles from your subject. Then have your model turn the face slightly towards the lighting source.
9. Butterfly lighting
Butterfly lighting was used by Paramount Pictures to make their actress portraits and is therefore also known as Paramount lighting. Butterfly lighting is when you light up the face of a model, leaving a shadow under the nose and chin.
Your light source should be above the model, close to the face and the camera. In this way, you create a butterfly-looking shadow under the nose and chin. It is a great way to highlight the glamour and beauty of your model.
10. Split lighting
Split lighting happens when you light up half of your model's face, leaving the other half in the shadow. It creates a sharp contrast, creating an intense look. It emphasizes the skin texture and facial details.
Your light source should be at a 90-degree angle relative to the camera. It has to shine directly into the model's face.
11. Rembrandt lighting
Lastly, we have Rembrandt lighting. Rembrandt lighting is a method that lights up most of the face of the subject, leaving the lower half of one side slightly in the shadow, with a triangular light under their eyes. It sounds tricky, but it really isn't!
All you have to do is place your key light at 45 degrees or wider angle with the model's nose. It has to be lifted above the model's face, angled down at them. Your camera should be on the opposite side of the model, slightly to the side of the model. Check for the triangle, and you're good to go!
Photography lighting: Soft vs hard
As mentioned earlier, soft light requires a big light source close to the subject.
Hard light requires a small light source further away from the model. Hard lighting creates a defined and dramatic look.
Soft lighting gives a more natural and warm look for your model.
Up next: Lighting for portraits
Now you've learned the basics of lighting in photography!
If you're interested in continuing your journey, consider reading our article on portrait lighting. Here you will learn all the tips and tricks in lighting your portraits!
How to set up lighting for photography?
It depends on how you want your subject to look. The surest way to set up lighting is to have a key light behind your camera, a fill light to fill the shadows, and a backlight behind to define the subject.
Why is lighting in photography important?
Without proper lighting, your pictures will look dull and uninspired.
What type of lighting is best for photography?
It really depends on your situation and what you are photographing.
What kind of lighting do I need for indoor photography?
Three-point lighting is a good lighting method for indoor photography.