


Fill Light Essentials: How to Shape it & Best Ways to Use it
Rent film gear from local filmmakers.
Rent film gear from local filmmakers.


Nailing lighting is essential when it comes to your filmmaking process.
In filmmaking, a cinematographers most essential (and most challenging) task – is to nail the lighting.
Filmmakers always strive to make an audience feel a certain way when watching their films. One of the most fundamental ways is through lighting.
And fill light is an essential lighting method to understand, as it determines the contrast, shadows, and brightness of the shot. Once you grasp the basics of fill light and how it functions, you can create a lighting style that is unique and functional.
Let’s dive into the basics of fill light and the techniques you can use to achieve cinematic footage with it.
What is a fill light?
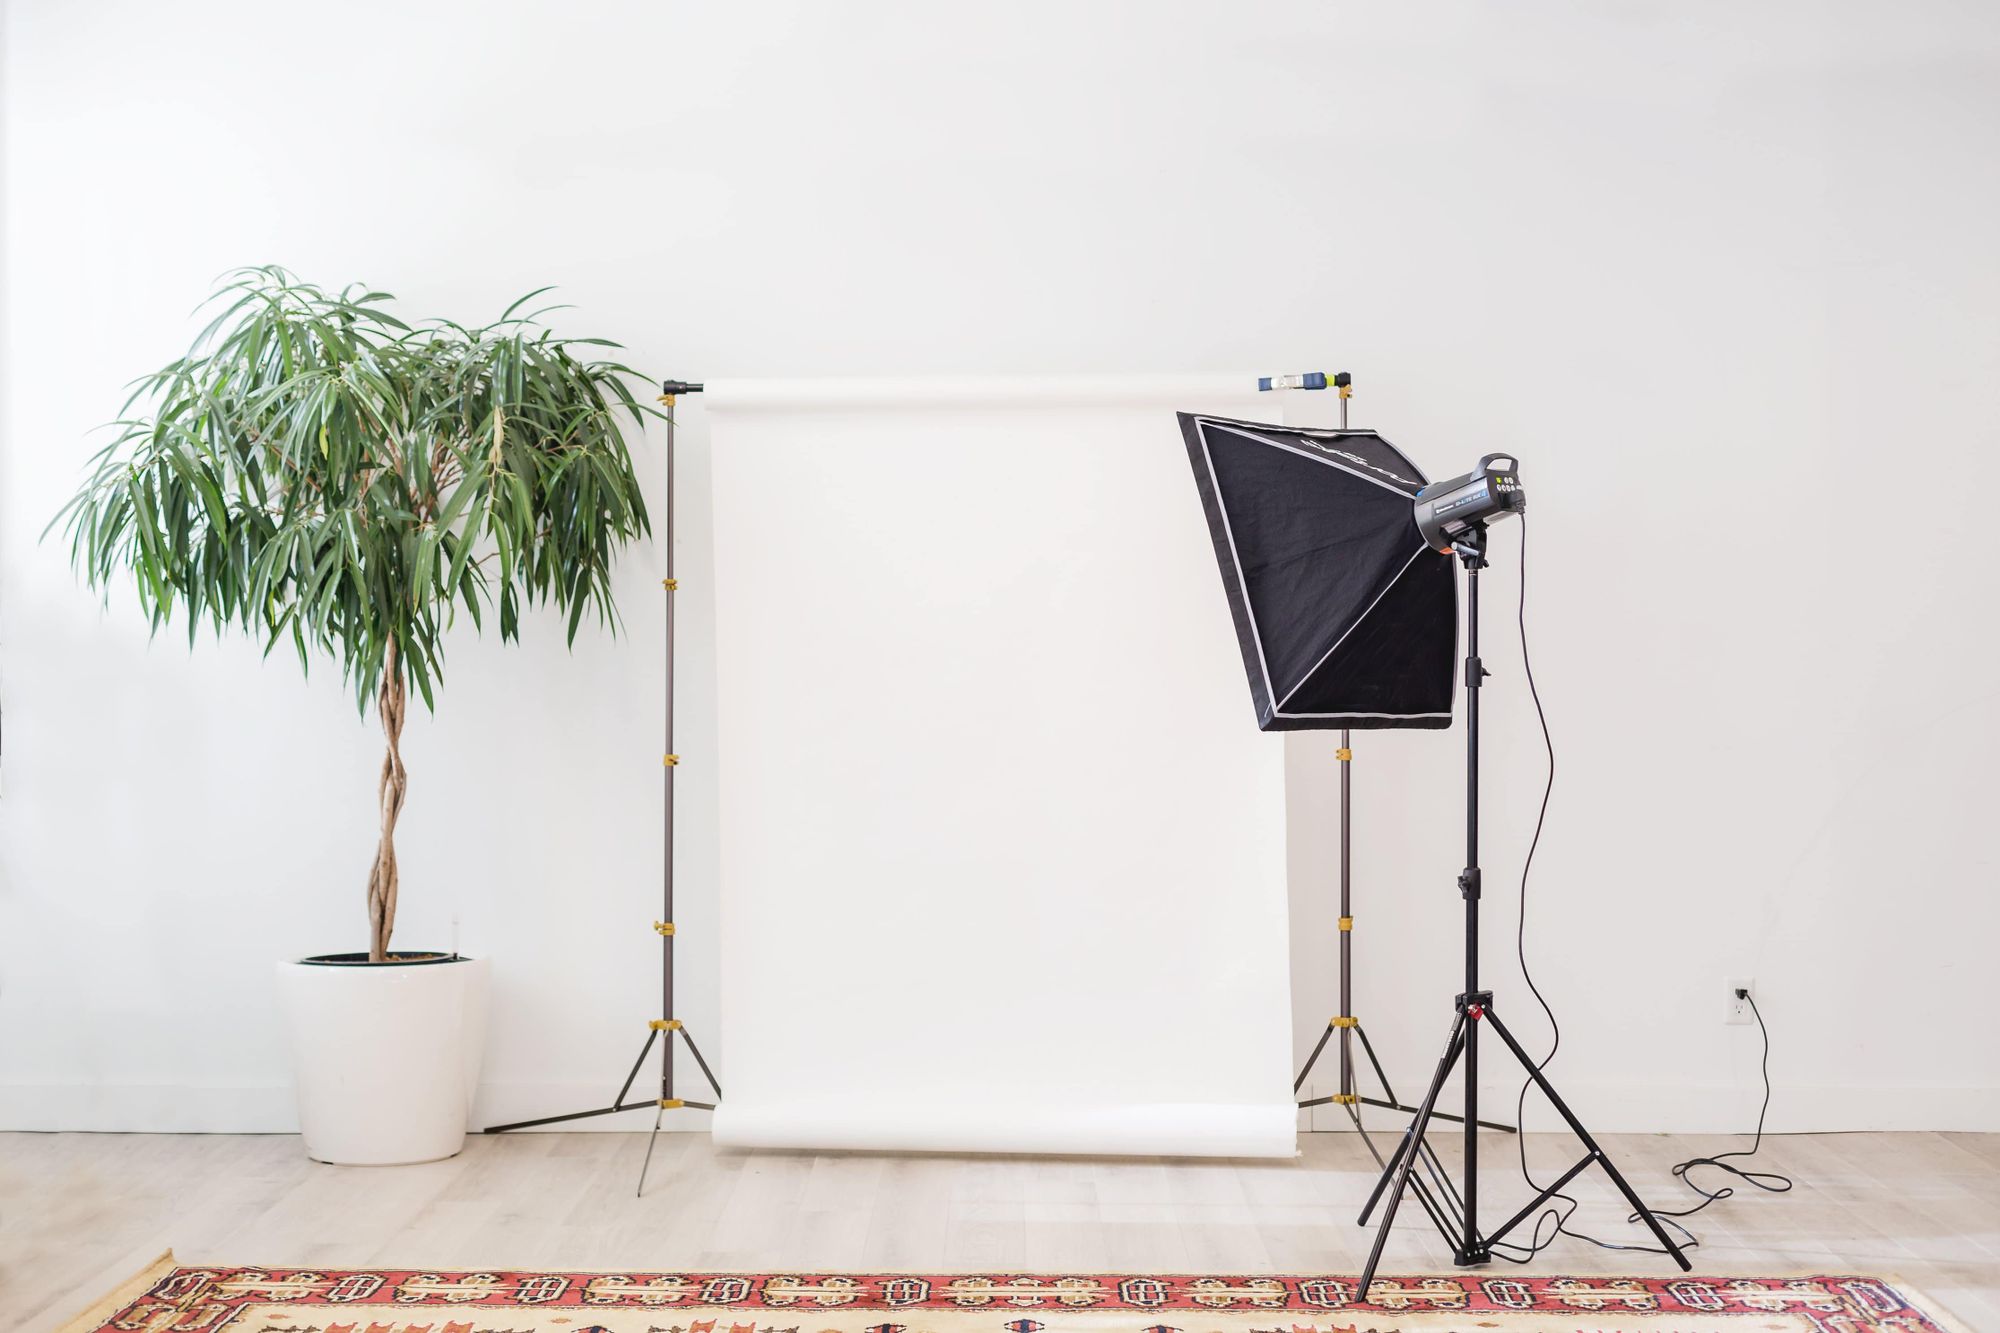
Let’s keep it simple: A fill light is a light in your lighting setup that fills the dark areas with light – it will literally fill in the high-contrast shadows that your key light created, so you end up with a correctly exposed image.
In a classic three-point lighting setup, a fill light is a secondary light. Meaning it’s also a less powerful light that sits opposite the primary key light.
Your fill light mustn’t outshine your key light (and I mean that in a literal sense). A too bright fill light would mean overexposing or washing out details on your subject.
Your fill light will determine the depth, contrast, and shadows in the footage. It’s usually measured as a ratio between the “amount” of key light versus fill light.
Using less fill means harsh shadows and more contrast, whereas more fill will give you soft lighting and a brighter shot.
How fill lighting affects your film’s look
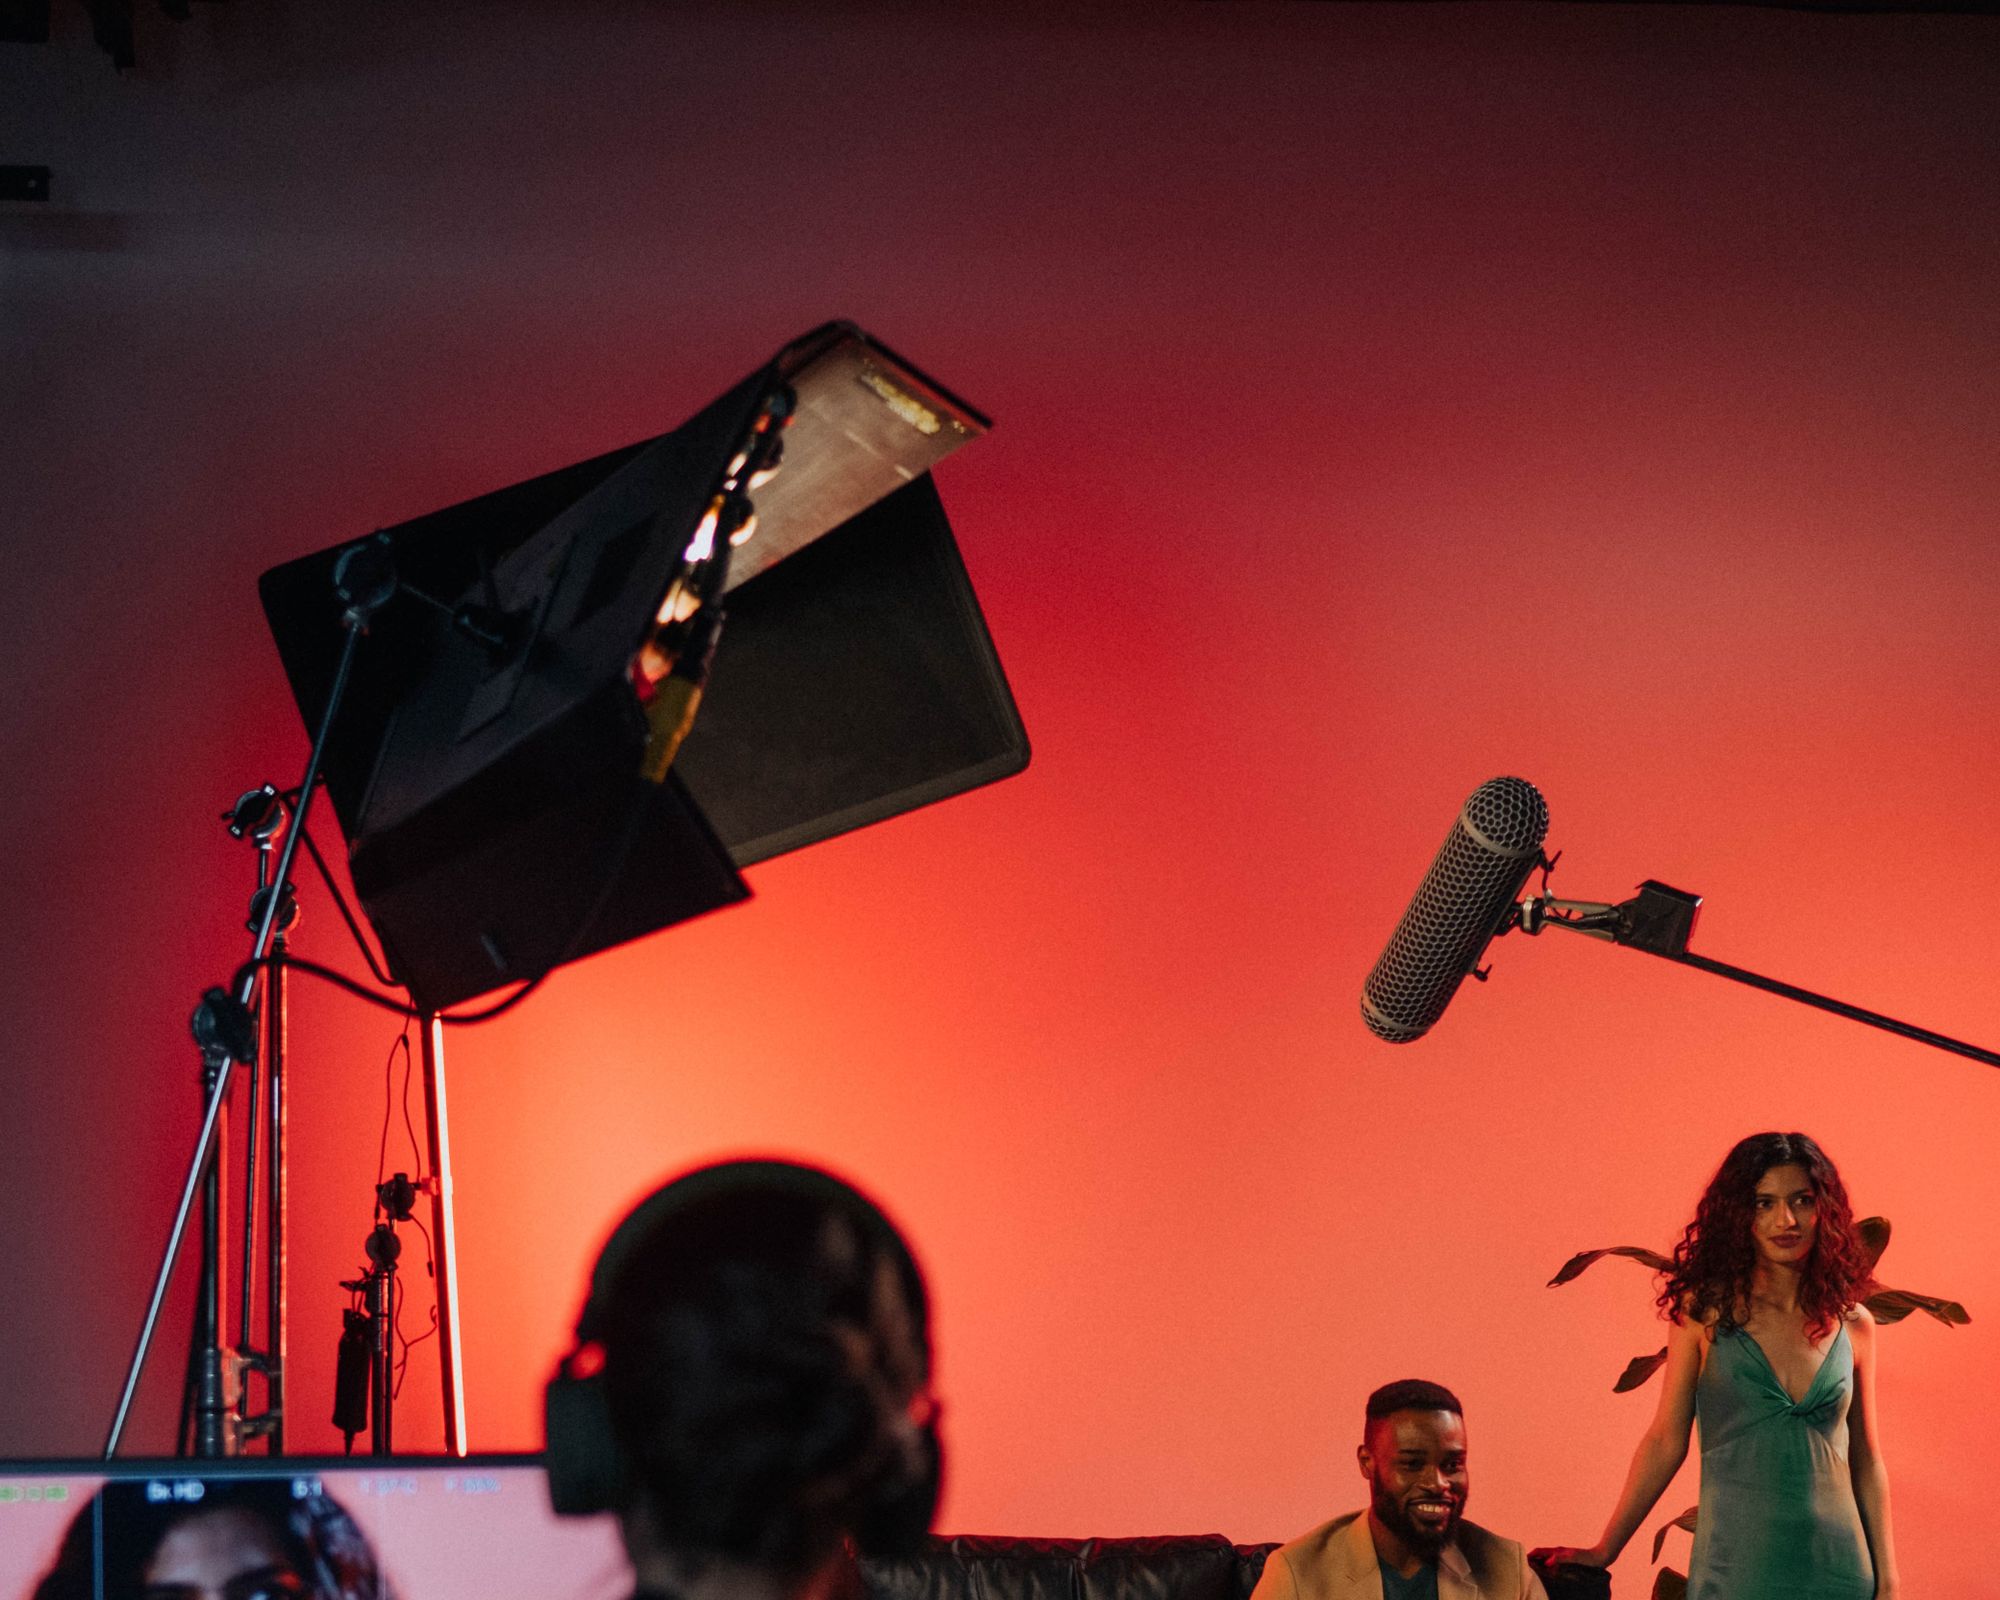
The amount of fill is one of the most determining factors in film lighting that you can utilize to set the mood and atmosphere of the scene.
In concrete terms, a fill light will affect several components of your film’s look:
- The contrast ratio
- The depth and dimension of your shot
- Give a more even lighting style
- Brings out the details and shapes of your subject
How to use fill light in filmmaking
In filmmaking, you can always be creative and do your own thing, especially for your lighting setup.
Use 1, use 20, use your lighting sources upside down – with a filter, without a filter, hang them in a tree with George Michael in the background singing how he gives his heart away.
Basically, everything goes.
But there are some excellent lighting practices, especially when using fill light, that you should know before going off-road.
Know your light placement
Where you place your lights relative to your subject and the camera determines where shadows fall.
How you position your fill and backlight affects whether deep, moody shadows or an optimistic, even light will cast across your scene.
A fill light works best when you position it at an opposite angle from your key light.
Let’s say you place your key light at a 45-degree angle to the camera, creating some high-contrast shadows on your subject; this means your fill light also should be left at a somewhat about 45-degree angle on the opposite side, allowing the fill to expose the shadow side of a subject.
Set the light intensity fittingly
You’d want the fill light to be less intense than the key light. As a rule of thumb, set your fill light about half as bright as your primary lighting source.
You can control the fill light’s brightness by using diffusers and modifiers and adjusting its distance from your subject.
How bright your fill light should be will depend on the mood you’re trying to convey in your film.
Be mindful that the fill light doesn’t create shadows on its own
The fill light should remain indistinctive and shouldn’t make any shadows of its own.
To ensure this, you can dim the brightness on your source or potentially place your fill light closer to the camera.
Test out your fill light by exposing your subject with a key light for a starter. From there, you can determine how much fill your shot needs and how you should place the fill light.
Settle on the quality of a fill light
As fill lights’ purpose is to bring out the depth and shapes of a shot and avoid creating any shadows, a softer light is typically used as fill lighting.
Soft lighting will give your footage a more natural and diffused spread of light.
Once you got the fill light essentials covered, you can start thinking about how you want to achieve your fill. Basically, what type of fill do you want to use?
Each type has a different purpose and will do something different for your footage.
The 7 types of fill light
You can find several lighting sources and techniques to achieve the fill light effect to your film – each slightly different from the other.
So, to make it a bit easier, let’s go through some of the fill types you can use to help you create the mood you want to portray.
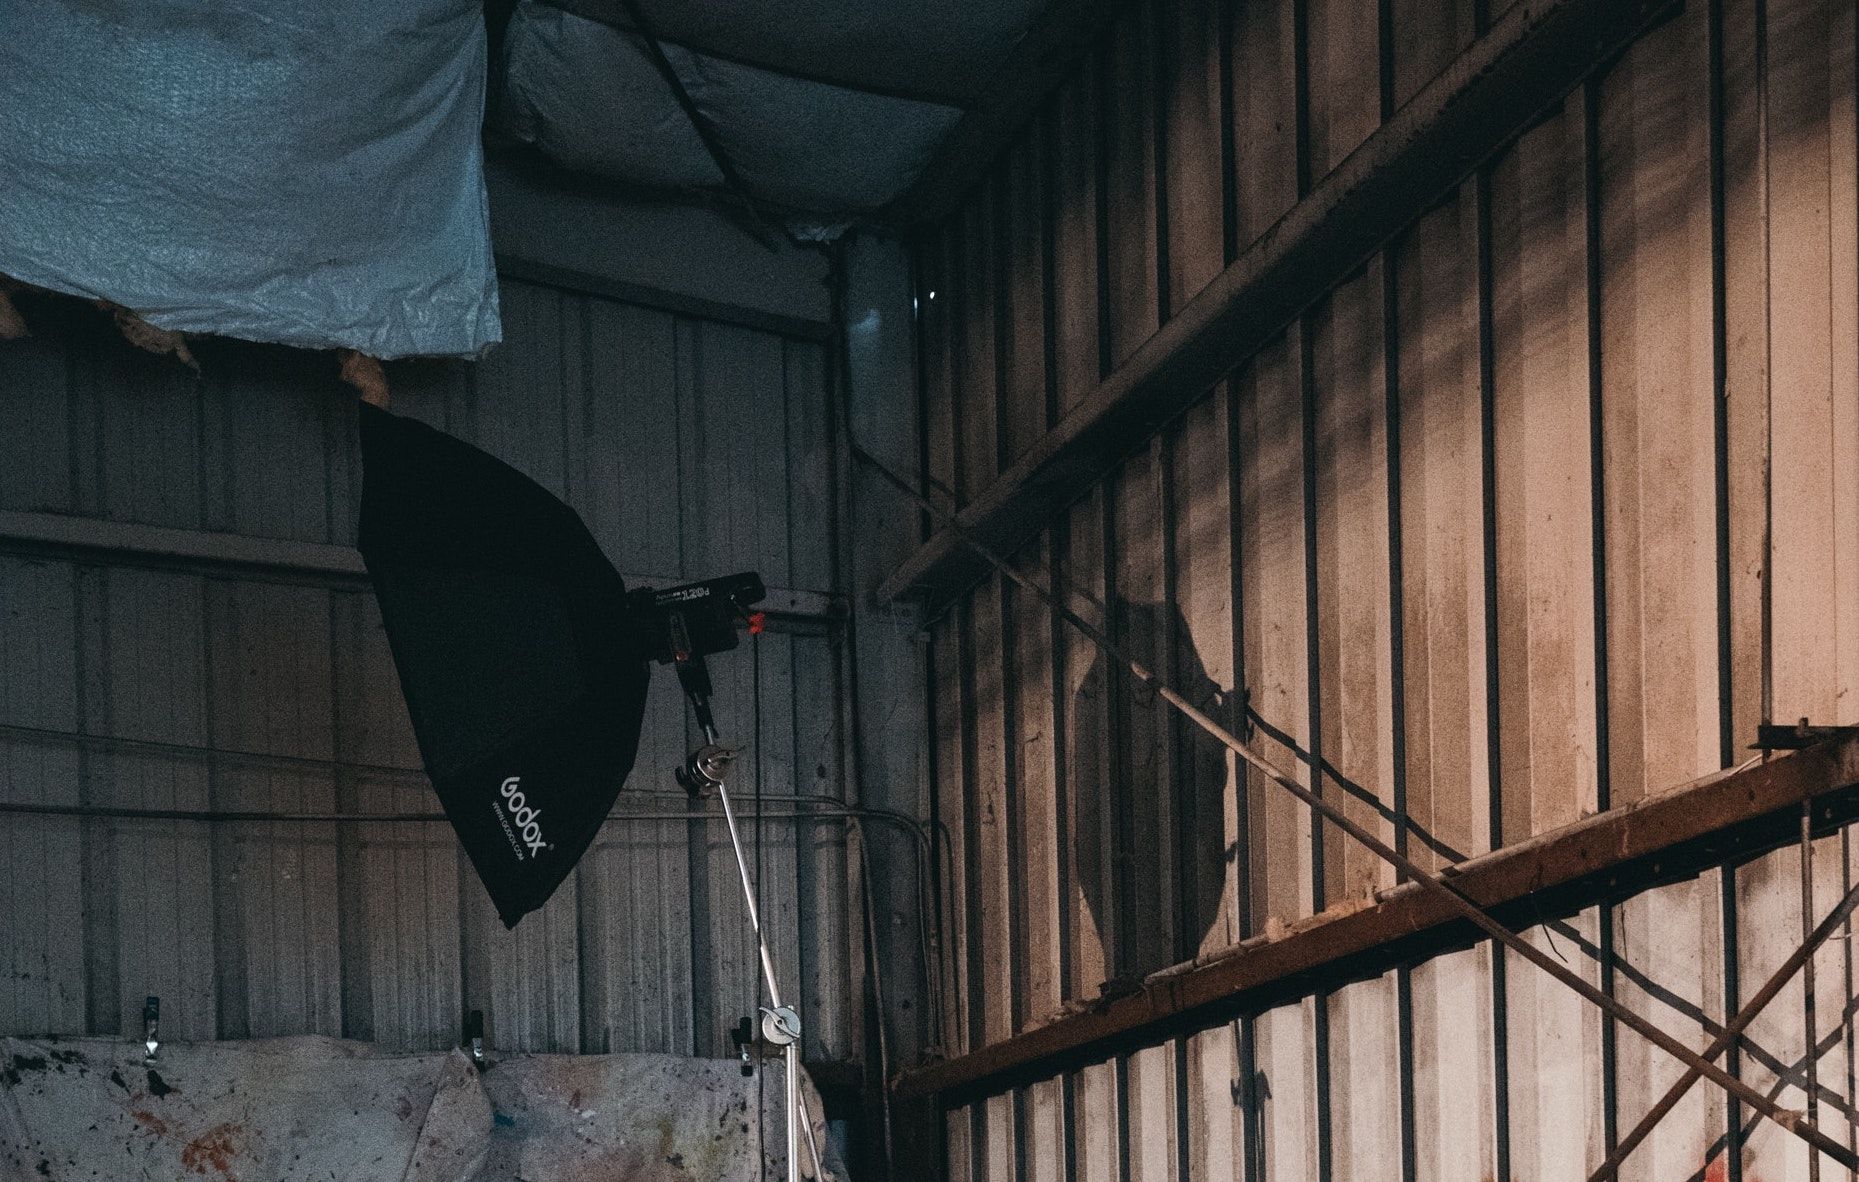
1. Lighting units
Firstly, the most straightforward and most apparent source of fill light – a light unit.
There are many types of lighting you can try out; a good bet would be to use LED lights.
These are lights commonly used as a source for fill because you can most often control their strength and colour temperature.
Start controlling your fill light, by renting or subscribing to lighting equipment.
2. Reflectors & bounce boards
You can easily use reflectors and bounce boards as a source for fill light. They are inexpensive, portable, and available in various sizes and colours, great for the new filmmaker.
Reflectors and bounce boards work incredibly well for shooting outside and in cases where you don’t need a powerful light source.
In cases where you want to bring out the detail and depth of your shot while maintaining some contrast, a reflector or bounce board is not a bad idea.
3. Fabric
Surprisingly enough – fabric is another option (didn’t count on fashion being part of your camera equipment?).
If you got some lighter-coloured clothing at home, you could use this to create a subtle effect on your shot.
Considering adding “order uniform” on your to-do list?
Make sure you write “in white” as a note – you might as well kill two birds with one stone.
4. Walls
The location you choose for your shoot can also act as a source of fill. Walls and ceilings can act as your concrete-fill-light, bouncing back the key light.
Doing this will help you create a soft and subtle lighting effect.
If you want to use walls, be sure to block and stage your actors and camera so that the wall will fill their shadow side.
5. Flash
Besides walls, reflectors, your grandma’s old linen sheets – you can also use a flash to provide fill lighting.
As you’re more in control of the lighting when using a flash, you can decide the amount of output you want, regardless of the already available light in your scene.
A flash will also remove shadows on your subject as you wish. And you won’t have to place it following your key light; a flash doesn’t need a key light to reflect off of, so you can put it anywhere you’d like (ask for permission first, though).
6. Negative fill
When you want a fill light that’s darker than what the natural light in your scene provides, consider blocking the ambient light with a black or opaque flag mounted on a butterfly frame.
Using something like an opaque flag will prevent excess light from bouncing back on your subject – the amount of negative fill you use is contingent on how much light you want to absorb.
7. Spill fill
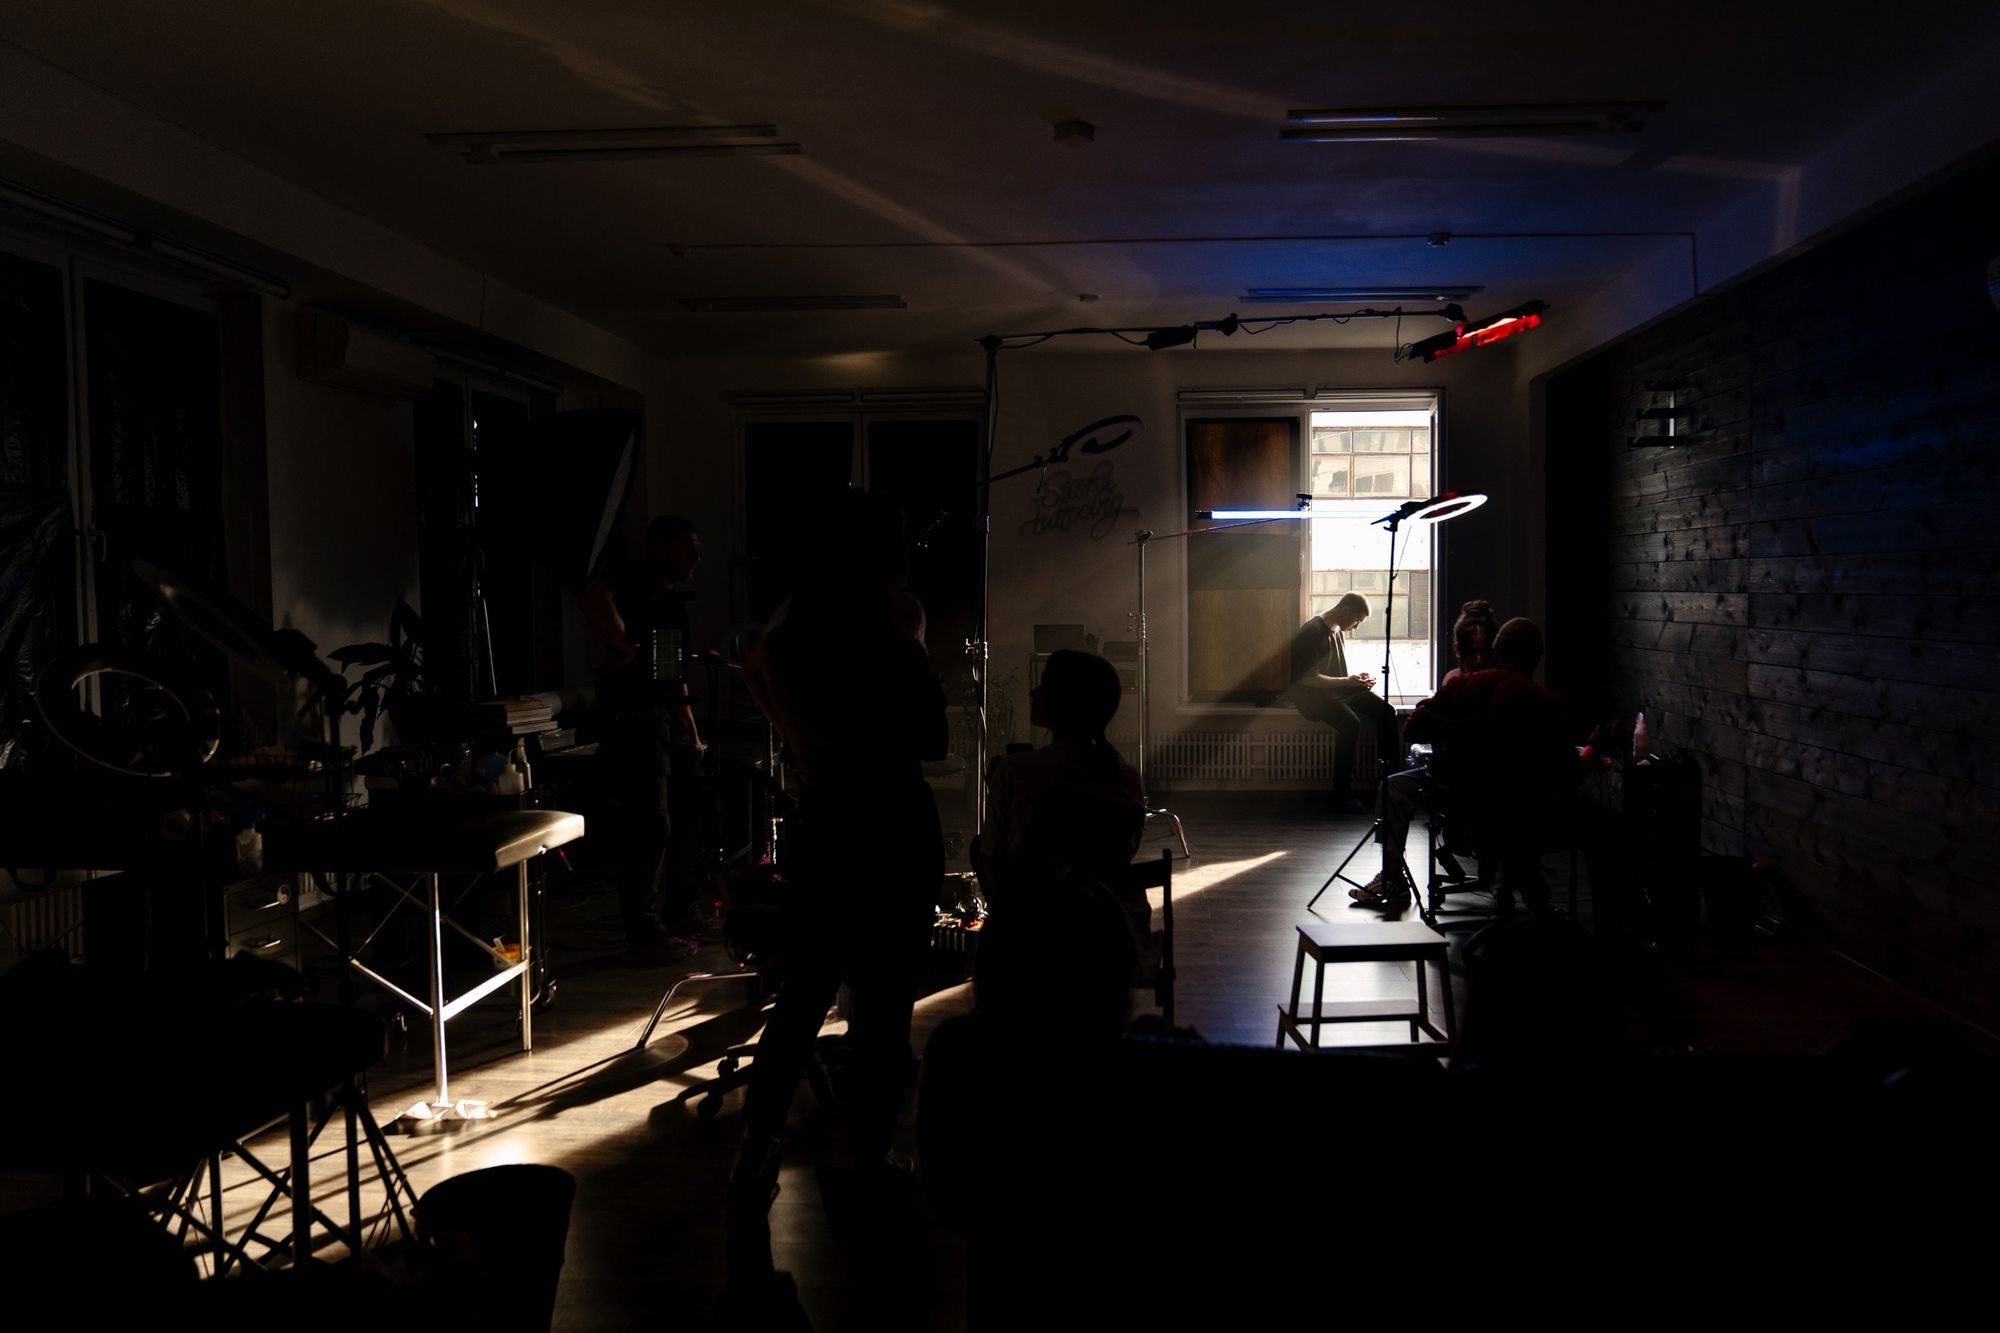
In production, stray light, including light leaks, may affect your shot – and not in the way you want it to.
So, to avoid this spill, consider working in a dedicated studio space, where you have greater control over your light sources.
What's next? Learn the 3-point lighting setup
There’s a reason cinematographers like to be creative in finding various sources for fill lighting – it’s an essential part of every lighting setup in your filmmaking process.
Fill light, however, rarely stands alone – usually, it comes with two buddies (sort of like a three-musketeer situation; you know – one for all and all for one).
So, to properly understand how you use fill light in your film lighting setup, start by understanding the three most fundamental sources of light for a shot – the three-point lighting setup.
Fill Light FAQ
What does fill light do to your footage?
A fill light “fills” in the dark areas on your subject, creating a more natural and subtle look to your shots.
Where should the fill light be placed?
The fill light’s placement will depend on where you place your key light. As a rule of thumb, you should put your fill light opposite your key light. Meaning, if your fill light is at a 45-degree angle to the left, you want your fill light to be at a 45-degree angle to the right.
Is fill light necessary in filmmaking?
The use of fill lighting will affect numerous things in your film footage, and it’s one of the most determining factors in film lighting that you can use to portray a specific mood and atmosphere.
How do you set up a fill light?
Fill light is typically part of the classic three-point lighting: a key light, a fill light, and a backlight.


