


Photography 101: A Complete Introduction for Beginners
Rent film gear from local filmmakers.
Rent film gear from local filmmakers.


Intrigued by the field of photography?
Here's what I'm thinking.
You've spent the last couple of months following some fabulous up-and-coming photographer travelling around the world with nothing more than a camera in hand capturing the most beautiful scenes. Or maybe you've been running through every movie on your Netflix watchlist, and somewhere on the way, you stumbled across a film like Closer or Carol and thought, "that could be me".
Either way, you've made your way to this article (yay) to seek knowledge about the field of photography. In celebration, we'll be going through everything you need to know to get started and take your skills as far as possible.
Let's start with the basics and then build on your knowledge from there.
What is photography?
Giving you a definition of photography is next to impossible, or it would at least take me some time if I should give you a comprehensive one.
To compare, you could probably give me an exhaustive rundown on what quantum theory is in the same amount of time.
Photography is incredibly complex. There are loads of technical arrays we'd have to get into, as well as best creative practices.
Moreover, there's an unlimited variety in the quality of photos. Explaining the difference between an ordinary snapshot and a work of art is not that straightforward. And frankly, it'd be easier keeping up with the Kardashians than keeping an overview of what it is that separates inspiring photographs from ordinary ones.
However, we must all start somewhere. So, here's some fundamental pointers that'll help you answer the "what is photography"-question.
Photography definition
In its mere technical aspect, photography is capturing light with a camera using a sensor or film to create an image. This was done for the first time in 1826 by Joseph Nicephore Niépce in France. Niépce took a photo from his window showing a roof of a building lit by the sun. And so, the first image taken was titled "View from the Window at Le Gras".
A lot has happened since then. Now, if you manage to get your hands in some proper camera equipment, you can even capture photographs of light invisible to the human eye, including UV, infrared, and radio energy.
In the creative sense, photography treasures moments and shares them with the world (or keep it as a prank to post on your best friend's wall on their birthday). When you put it like that, the answer can be pretty straightforward.
The part where it gets complicated, though?
Taking a photo that moves the world and changes people's perceptions.
Now, that's a task not easily put into words.
Some of the photographs that moved a nation come from the war, over the decades' many eye-opening photos circulated during the various wars of empires.
Discover more about war photography.
Furthermore, photography can have multiple interpretations, especially in modern days.
Everyone has their own "hot take" when it comes to judging an image.
History of photography
The first photograph ever taken was taken by French Niépce, who used his invention called heliography.
It required bitumen to be dissolved in lavender oil. The resulting substance was coated onto a lithograph. Once dry, an engraving was placed on the lithograph and then exposed to sunlight.
After setting, the lavender oil was washed off along with any unhardened bitumen. The remaining areas on the surface of the lithograph were washed with acid to create the final image.
Although Niépce was the first official photographer, he's far from the only one playing a role in the history of photography.
So, let's get into it.
If I say HISTORY – you say GIVE IT TO ME! (right… I probably shouldn't drink during office hours).
The daguerreotype is invented
After Niépce successfully created an actual image, he started collaborating with Louis Daguerre to create the daguerreotype.
The daguerreotype was the first commercial camera that "prints" images on a silver-plated copper. Daguerre's process of photography shortened the very long exposure required for a heliograph and resulted in images that were much clearer.
Photos created with light-sensitive paper
Even though the daguerreotype was a significant improvement from the heliograph, Fox Talbot, a scientist from Britain, announced just a few weeks later that he had developed a new and improved way of creating photos.
Instead of relying on metal plates as Daguerre and Niépce had done, Talbot used light-sensitive paper. His method, called the calotype process, was made public in 1841.
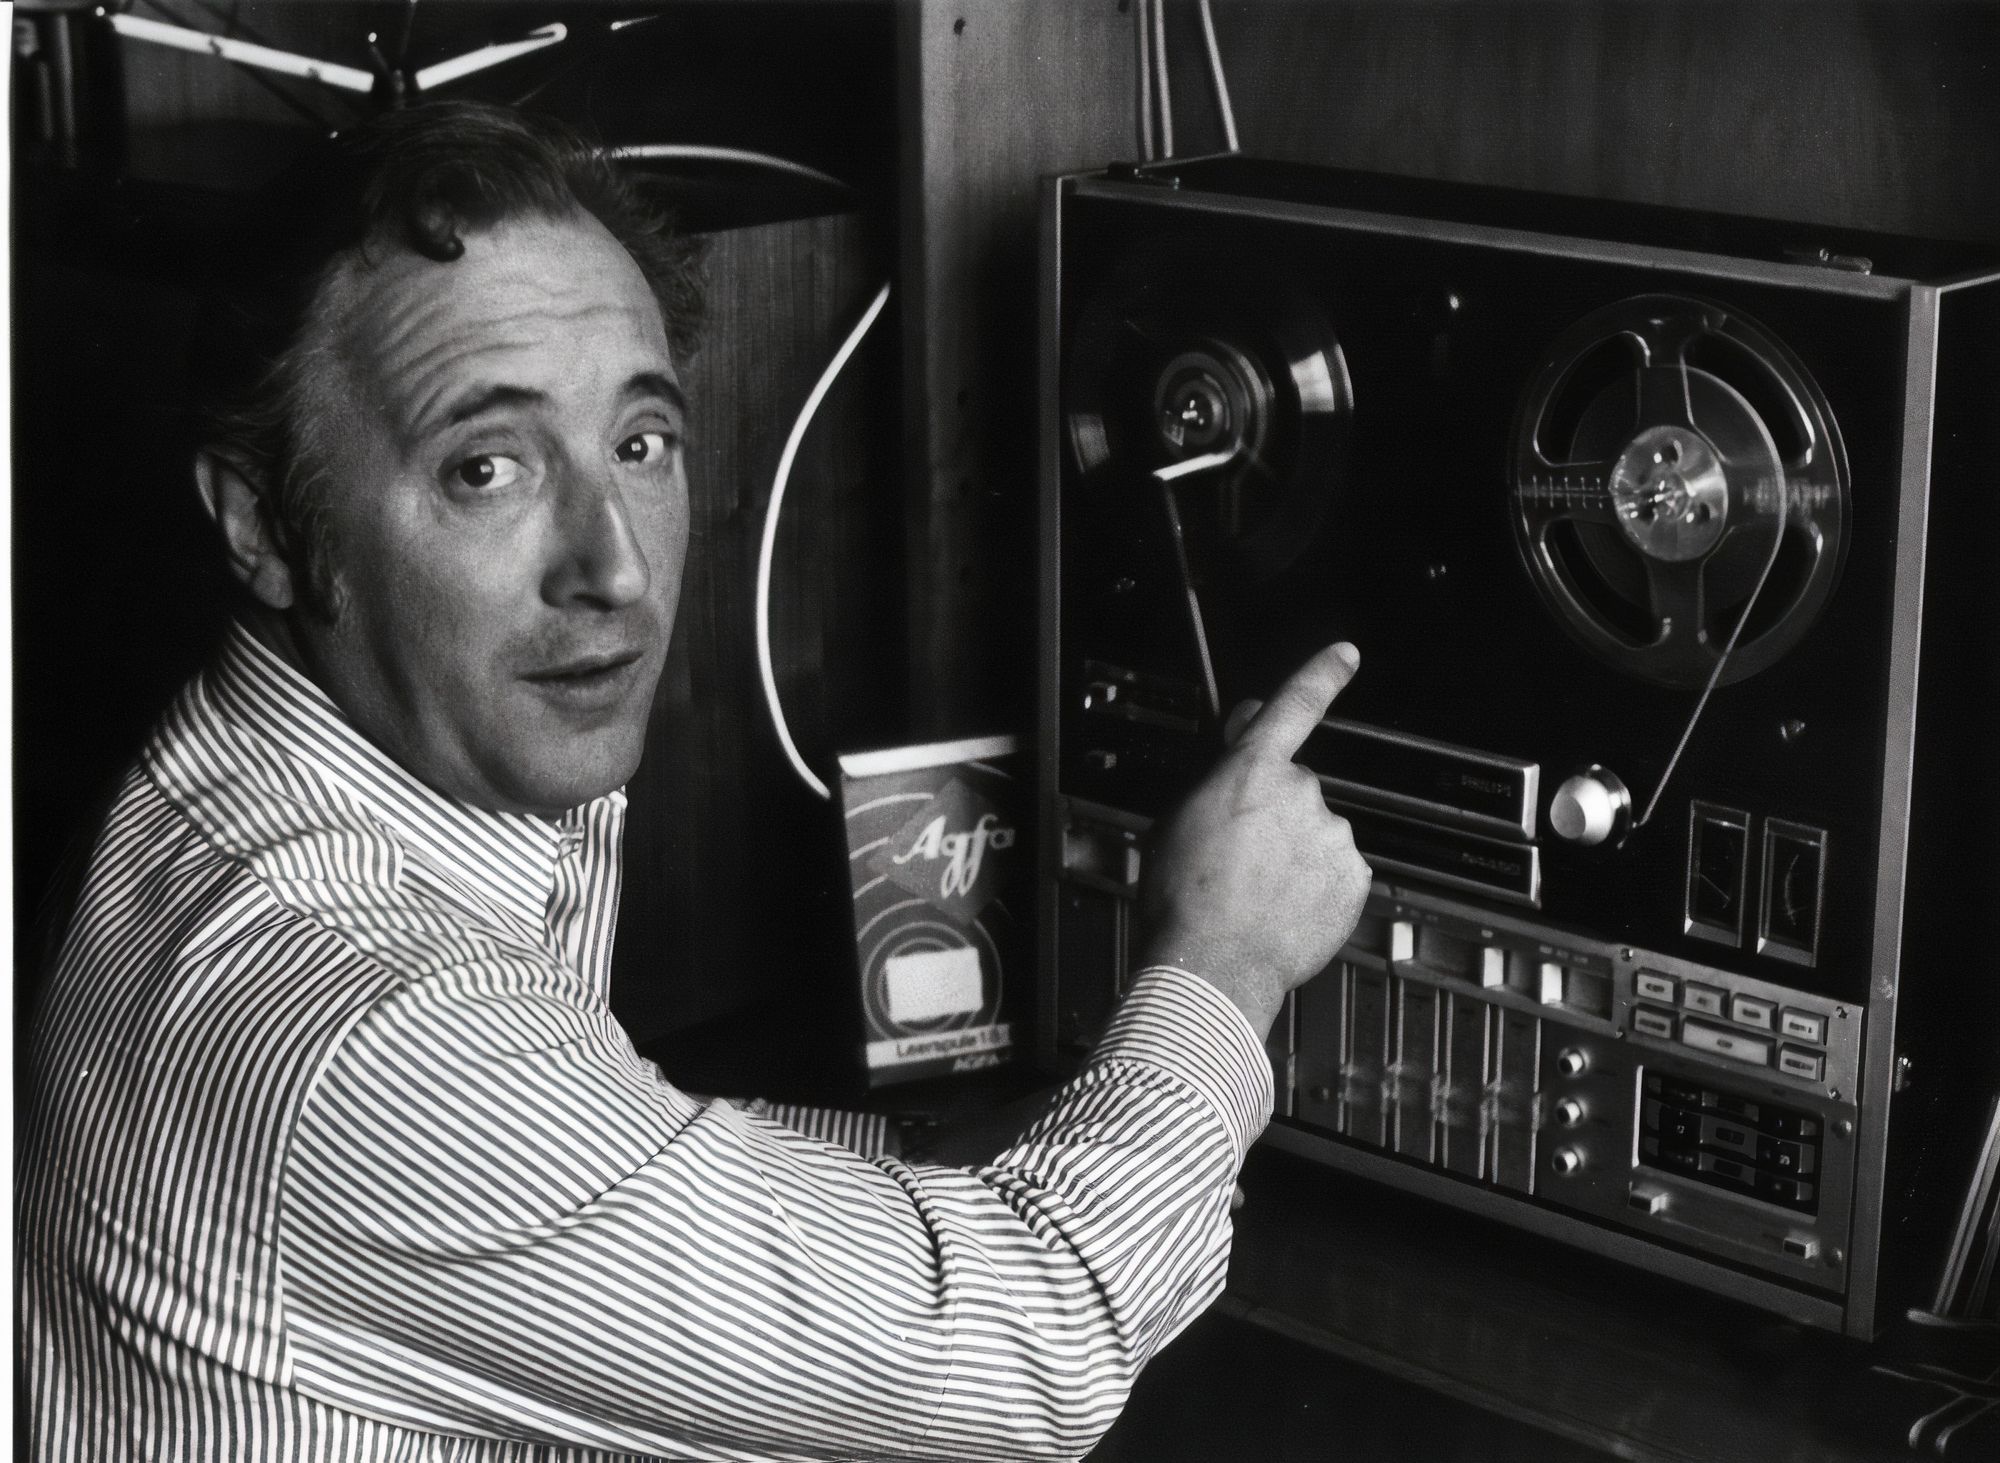
Roll film is introduced to the public
Fast-forward a couple of years to 1888, where George Eastman and his business partner, Henry A. Strong, debuted roll film.
This Eastman Kodak film was transparent cellulose that came in 70mm format. The rolls were then cut down the middle (by Thomas Edison) to create the standard film size that we know today of 35mm.
These small, easy-to-use rolls of film revolutionized photography and made it something anyone could pursue.
Colour photography is integrated
The same two guys later introduced the "Kodachrome" in the 1930s, which produced coloured photographs.
Before that, almost all photos were monochromatic – although a handful of photographers, toeing the line between chemists and alchemists, had been using specialized techniques to capture colour images decades before.
How was that for a tour down photography's history?
A little trickery, I'm sure, but also left you quite blissfully, right? (Again, I apologize, those Moscow Mules are just so good).
The purpose of photography
What is the purpose of photography?
Well, the answer to that depends on the which era we're looking at.
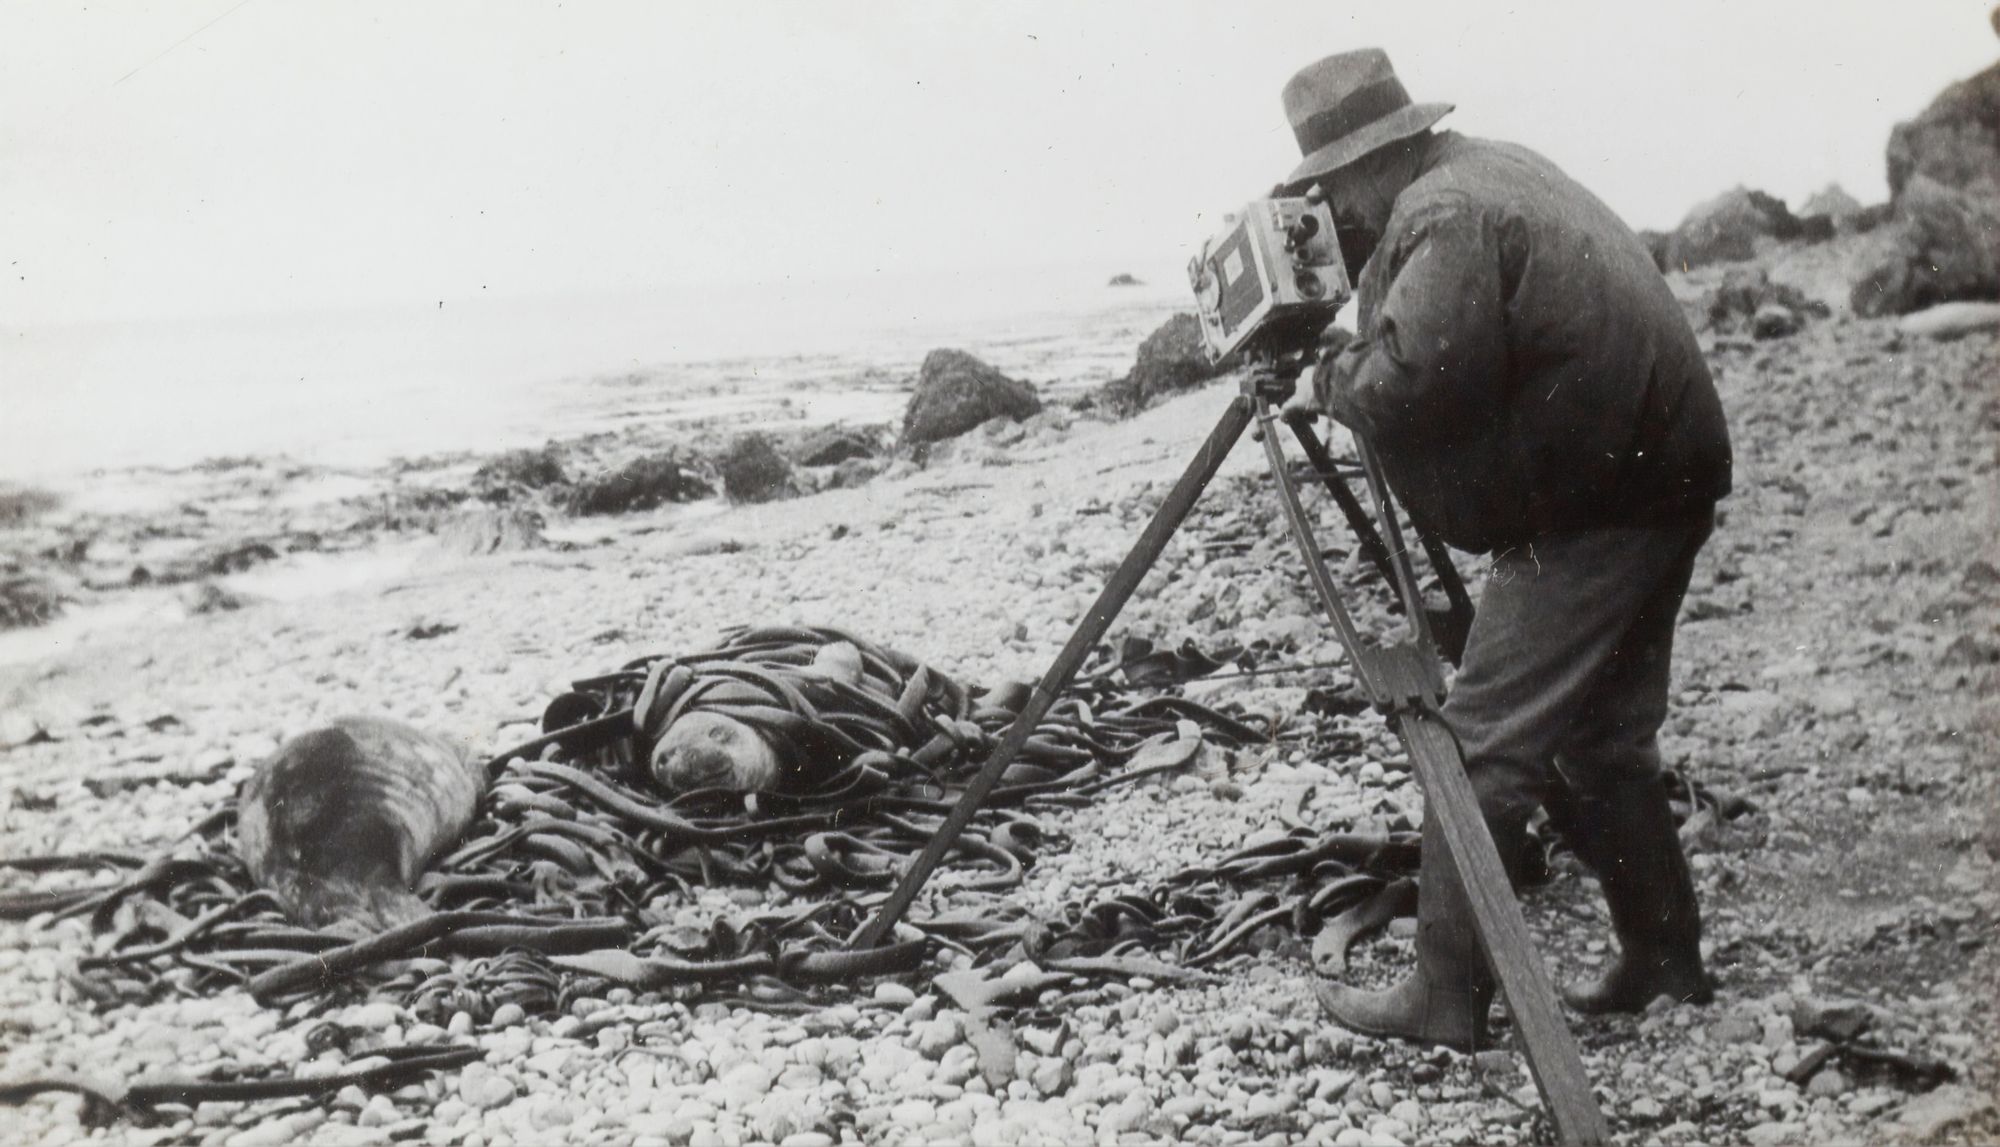
Photography's purpose was initially an alternative for people who couldn't afford a portrait of themselves in painting.
Then, at another point, photos was used to document the various wars for the public to get insight into the battlefields.
Without photos, we wouldn't understand our history. We wouldn't understand how historical sites merely ruins now once looked like, how cultures helped shape cities, how inventions through time cultivated our minds and other precious events that happened in the past.
As time goes by, photography serves more diverse purposes.
We use photographs to showcase numerous things. Whether that's products for marketing purposes, portraits to tell a story about an individual's identity, or just to freeze a meaningful moment in life, the use of photography is vast and one that'll probably only continue to grow.
Photographers that changed the field
I'll be honest with you.
Making an exhaustive list of all the photographers who have played a role in making photography a worldwide pursuit of millions is impossible.
I feel like that's my motto in this article – as opposed to my usual "Hakuna Matata".
Nevertheless, it's true. It's darn near impossible to whittle down a list of the most famous photographers to fewer than several dozen.
Although it's just a brief birds-eye view, these nonetheless are people you need to know before you dive into the technical side of photography.
In addition to Louis Daguerre and Joseph Nicéphore Niépce, that list includes:
Alfred Stieglitz's portrait and documentary work
"In photography, there is a reality so subtle that it becomes more real than reality."
Alfred was one of the main characters in photography. He helped popularise the field as an art form in the late 1800s and early 1900s.
He's best known for his emotionable portraits, making them more than just a snapshot of a moment in time.
Alfred believed that photographs could express the artist's vision just as well as paintings or music – in other words, that photographers could be artists. By introducing the photography industry, Alfred influenced painters to pursue and develop abstract painting styles.
Dorothea Lange and portrait photography
"The camera is an instrument that teaches people how to see without a camera."
Dorothea (you don't hear that name often enough – do you know any Dorothea's?) became one of the most famous and influential photographers in history thanks to her documentary-style photographs of the Great Depression.
Dorothea's work showed the world how powerful a camera could be in telling powerful stories and helped shape the field of documentary photography.
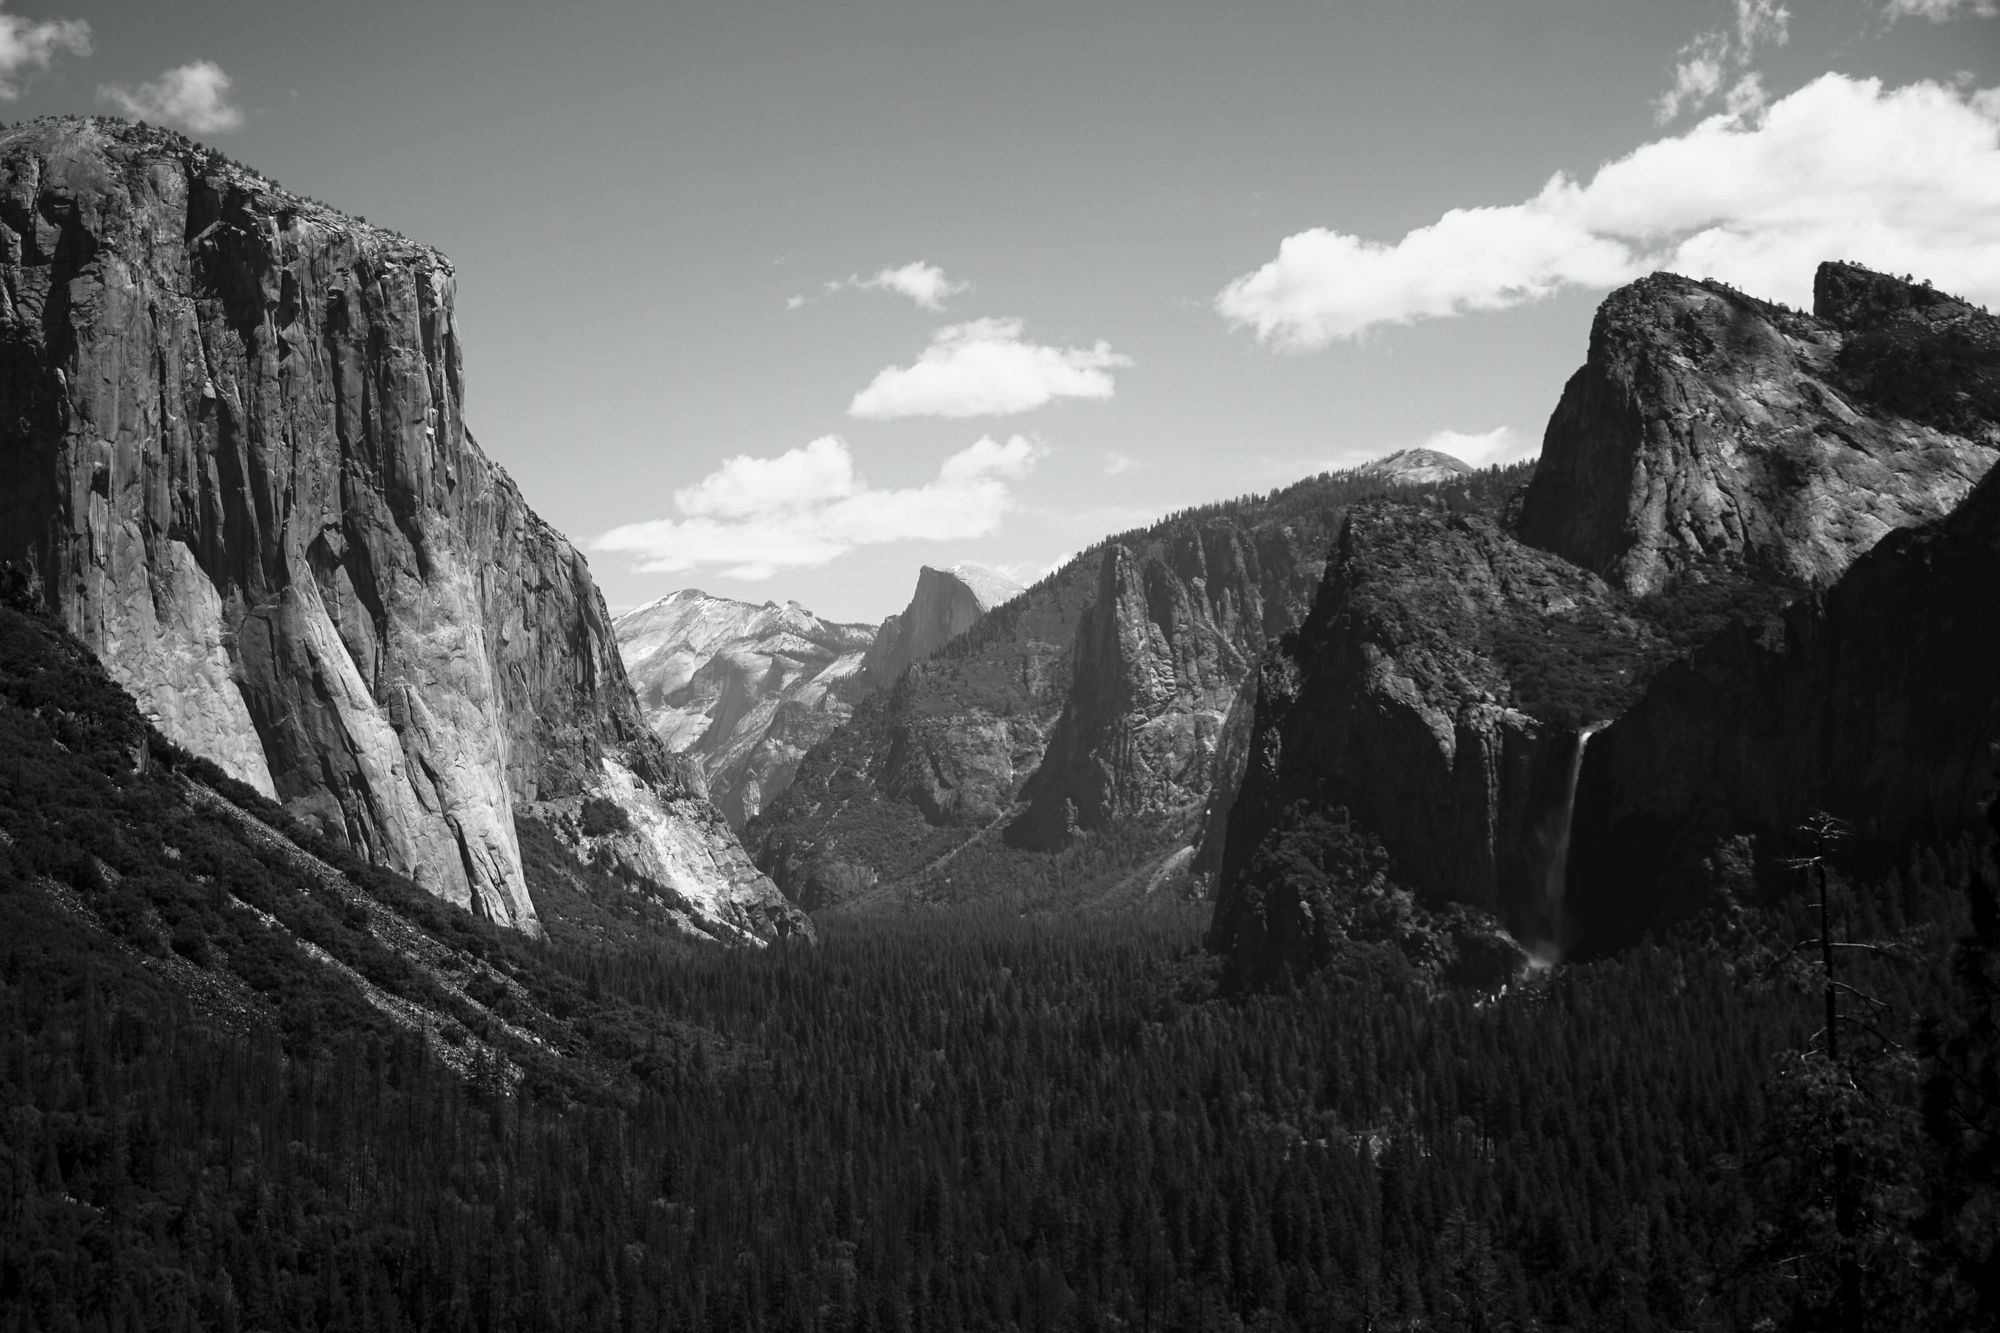
Ansel Adams and landscape photography
"There is nothing worse than a sharp image of a fuzzy concept."
Ansel (also a pretty rare name – maybe it's a photographer criterion?) is perhaps the most famous photographer in history and helped popularise landscape photography.
Some of his most famous work includes his black and white landscape photos of the American West.
He was an early champion of the environmentalism and preservation movements in the United States.
Henri Cartier-Bresson and photojournalism
"To me, photography is the simultaneous recognition, in a fraction of a second, of the significance of an event."
Henri is considered the father of photojournalism. His candid portraits and street scenes captured the imagination of millions. He also photographed some of the most critical events in history, including the Chinese Revolution and the social and economic changes in the United States after World War II.
Best camera for photography
While equipment is merely a tool to capture those incredibly over-the-top, want to shout at the top of my lungs "hallelujah" photographs, it is still a vital tool. It's a tool you'll need if you want to go from "what a nice memory" to should we go with MOMA or the Louvre?
With so many different cameras out there, all carrying their advantages and disadvantages, it can seem overwhelming to figure out which camera you should choose.
So, to make it a little easier, we've gathered all compiled a list of the best cameras for beginners.
Needed camera equipment
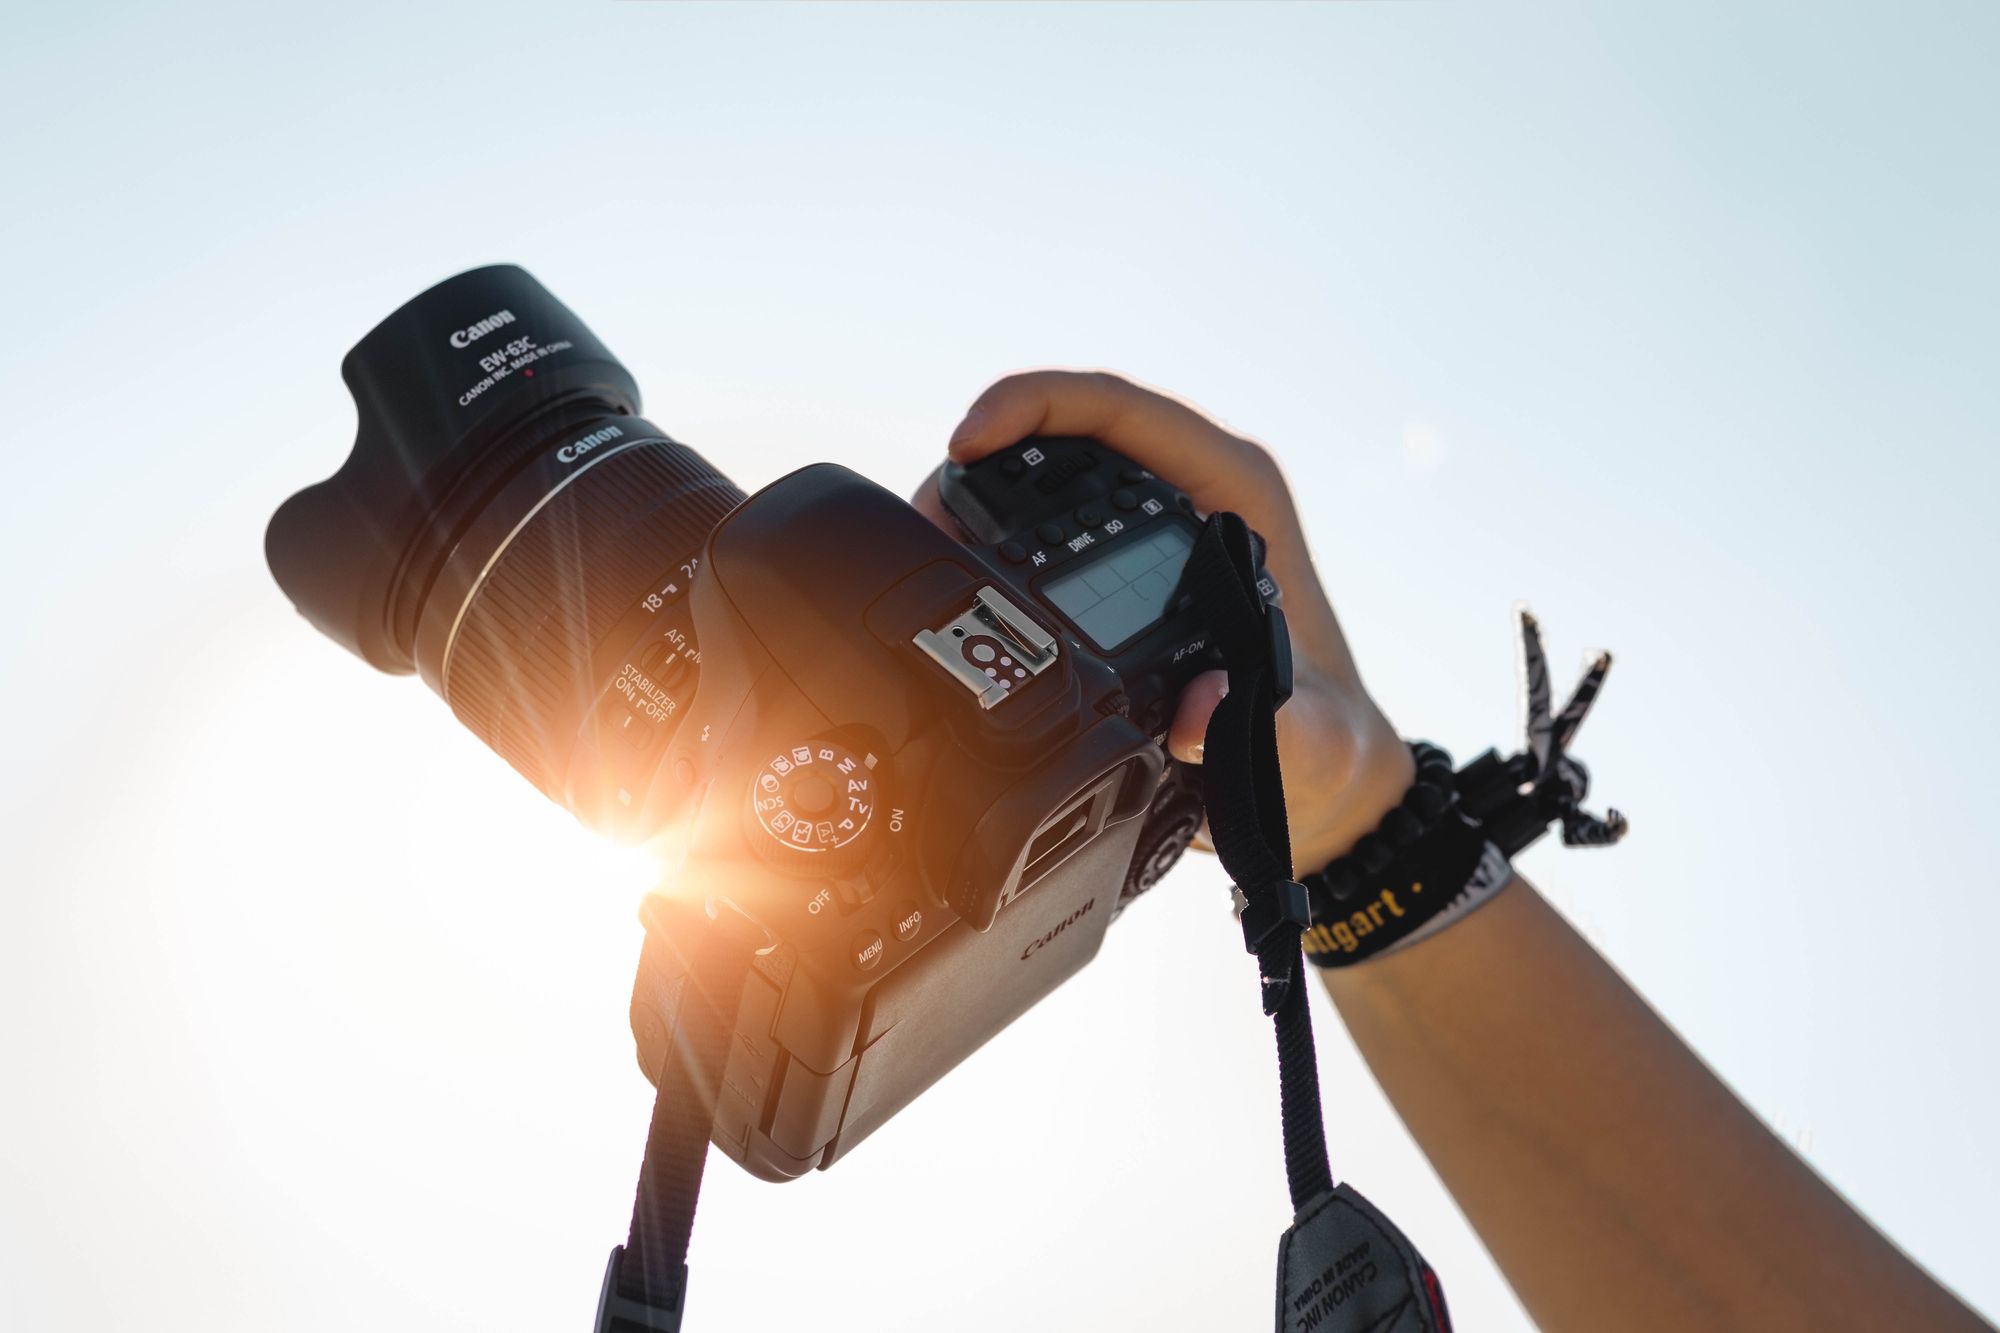
Well, why not start with the obvious – You'll be needing a camera.
If you're just starting in photography, you should use a camera that you feel comfortable with. Don't splurge your money on a RED or ARRI camera. Even though these are great cameras, they're not what you're looking for when you're starting.
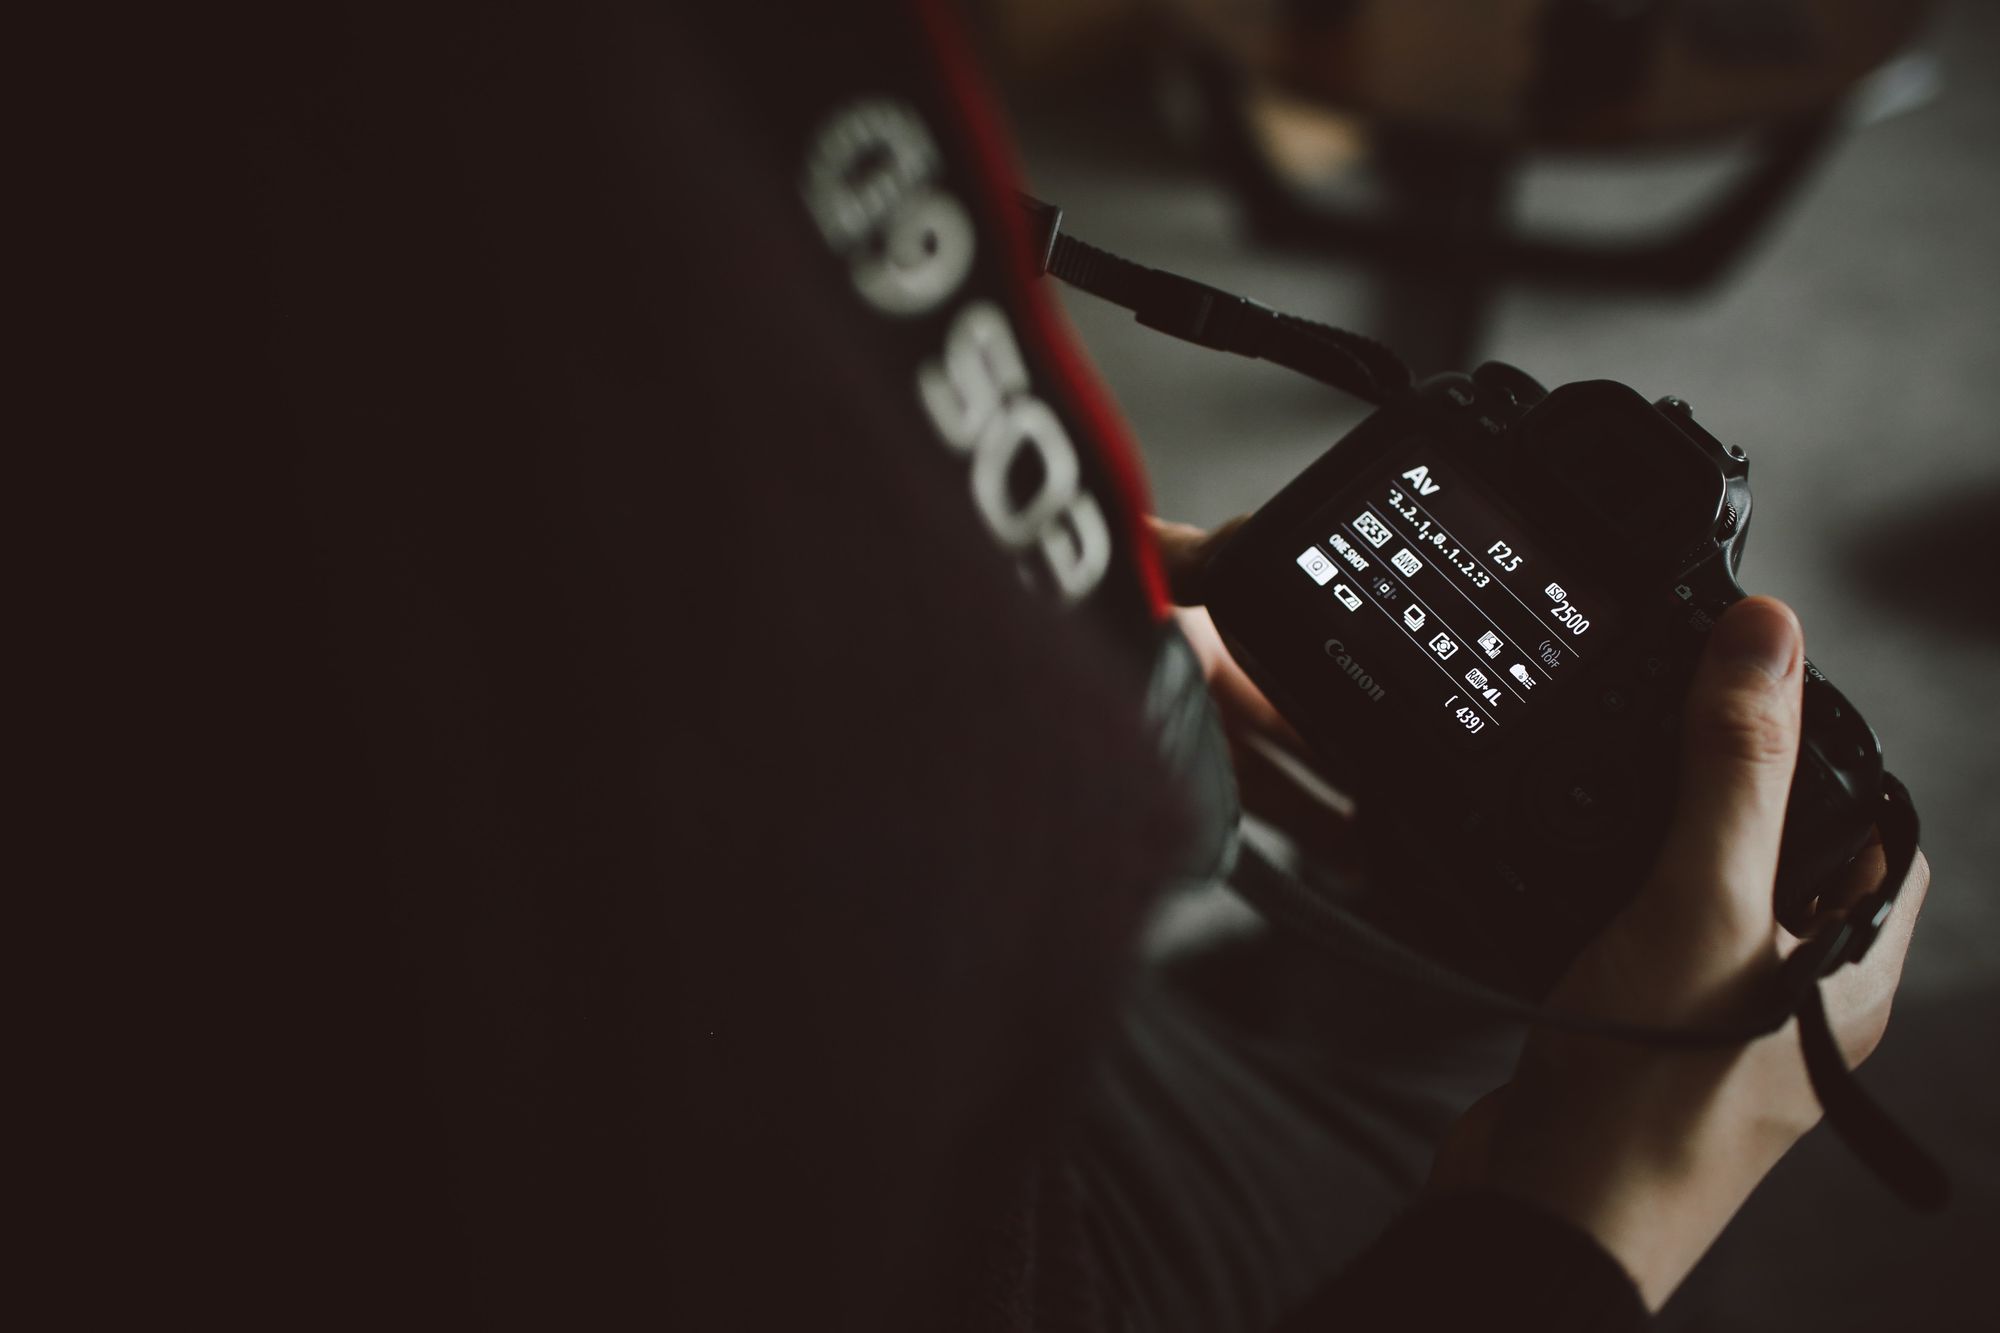
Both DSLRs (like the Canon 6D Mark II) and mirrorless cameras (like the Sony a7R III) have advantages and disadvantages. Common traits between them include larger sensors, full manual controls, and interchangeable lenses.
The rest of the camera equipment needed will be based on your needs and the type of photos you want to take. For example, if you want to do landscape photography, you will need several different lenses, a tripod and filters. You will need to invest in a good portrait lens and potentially some lighting equipment for portrait photography.
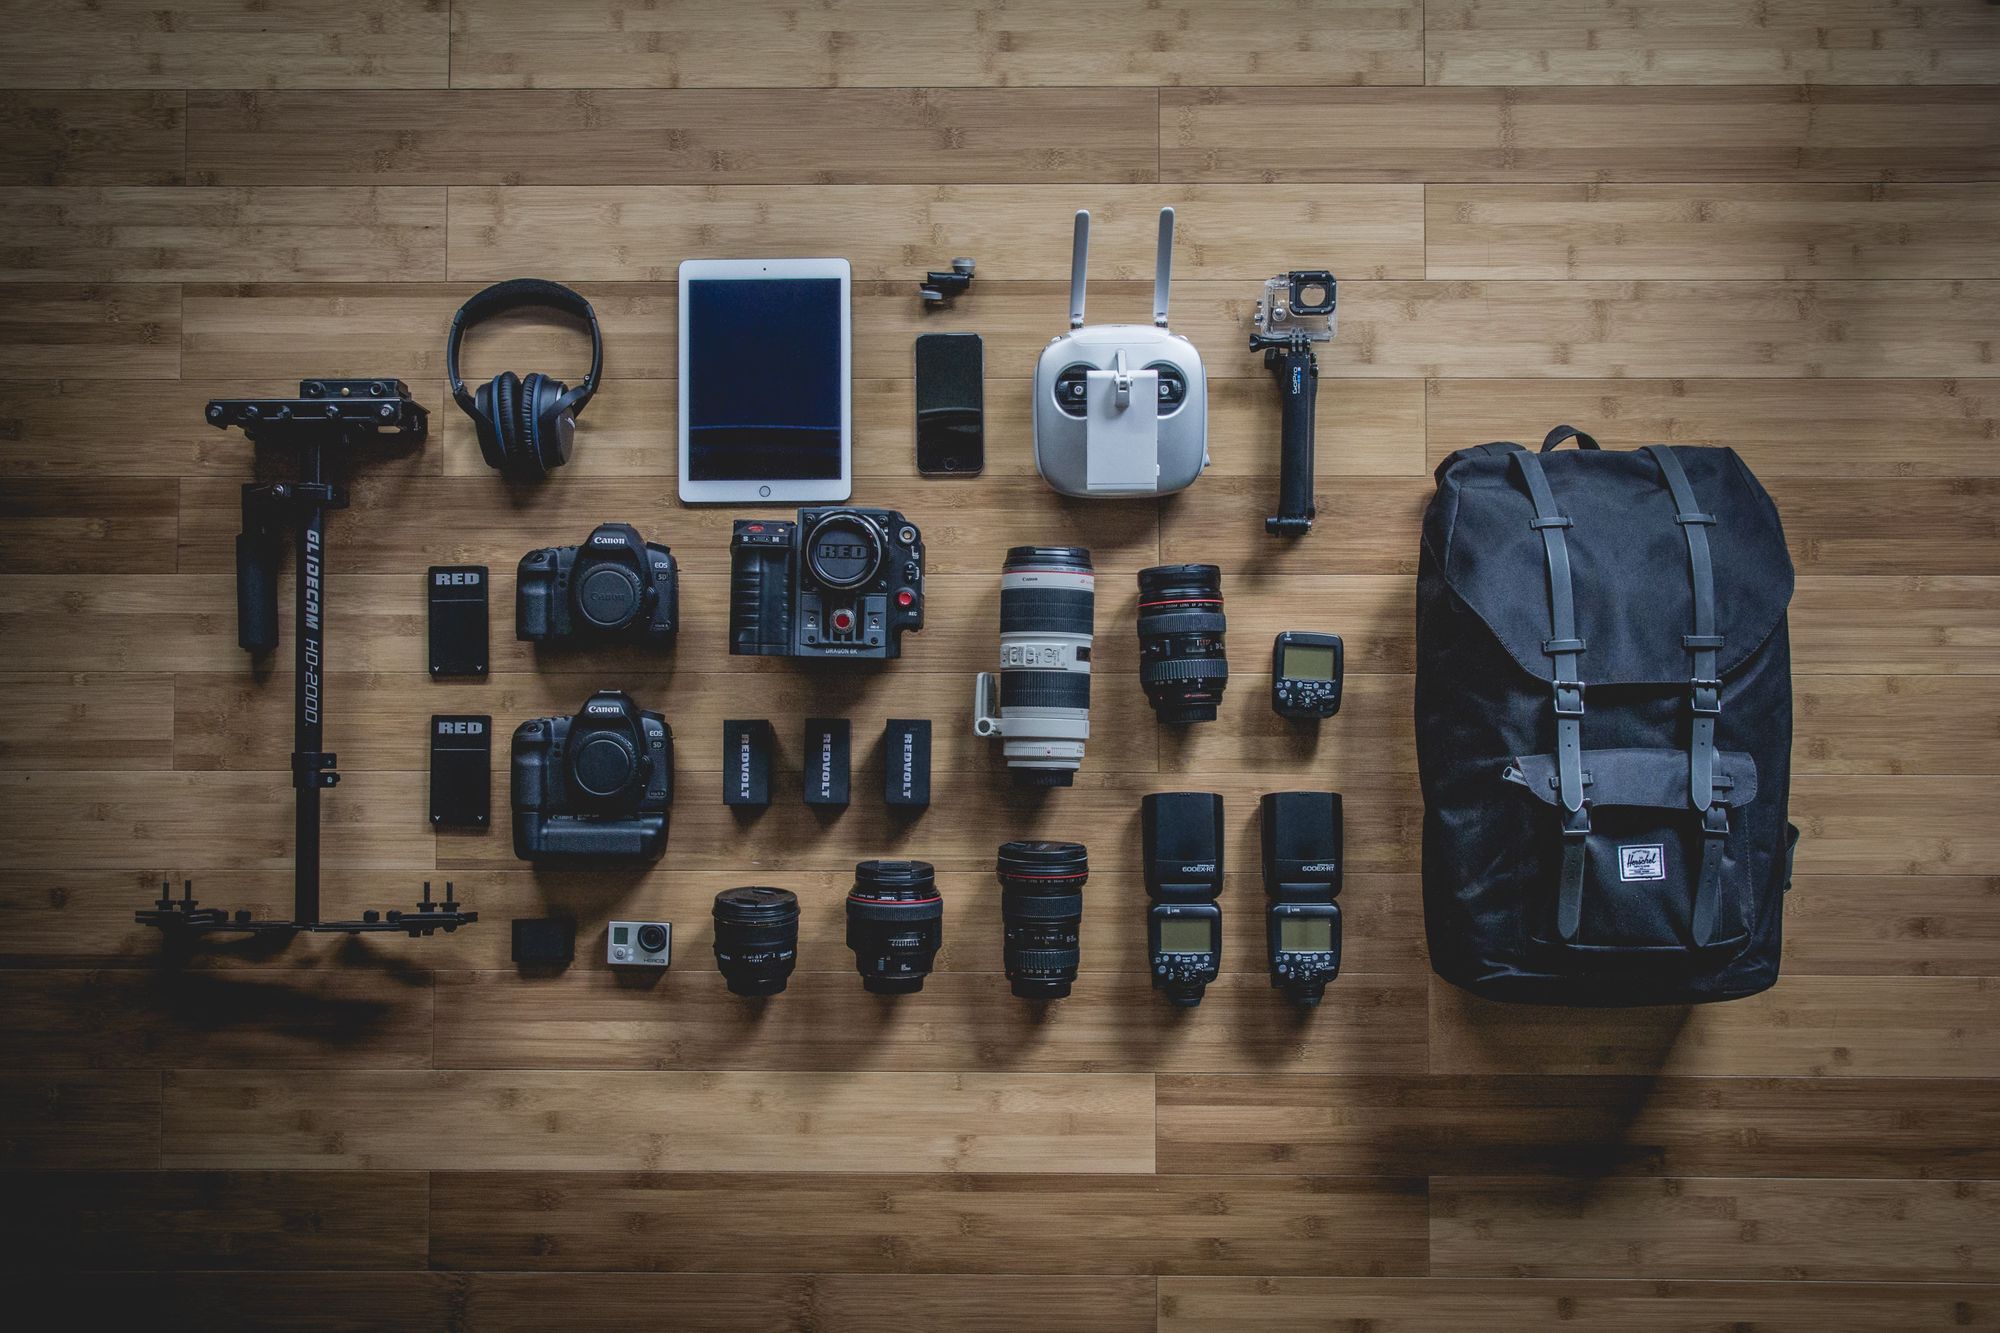
While there is no one-size-fits-all, there is some must-have photography gear that you'll need if you want to pursue it more seriously:
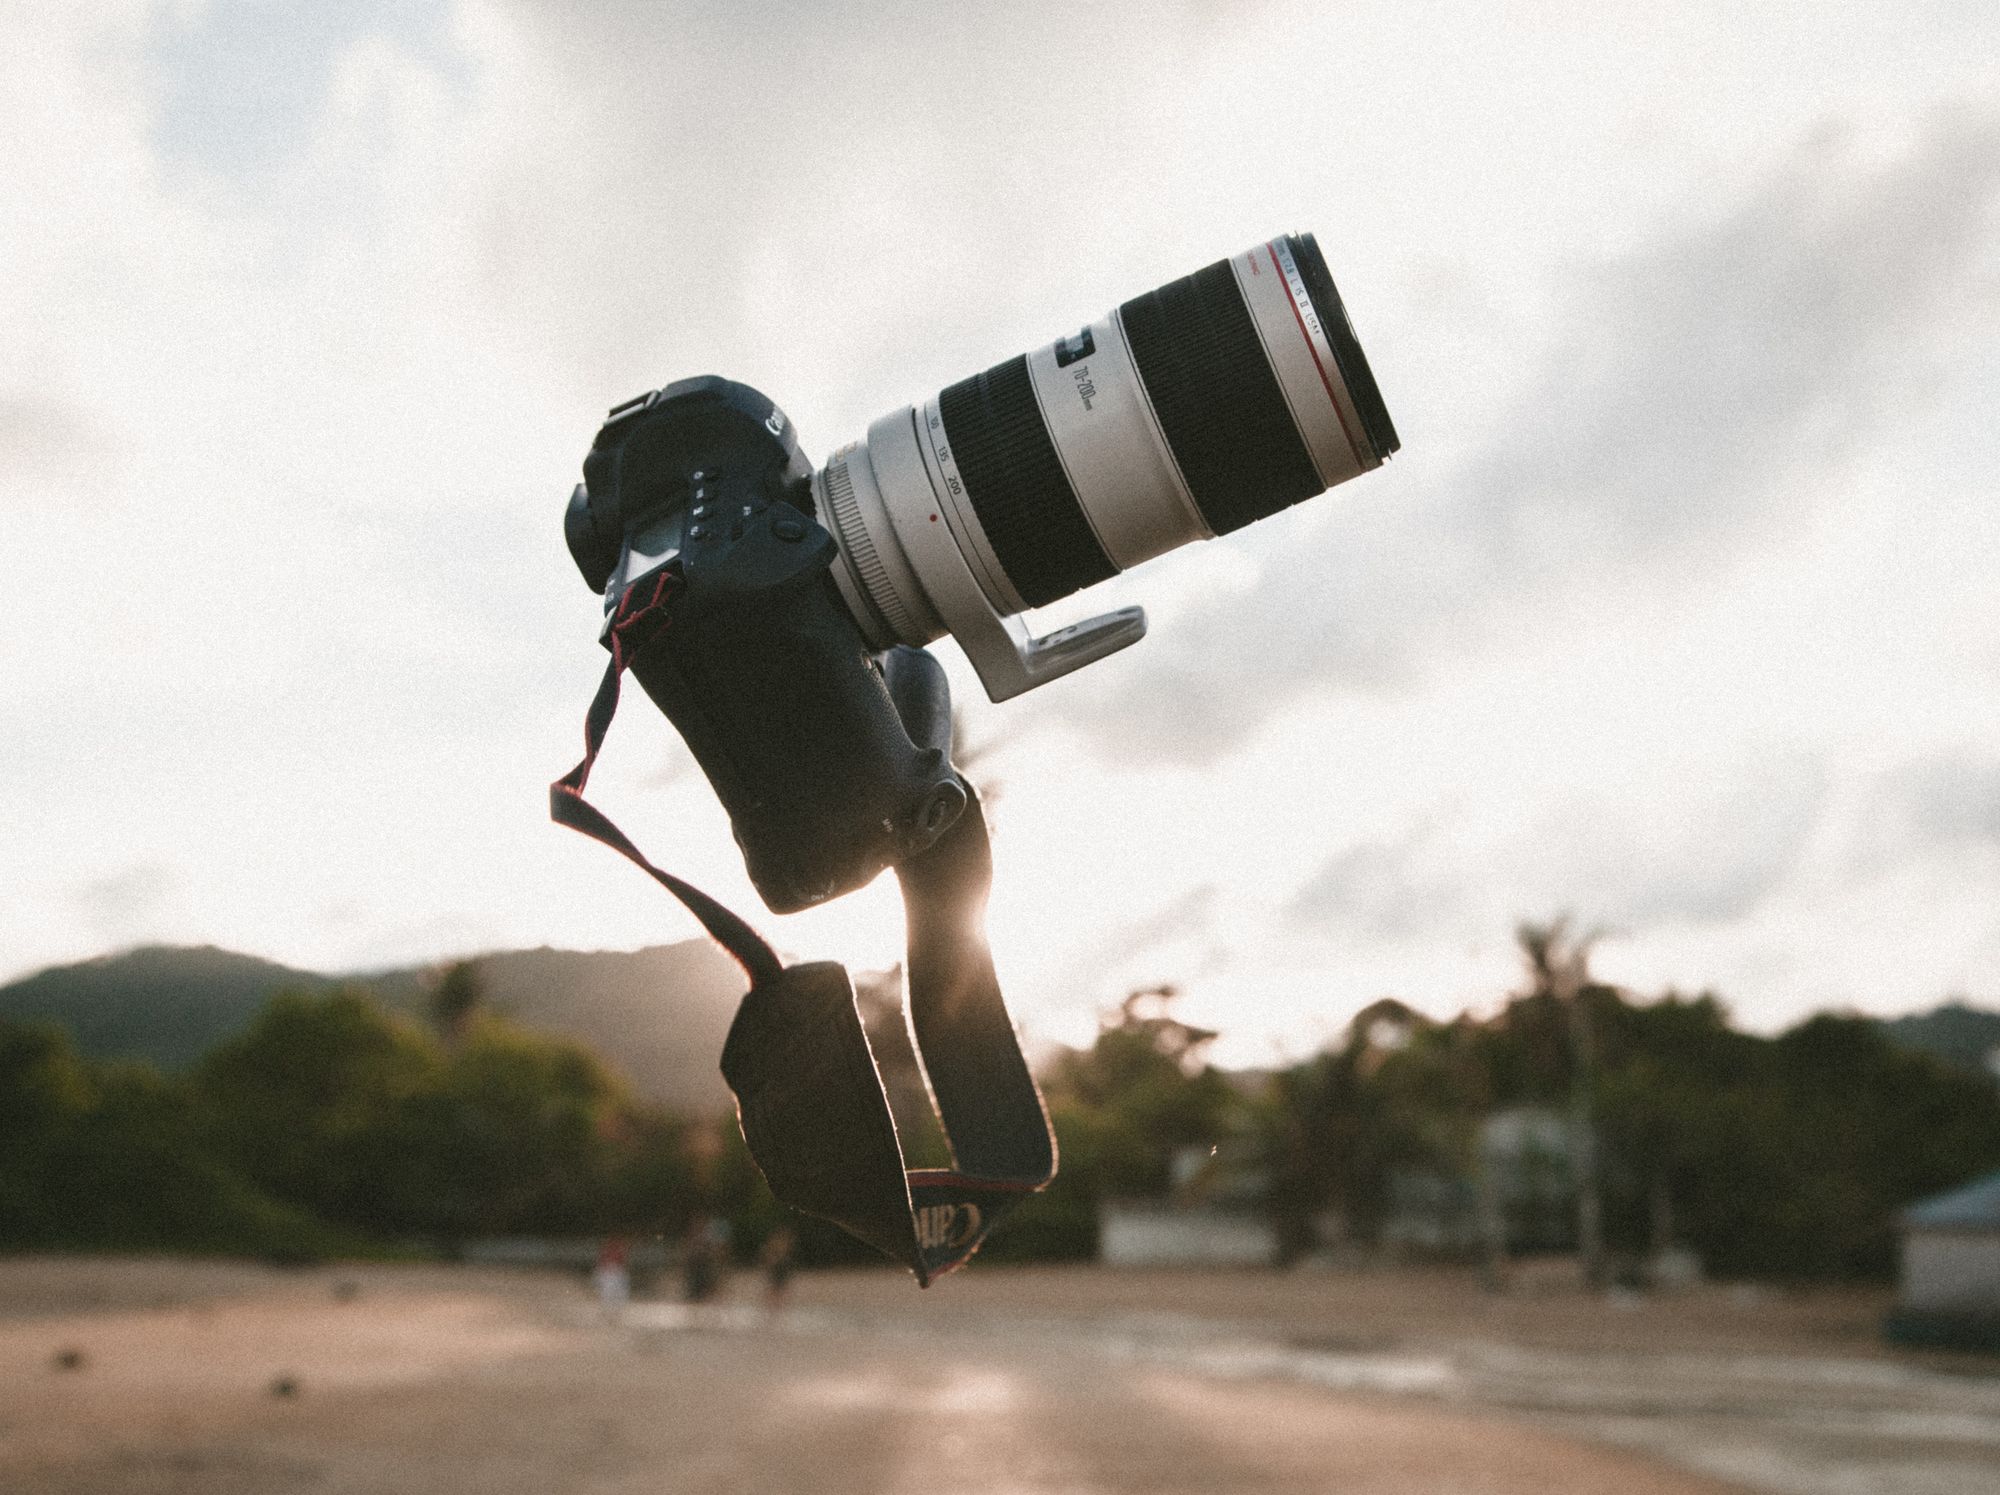
Lenses
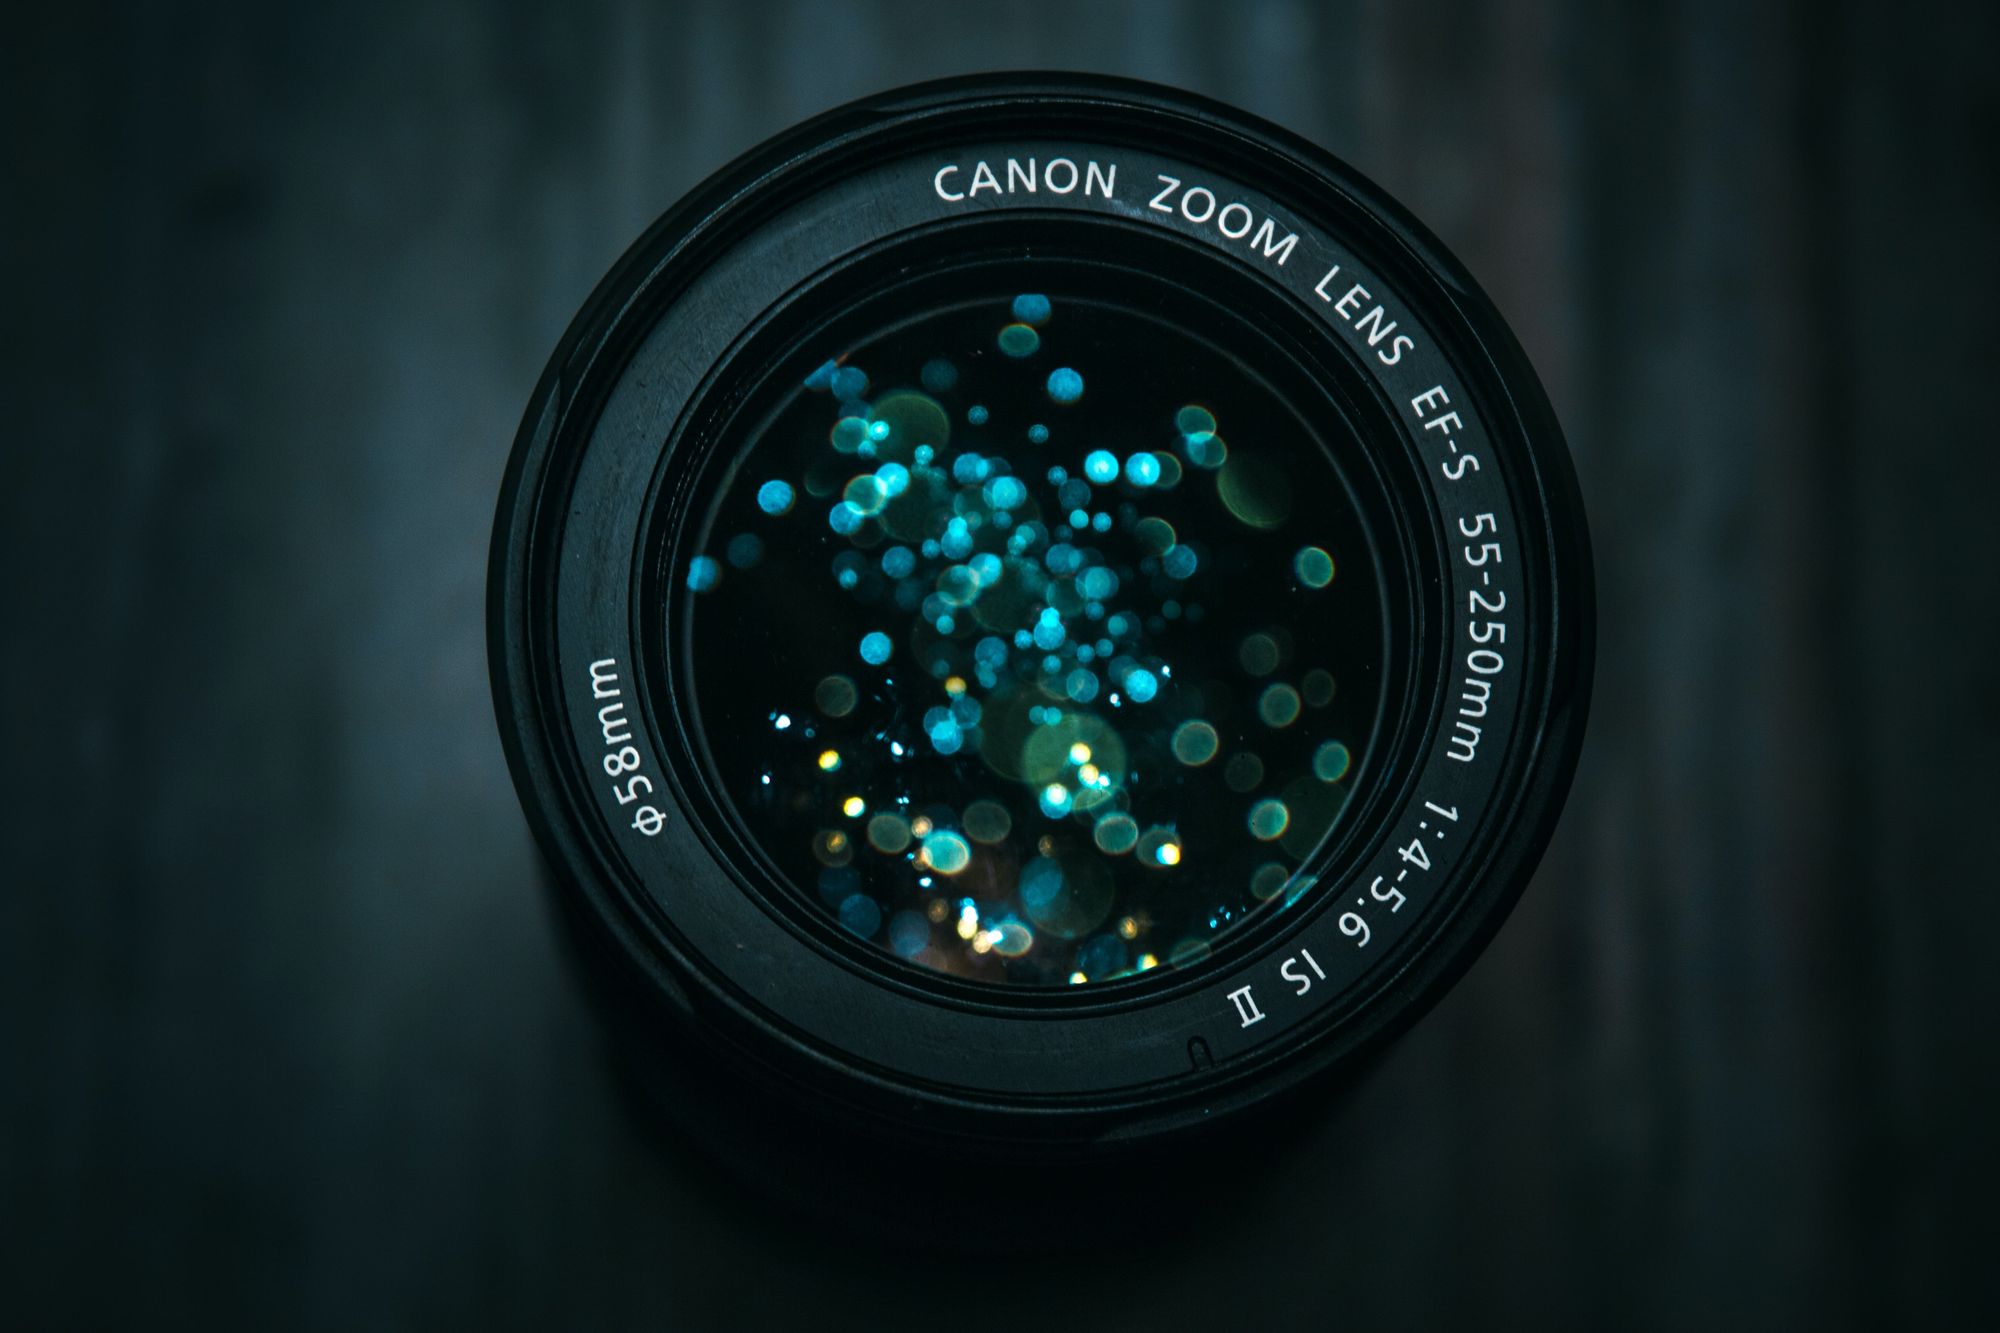
While the camera is kind of our duh-item on this list of mandatory gear – lenses have most definitely also earned a spot amongst the duh-items.
When it comes to it, lenses are more important than the camera you use.
You can take better photos with a bargain-basement, entry-level DSLR and a high-dollar professional lens than you can with an expensive pro camera and a cheap lens.
As a newbie in the photography world, the kit lens that comes with most cameras will do just fine. However, as your skills improve, you'll need to upgrade your lenses.
You can start with a standard zoom lens like a 24-70mm or 18-55mm. Then over time, add a prime lensor two, something in the likes of 50mm and an 85mm. Your lenses will long outlast your camera, so investing in good glass is the way to go.
Everything else from this point on is on a nice-to-have sort of basis. If you want to create the very best photos, consider adding the following to your kit:
A tripod
To stabilize your camera, reduce camera shake, and extend the shutter speed for long exposure – adding a tripod is not a bad idea, especially if you're thinking of doing landscape photography.
Camera bag
Get a bag to carry all your gear. And get a good one. Don't go dusting up your once-oh-so-cool Jansport backpack.
For two reasons: Firstly, it's one big mess. You can hardly find your eraser, let alone your brand-new Samyang lens. Secondly, a Jansport backpack won't protect your gear correctly. So, get yourself a dedicated camera bag that'll protect your equipment and help you keep it organized.
Memory cards
When starting, you should choose a memory card in the 64-128 GB range. Get a fast card (measured in MB/second) if you shoot bursts of photos since your camera's memory will clear faster.
Extra batteries
Get at least one spare battery to start, preferably two. Off-brand batteries are usually cheaper; however, they may not last as long or maintain compatibility with your future cameras.
Lens filters

A good choice would be to go with the polarizing filter, like a circular polariser. Polarising filters reduce glare off the water, enhance the contrast in the sky, and minimize atmospheric haze.
Flash
Flashes can be expensive, and you might even need to acquire a separate transmitter and receiver if you want to use your flash off-camera. Meaning the price can get up there, so consider renting a flash rather than using all your hard-earned savings on buying it – this is especially true if you're just getting started.
Computer monitor
Ideally, you'd get an IPS monitor for editing your photos. A colour calibration device is also helpful, so you know you're editing the "correct" colours.
Cleaning kit
Use a microfiber cloth dedicated to camera equipment so you can keep the front of your lens clean. Don't expect you can pull out your regular cloth soaked in Clorox and use that to clean your gear. Also, consider getting a rocket blower to remove dust from your camera sensor more easily.
Other equipment
There are countless other photography accessories available, from remote shutter releases to GPS attachments, printers, and more.
Don't worry about these just yet; you'll realize what sort of gear you'll need once you learn more about photography.
Fundamental camera settings you need to know

I'm guessing that this is probably not the first article you've read about photography. I think you've been putting Google to work the last couple of days, if not weeks.
So, now you've come to a point where you've heard of dozens of buttons and menu options, if not hundreds, that a camera supposedly has.
Confused yet?
Well, I get that! There's a lot, especially in the beginning when you haven't had any real hands-on experience.
However, at the stage you're currently in, you don't need to know everything between heaven and earth regarding the technical aspects of photography.
Three camera settings comprise the basics of photography – each independently in charge of controlling light in different ways, and all three are used together to create exposure. These camera settings are called shutter speed, aperture, and ISO.
It can be a bit of an art to know exactly how to balance all three for a given photo.
Sure, you can shoot in full auto mode and let the camera determine the exposure. In many cases, that works okay. But how much would you learn about photography if I just left it there?
So, I'll be taking you through the exposure triangle - aperture, shutter speed, and ISO, so you know what it is and how you use it.
An introduction to shutter speed
What is shutter speed?
Shutter speed refers to the amount of time your camera sensor is exposed to the outside world while taking a picture, or more specifically, how fast the camera's shutter opens, exposing light onto the camera sensor, and closes again.
Shutter speed exists because of the camera shutter – a curtain in front of the camera sensor that stays closed until the camera shoots. As you take a picture, the shutter opens and fully exposes the camera sensor to the light that has passed through your lens.
After the sensor has collected the light, the shutter closes immediately, stopping the light from hitting the sensor.
How does shutter speeds affect your image?
There are mainly two things that shutter speed is responsible for. It's changing the brightness of your photo, and it's creating dramatic effects by either freezing action or blurring motion.
Let's say you're shooting on a sunny day at some Greek Island, in which case you should probably use a fast shutter speed to avoid your image being overexposed. Or, if you're shooting during dusk hours in Greenland – that's going to be dark (not to mention downright freezing). In which case, a long shutter speed might be better to avoid a too-dark photo.
For most, making sure your photos are the proper brightness is the main reason to adjust the shutter speed.
How is Shutter speed measured?
Shutter speed is measured in fractions of a second to minutes to even hours. The longer the shutter speed, the brighter the image. Additionally, the longer the shutter speed, the blurrier any movement in the image will be.
When you use a long shutter speed (also known as a "slow" shutter speed), you're exposing your sensor for a longer time. For your photo, that means that moving subjects will appear blurred along the direction of motion – an effect often used in cars and motorbike advertisements.
Understanding aperture in photography
What is aperture?
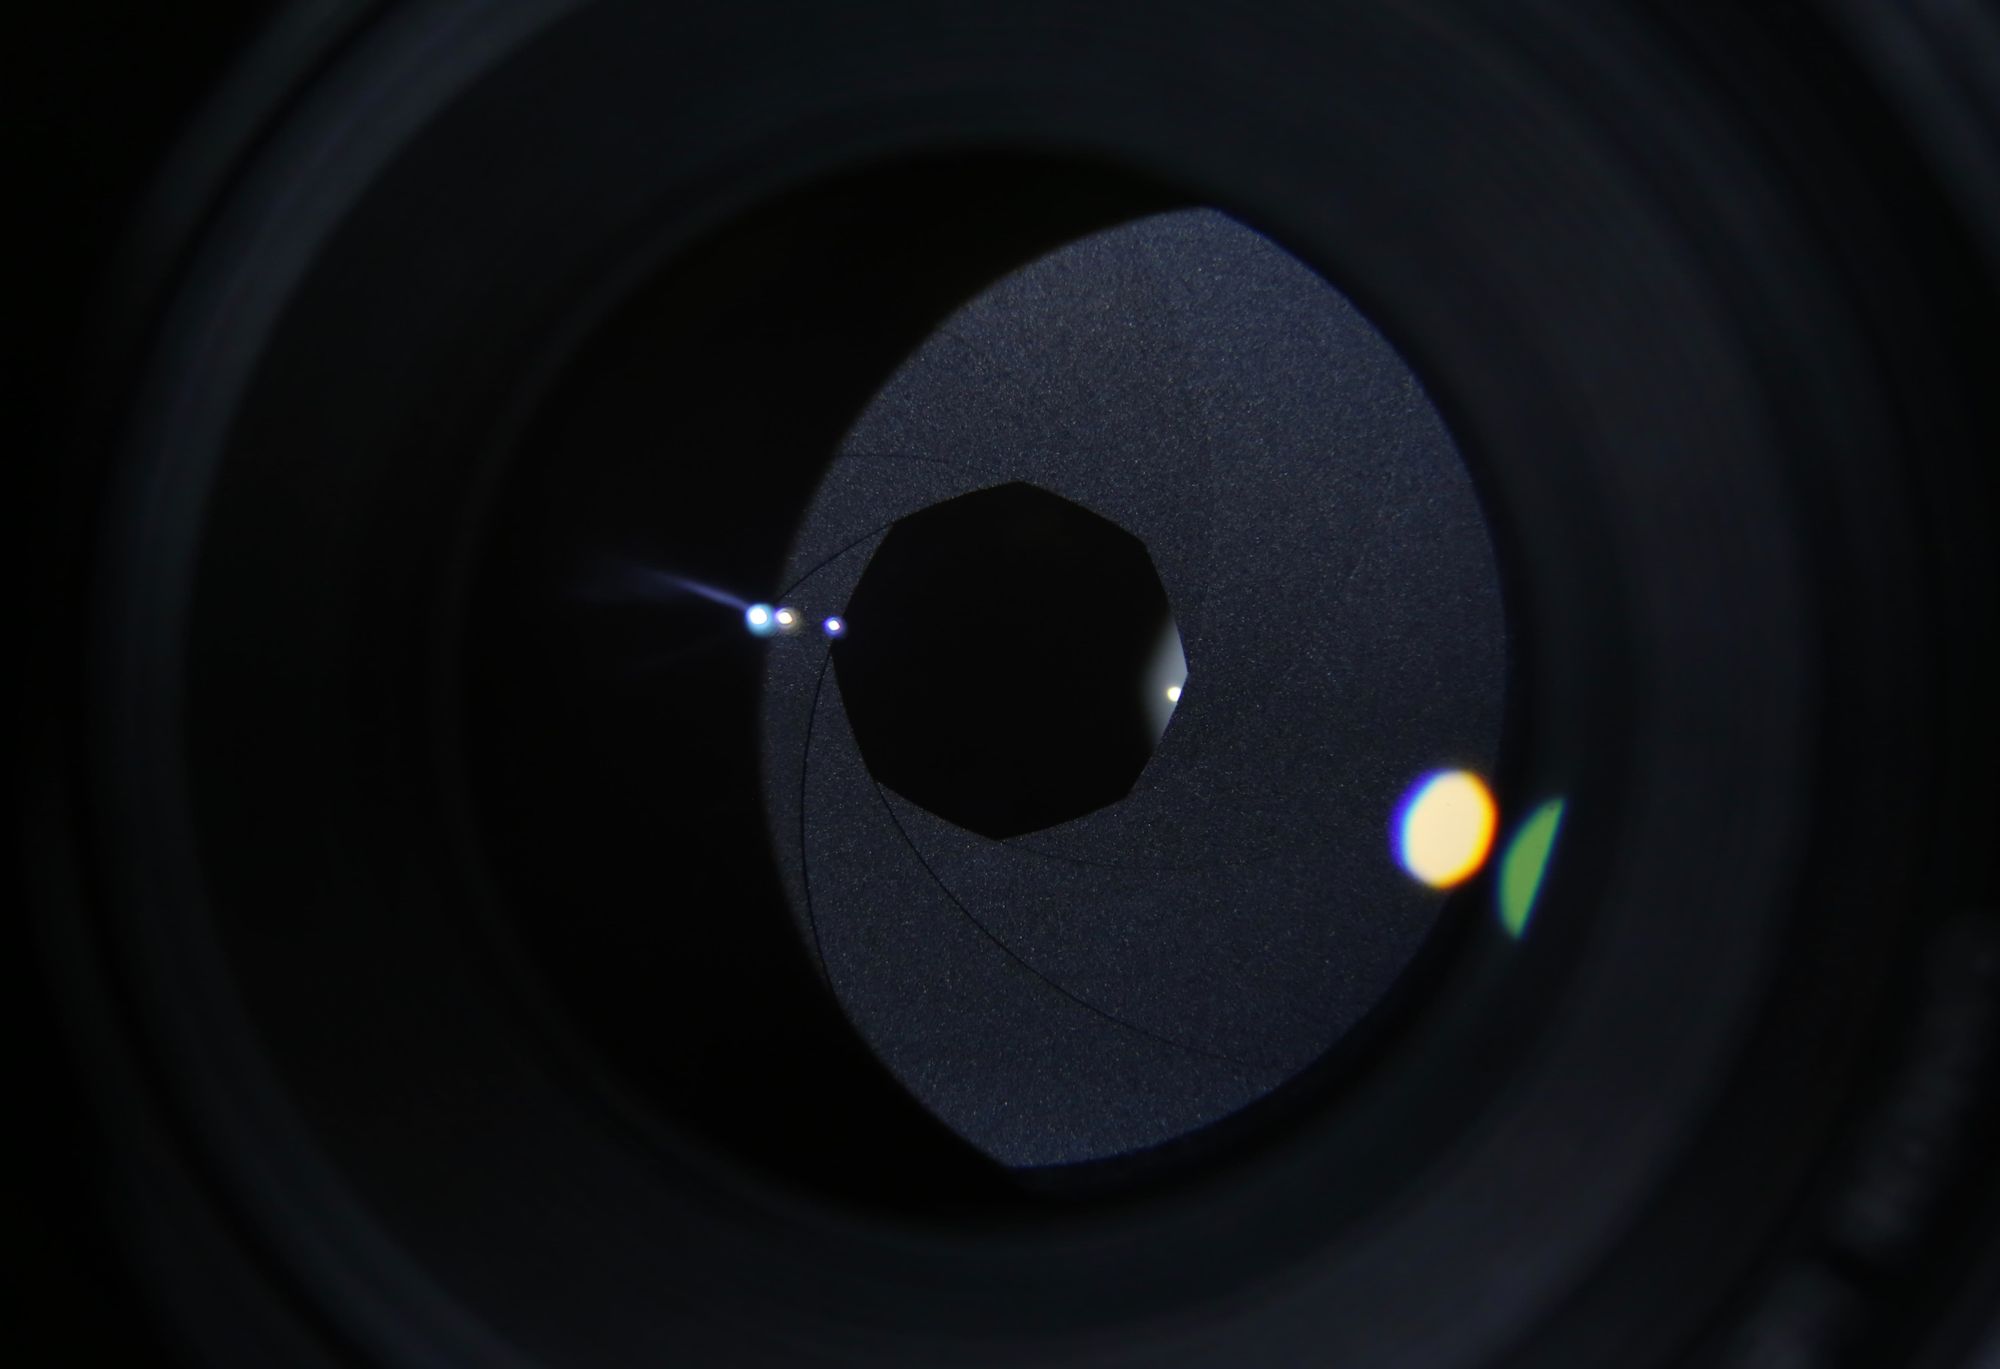
Aperture refers to the size of the diaphragm that opens and closes to let different amounts of light pass through into the camera lens. Aperture controls the amount of light received.
Think about how your eyes work. As you move between bright and dark environments, the iris in your eyes either expands or shrinks, controlling the size of your pupil. Transfer it to photography-lingo, the pupil of your lens is the aperture. You can shrink or enlarge the size of the aperture to allow more or less light to reach your camera sensor.
How is aperture measured?
You measure aperture in f-stops. As aperture changes in size, it alters the overall amount of light that reaches your camera sensor and will make them brighter or darker. Smaller numbers like f/1.2 or f/1.4 indicate a large aperture that passes a lot of light (brightening the image), and larger numbers like f/16 and f/22 indicate a small aperture and doing just the opposite (darkening the image).
The size of the aperture also influences the depth of field or the image area that's sharply in focus. The smaller the size of the aperture, the larger the depth of field.
In a dark environment, you'll probably want to select a large aperture to capture as much light as possible. A large aperture will also result in a large amount of both foreground and background blur.
On the other hand, a small aperture results in a small amount of background blur, which is typically ideal when shooting landscape and architecture.
How aperture affects your image
Aperture affects several different parts of your photo. A small aperture makes your photos darker, increases the depth of field, increases diffraction, decreases most lens aberrations, and increases the intensity of starbursts. A large aperture does the opposite.
Here's a quick list of everything aperture effects in your photos:
- The brightness/exposure of your photos
- Depth of field
- Sharpness loss due to diffraction
- Sharpness loss due to lens quality
- Starburst effects on bright lights
- Visibility of camera sensor dust specks
- The quality of background highlights (bokeh)
- Focus shift on some lenses
- Ability to focus in low light (under some conditions)
- Control amount of light from the flash
ISO and its effect in photography
What is ISO?
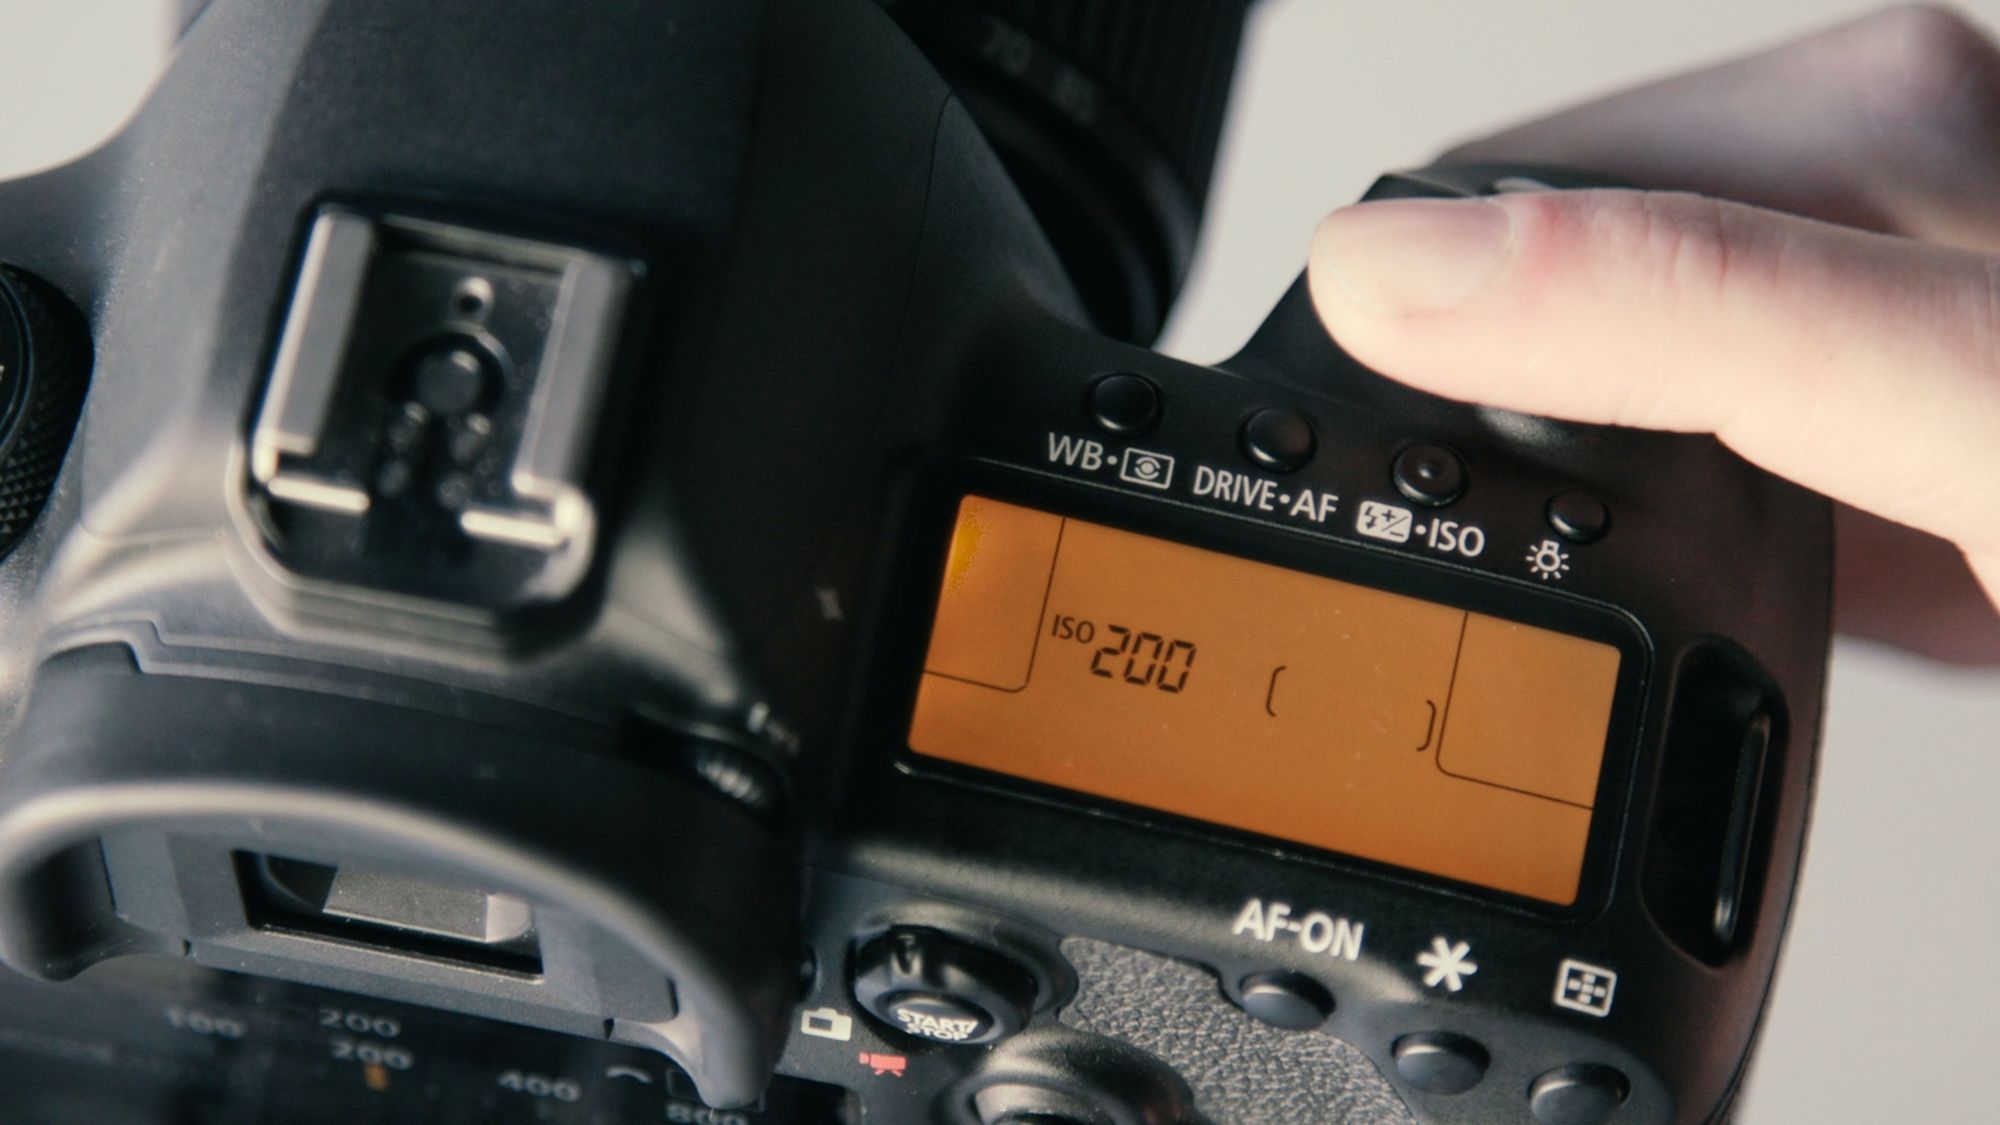
ISO controls the sensitivity of the camera's sensor to light. In laymen terms, ISO is a camera setting that'll brighten or darken your photo. An increase in your ISO number will make your image brighter and vice versa.
How do you measure ISO?
You measure ISO in stops like 100, 200, 400, 800, and so on. As the ISO value increases, your camera sensor becomes more sensitive to light. Additionally, the higher the ISO, the more digital noise there will be in the image.
Taking a photo at too high of an ISO will show a lot of grain, also known as noise, and might not be usable. So, brightening an image via ISO is always a trade-off. Try only to raise your ISO when you cannot brighten the photo via shutter speed or aperture.
Common ISO Values
Every camera has a different range of ISO values. A standard set is as follows:
- ISO 100 (low ISO), 200, 400, 800, 1600, 3200, and ISO 6400 (high ISO)
When you double your ISO speed, you are doubling the brightness of the photo. So, an image at ISO 400 will be twice brighter than ISO 200, which will be twice brighter than ISO 100.
Get it?
You'll most likely also encounter something called a base ISO (you might already have). This is not the sort of thing you should glimpse at – it's a significant setting as it gives you the potential to produce the highest image quality and minimizes the visibility of noise as much as possible.
How does ISO affect your photo?
ISO increases or decreases the brightness of a photograph but also affects both grain/noise levels and dynamic range. At the base ISO setting, your images will have the least amount of noise and the highest dynamic range, giving you the most flexibility in post-processing. As ISO increases, noise levels increase, and dynamic range typically decreases as well.
And... that's about it.
Well, alright. There are tons that you'll need to learn in time. The keyword here is in time. Start by thoroughly developing an understanding of aperture, shutter speed, and ISO. Then you'll be in good shape to build a solid foundation upon which you can continue to learn more about photography – in time, maximizing your potential behind a lens.

Where should you go from here?
Your photography journey is far from over. You're just getting started.
To become the next Annie Leibovitz, you need to gain as much knowledge as possible.
So, you can sit here and keep reading about photography (which has hopefully given you something as well), or you can rent or subscribe to a camera and get out there and start practising.


