


Lighting Essentials: 8 Setups to Nail Your Portraits
Rent film gear from local filmmakers.
Rent film gear from local filmmakers.


New to portrait photography? Well, there's plenty to learn.
One of the most important things to master is different lighting setups so that you're able to control and be creative with your portraiture. Read on to find eight essential setups to master.
Before you learn these eight lighting setups, you should understand the essentials of portrait photography.
8 essential portrait lighting setups
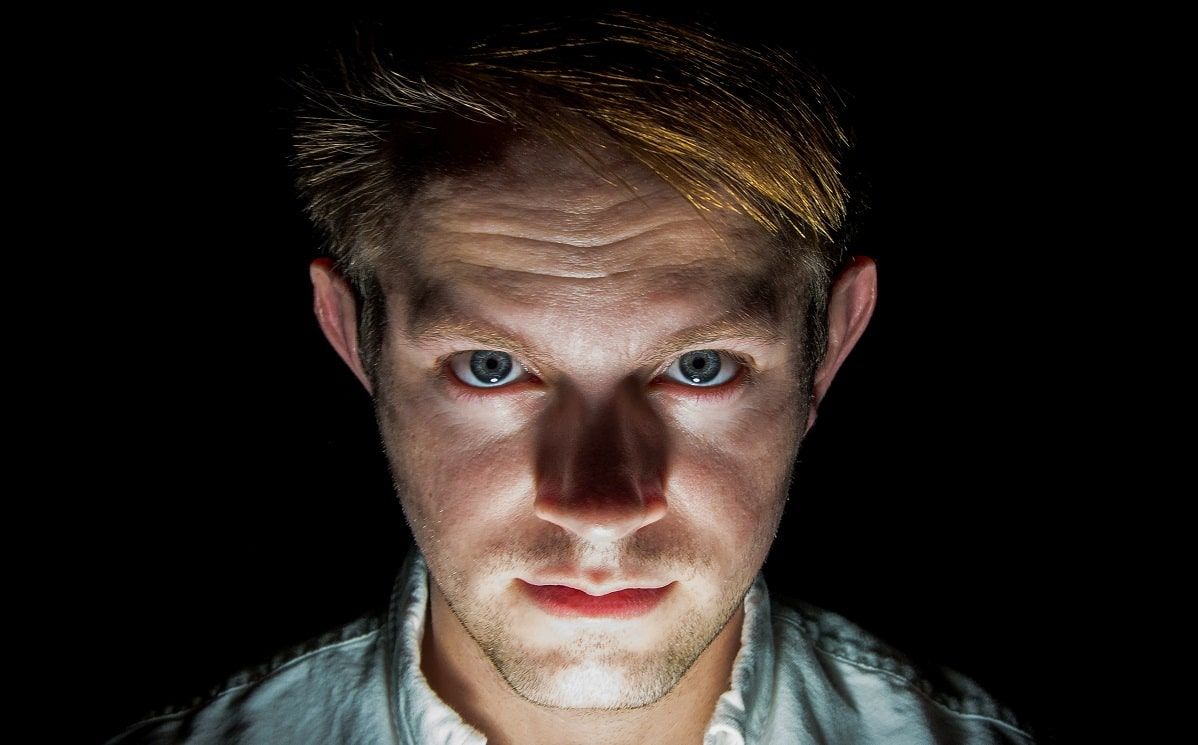
1. Rembrandt lighting
What is it: This is named after Dutch painter Rembrandt and is very similar to loop lighting. The shadow cast on the cheek and nose connected to form a single triangle of light on the tip of the cheek.
How to achieve it: Start with loop lighting and then continue to position your light up and to the side until the nose and cheek shadows touch.
When to use it: This technique creates a moody and dramatic look, so if that is the vibe you're going for, this is a great technique.
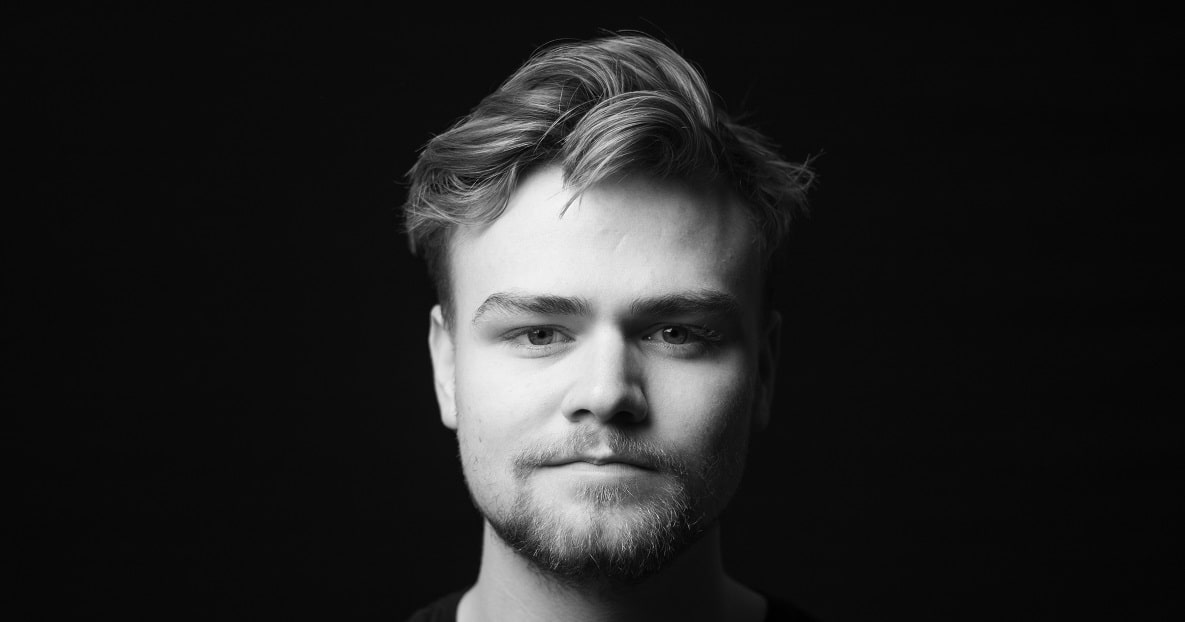
2. Paramount light or butterfly lighting
What is it: Butterfly or paramount lighting is a technique that creates a butterfly-like shadow under your subject’s nose. It also creates a flattering shadow under the chin and around the cheeks.
How to achieve it: Place your light source above and directly behind your camera to achieve this. Also, you might want to angle it slightly down on your subject to capture the shadows this technique is known for.
When to use it: This setup is excellent for photographing most faces as it is classic and flatters many face shapes.
3. Loop lighting
What is it: loop lighting is named after a shadow which casts on one side of the face.
How to achieve it: Place your light source slightly above the eye level of your subject and at an axis of 45 degrees.
When to use it: Loop lighting lengthens the face, so it's good to use for headshots since you can set it up on either side of the face.
4. Split lighting or side lighting
What is it: Split or side lighting casts a shadow on one half of the face and leaves the other half in light. It’s a dramatic and uncommon technique.
How to achieve it: Position your light to the side of your subject at a 90-degree angle. You can either leave one side in complete shadow or use some fill light to show more detail (especially in the eyes!)
When to use it: This technique helps highlight texture in your model’s face. It creates a very moody atmosphere, which can be stylish but not so flattering.
5. Profile or rim lighting
What is it: You’ll find this one commonly in sports photography because of its heroic look. It almost looks like your subject has a halo in front or behind them.
How to achieve it: There are two possible ways of achieving this. The first one requires you to place your light source behind your subject. This will create a rim of light around your subject to contrast them from the background. The more light you use, the more definition you'll get.
For the second, position your subject at a 90-degree angle. Place your light source in front of their face, far away and just above eye level. You can also put it slightly behind the side of the face that is away from the camera.
When to use it: This technique will not capture many details unless you use a lot of light sources. In this way, it captures a heroic look perfect for sports shots.
6. Broad lighting
What is it: This is a technique commonly used with others to solve specific problems. It lightens your subject softly to bring their face forward.
How to achieve it: Position your subject so that the side of their face receives the most light is also the side closest to the camera (they'll be slightly angled here).
When to use it: Broad lighting is most common;y used in school portraits and headshots. It widens the face but is excellent for glasses-wearers as the angle is just right for deflecting reflections.
7. Short lighting
What is it: This is the exact opposite from board lighting: so the part of the face least-lit is the part furthest from the camera. It still uses the slight angle that broad lighting uses.
How to achieve it: Position your subject, so the side of their face least receiving light is closest to the camera.
When to use it: Short lighting is helpful when bringing definition to the face. It thins faces out, and it's harder not to get that glare from glasses.
8. Fill lighting
What is it: If you want to create more light, you can either use more sources or reflect your light to fill your image.
How to achieve it: You’ll need to understand the basics of lighting ratios here. The larger the ratio is between two light sources, the more pronounced the contrast is between light and dark. You can control this by measuring levels of brightness, either by eyeballing it or using a light meter.
When to use it: Whenever you want to! You can be very creative with your ratios and create various levels of flatness or definition here.
Explore more lighting techniques
Is portraiture not your thing?
Have a look at our page on photography to figure out which set-ups are for you. Or, if you’d like to get more dramatic, check out our page on film lighting to see how cinematography masters tackle lighting.
Portrait lighting FAQ
What lighting is best for portraits?
Any of the lighting set-ups mentioned on this list works well for portraiture. If you’re looking for ease of use and portability, you might want to consider using a Speedlight or flash.
What are the 5 lighting techniques?
The 5 fundamental techniques are: Rembrandt lighting. Split lighting. Broad lighting. Paramount lighting. Loop lighting.
What is the most flattering lighting for portraits?
Butterfly or Paramount lighting is usually the most flattering on most faces.


