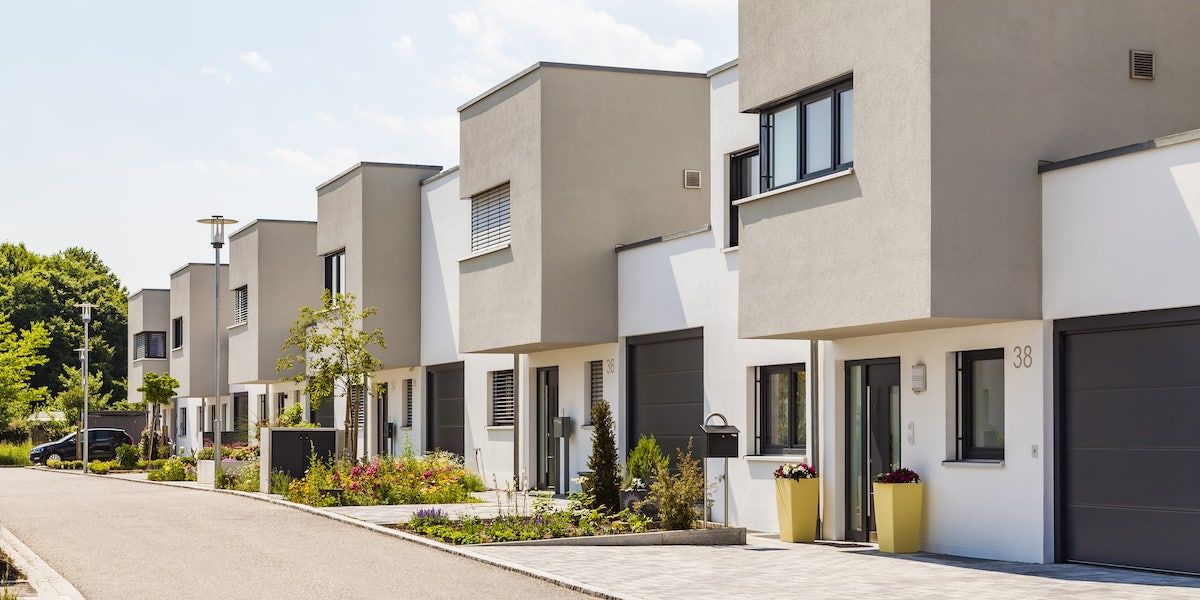
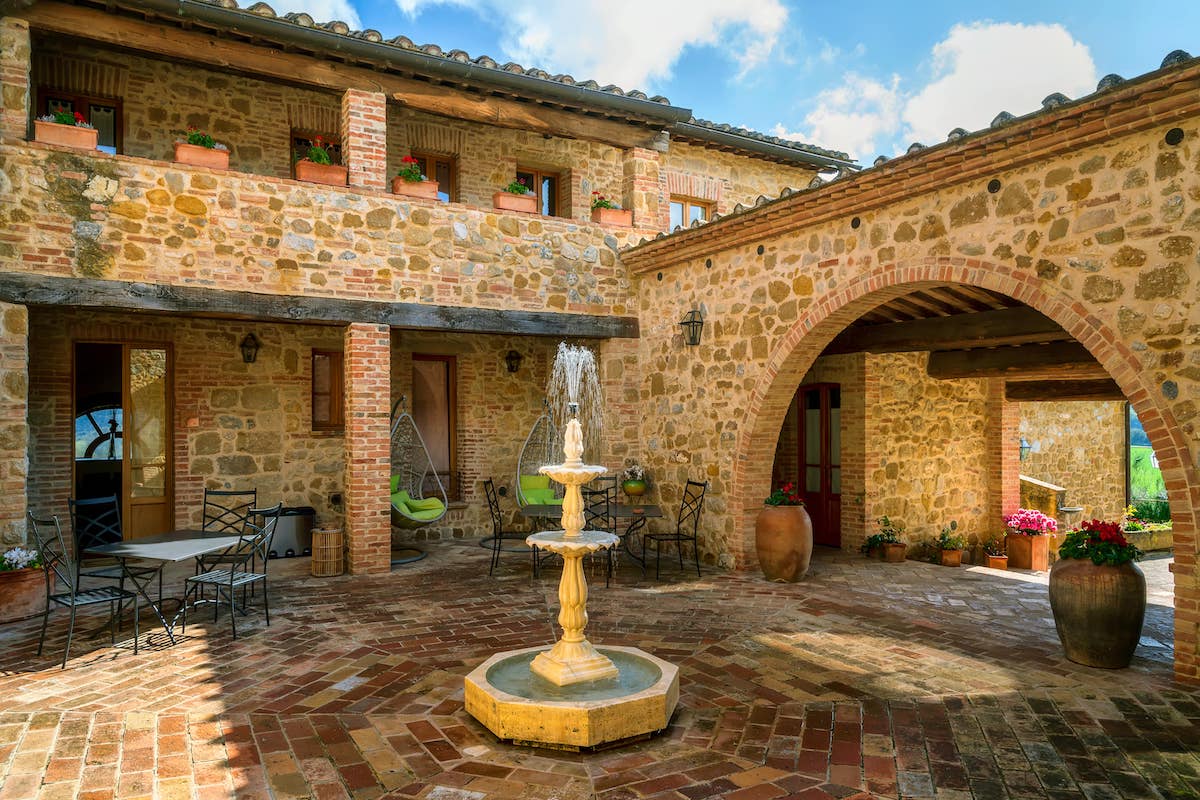
Get Into Real Estate Photography: 9 Tips to Elevate Your Shots
Rent film gear from local filmmakers.
Rent film gear from local filmmakers.


As long as there's a real estate market, there's a market for real estate photographers.
Meaning it's a profession that's sure to have jobs until the end of the world.
Essential equipment for real estate photography
There's a bunch of different equipment needed when you want to do photography for real estate, and we have gathered a list of the essentials to make your equipment hunt easier.
If you are not an experienced photographer, consider reading our article on the basics of photography.
A full-frame digital camera
A full-frame digital camera allows you to capture more light, making the pictures look more bright and approachable. Having dark pictures does not sell houses!
Having a full-frame digital camera also allows you to capture high-resolution pictures with more detail in them. If you have seen real estate pictures before, you know that they're always of incredible quality with the ability to zoom in on various things.
A wide-angle lens
A wide-angle lens will allow you to capture wide images of the property. It gives you the ability to cover more rooms in fewer pictures.
Let's be honest no one wants to see 15 photos of the same room.
Taking wide pictures also gives the potential buyers a better understanding and impression of how large the room is and makes it look more appealing.
A tripod
A tripod is great for setting up your camera in a corner that can capture the most space possible. And since you can't count on there being any surface for you to put your camera on, the tripod will allow you to do just that.
It will also allow you to take pictures in the same heigh all around the house, so scrolling through the real estate ad looks more seamless.
Remote trigger
In addition to the tripod, you will need a remote trigger for your camera. The whole purpose is to capture as wide a picture as possible, meaning the room should be empty.
You can simply leave the room and take a picture with a remote trigger. It ensures that there are no risks of any reflections of you.
Flash & flash trigger
Typically the flash of a camera will not be able to light up an entire room, and as explained earlier you want lighter pictures. That's why you should acquire and bring along an external flash for your camera.
As you would with the camera you should get a remote trigger, or at least the ability to time your flash with your camera.
Light modifiers & stands
Sometimes a flash isn't enough, and this is where it's handy to have some lighting equipment for the rooms. Sometimes the rooms are not lit enough, and other times you might just want to draw attention to specific spots in the room.
Either way, lighting equipment is always practical when doing photography.
For this, you also need light stands to mount your light and place it strategically in the room. And if your flash isn't mounted on your camera, it would be ideal to have a stand for that as well.
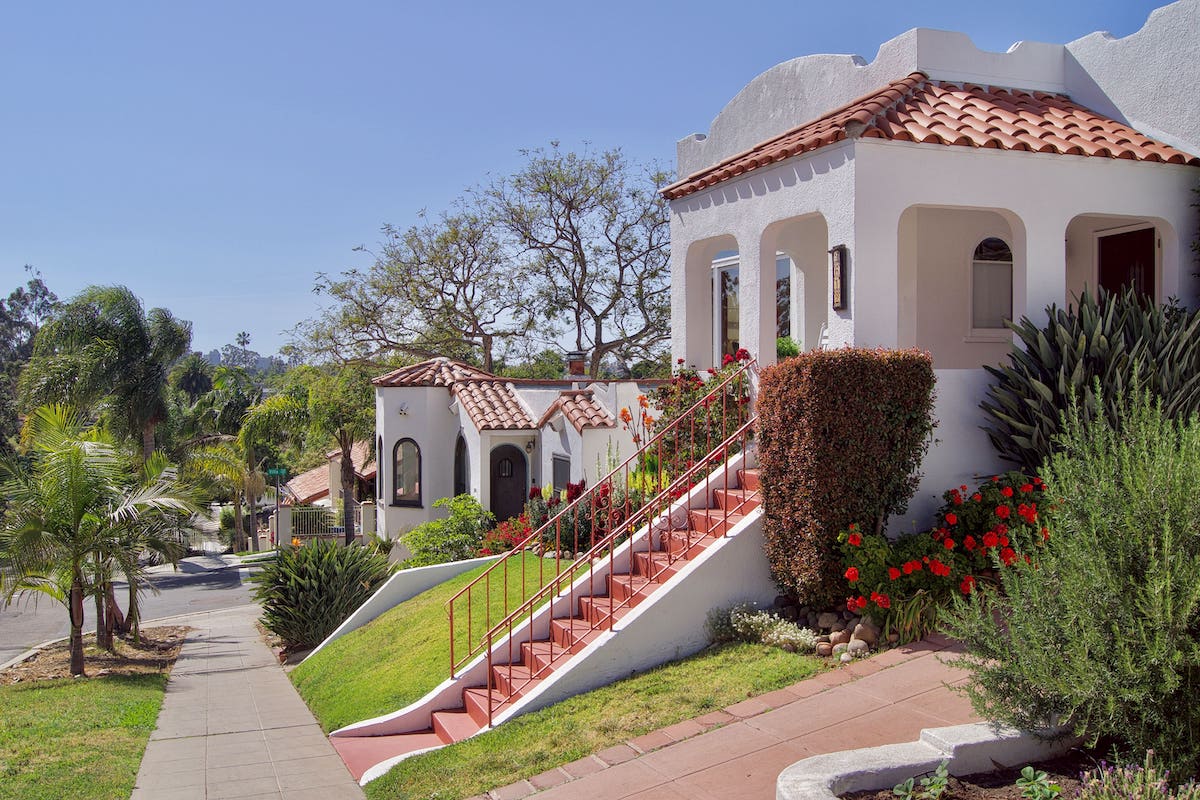
Lighting for exterior real estate photos

For the best exterior shots, shoot when the natural light is low. So either at dusk, sunset, or on a cloudy day. You can then use all of the lights from the house and your lighting equipment to control the lighting in your photographs.
If you shoot on days with sunlight, it can be an uncontrollable light strength creating shadows. It ultimately ends up with poor results.
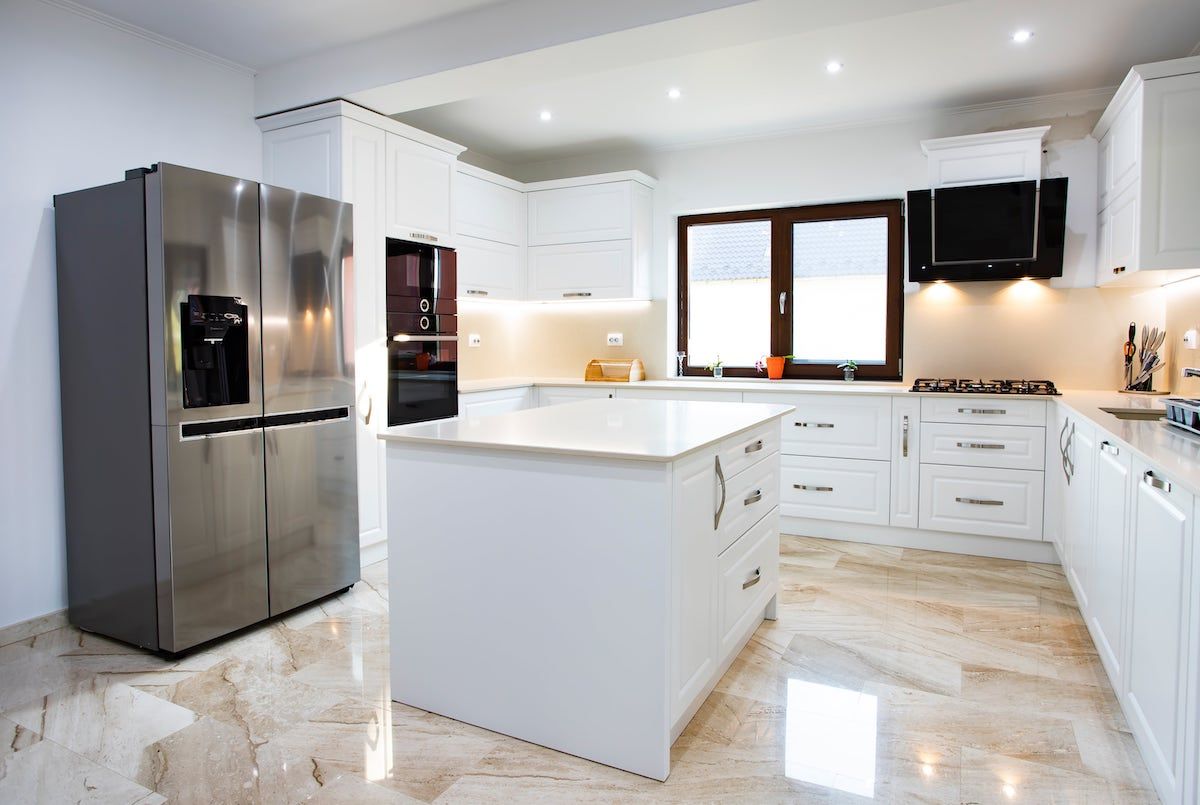
Lighting for interior real estate photos
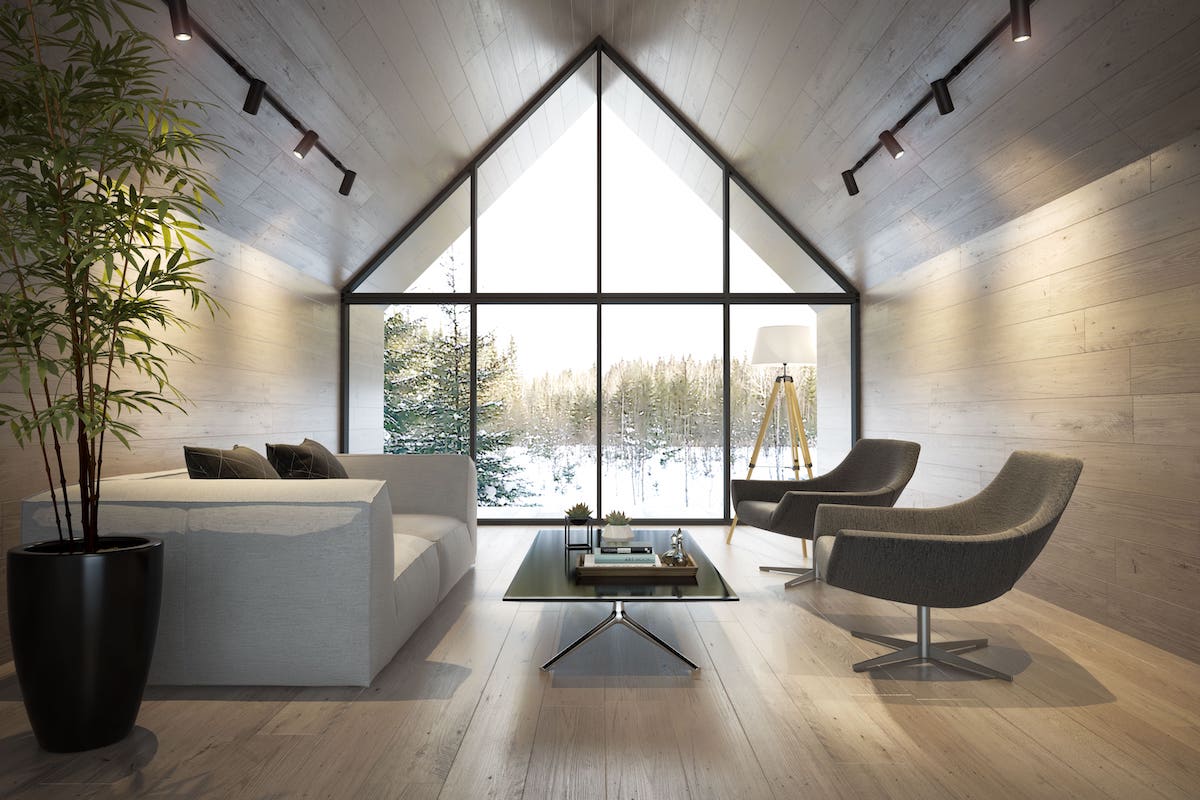
When taking pictures inside, you want the light to drive people's attention to the space and depth of the room.
You can do that by using the light to highlight the different areas, creating shadows that do not mislead the viewer but still keep it appealing.
9 Pro tips for shooting real estate photography
We have gathered 9 pro tips for you to follow to enhance your real estate photography.
1. Examine property well in advance
Start by going around the house and taking some test photos. After spending some time on the property and in the garden area, check the photographs you took.
You can then examine your test pictures and see what stands out in the room. Then compare it to what you believe should stand out when people see the photographs. It's always great to know the property before starting because it allows you to understand what to capture.
2. Prepare a shot list
To make it easier for your clients to understand what you are offering, you can prepare a standardized shot list for your service. This can include however many pictures you deem necessary for each room. It shows what your customers can expect from you.
It also makes it easier for you on the job, as you know how many pictures are needed for each room. You can always take special features into account and take extra photographs if you need them.
3. Declutter and emphasize the room’s best features
It is simple really, no one likes to look at a messy room. And yes, we all have messy rooms in our house, and for some, it might be more of the rule than the exception.
However, you should always make sure that the rooms like clean whenever you take photographs. There is simply nothing sexy in a real estate photo of a messy house.
You should also keep an eye out for every room's best and finest feature, and make sure to highlight it in your photographs. This also means positioning your camera so that people see it straight away.
4. Shoot straight for less distortion
If you shoot at an angle, you will risk your images being distorted. That's why you should always shoot straight, and that is also why you should use a tripod.
With a tripod, you know that your pictures are always shot from the same angle. This eliminates any risks of distortion.
5. Shoot at eye-level
Another thing to remember is to shoot at eye level. You want people to imagine them being in the actual room, and what better way to do it than show the room from eye level. It makes for a better viewing experience.
It obviously requires a large tripod, which is something to keep in mind when acquiring your equipment.
6. Adjust ISO to minimize noise
You know your camera best and how to take the best pictures. However, we will still advise you to turn down your ISO significantly to around 400 or below to avoid too much noise on your photos.
This simply makes for higher quality pictures, and you do not really need the high ISO when shooting real estate photography.
7. Use flash and bounce to diffuse
You can use your flash and bounce lighting strategically to diffuse any uneven lighting in the room. It allows for the entire room to be lit up.
8. Adjust camera settings for ideal exposure
Depending on your camera, it probably has a variety of settings that can enhance your photos in real-time.
Make sure that you are familiar with your camera and have the best settings for an indoor shoot.
9. Edit your real estate photos
It is alright to edit your pictures as long as you're not using photoshop to put a pool into the pictures.
It allows you to modify some of the things you might not have spotted in real-time.
This could be things like the color balance and lighting that make the property look more appealing. However, try to avoid editing too much; it's not like people aren't going to see the property at some point.
How to set pricing for real estate photography?
Here are three things to consider when setting the price for your services.
Consider the property’s size
Is it a mansion or a small condo? More rooms mean more pictures which means more time spent setting up, doing lighting, and editing afterward.
Consider making packages for different sizes of properties, so your client knows what to expect when they are hiring you.
Consider the time of day
As mentioned earlier, exterior photo shoots function better on a cloudy day or at dusk/sunset. However, other pictures might work better at other times of the day.
Consider offering the shoot taking at different times of day, but also know that this means more travel time for yourself, which you should be compensated for.
Consider competition in the near area
Look at your competition in the area and see what they offer and their prices.
If you find someone similar to you, you can consider pricing yourself a little below them. This gives you a competitive edge.
Become a better photographer
I hope this article helped you understand how you can work with photography for real estate.
If you are interested in becoming a better photographer yourself, don't forget to read our article on the basics of photography.
How do I become a real estate photographer?
Start by working in your free time, for a low fee. Building a portfolio is the most important thing. As you get better you can start demanding more.
How much to charge for real estate photography?
It really depends on the photographer. The average fee is around 120$ an hour.
Is there a demand for real estate photography?
Yes. As long as there are houses to sell, there is a demand for real estate photography.
How to get started in real estate photography?
Start by working in your spare time, and build a company on the back of that.