What Is Underexposure & 4 Ways to Fix an Underexposed Photo
Rent film gear from local filmmakers.
Rent film gear from local filmmakers.


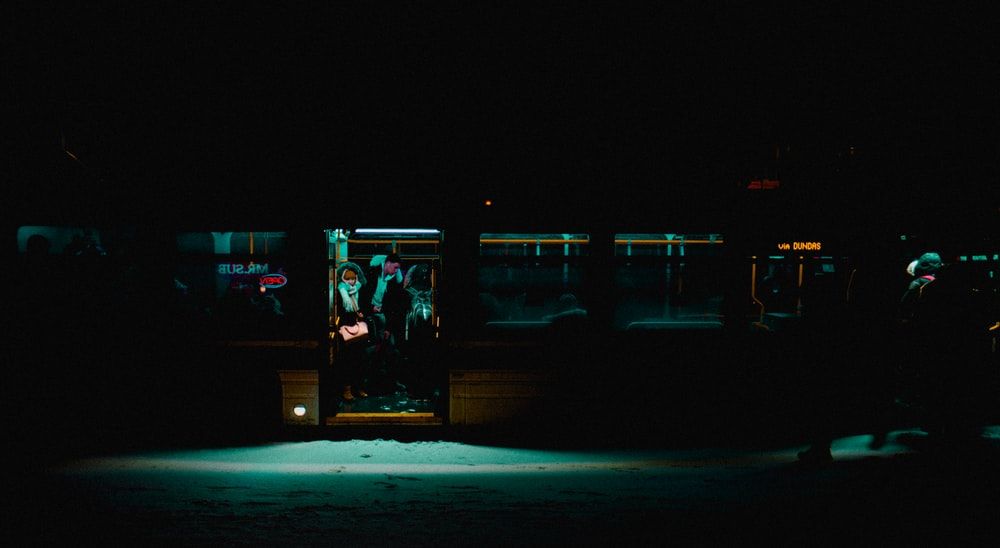
Did this ever happen to you - looking at the photo and realizing it’s very dark and lacks detail?
Most likely, what you’ve encountered is underexposure. So, should this photo go straight to the bin?
Definitely not! In this guide, we explore common mistakes that lead to the underexposed pic and how to fix those photos in Lightroom. Read on!
New to the photography world? Start off by reading the ultimate guide on photography basics.
What is underexposure?
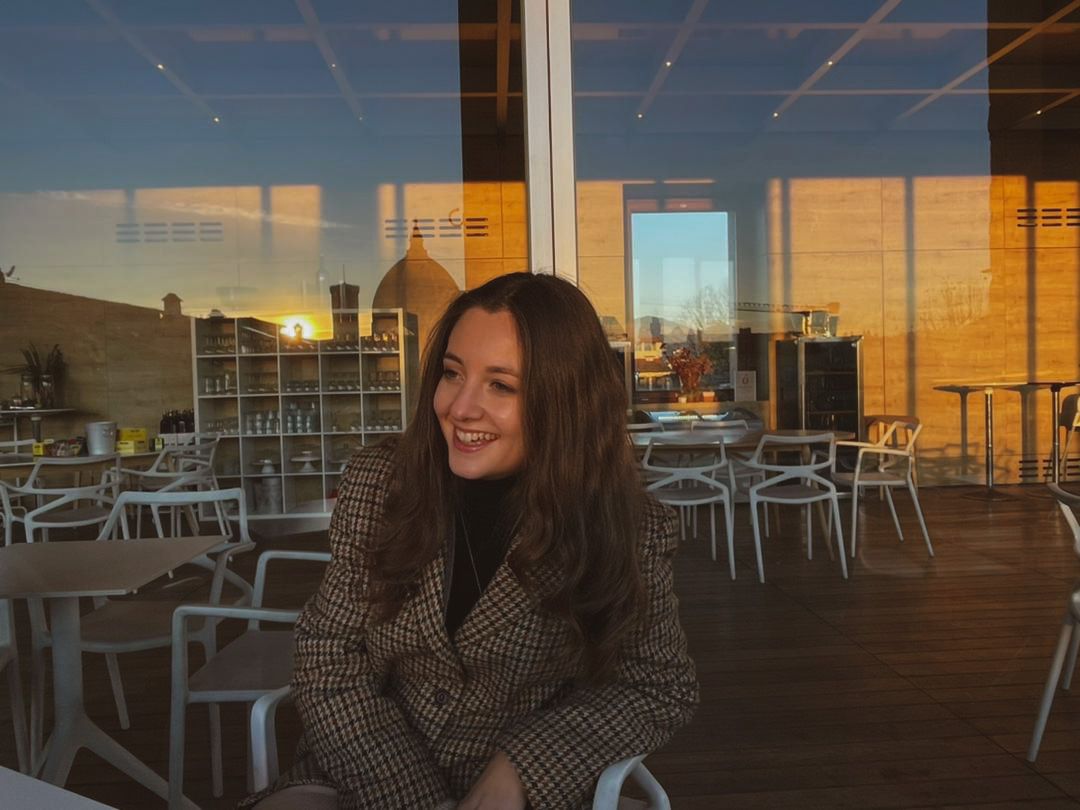
Underexposure is a lack of light in a photo - when an image appears darker than it should be. It happens when the camera sensor doesn’t grasp enough light. Underexposed photos are too dark, have little detail in the shadow parts, and appear gloomy.
Sometimes underexposure is a deliberate tool used in filmmaking for creating darker scenes that convey some special meaning. However, there is a different story with underexposed pics in photography.
Most of the time underexposure is a mistake - a result of camera settings not being adjusted properly.
The good news is - that you can bring your underexposed photo back to life in post-processing! Before we jump into sharing some tips on how to do that, let’s see the three common mistakes that make your pics underexposed.
3 Reasons your photo is underexposed
There are three most common reasons that trigger the underexposure:
1. You don’t have enough light
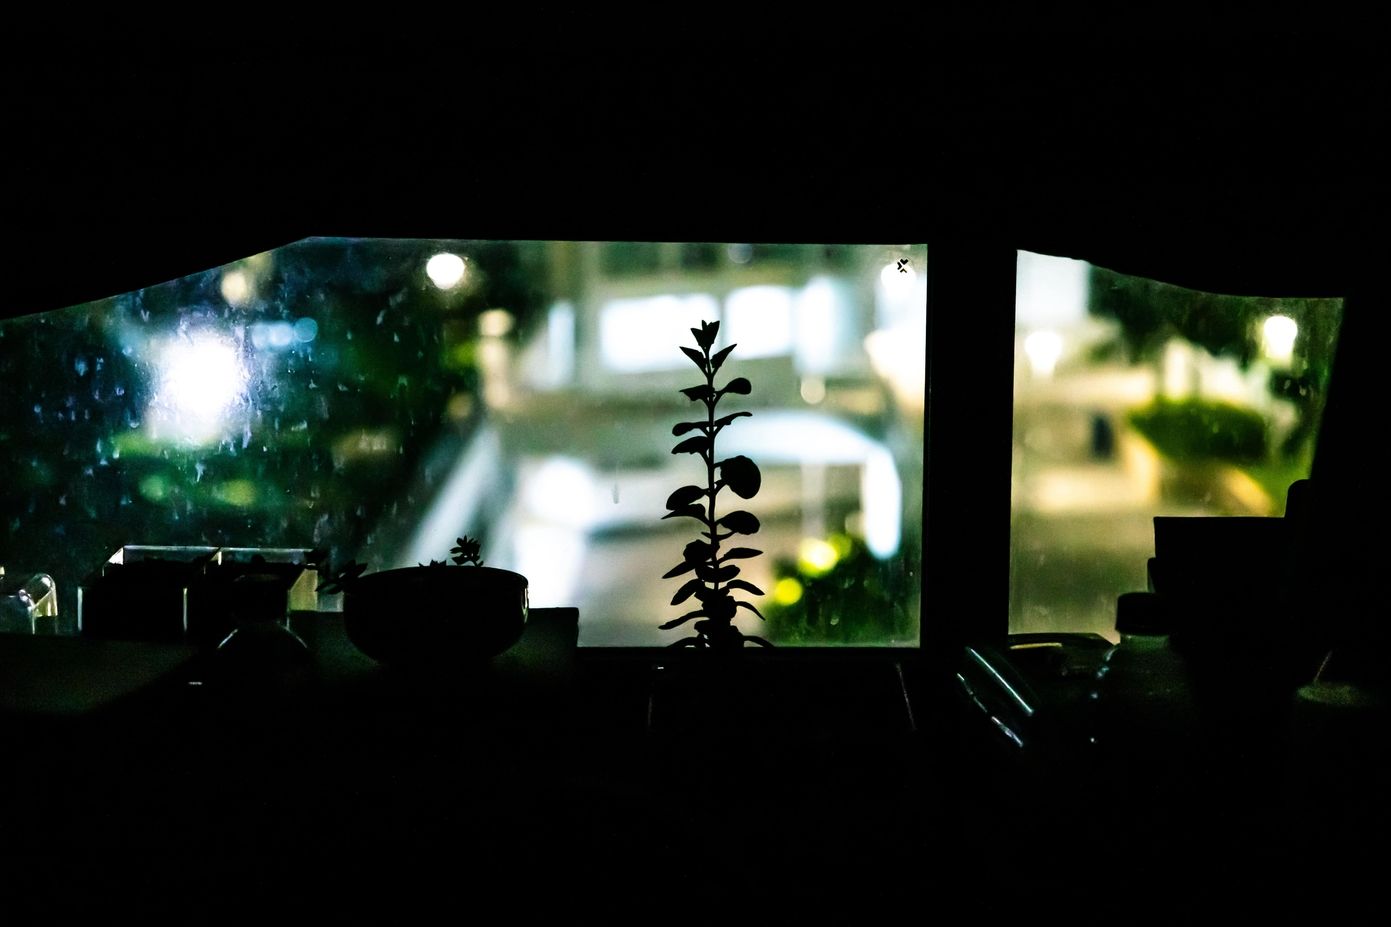
Easy but sometimes not so evident - your environment simply doesn’t have enough light, or the light is imbalanced.
Use an ND filter
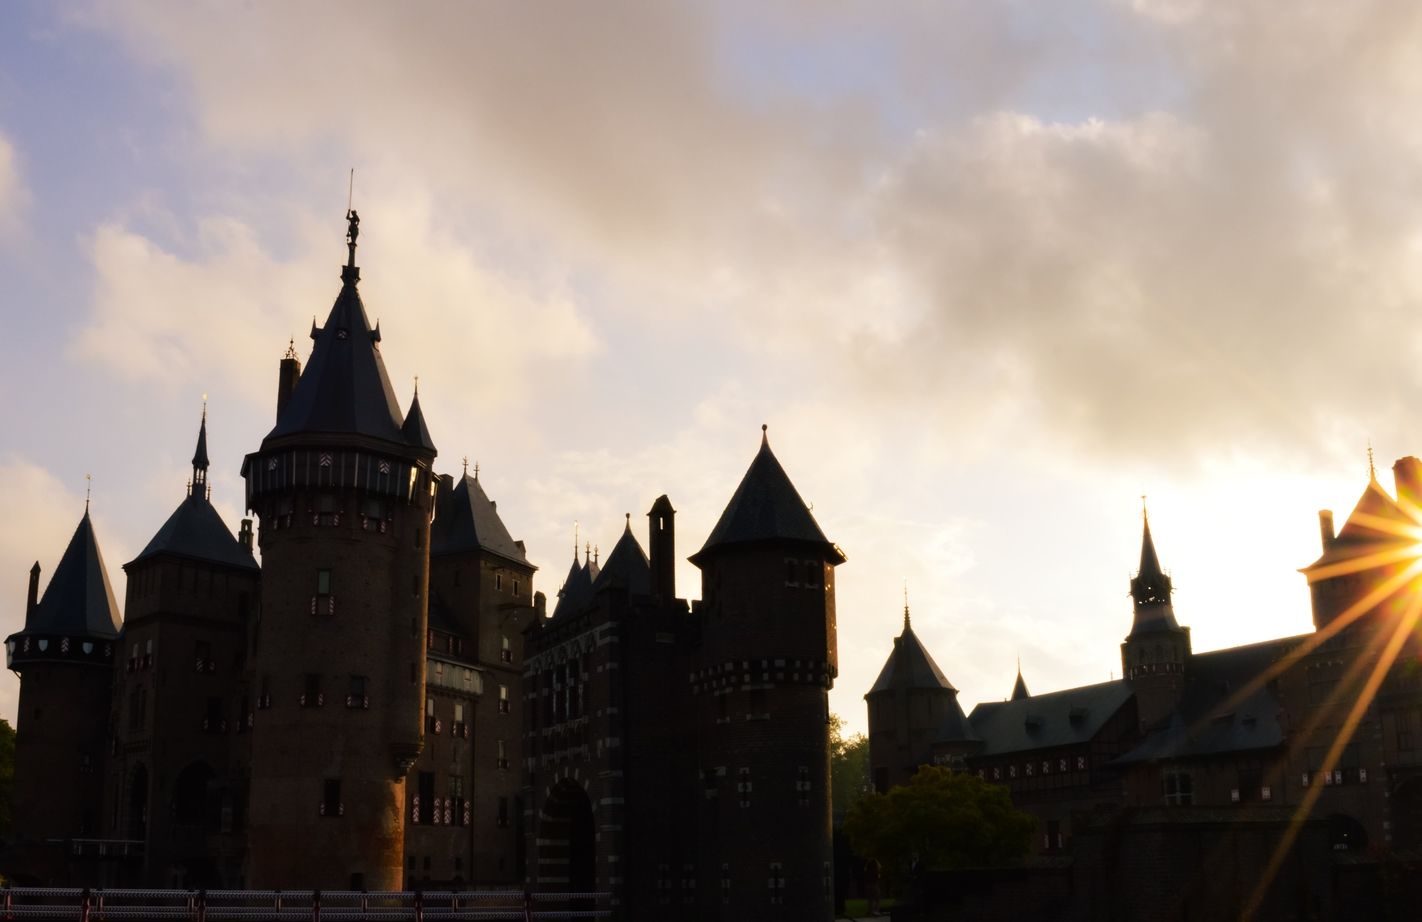
For example, if the sky is brighter than the land, your pic will most likely be underexposed. What helps here is using a neutral density (ND) filter.
Photographers place the light and the dark gradient areas over the horizon so that the foreground falls under the clearest part of the photo. You can change the f-stop ratio of your ND filter to regulate how dark the sky will be compared to a better-lit part.
Add an external light source
Using an external light source also helps to save your pic from underexposure if you’re shooting in low-light conditions. All you have to do is place an object with a lot of reflective light behind or next to your subject, and use it as a lighting source. It can be a lamp or a simple light bulb - works wonders when the space lacks light.
Use a flash
Another trick to overcome the lack of imbalance in lighting is using a flash. This tip is more useful when shooting indoors. The flash will discharge enough light to see all the details you’re focusing on while shooting. Take portrait photography, for instance, when your main focus is the model’s face.
2. Your camera exposure is set incorrectly
Do you remember what is the exposure triangle? If not, learn about it in our guide on camera exposure settings.
To remind you briefly, the exposure triangle consists of three settings - aperture, shutter speed, and ISO. Balancing all three is important to get a sharp, properly exposed photo. Here is what you have to take into account when adjusting them to avoid the underexposure:
The wider the aperture, the more light comes into your camera and lowers the exposure time needed for your shot. It’s advisable to set your aperture medium-high, to avoid the underexposure but also not to fall the victim to overexposure - which is the excess of light in photography.
Make sure that your shutter speed is at least five times faster than your frame rate. If you are shooting at 24 frames per second, then your shutter speed has to be at least 120 milliseconds (1/120 seconds).
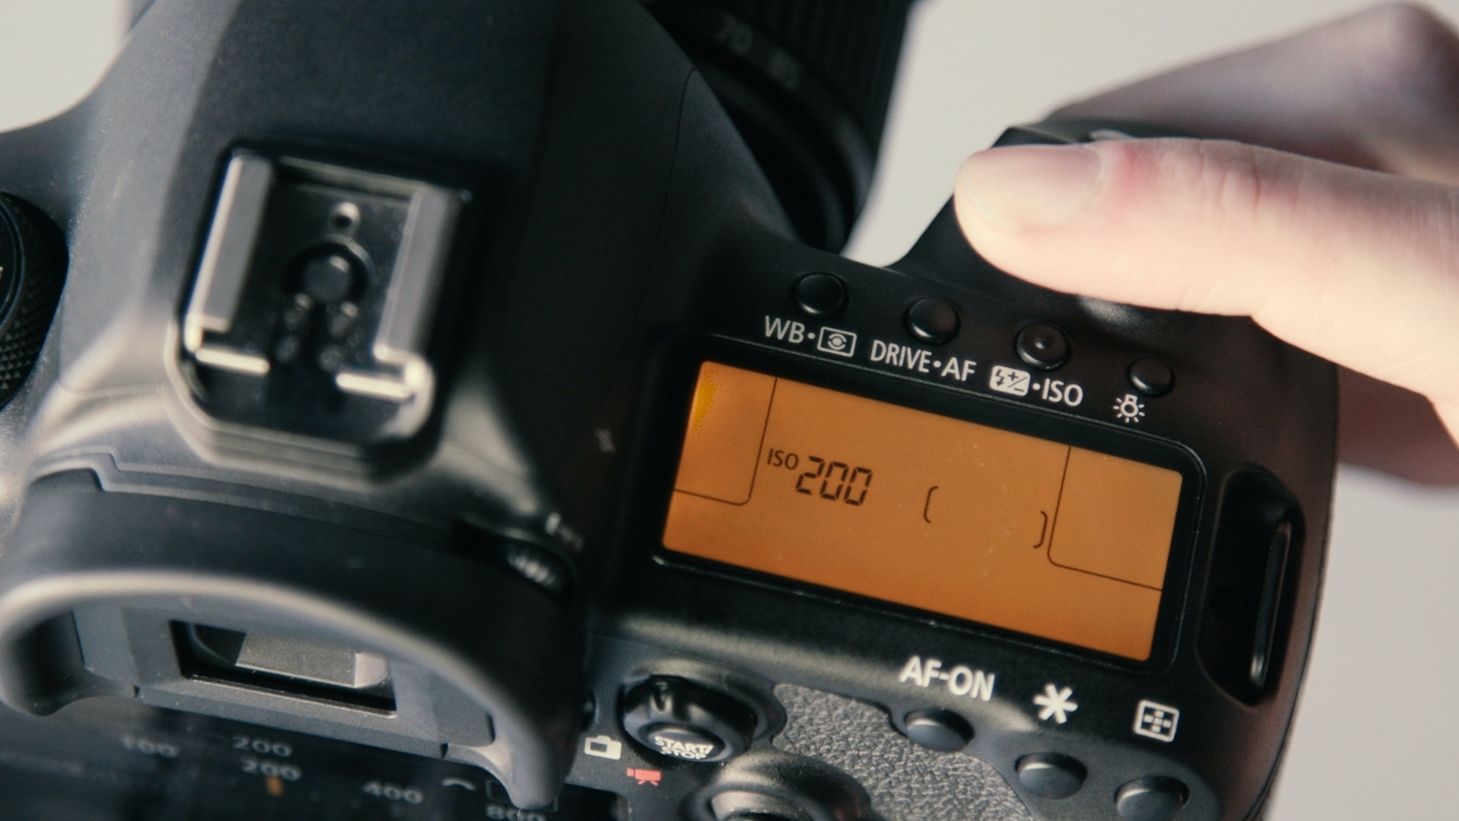
The ISO part is a tricky one: setting it to a higher number will allow the camera sensor to receive more light, but at the same time, very high ISO numbers will bring the noise to your pictures. So be attentive when boosting your ISO button - your goal is to add light but still preserve sharpness and lighting balance.
3. You avoid shooting in RAW
This one is not a direct cause of underexposure, but it definitely has a lot to do with your capabilities of fixing an underexposed pic in the editing part.
Shooting in RAW allows you to have much freedom when adjusting the lighting manually in editing software. RAW files offer much more image data, a higher dynamic range, more color space, and an opportunity to adjust the picture on a deeper level.
How to fix an underexposed pic: 4 steps
Now we’ve come to the fun part - fixing an underexposed pic in post-processing! There are a number of lighting adjustment tools in Lightroom that can guarantee you a saved-from-underexposure photo.
Discover the four essential steps of making a properly exposed pic in Lightroom:
1. Use the Exposure slider
In the Develop mode, start with adjusting the overall exposure of your image on the Basic Panel by using the Exposure slider.
Pull in to the right to add the amount of light you need - the slider is pretty sensitive to the adjustments and can drastically increase the brightness of the photo. It doesn’t flatten out the details and brings up all the dark parts of the pic.
Additionally, you can play with Highlights and Shadows sliders just beneath the Exposure one - they will specifically tackle the highlighted and shadowed part of the pic and will mildly help adjust these parts to your liking.
2. Adjust the Tone curve
The next feature you need to work with is the Tone curve, where you can work in detail on the balance of highlights, shadows, whites, and blacks.
By pulling on the Whites or Blacks sliders, Lightroom is re-interpreting the whitest or blackest points of your photo.
By adding various points on the curve, you can have your photo take almost any shape that you want, including exposure. Simply add points to the curve and move them to adjust the exposure and the overall look of your image.
3. Add luminance
The Luminance slider is located in the color adjustment part of Lightroom. It helps brighten up the image by adding luminance to the areas of a particular color. Drag the sliders to the right to find the needed balance of brightness.
The luminance feature has an additional benefit. When starting to adjust the pic through the Exposure slider, you might find yourself adding a bit of noise – obviously, you don’t want that.
This noise can be easily eliminated with Luminance, too – drag the slider to the right and watch the colors of your pic get brighter and more vivid.
4. Use Graduated and Radial filter tools
Sometimes your image might be only partly underexposed. If you try adjusting the brightness by dragging the overall Exposure slider or through Shadows and Highlights, you won’t fix the issue - the lighting imbalance will stay as it is.
That's where you have to learn about Graduated and Radial filter tools that help you adjust only specific parts of the image.
You can apply the Graduated filter to brighten a dark foreground without overexposing the sky, while the Radial filter can help brighten a subject’s face without affecting the background.
Be sure to click “Invert mask” if you want to edit the area inside the circle of the Radial filter.
Up Next: Learn about lighting in photography
We hope this short guide on underexposure was helpful!
The next step is to jump from professional underexposed photo rescuer to master of lighting - dive in to learn the 11 fundamental lighting types in photography.
What is underexposure?
Underexposure is a lack of light in a photo - when an image appears darker than it should be.
Why is a photo underexposed?
A photo can be underexposed because there’s not enough light in the environment you’re shooting in, or because of the inaccurate camera exposure settings.
How to fix an underexposed photo?
An underexposed photo can be fixed in Lightroom - through Exposure and Luminance sliders, Tone curve, and Graduated and Radial filter tools.