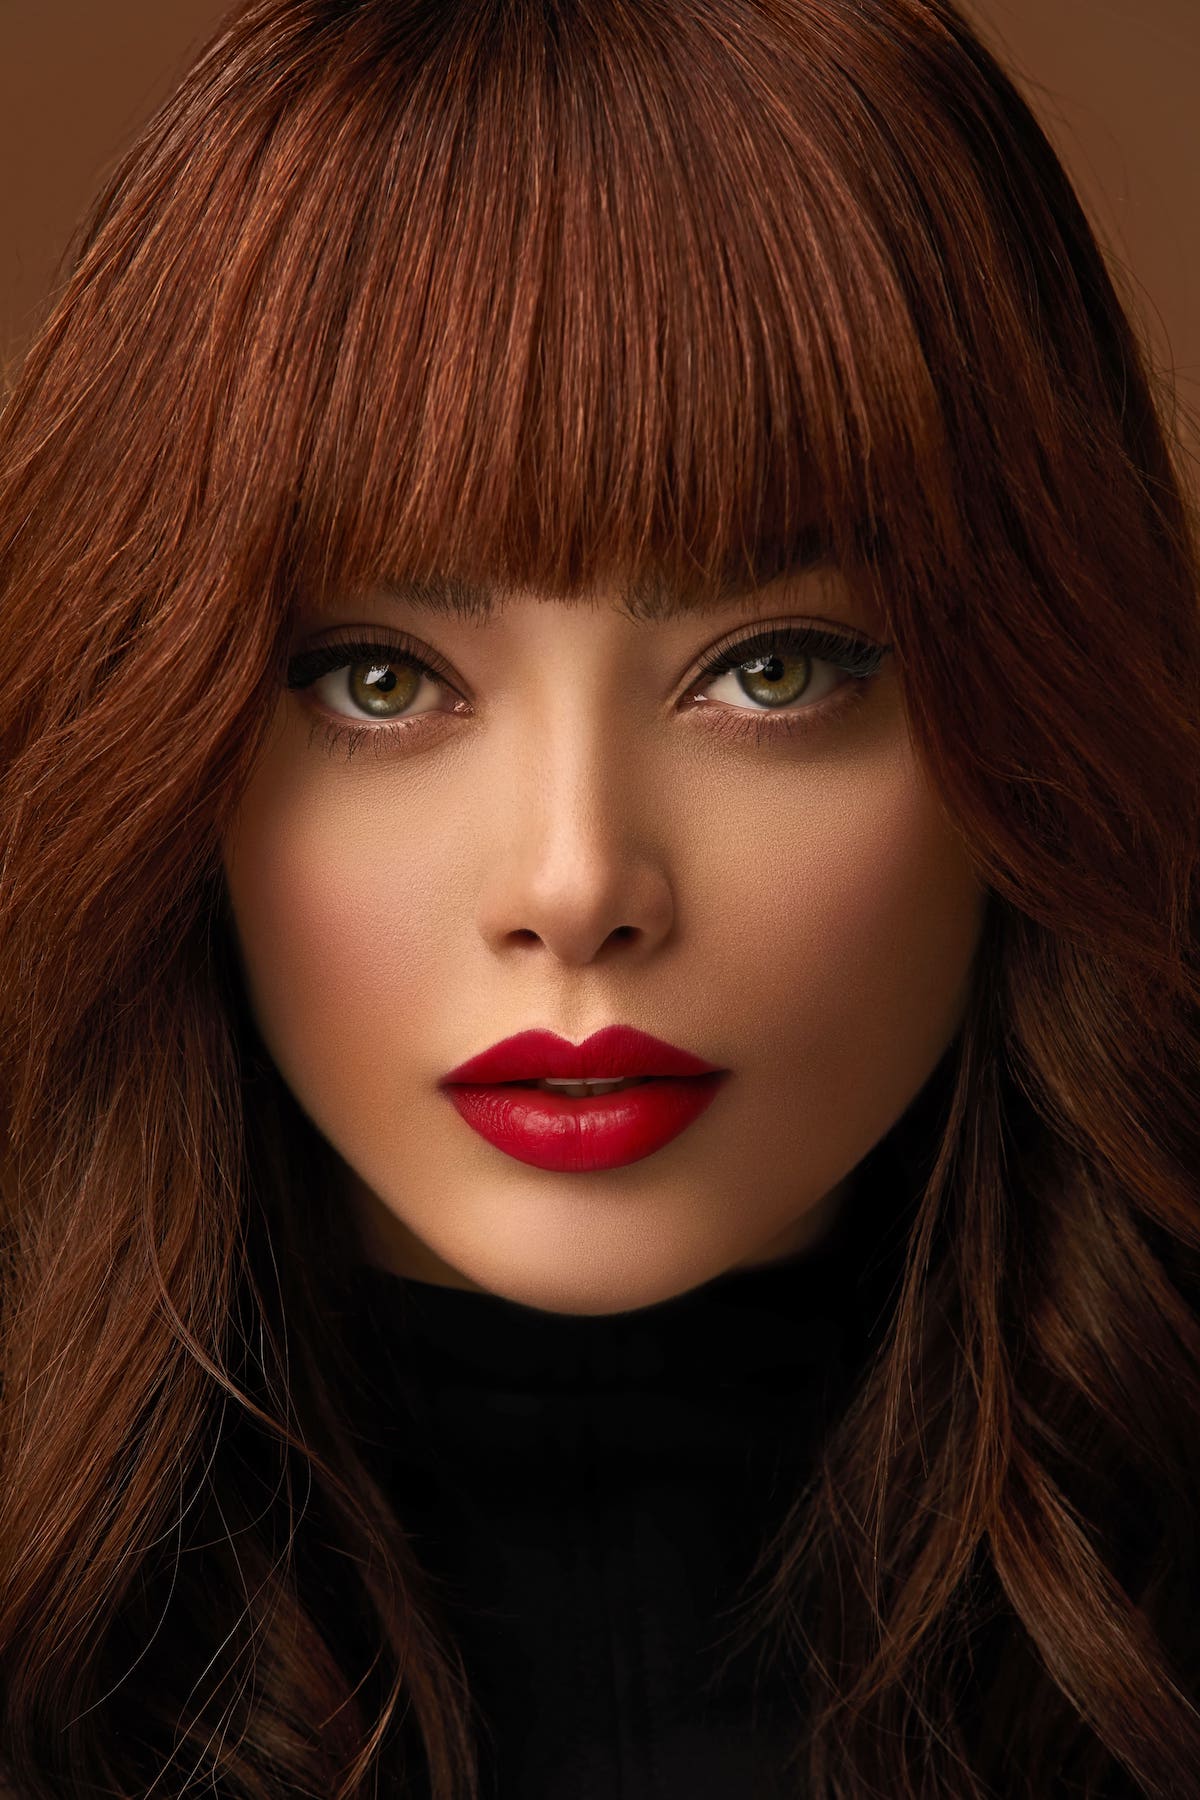
Portrait Editing: 5 Fundamental Tips for Editing in Lightroom
Rent film gear from local filmmakers.

Rent film gear from local filmmakers.
Photography starts way before the shooting moment and continues way after it. Post-production is vital and hugely influences the final result.
As a portrait photographer, you might be questioning which software to choose and how to use it.
Fortunately, we have prepared the answer to both questions.
One, Lightroom. Two, continue on reading to find out.
Why use Lightroom for portrait editing

Every portrait image has unique characteristics.
Your editing will depend on several factors like the lighting, background, skin tone of your subject, and even your personal taste.
Fortunately, Lightroom offers a range of tools and mechanisms that can help you enhance your work. This software is easy to use, allows excellent organization, and has several valuable features.
For instance, it lets you copy and paste changes across multiple images, add watermarks, create or import presets, compare the before and after view, convert files, and much more.
5 steps for portrait editing in lightroom

1. Get the colors right
Skin tones may be difficult to capture with digital cameras.
One technique is to slightly desaturate the skin by lowering the Saturation for the entire image. If you don't want to alter the whole picture, go to the HSL panel and choose Saturation. Then, use the color picker (the little circle in the upper left of the panel) to click and drag downwards on a section of skin. As a result, the Red and Orange sliders will shift to the left.
Moreover, if you feel like your portrait became dull, consider the Vibrance slider. It is smoother and smarter than the Saturation tool, and increasing it will bring life to your image.
2. Adjust white balance
Speaking of skin tones, finding the appropriate white balance is the first step in obtaining realistic ones. There are a few options for accomplishing this.
First, if there is something in your shot that is neutral grey or white, instruct Lightroom to utilize it as a point of reference. To do this, look for the eyedropper in the Basic panel. The white balance will change automatically when you click on your grey or white region with it.
Yet, keep in mind that shades of grey might contain more color than you recognize (and selecting a non-neutral grey as your reference point will not bring you the results you want).
If there is no such area in your image, don't worry. You may always manipulate the Temperature slider (to bring up warm or cold tones) and the Tint slider (to adjust the green or magenta tint) until you achieve the desired outcome.
3. Adjust exposure and highlights
Even though you have taken a beautiful, well-lit portrait, it is always worth it to peek at the histogram.
For a natural-looking result, make sure you have zero peaks pressed up against the walls of the graph and a balanced curve throughout it. Then, if your image is under or overexposed, simply move the Exposition slider accordingly.
Finally, take a closer look at the features of your subject. Adjust the shadows and highlights considering the skin, hair, clothes, etc. The standard modification is to increase the shadows while decreasing the highlights.
Still, every portrait is unique, and there is nothing like experimenting.
4. Perfect the skin: Remove blemishes and soften
Skin retouching is an essential step of this process. It is often disputed how far you should go with fixing the skin appearance. Some photographers go as far as removing scars, while others barely make any retouches. This will depend on your preference, but our advice is to keep it natural and to hear the model's opinion on it.
Nevertheless, Lightroom offers a powerful Spot Removal tool, enabling you to make effective and non-destructive modifications to your portraiture.
You have two modes available: Clone and Heal.
The Clone will take a straight duplicate from a location and attempt to intelligently mix the content depending on the colors and texture of the surrounding region. Heal works best on the skin since it creates a more gentle transition. In addition, you can adjust this tool in size, hardness, and opacity.
Alternatively to the Spot Removal tool, you can also improve the skin with the Local Adjustment Brush. Paint the areas of the face you want to smooth and lower sliders such as Clarity, Contrast, and Texture. Besides, you might also want to brighten the skin very slightly by increasing Exposure or Shadows.
5. Add color to skin and mouth
The skin and mouth of your subject are fundamental to making it as vivid as possible. If you decide the mouth or skin looks a bit colorless, grab the Brush tool and apply it across the lips and face. Then, add a bit of Clarity and increase the Saturation slider.
3 top tips for editing a portrait

1. Don't go overboard with the edit
Edits are supposed to make your images better, not artificial. The story you are trying to tell will only be sent across if people believe what they are seeing. In that sense, avoid exaggerating in any improvement.
2. Lift heavy shadows, reduce highlights
As stated earlier, it is popular amongst photographers to increase the shadows while decreasing the highlights. This is done to reveal hidden detail in the brightest and darkest parts while also reducing overall contrast. Such is flattering for skin tones as it will smooth out the tonal range and provide a more subtle finish.
3. Focus on brightening the eyes
In portraits, the eyes are one of the elements that stand out the most. Once again, zoom in close and select the Brush tool. We recommend adjusting the eye outline and iris separately. Select the first and try increasing the Clarity and Exposure. For the iris, we also recommend increasing Saturation or Vibrance.
Become a better portrait photographer
There is one tiny thing you must think about before editing, which is shooting. To apply your new post-production knowledge, enhance your photography skills first and become a better portrait photographer.
Learn all the essentials about portrait photography.
About the instructor
Dan Kennedy
Fashion Photographer
London, United Kingdom
Dan Kennedy is a London-based celebrity and fashion photographer regularly commissioned in the UK and USA to shoot for advertising clients, magazines, and celebrity agents.
FAQs
What program to use for portrait editing?
Lightroom.
How to edit a portrait?
Keep it simple, adjust white balance, lift heavy shadows, reduce highlights, smooth the skin and brighten the eyes.
How to edit a portrait in Lightroom?
Import the image, adjust white balance, lift heavy shadows, reduce highlights, smooth the skin and brighten the eyes.


