


Here's to Videography: Tips to elevate the look of your videos
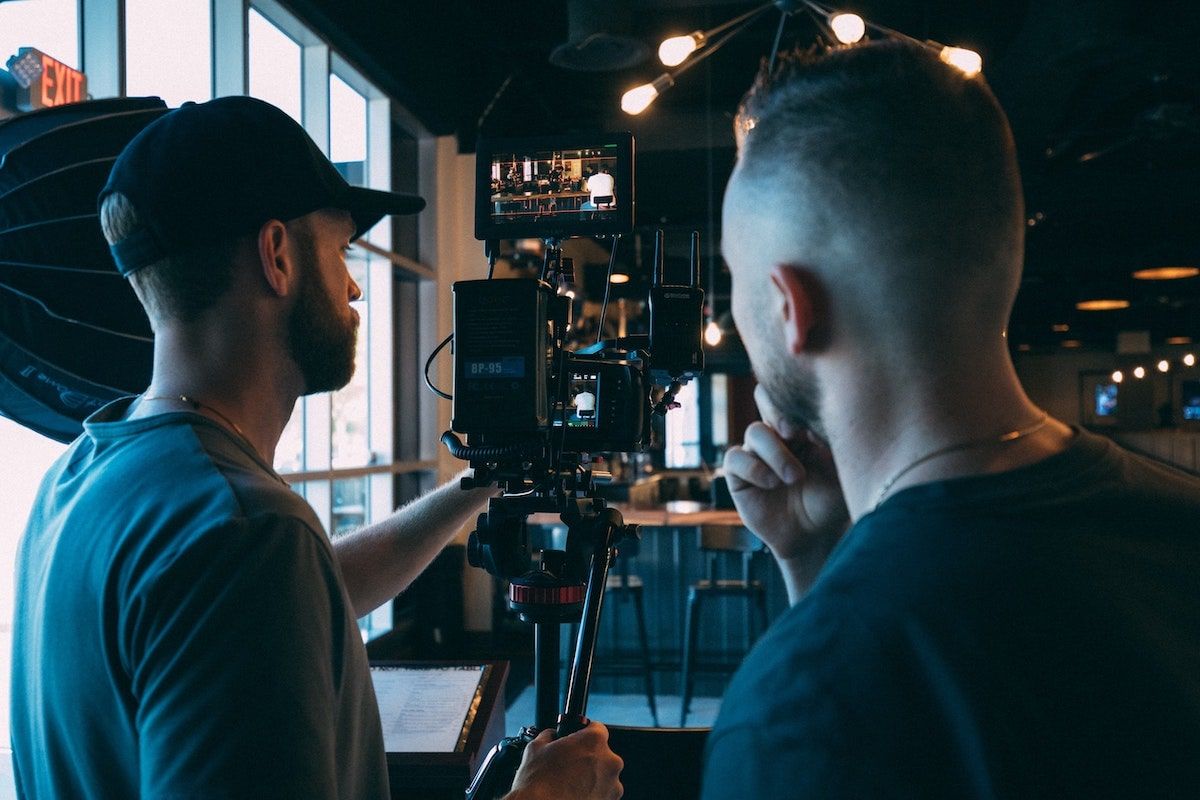
Rent film gear from local filmmakers.
Rent film gear from local filmmakers.


Once upon a time, only trained professionals with the most advanced equipment could live happily ever after in videography.
However, times have changed. Your knight in shiny armour doesn't have to be expensive workshops and stressful working hours. Learning the ways of videography has become more accessible than ever – you might even say reading an article, or two will be enough to get you going…
So, here's Wedio's version of riding into the sunset in a magical pumpkin carriage: An ultimate guide on videography for beginners – including types of videography, essential equipment and some easy go-to tips and tricks – utterly free of evil stepmothers and silly bedtime curfews.
If you want to deep dive into the filmmaking process, we got that covered for you too – head over to our filmmaking guide.
What is videography?
From a technical standpoint, you can define videography as the electronic capture of moving images on electronic media – including specific video editing and post-production methods.
In layman terms?
It refers to a hands-on video project.
The different types of video
It'll be challenging to find a content type more popular and valuable than video. Whether you're using it for commercials, on a company website, for personal use, or something entirely else – video is here to stay.
As a result, people are finding various types of videography. Here's a short rundown of some of the most common:
Personal usage
You won't find any rules or guidelines in this type of videography – you're free to do as you please.
Want to make a #FreeBritney vlog? Or document your dance moves while listening to Tina Turner? Be my guest.
Personal videos are for capturing anything you feel passionate about.
Point your camera to your favourite travel destination, create a music video to help a local brand, profile an exciting friend, or start documenting your Mythbusters try-outs.
Creating videos for personal use is an excellent way for you to get into the world of videography. It's a perfect way to develop your skills on the go, and once you start posting your videos on social media, you'll begin to draw attention to yourself and your work.
Corporate Filmmaking
As the name implies, this is the type of video you do when working for a company, either in-house or externally.
In this case, you'll most likely find yourself creating training and promotional videos, document meeting and conferences – and if you're lucky, catch a real-life Michael Scott in action.
Going the corporate route is often a more traditional, secure route to secure a living as a videographer. Still, it may offer you less creative freedom than working as a freelance videographer.
Videography vs cinematography and filmmaking
I get that this can be confusing. It might even seem as if Thesaurus had a run for its money. In the end, if I need to cut into the bone, all three terms refer to the creation of video.
However, the type of video and the scope of work associated with each... this is where it gets specific.
Videography is typically geared towards live events, weddings, or something not mapped out in detail.
Whereas filmmaking?
Well, that's the exact opposite.
The same thing goes in regards to cinematography. Cinematography follows a more planned and organized production, such as music videos, short and feature-length films, and commercials.
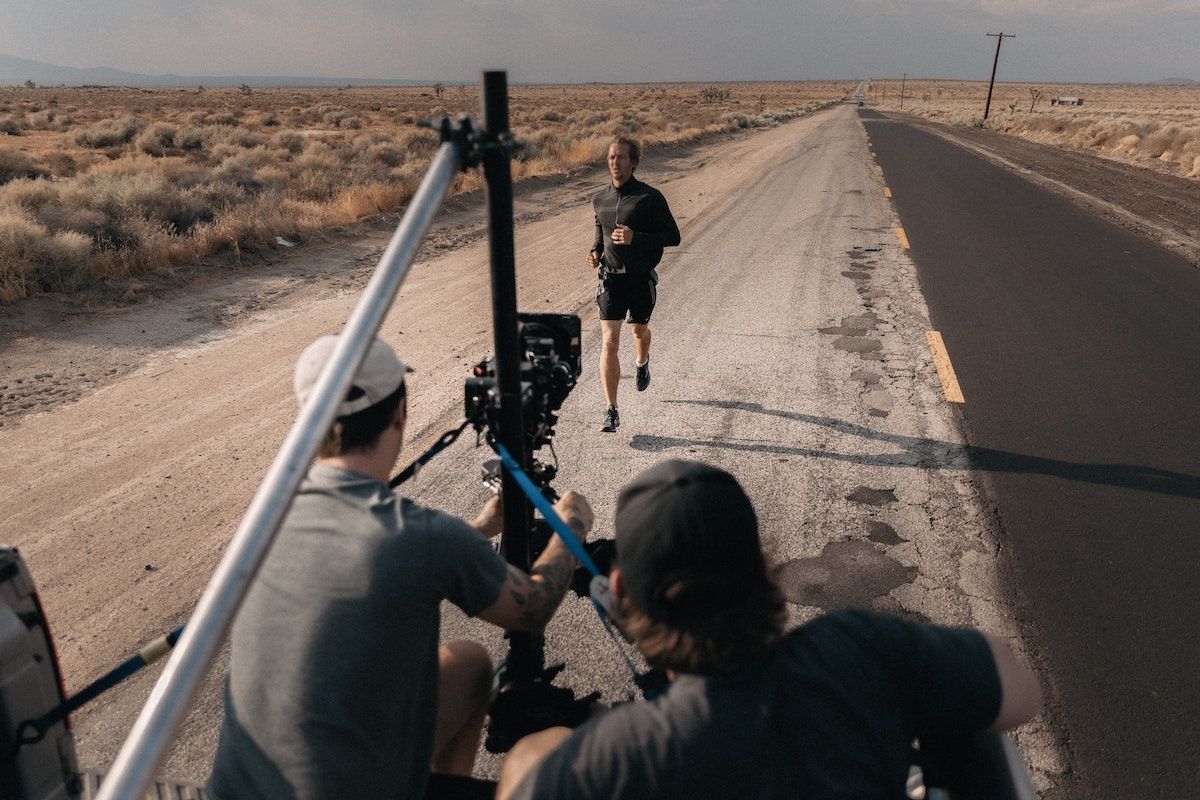
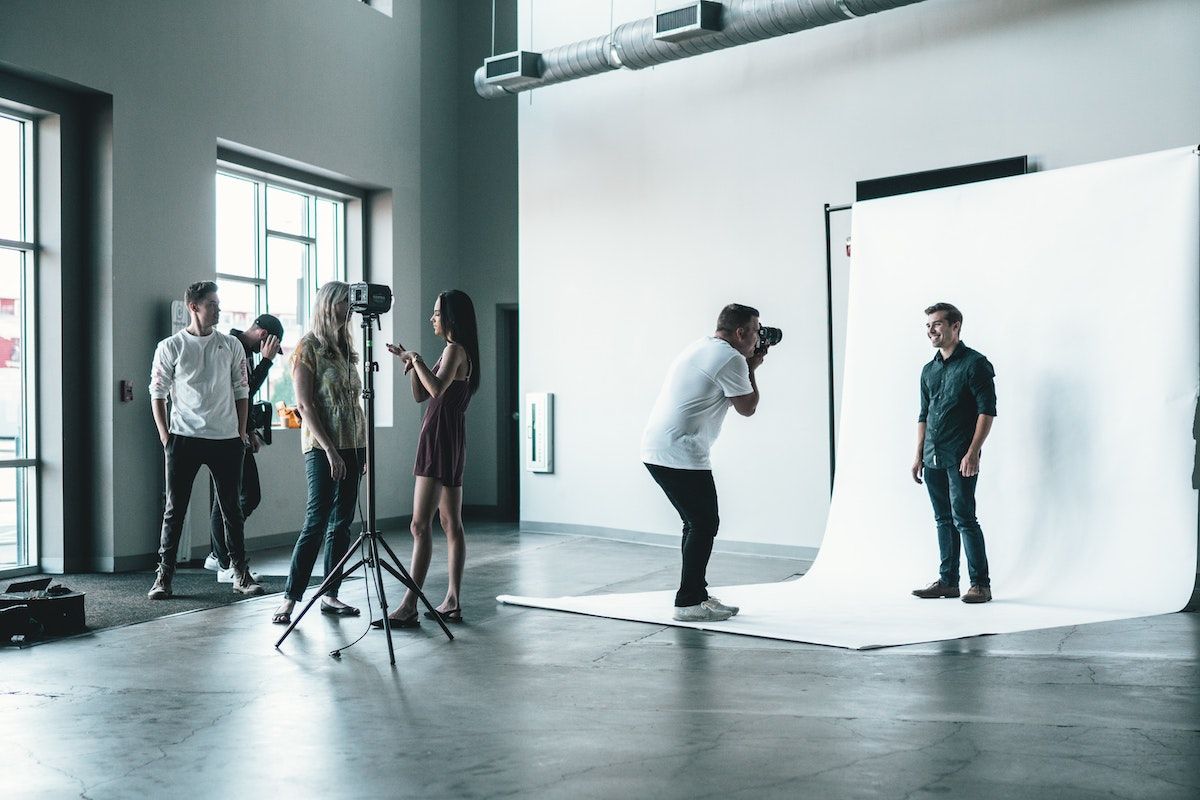
Videography is very much a run-and-gun type of shoot, meaning that you often don't know what you're shooting until you turn on the camera. Videography is usually shot guerilla-style, requires less artistic direction than standard film production, and is shot digitally – and not on film stock. Because of this, you'll typically work with smaller teams (or even by yourself).
However, don't let the "singleton-status" freak you out. When it comes to videography, it's perfectly fine to go to the party without a date – at times, it can even be beneficial. Due to videography's dynamic nature, you need to be quick on your feet – can you do that with more persons to take care of?
9 tips on getting started with videography
1. Educate yourself

Like most other things in this world, before we can truly excel in something, we need to understand the basics, sort of a you-have-to-learn-how-to-walk-before-you-can-run-situation.
The same rules apply to learning videography. Lucky for you, you're only one google search away from endless learning resources.
Once you get a basic understanding of videography, you can start racing to the greats of videography.
2. Plan your shoot
I know I put a lot of emphasis on the whole "run-and-gun-guerilla type of video", so it might seem peculiar that my second advice for you is to start planning… Schizophrenia much?
Well, actually not!
Although videography has a more dynamic structure, you still need to be well prepared and organized.
Once you start filming, it goes fast – so you want to be able to hit the ground running. You have to know where everything is, whether you have all the needed camera equipment (and then how to use it), and everything that goes in between.
And in case something unexpected happens, you also want to have a contingency plan (go for a better-safe-than-sorry approach, is what I'm saying).
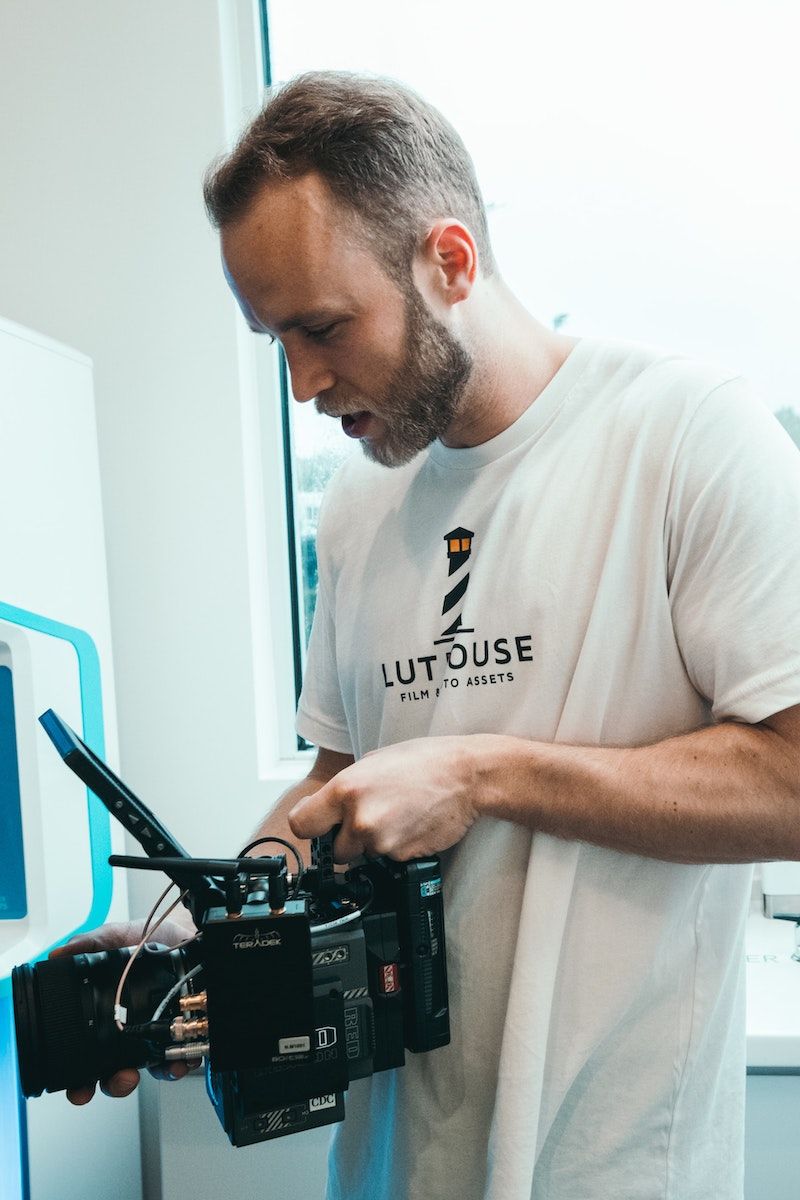
3. Gather your camera gear and tools
When considering the gear you need for beginner videography, it's helpful to have a solid idea of the types of videos you expect to make.
Are you preparing to shoot a vlog of your daily life? Will you document extreme sports for a YouTube channel? Your subject will likely lead you to preferred methods and specific types of gear.
Once you settle on a type of video, become familiarized with the different gear you'll need for it. Make routine use of the equipment to build skills and familiarity that will help you react better at the moment and get the best shots for your next video project.
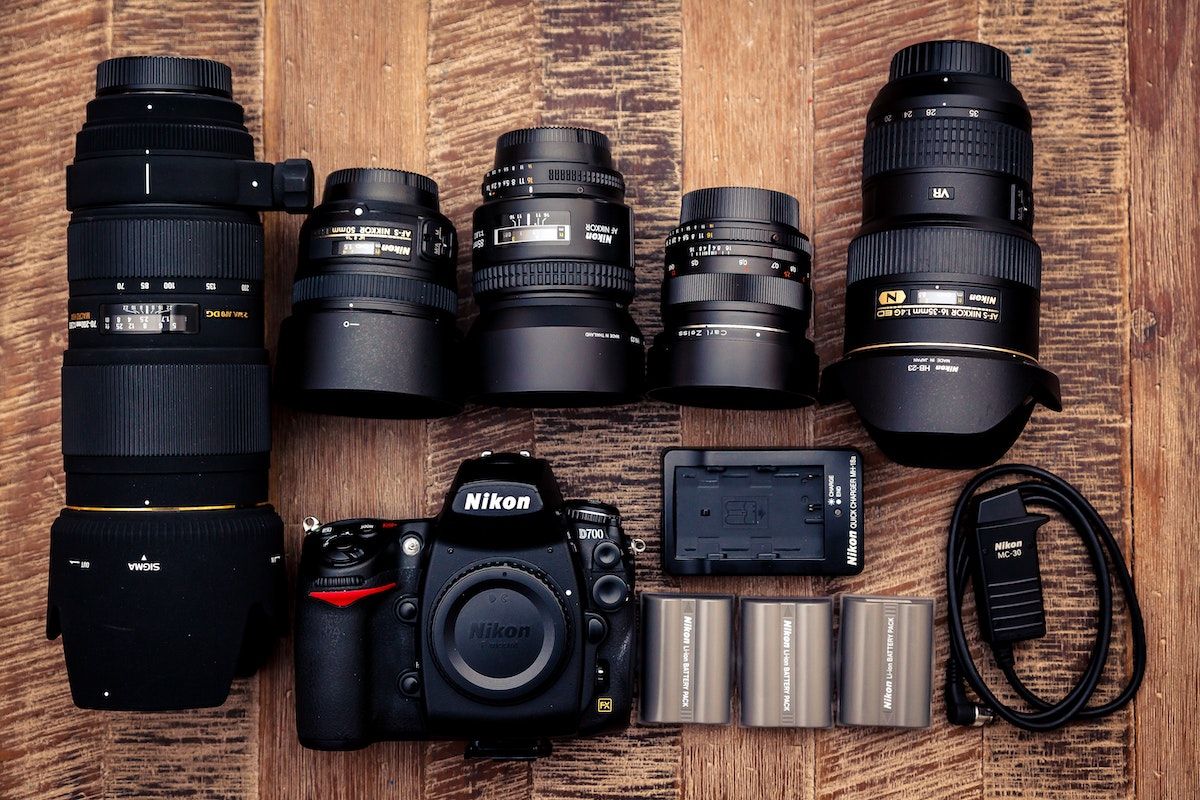
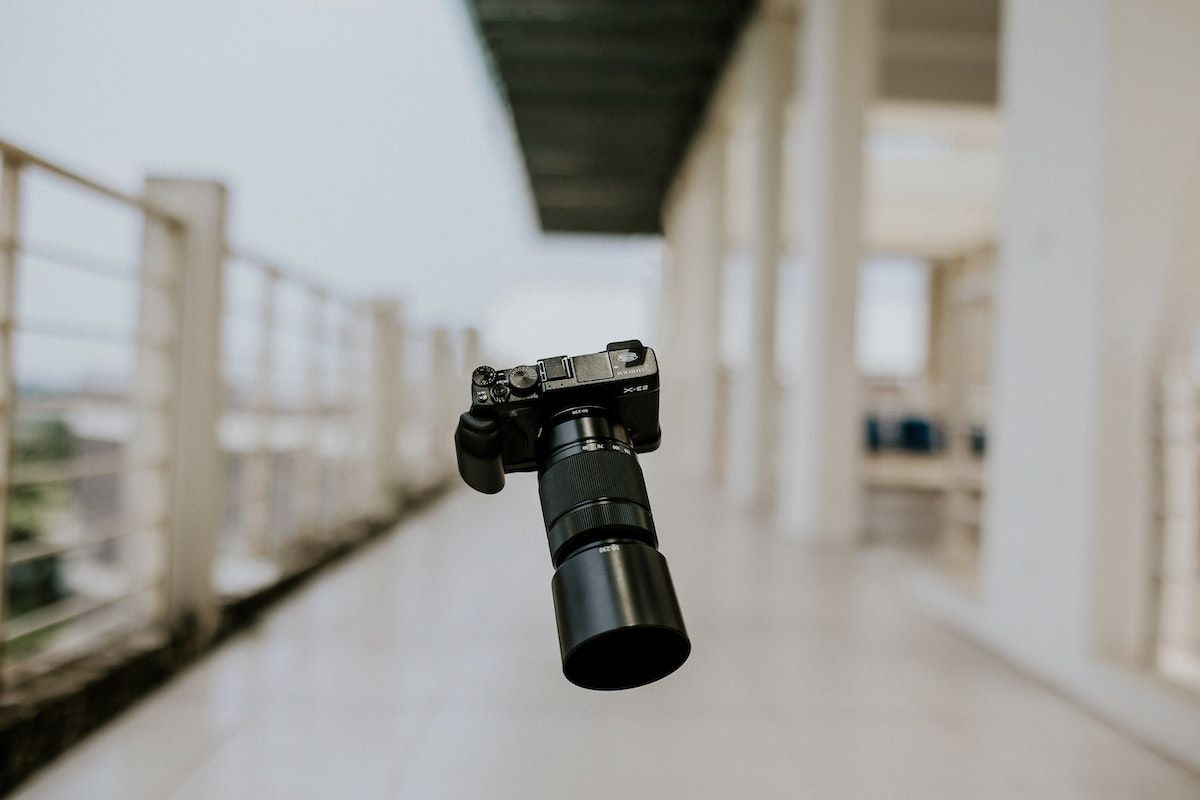
Cameras
Getting started shooting videos also entails having something you can shoot your videos with.
Enter: A camera.
Luckily, you got plenty of options here—everything from your smartphone to a sophisticated camera for a more professional-looking video. If the last is the case, you'll most likely want to investigate the various DSLR or mirrorless cameras.
Serious still photographers often favour DSLR cameras – but they're also the camera choice for many professional videographers. Mirrorless cameras generally offer modest upgrades from the DSLR and are often lauded for their superior autofocus capabilities.
Stabilizer
Next up – a stabilizer.
These Goodfellas are a foundational piece of camera equipment for any shoot. They reduce camera movement and make your shots look steady. Basically, they're there to ensure your audience doesn't feel as if they're sitting on a rollercoaster.
Although, there are some video purposes where the handheld style of filming is more suitable, such as when you want the audience to feel like they're sitting on a rollercoaster (plot twist, eh?).
Most of the time, however, you'll benefit immensely from keeping a stabilizer in your gear arsenal for times when you need to set up certain shots beforehand.
Lighting equipment
Talking about essential camera equipment – here you have it!
Learning lighting is one of those things, where the teacher goes," come on, it's not rocket science"… no, but to use lighting to enhance the look of your film rather than ruining it? That certainly feels just as difficult as having to send a man to the moon.
Proper lighting is essential to keep the visual quality of your shots high and is one of the not-so-secret tricks to achieving professional-looking videos. Depending on the project and the scope of it, you'll have different lighting needs.
During conceptualization, try to be intentional about your lighting. Determine the types of lights you need and where to place them to achieve the effect you want.
When starting, use as much natural lighting as possible — the goal for most shots is a bright but non-artificial look. If you want a more professional look, three-point lighting is the standard for high-end video. It consists of a key, fill, and backlight and offers a world of options when used in combination.
Sound accessories
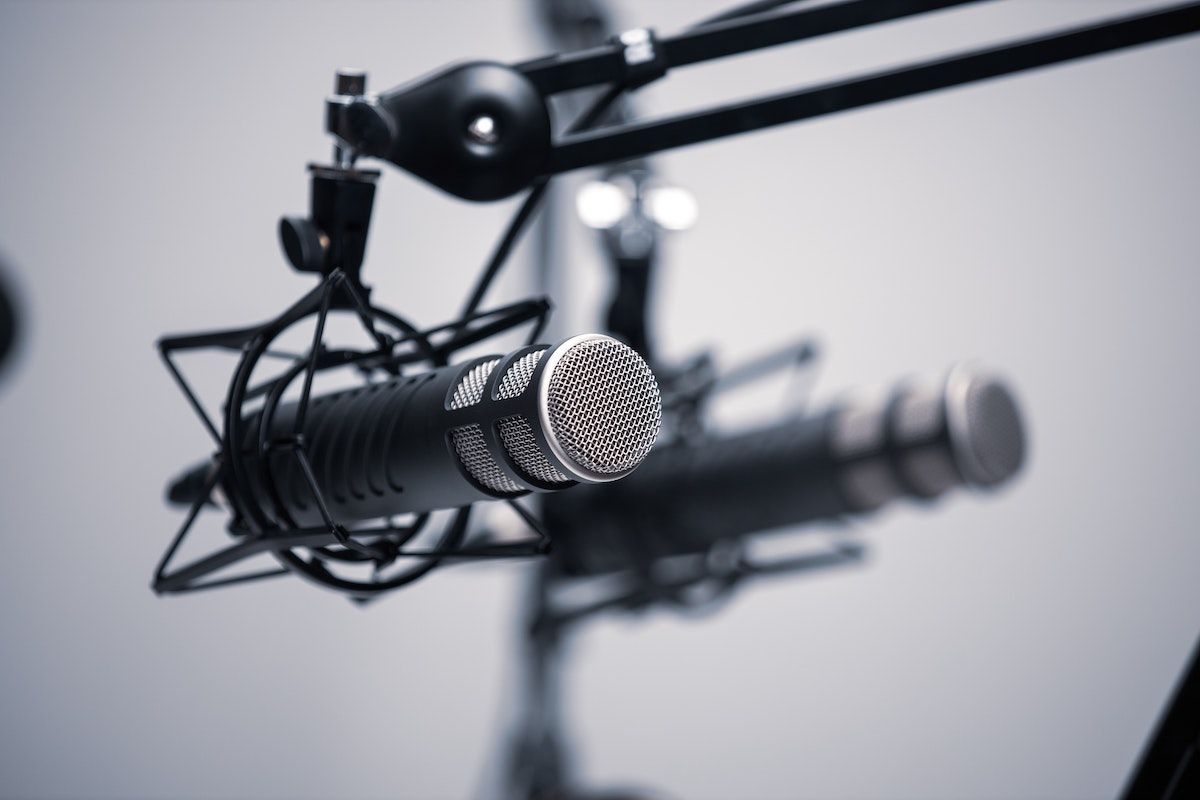
Good sound is also crucial in your videos, which means you'll need proper microphones.
You know the feeling – the frustration – when one of your AirPods gets disconnected? It feels like you're listening to music with a handicap.
The same thing goes for your audience when the sound in your videos is off. Meaning, you need to find audio equipmentthat ensures that doesn't happen.
On-camera microphones are super helpful in videography. Shotgun mics are great camcorder tools for sound capture due to their ability to block sounds from the rear and sides while prioritizing the sound in the front. USB mics are great for voiceovers, and clip-on lavalier mics are essential for interviews.
Always find or create a quiet environment and monitor your sound onset—you may be surprised at the ambient noise that can be picked up even by modest mics.
Multiple lenses
Although videography doesn't have the same artistic direction as cinematography, it still deals with stylistic choices, including the type of shots that appear in your work. Depending on your project's needs, you should think about the kind of lens that'll work best for your project.
Where to begin?
Start by answering; what type of video project am I doing?
Is it a travel vlog? A parkour YouTube video? Or a conference speaker video?
Once that's covered, start looking for the "best lens for [your project]". This allows you to find the lens that'll fit right into your type of video.
Backups & memory cards
Since video uses a considerable amount of footage, make sure you bring backup memory or SD cards in case you run out of space on your camera.
4. Find your location and keep it simple
Don't just film anywhere; find a location that suits your videography needs.
If you're going off-piste, meaning you are venturing out of the comforts of a studio, you need to scout for a proper location. Once you find it, orient yourself in what conditions and working environment you're putting yourself into.
Think about; where should I place my equipment? Is there room to set everything up? Do I need special permission to film here? How's the lighting condition? And so on.
If you, on the other hand, plan to stay on-piste, keep it simple. Try to use a simple background or improve it by removing as much clutter as you can. The key is to minimize elements that make the scene look cluttered and take attention away from your subject. Although some themes and storylines benefit from having a chaotic scene, you may want to focus on getting down the green slope before venturing on an icy black one.
5. Consider shot composition and framing
Good videography involves more than simply aiming your camera at your scene or subject – which is ironic, seeing as you'll most likely be using a point-and-shoot camera here in the beginning.
It entails thinking about how you arrange and allow the visual elements in your story to appear. This means changing your camera's framing to make the scene look aesthetically pleasing.
Among the most crucial cinematic videography tips and compositional rules is the Rule of Thirds. This is where you place your subject's head a little higher (not at the centre) of the frame and give them visual breathing or walking space when facing the sides.
6. Observe camera placement and movements
Where you place your camera and how you move it has a significant impact on the look of your videos.
Most videography beginners will mistakenly not mind how the lens's focal length and the camera's relative distance from the subject affect the scene's look. For example, in close-up shots, never place your camera close to your subject, as this can create unattractive facial distortions and make it more challenging for you to crop out the edges of the scene. It's much easier to place your camera a couple of feet away and carefully zoom in with your camera lens.
Try to experiment with different shots—low and high angles, varied perspectives, and even drone videography.
Practising camera movements is essential, too; spend too much time on your tripod, and you may wind up with something that looks like surveillance footage. Bring a shot list and shoot everything you may need while you can.
7. Manage the exposure triangle
The exposure triangle… much like the Bermuda triangle; if you don't know where to go with this, there's a good chance you get lost (potentially forever).
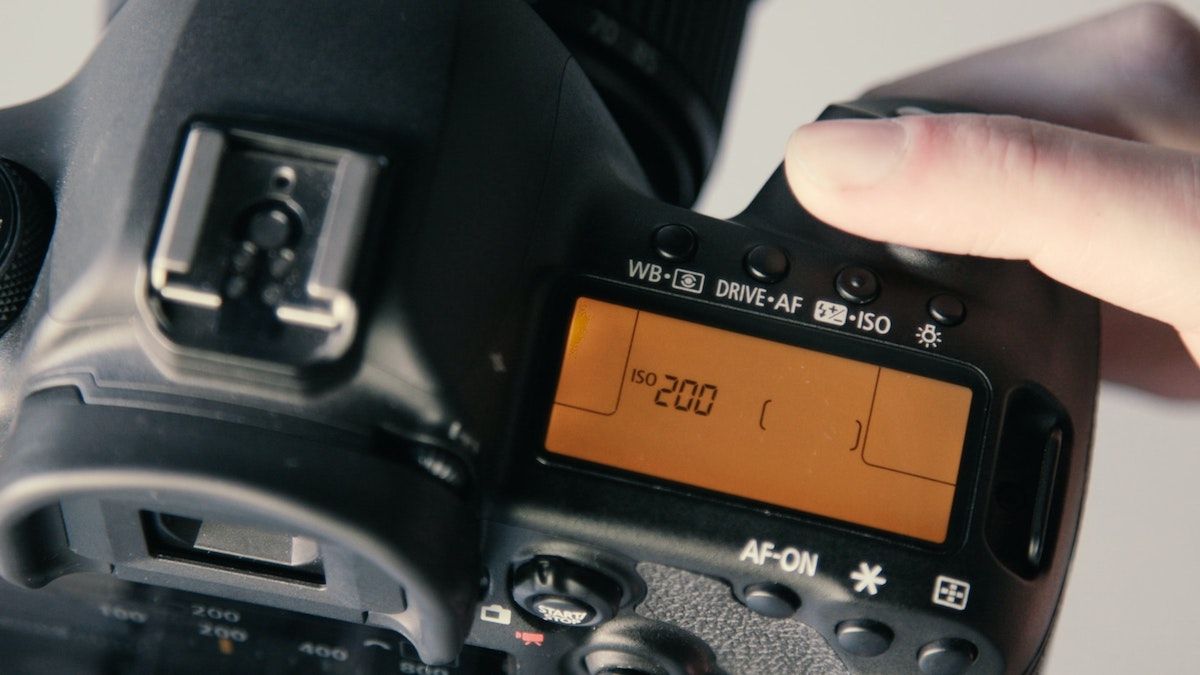
The exposure triangle involves three ways to either add or reduce light entering your camera; the ISO, shutter speed and aperture.
ISO: ISO controls the sensitivity of your camera's sensor to light. In other words, it's a camera setting that'll either brighten or darken your image.
Shutter Speed: Shutter speed refers to the length of time where your camera's film or digital sensor is exposed to light. In laymen's terms, it's how much time your camera spends taking a picture.
Aperture: Aperture refers to the size of the diaphragm (image sensor) that opens and closes, affecting the overall brightness of your photo.
8. Know your camera settings
Think of a speaker. Depending on how high you set the volume, if you put the bass to blast or if you play different music on all speakers – it will significantly affect your experience. Whether you bust a move or try to fall asleep to Beethoven is influenced here.
The same thing goes when it comes to your camera settings. Different settings will affect the look of your video in different ways.
So, here's a quick rundown of the most essential and influential camera settings you need to consider:
Compression: Compression reduces the file size of the videos into more manageable or workable sizes. All forms of video are compressed to some extent, and even high-end cameras that shoot RAW have compression.
Bit Rates: Bit rate is the movement of information per second. Therefore, higher Bitrates result in more data being gathered, which means a larger file will come from it.
Frame Rate: The number of times an individual image appears in succession per second. Different frame rates give different outcomes. When planning for a video shoot and deciding upon what frame rate to use – pick the one that will allow you to tell your story most efficiently.
Aspect Ratios: The size of the screen based on the shot ratio of length/width. Different stories require different aspect ratios. You'll most likely find yourself using 1.78:1 or 16:9, which is widescreen HDTV.
Manual Focus: Autofocus can be very handy, but it can also ruin your recording when it goes in and out of focus while trying to locate your subject in dimly lit scenes. The key is to switch to manual focus on your standalone camera, so you can use your own eyes and set the focus yourself.
9. Learn how to edit

Editing is an undeniable factor. I'd say it probably doesn't matter how skilled a videographer you are; editing will be part of the process.
So, we can skip right over all the denial, anger, bargaining, depression phase and go straight away to acceptance.
Start by using a simple video editing software and stick to it (at least for a while). In this way, you can practice before moving on to more complicated editing programs.
You could start with Apple's iMovie, which remains a favourite among videographers. You can also try out Lightworksand Da Vinci Resolve; both programs are robust and professional-grade editors even in their free versions. If you only want to do simple edits on your videos, you can try the Corel VideoStudio and Pinnacle Studio 25.
More than just thinking about which editing programs you should test out, you also need to consider what you'll need to do in editing to ensure you get the best result possible.
As a rule of thumb, you should always capture several angles and a few "safety shots" of each scene when shooting your video. In that way, you'll have more choices later when creating your final cut, and it will prevent you from settling for subpar shots that will make your work look unprofessional.
What's Next?
I think it's safe to state that getting started in videography involves a lot more than finding a proper camera and then start pointing at whatever might come your way.
It's about preparation, skills, and a whole lot of creativeness.
Continue learning and finding inspiration from some of the best – explore the best videographers in London right now.
What is the difference between videography and cinematography?
Both concepts refer to the creation of videos.
However, videography is characterised as much more of a guerilla type of shoot. Videography entails a lot more spontaneity and will often be a smaller project, with one or a few individuals working on the project.
In contrast, cinematography involves planning and mapping out the video project down to every little detail. Cinematographers are focused on the art of storytelling and mostly work on cinematic films and high-end productions.
How to become a videographer?
A videographer must have ambition, relevant technical knowledge, and a decent level of creativity.
It's a good idea to build up a portfolio to find more lucrative jobs. You could start working at a television station movie studio, for a director, news agency and other media-related companies.
If you want to go through education, you can look for an associate's degree in Applied Science in Video Production or a Bachelor of Arts in Film or Television Production.
In general, you'll need to know how to handle a camera, how to edit your videos, and how to make relevant technical decisions.


