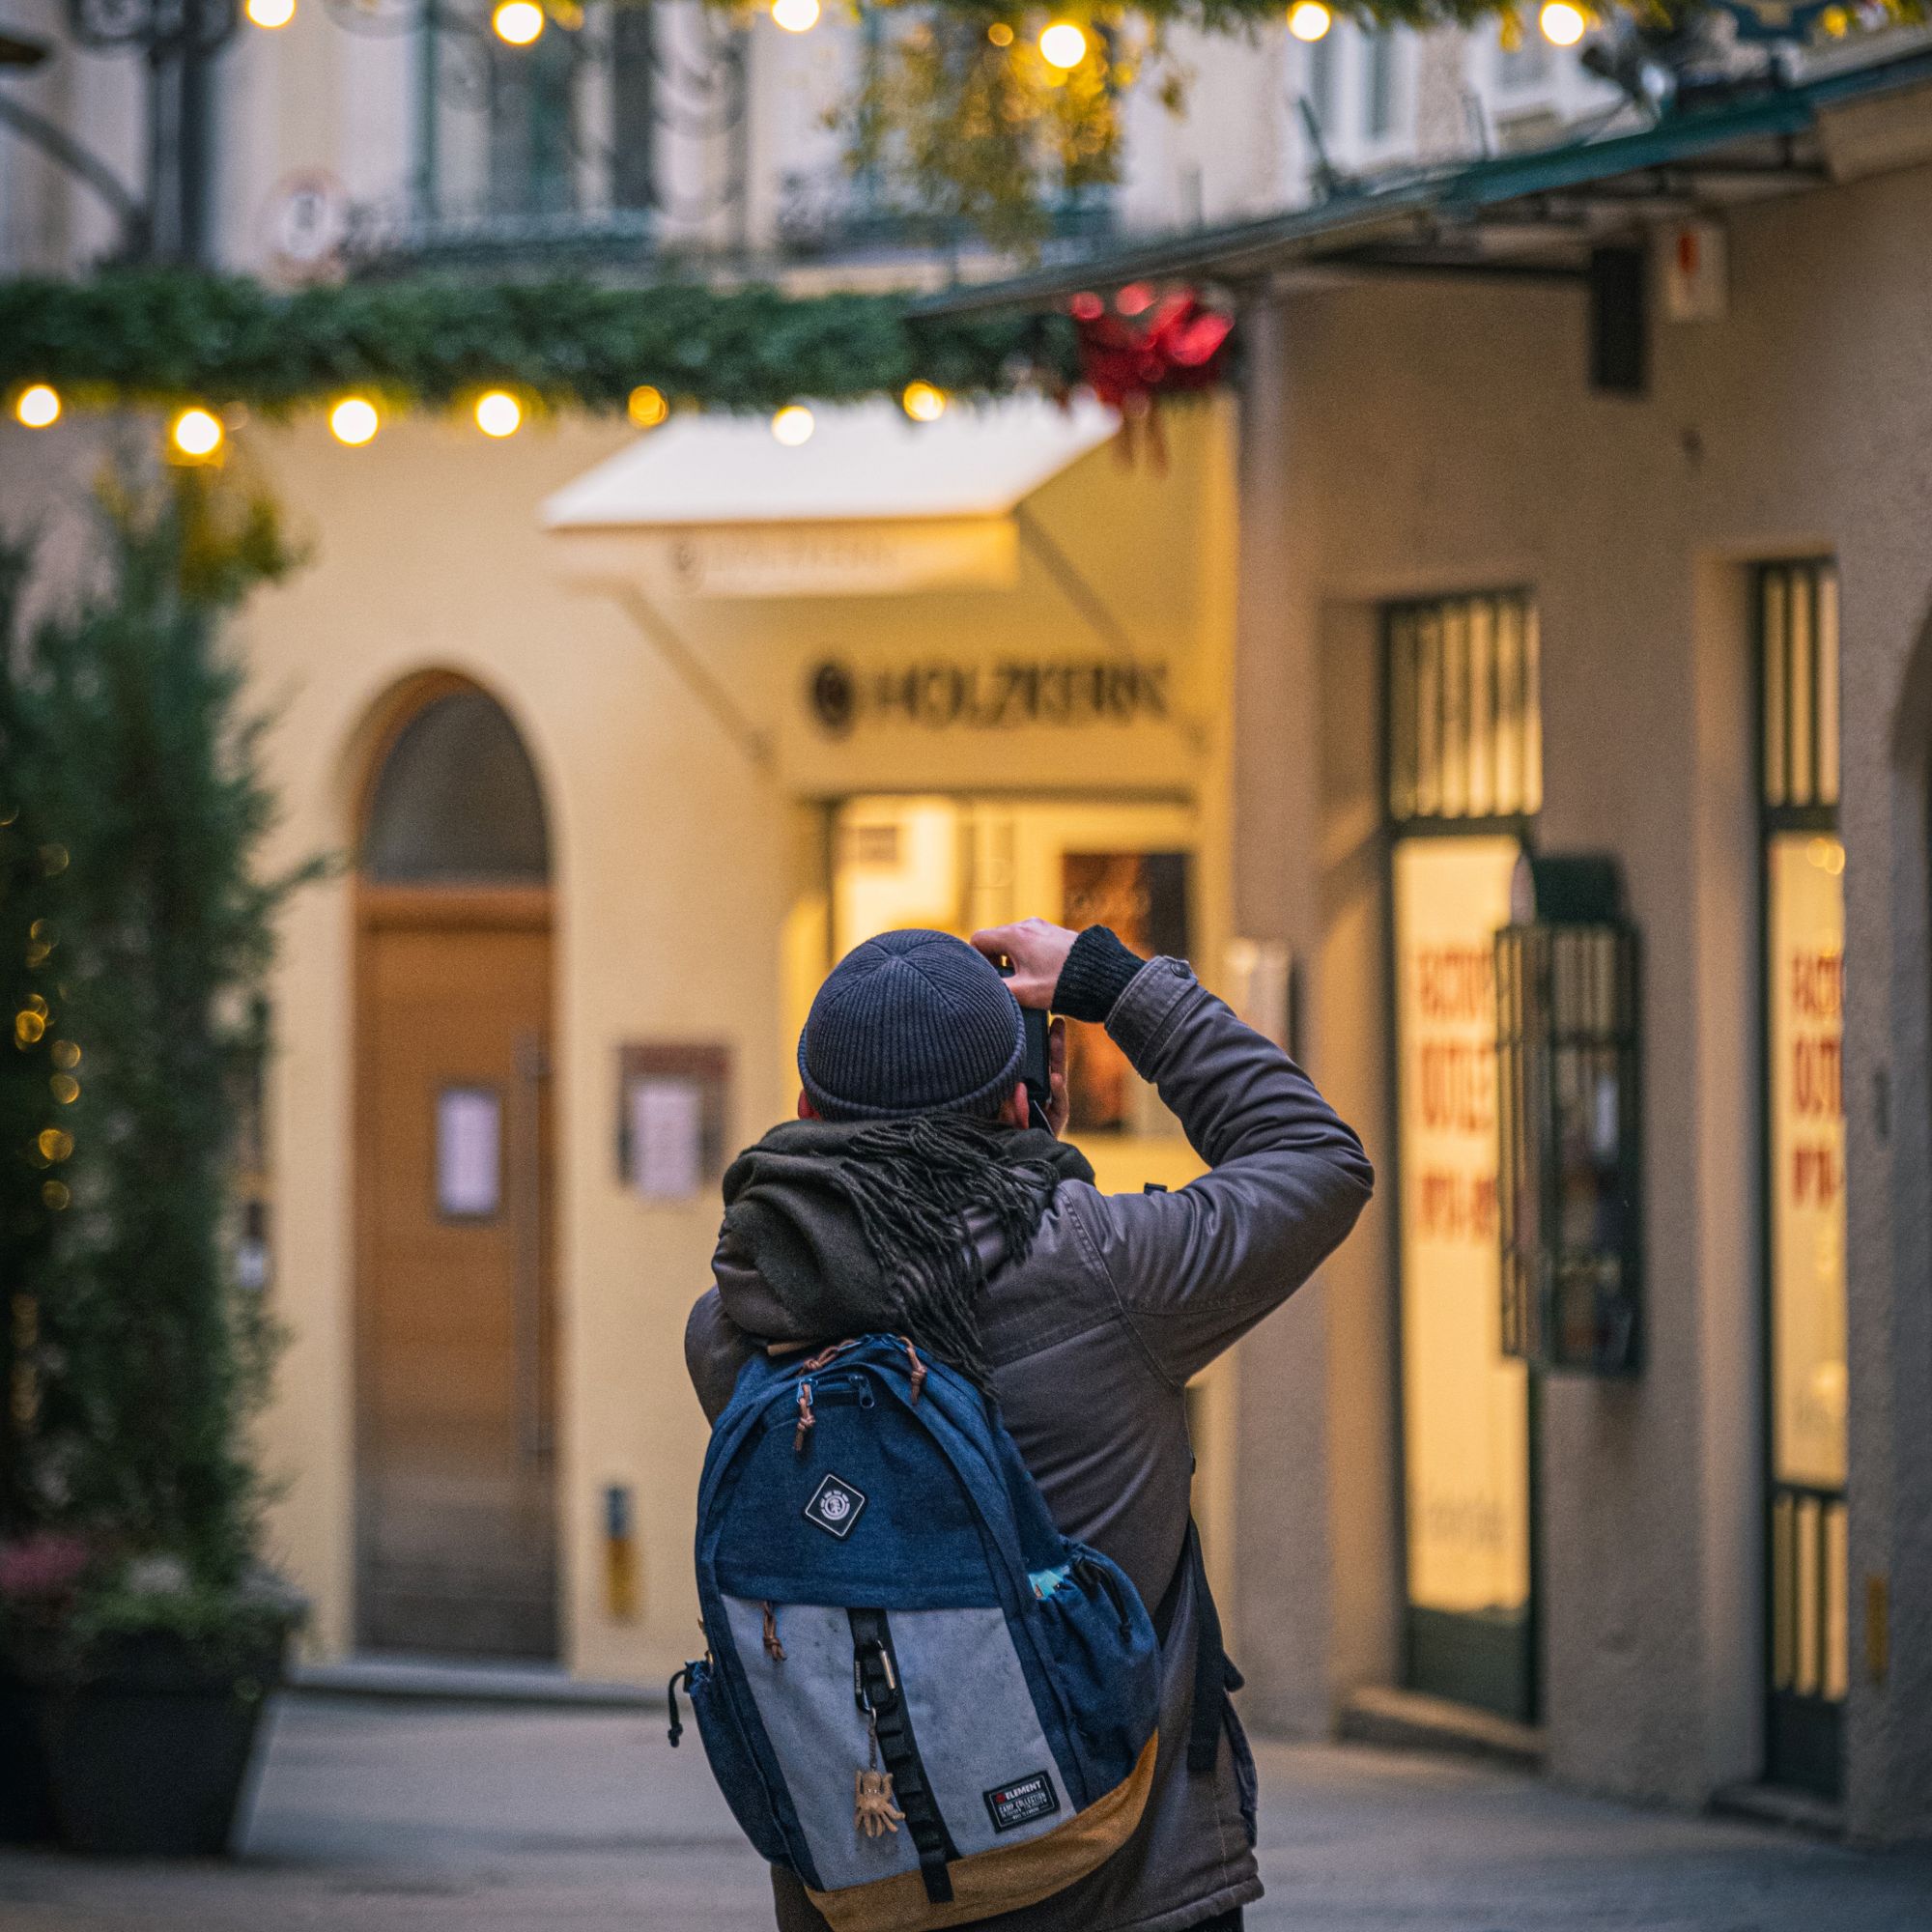
Travel Photography: 13 Essential Tips to Improve Your Shots
Rent film gear from local filmmakers.
Rent film gear from local filmmakers.


Do you love traveling and taking pictures? Why not combine the two? Travel photography is a popular hobby, but it might seem complicated to get into.
In this article, you will learn everything you need to know to improve your travel shots!
Before you start reading this, consider reading our article on photography. You will learn everything you need to know about taking some good pictures!
13 tips for improving your travel shots
If you want to improve your travel shots, we've made 13 easy-to-follow tips to improve your travel shots in no time.
1. Prepare for early mornings
If you want to take the best shots, you have to prepare to get up early.
If you see pictures of famous landmarks without tourists and go: "I wonder how they got there on a quiet day," the reality is that they didn't. They just got up early.
If you want to avoid tourists and other photographers who haven't read this article yet, you should set your alarm clock early. Get moving before the rooster crows.
There are benefits to getting up early, such as the golden hour, but more about that later.
2. Scout location ahead of time
Scouting the area before the shoot is a good way to save time.
You can visit it, walk around, and think about some great shooting locations. This can be done in the daytime and can be done the day before a shoot.
You can also utilize the internet for your scouting research. Try to find travel guidebooks, videos, or photos from the area to help you get a better sense of the place.
You can also use Google Maps to look around and create your shot lists before visiting. The best method is to go there yourself. But if you're on a busy schedule, this is a great method for creating a shot list before traveling.
3. Focus shooting during golden hours
As mentioned earlier in the article, the golden hour is a great time to shoot. And incidentally, it is also in the early hours of the morning.
Golden hour is the hour(s) when the sun is close to the horizon, giving off a warm glow in the sky. It makes for great natural lighting for amazing-looking pictures.
Golden hour typically occurs in the first hour after dawn and an hour before sunset. So check the time of sunset and sunrise before you plan out your shoot.
You can also try shooting during Blue Hour(s), which is more complicated to find. Blue hour occurs when the sun is so far below the horizon that the sky looks completely blue. The remaining sunlight takes on a blue shade.
Blue hour typically occurs for 20 minutes after sunset and 20 minutes before sunrise, with a 10-minute buffer. If the sun rises at 6 am, the blue hour would be from 5:30 - 5:50 am.
4. Understand the importance of framing
One of the most important things when photographing is understanding framing. Make sure that your subject is in the right place and that your foreground, middle ground, and background are looking great.
If you want to learn more about framing your pictures, consider reading our article on photography.
5. Ensure you have your location release form
Some historic places might require permission before you're allowed to shoot.
It is achieved by using a location release form. A location release form is a document signed by the property owner and filmmakers. It is signed to decide when, where and what they're allowed to film on a piece of land.
6. Apply the rule of thirds
If you're not sure how to set up the composition of your photographs, consider using the rule of thirds.
The rule of thirds is a photography rule that is great for beginners. Essentially you should look at your frame as a 3x3 grid which usually can be seen on your camera's viewfinder.
You would then want to position your subject/point of interest at the intersection points of the grid. Where the horizontal and vertical lines meet.
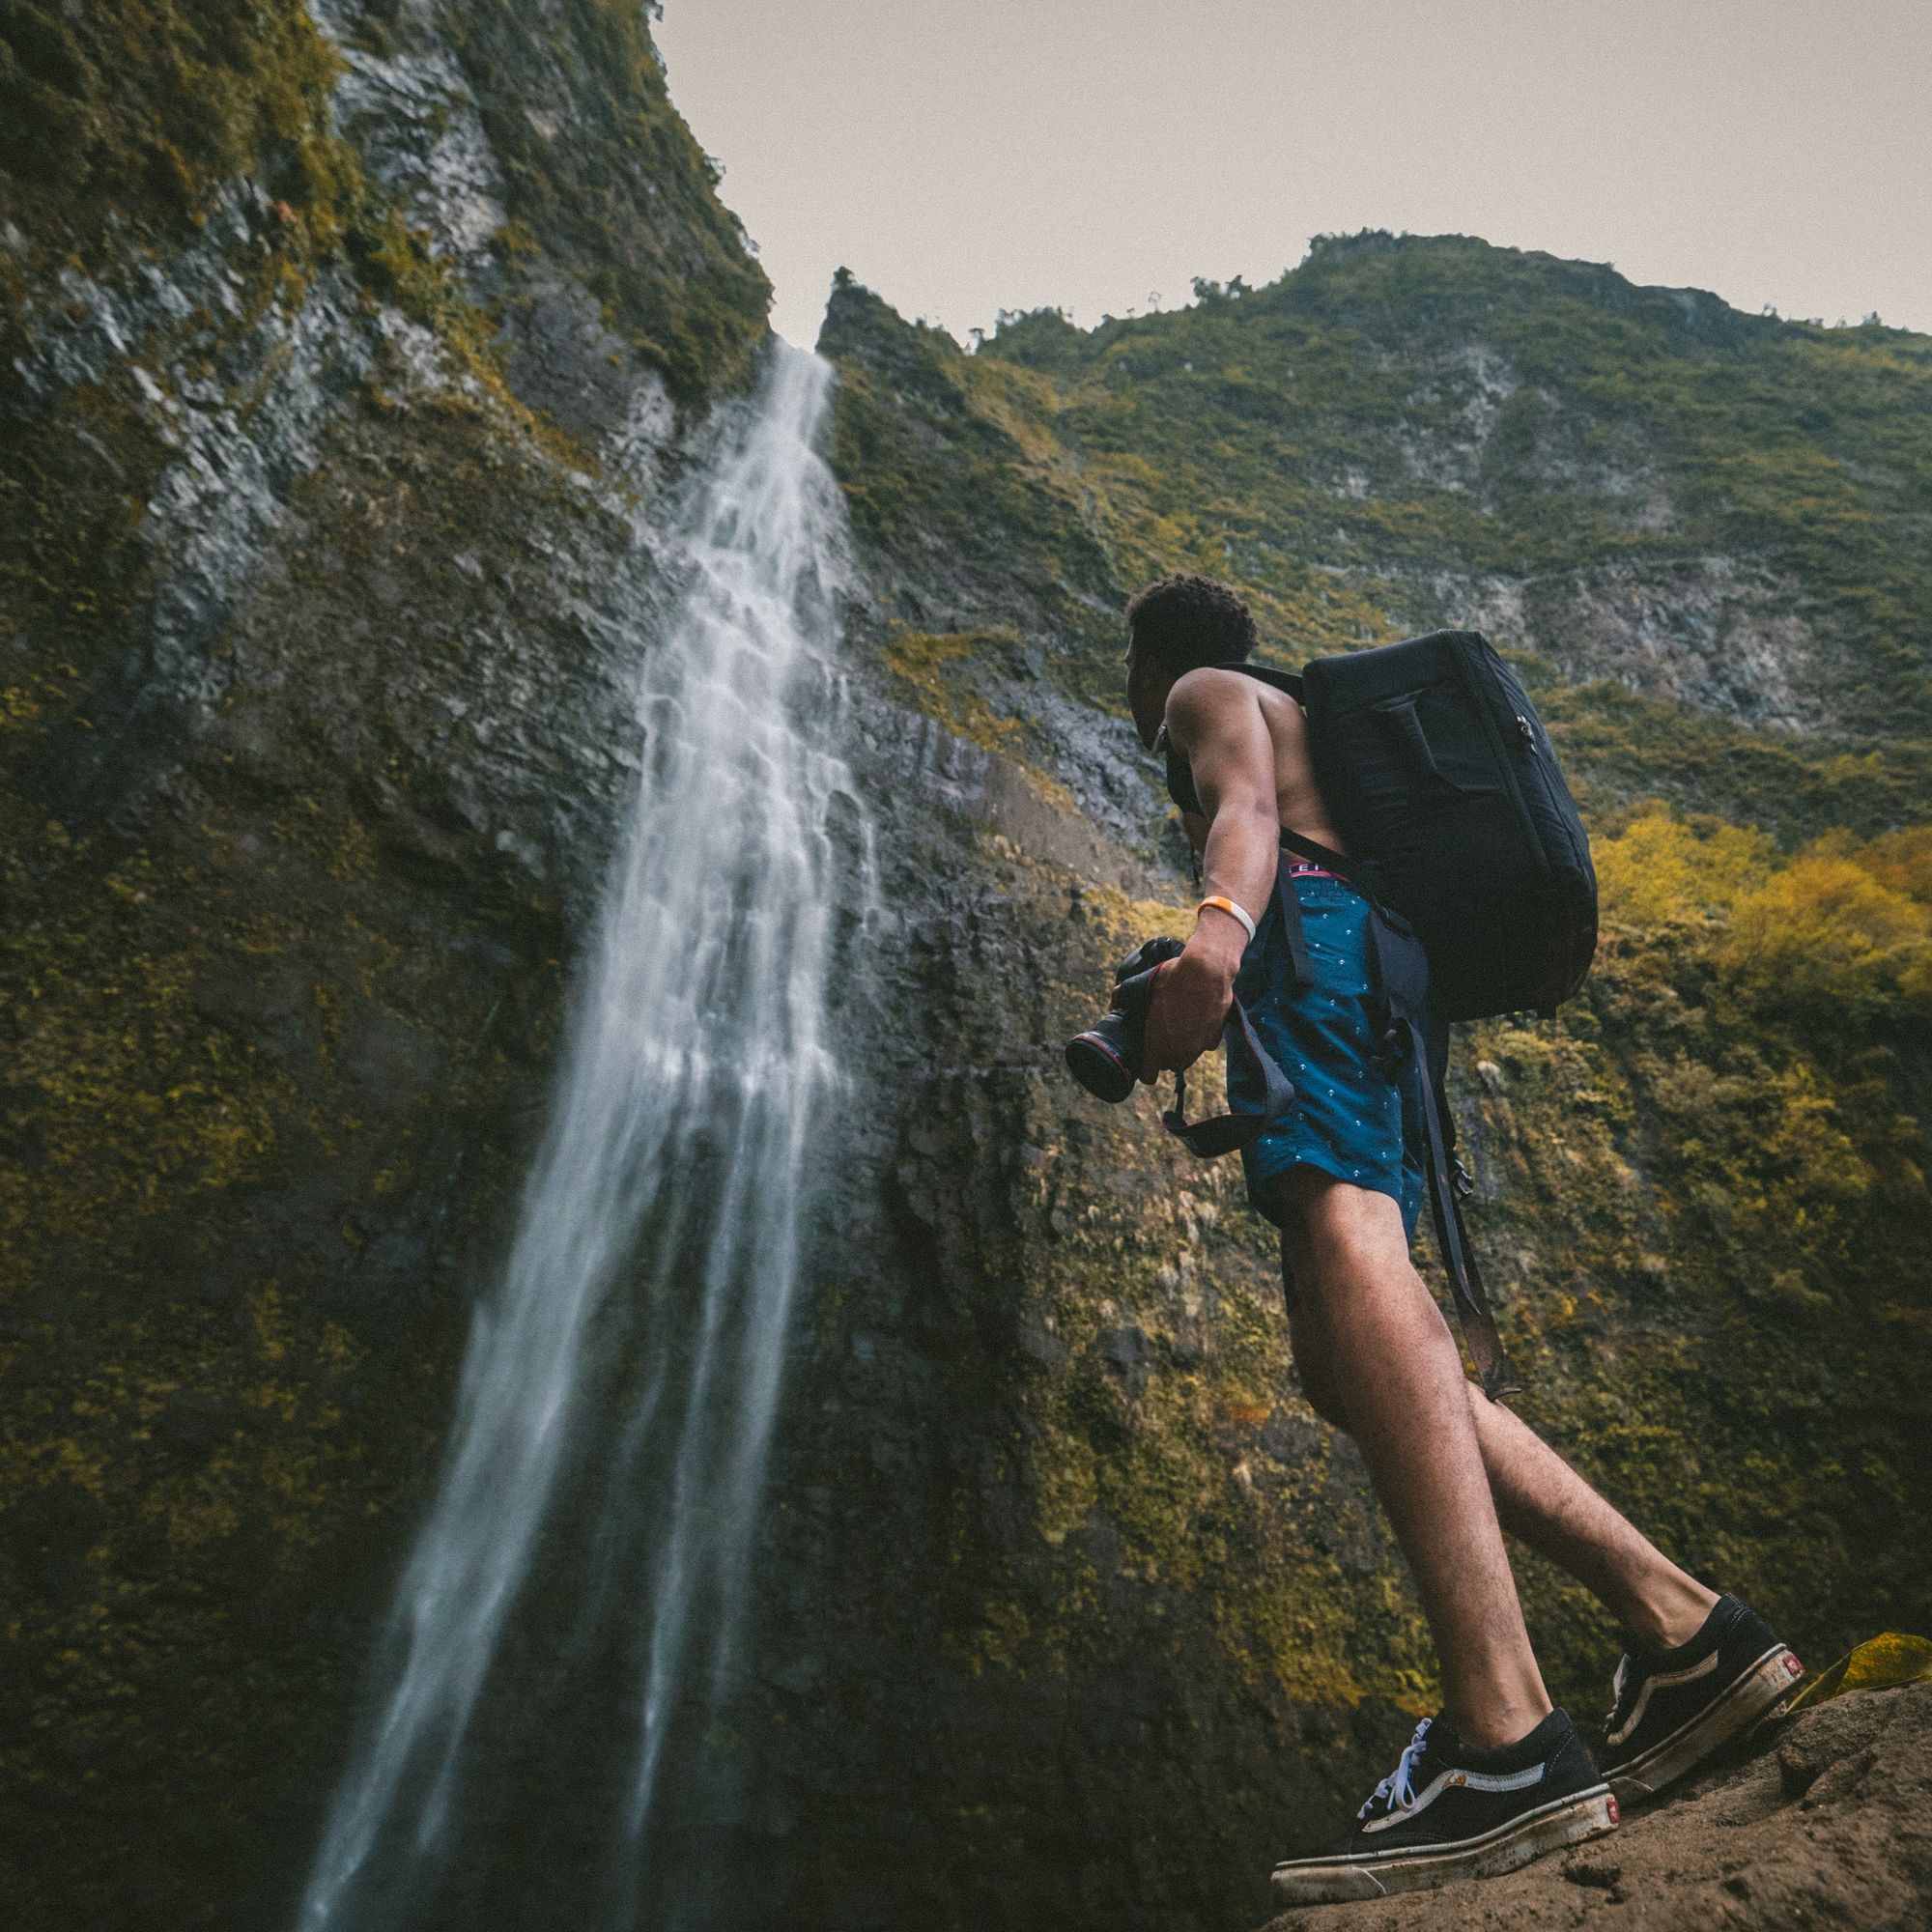
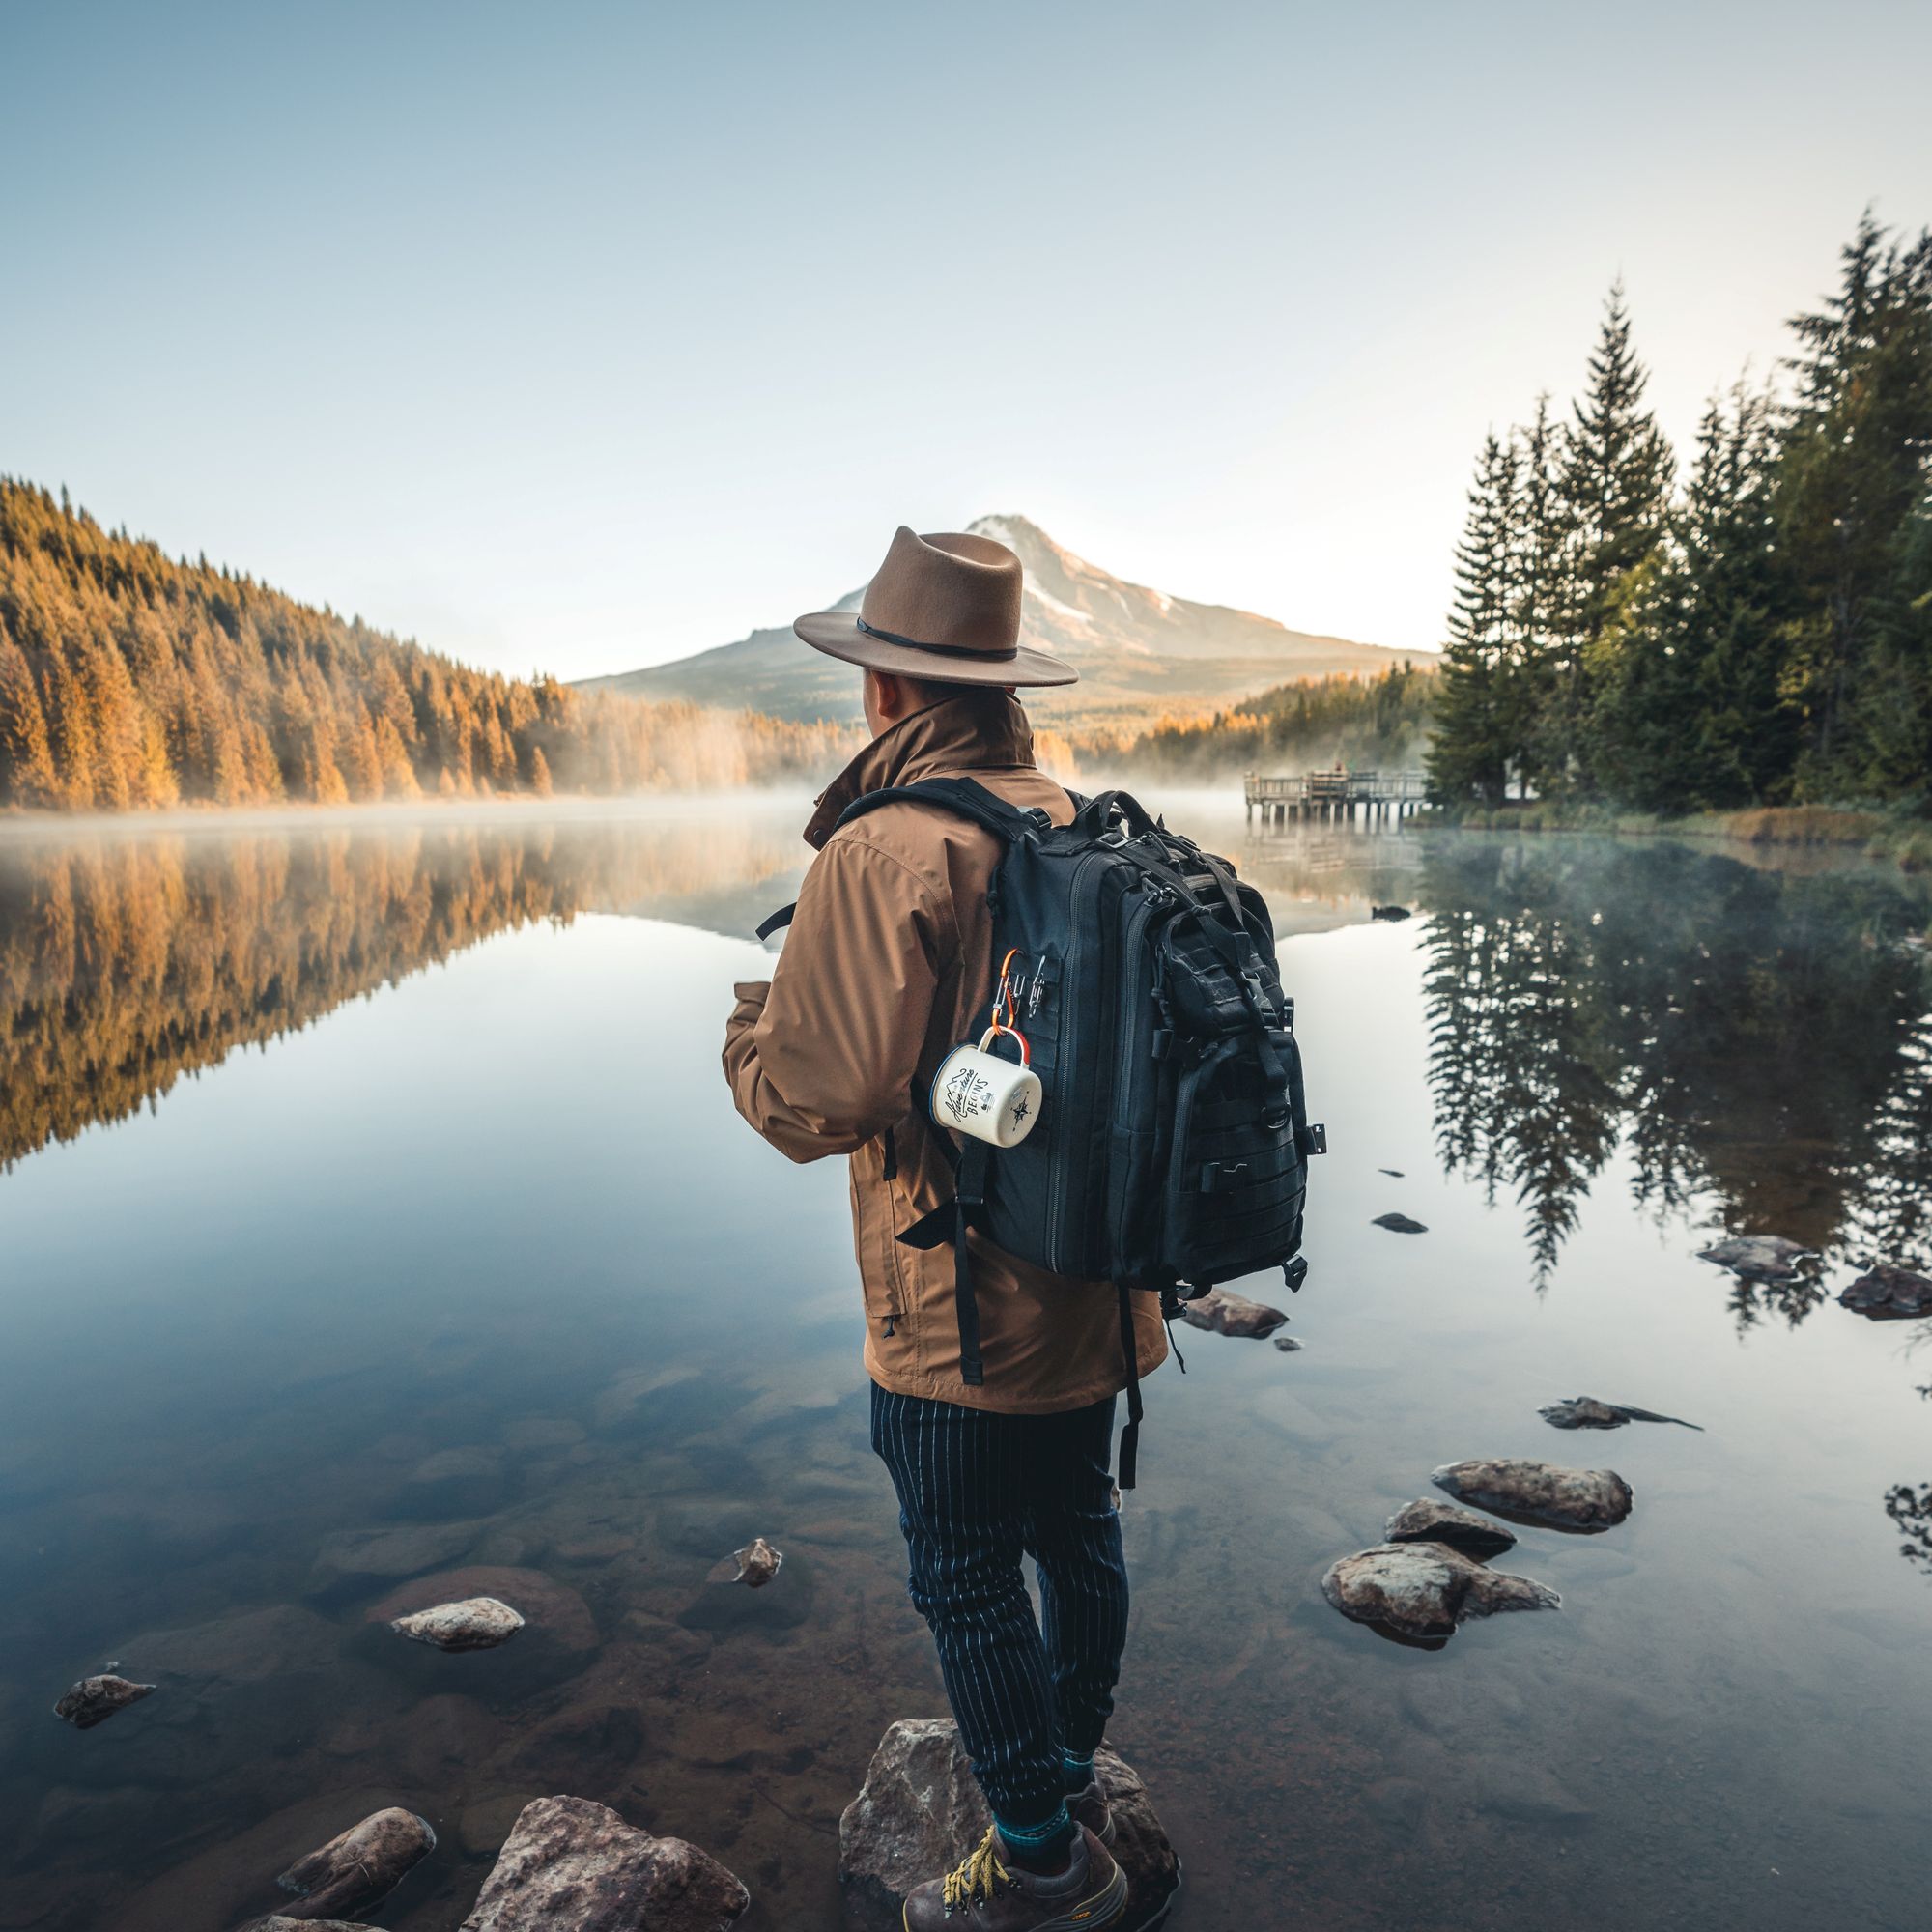
7. Pack lightweight gear
When you're traveling, you're going to be walking or moving around a lot. You should pack light and only pack the gear you will need.
You might consider getting a versatile lens rather than carrying around 3 special lenses. Have a compact camera, lens, and tripod with you, you'll be good to go.
Camera
- Panasonic LUMIX ZS80
- Canon PowerShot G1 X Mark III
- Sony CyberShot RX100 VII
Lens
- Canon EF 16-35mm f/2.8L III USM
- Nikon AF-S 16-35mm f/4G ED VR
- Sony E 10-18mm f/4 OSS
Tripod
- SIRUI P-204SR
- Benro Travel Angel FTA28AB1
- Peak Design Travel Tripod
8. Experiment with various composition techniques
The rule of thirds isn't the only way you can do compositions. If you're up for it, there are other cool ways to compose your pictures.
One thing you can keep in mind is the framing of the photo. Consider what is around your subject. Essentially, you should not only think about your subject, but also the surroundings and how they can impact the picture.
Another composition technique that works well in nature is thinking symmetrically. If there's a nearby body of water that can reflect, you can get some cool-looking shots by lining up your subject with the reflection in the water.
Lastly, you can use eye-catching in the foreground of your picture, for example, a rock formation, and have your subject in the middle ground to create a sense of depth in your photo.
There are other composition techniques to try, and it's all about thinking creatively with the scenery you're working with!
9. Keep calm and be patient
Rome wasn't built in one day, and quantity doesn't mean as much as quality in the photography world. You have to be patient when you're shooting and wait for the right timing to take your picture.
If the clouds are messing with the sunlight, wait 10 minutes and see if it doesn't get better then. There's no point in doing so much preparation if you are not patient while you're on location.
So remember to think of it as a marathon and not a sprint, and don't get stressed just because you haven't gotten any good pictures in the first 30 minutes of your shoot. It's the mindset that professional photographers have. They'd rather wait a few hours for the perfect moment!
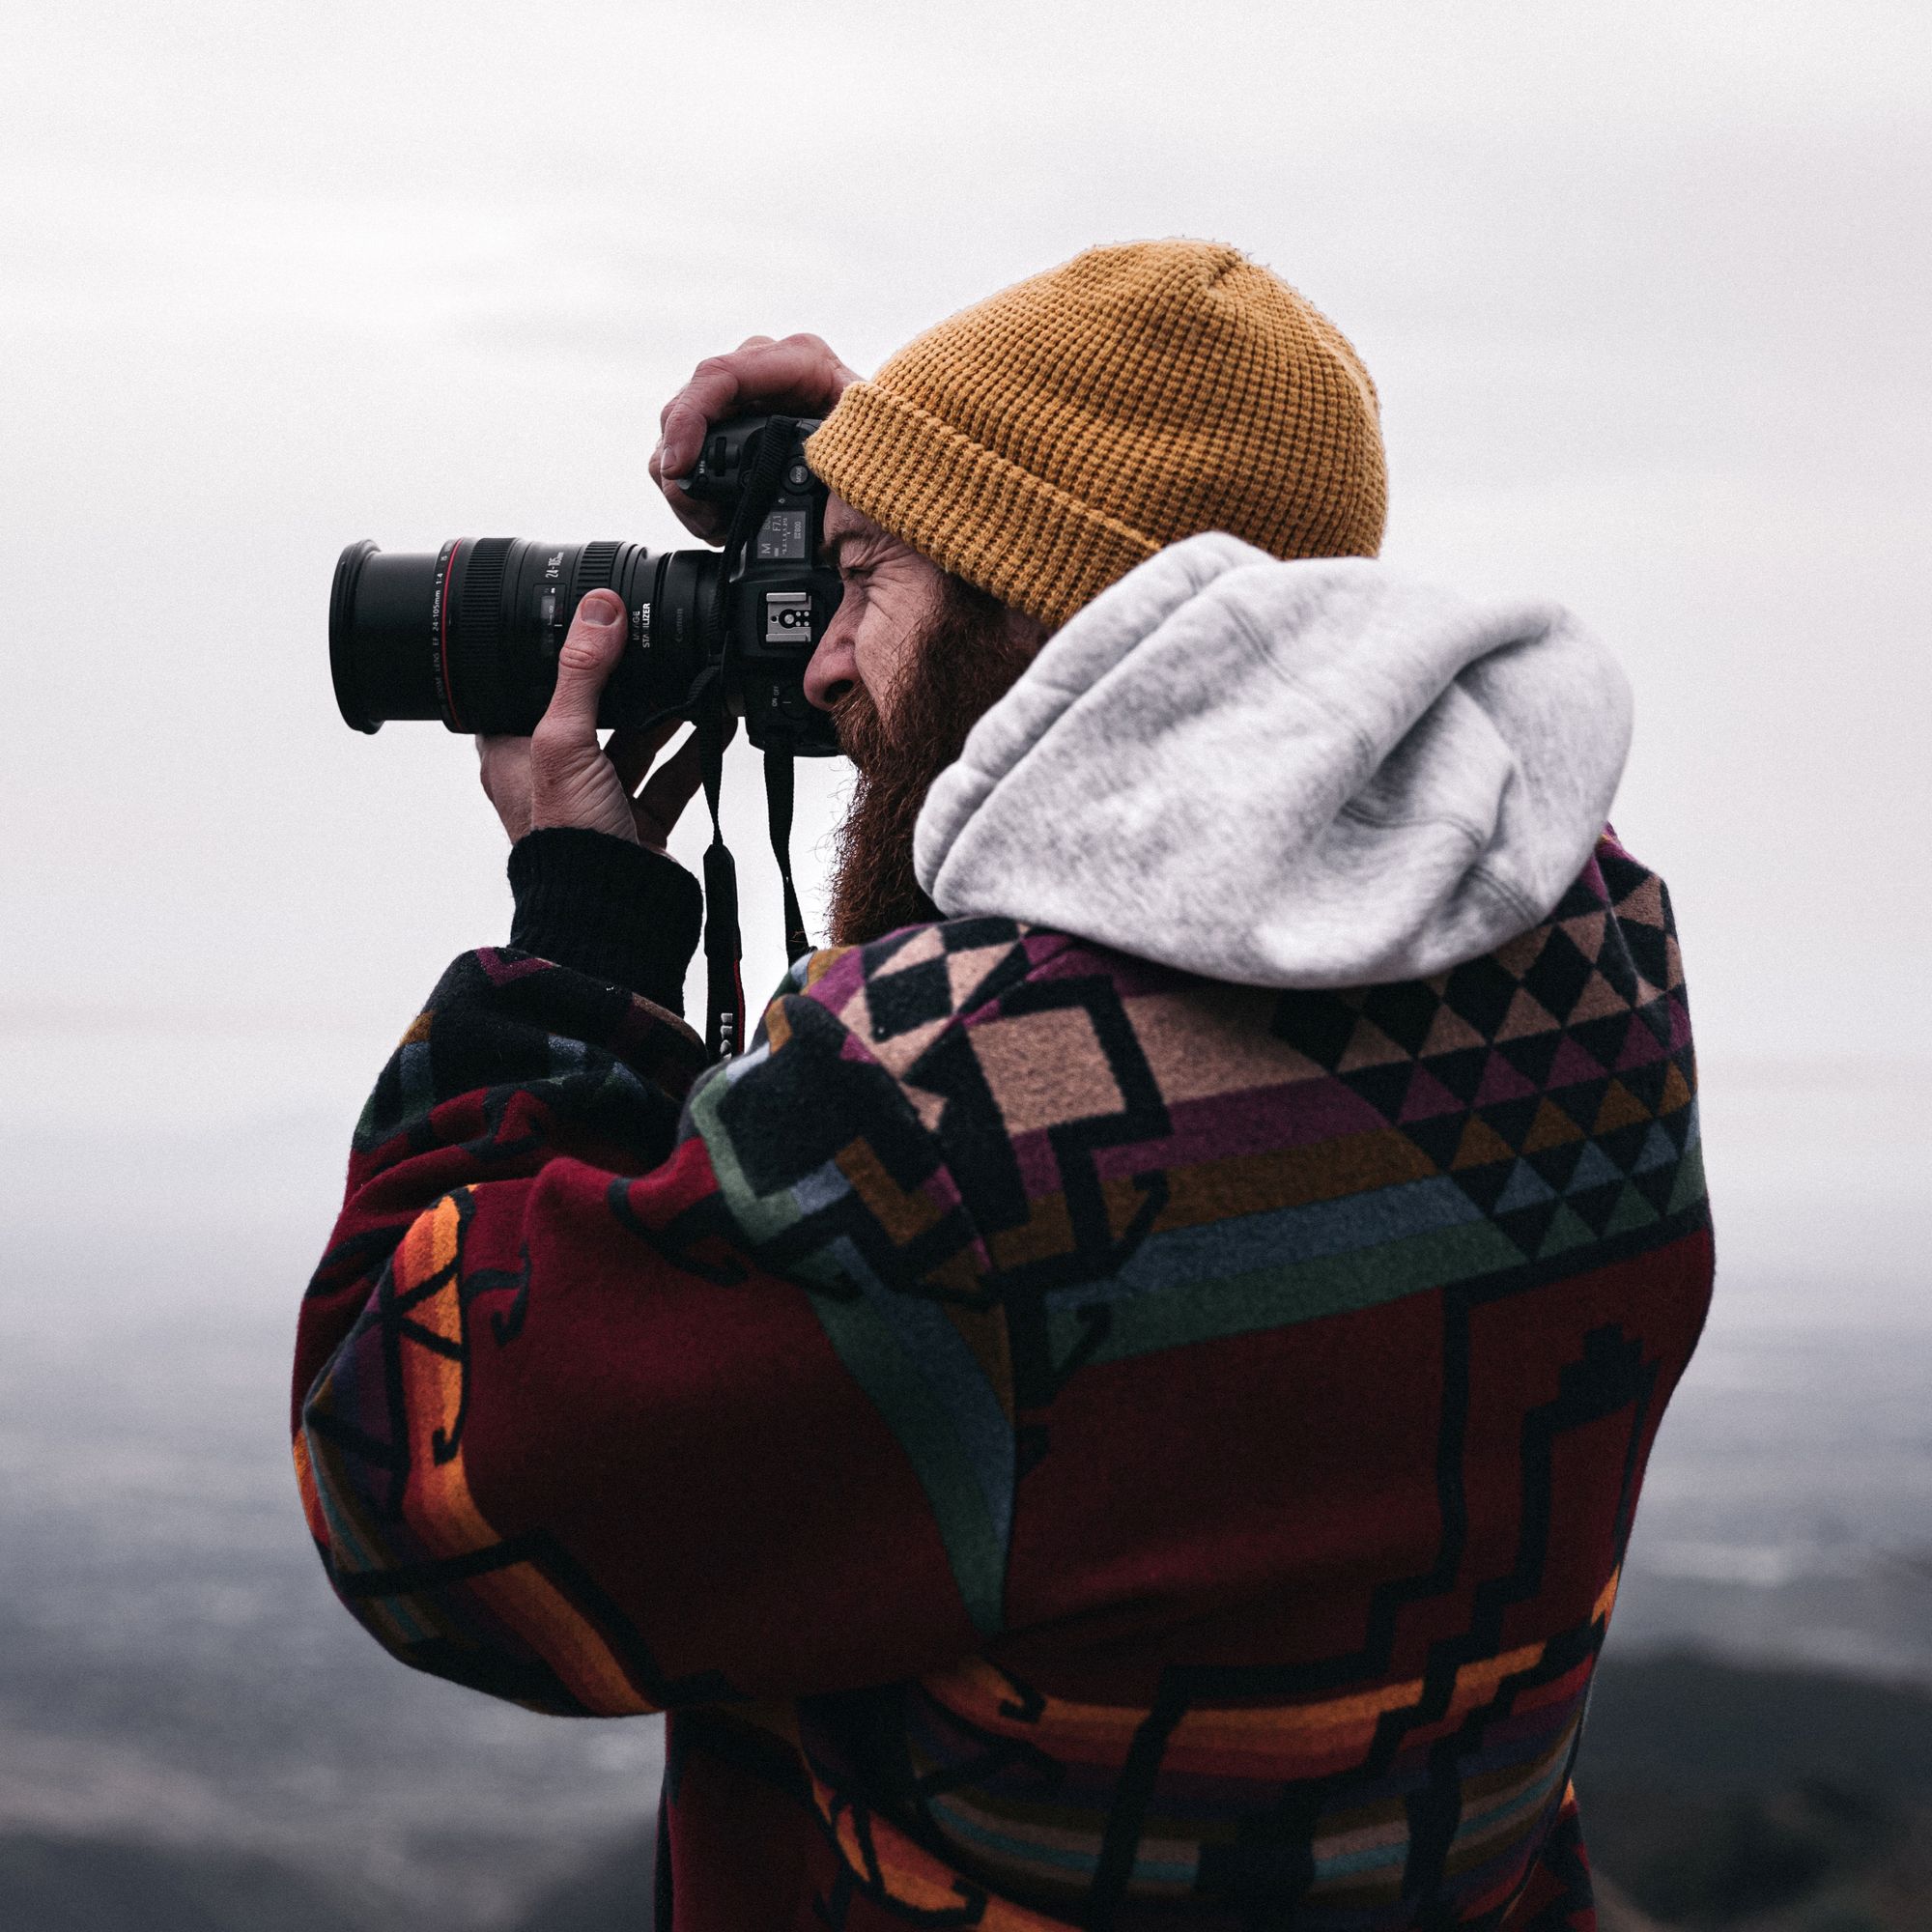
10. Shoot in manual mode
Technology has come far. But in photography, it hasn't come far enough yet.
The best way to set up your camera settings is to keep it on manual. When shooting in manual mode, you will have to set the ISO, aperture, and shutter speed yourself, and it is not as complicated as it sounds!
Your ISO determines how sensitive your camera is to light. A high ISO will give you a high light sensitivity. It gives you the ability to take pictures in darker environments, but with the downside of getting grainy photos. Ideally, you'd want to shoot with low ISO to get the sharpest shots possible, but it depends on how bright it is outside.
Your aperture will determine how much light enters your lens. It sounds similar to ISO, but it's more about the depth of field you want to capture. It's calculated in f-stop numbers, stylized like f/1.4, f/2. The lower your f-stop number is, the more your depth of field will be. Your depth of field determines how blurry the outside of your picture is, which can give a photographic look.
Your shutter speed determines how long your lens is exposed to the light before you take the picture. With a slow shutter speed, you will achieve a motion blur effect with moving objects, and with a higher shutter speed, it will be much sharper. A slower shutter speed will let in more light, which will give more brightness to your images in low-light situations.
So consider these and how they will impact your photography when you're out on your next shoot.
11. Shoot in RAW
I can't emphasize this enough, when you're doing professional photography, you should always shoot in RAW!
RAW is a filetype, just like JPEG and PNG. Unlike JPEG and PNG, RAW doesn't compress your images. This gives you a more detailed picture but requires more memory to save. So keep an SD card or two in hand, just in case you run out of memory.
12. Look for leading lines
It is the last framing trick, but remember, framing is important! When you're out and about, try looking for leading lines, as they provide awesome framing opportunities for you.
E.g. if you're shooting a statue, and there's a path leading directly up to it, use it in the foreground to draw your viewer's eye towards it. This can also be a straight road with a mountain or a tree in the background.
13. Practice your editing skills
Remember that most of the pictures you see online are edited in post-production to give it a final touch. And no, it's not cheating!
I am not talking about photoshopping random objects into your image, but simply adjusting the saturation, temperature, contrast, and exposure.
Up Next: Explore travel filmmaking
Now that you've gotten the hang of travel shots, why not learn about travel filmmaking?
Here you'll learn everything you need to know and consider when traveling filmmaking, and we even have a FREE masterclass video ready for you!
About the instructor
Tom Norman
Videographer
London, United Kingdom
Thomas Alex Norman is a professional filmmaker, YouTuber, and musician. He regularly posts videos about travel filmmaking, editing, gear, and more.
FAQs
What is travel photography?
Travel photography is photography done when you're traveling to different locations and countries.
How much to charge for travel photography?
It depends on the rarity and quality of the picture. If you take a picture that everyone else has, it's not going to be as valuable.
What makes a good travel photographer?
A good travel photographer is patient and great at snapping pictures when the opportunity arrives. A good travel photographer should learn about framing and composition.
How do you do travel photography?
First, you should learn the basics of photography and then apply them when traveling. You can always start out on your own holiday and see if you enjoy spending most of your time shooting awesome pictures.