Create Rembrandt Lighting in 3 Steps & 5 Tips to Improve Your Technique
Rent film gear from local filmmakers.
Rent film gear from local filmmakers.


If you're starting with portrait photography but can't get the right look for your pictures, you could use some lighting techniques.
There are many lighting techniques for portraits, but one of the most well-used and proven ones is Rembrandt lighting.
Rembrandt lighting is a photography lighting technique that helps illuminate your subject and make your photos look interesting. The technique may seem advanced, but luckily there a tricks to achieve it every time.
We're here to help you do just that!
If you want to learn more about photography, consider reading our article on photography 101. Here you will learn all of the basics of photography!
What is Rembrandt lighting?
Rembrandt lighting has its name after the legendary Dutch painter Rembrandt, who used this type of lighting in his paintings.
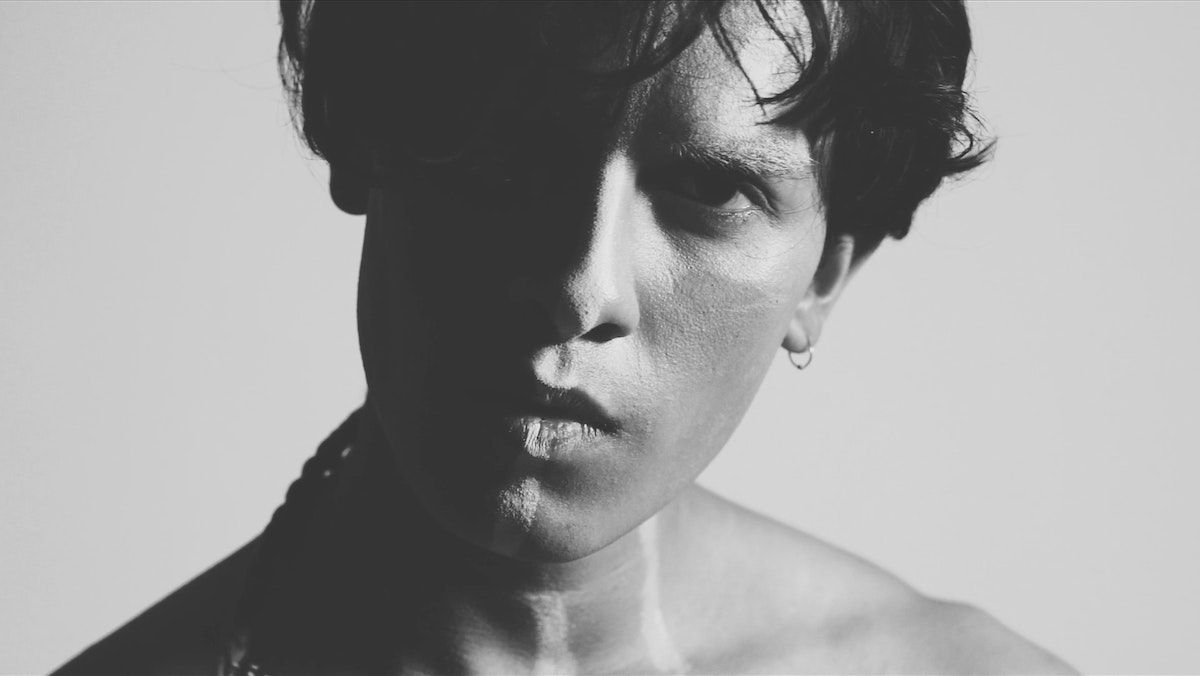
Rembrandt lighting is used in portrait photography to give pictures a natural but exciting look. It is characterized by an illuminated triangle, named the Rembrandt patch, underneath the eye of the subject.
Rembrandt's lighting helps draw attention to the subject's face and eyes. And if there's one thing we know about portraits, it is that viewers are drawn to the eyes of the model.
But Rembrandt lighting isn't just used in portrait photography.
The technique is also used in cinematography to create specific effects in the frame.
The main reason cinematographers use Rembrandt lighting is to highlight an emotional change in characters or intense scenes.
Because the lighting is so good at creating a dramatic effect, it highlights the intensity. It helps the audience understand the character's state of mind.
Rembrandt lighting characteristics
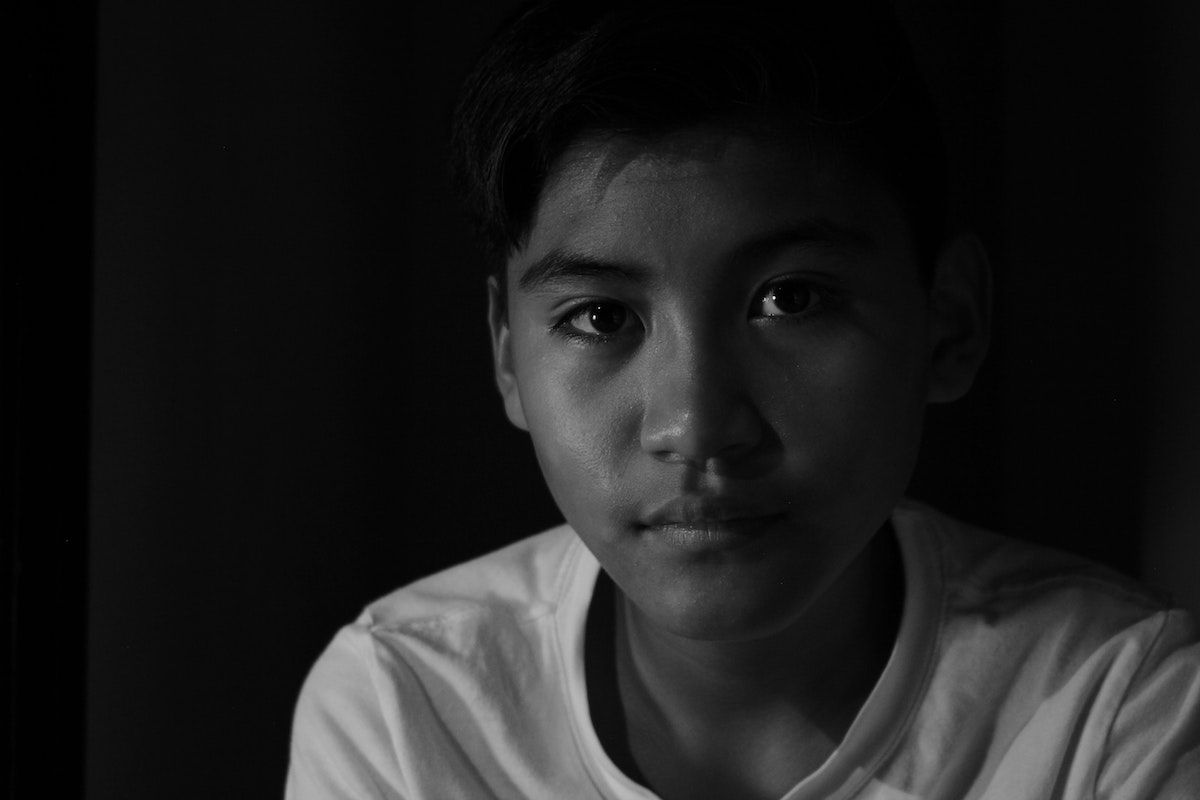
- A triangle of light beneath the one eye of the subject
- Depending on distance, it can be subtle or intense.
- Adds a dramatic effect to your model.
- Helps draw the eye of the people who see the photo.
Why you need to master Rembrandt lighting
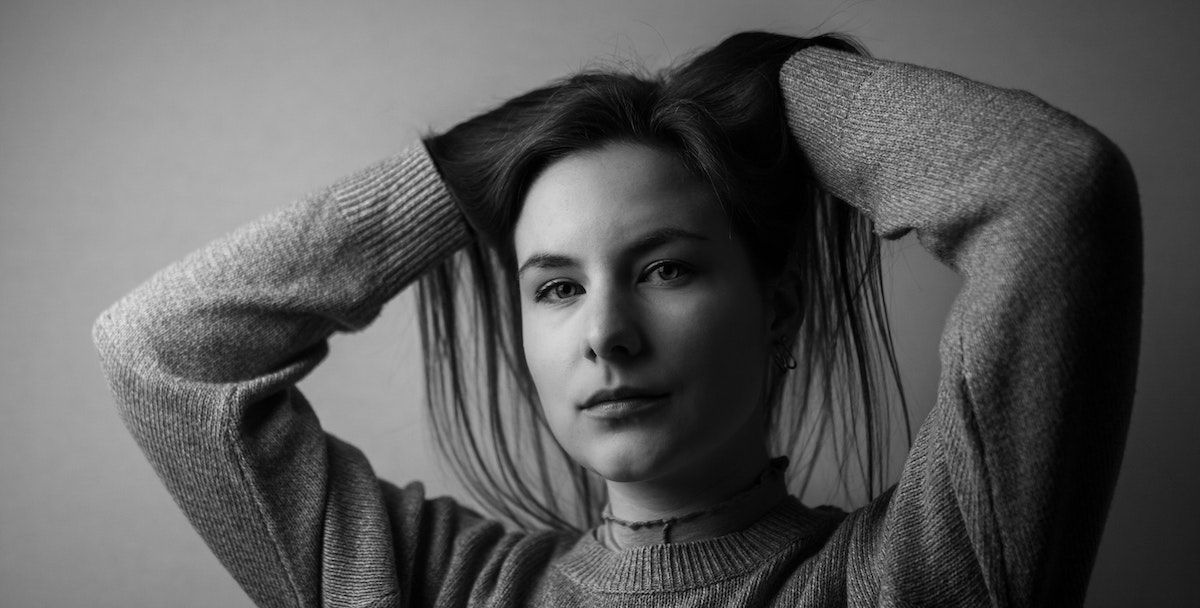
If you haven't found a way to make your portrait photography look attractive, then Rembrandt lighting can help you!
The lighting will give a dramatic effect to the portrait. It will provide the photo with more intensity and make it seem sophisticated.
The shadowy areas will also contrast the lit-up area. Doing so helps draw the viewer's eyes to the focal point.
How to create Rembrandt lighting in 3 steps
Creating the Rembrandt lighting effect sounds complicated, but it actually isn't!
Here are three simple steps to help you get the proper lighting every time!
1. Establish your camera position
Place your camera in the middle, facing the model.
Make sure that you're a few feet away from your model. In this way, you do not block the lighting. You can always adjust your position afterward.
2. Stage your key light
Place your key light at 50 degrees or a wider angle with the model's nose. It has to be lifted above the model's face, angled down at them.
3. Position your reflector
Place your reflector on the opposite side of your model, a couple of feet away from their face. This should be at a 45-degree angle.
5 Tips for better Rembrandt lighting
There are always ways to improve your technique.
It might come out better sometimes than others, but luckily there are ways for you to improve your technique.
We have compiled five tips for improving your Rembrandt lighting and ensuring your results look professional!
1. Choose a shooting location
If you aspire to be a portrait photographer - get a proper shooting location.
It does not HAVE to be a full-on photography studio, but having a room where you control all lighting does wonder for your photography.
Natural lighting can be a great way to achieve lighting in your photographs. Still, it is far too unreliable, and you have no control over it.
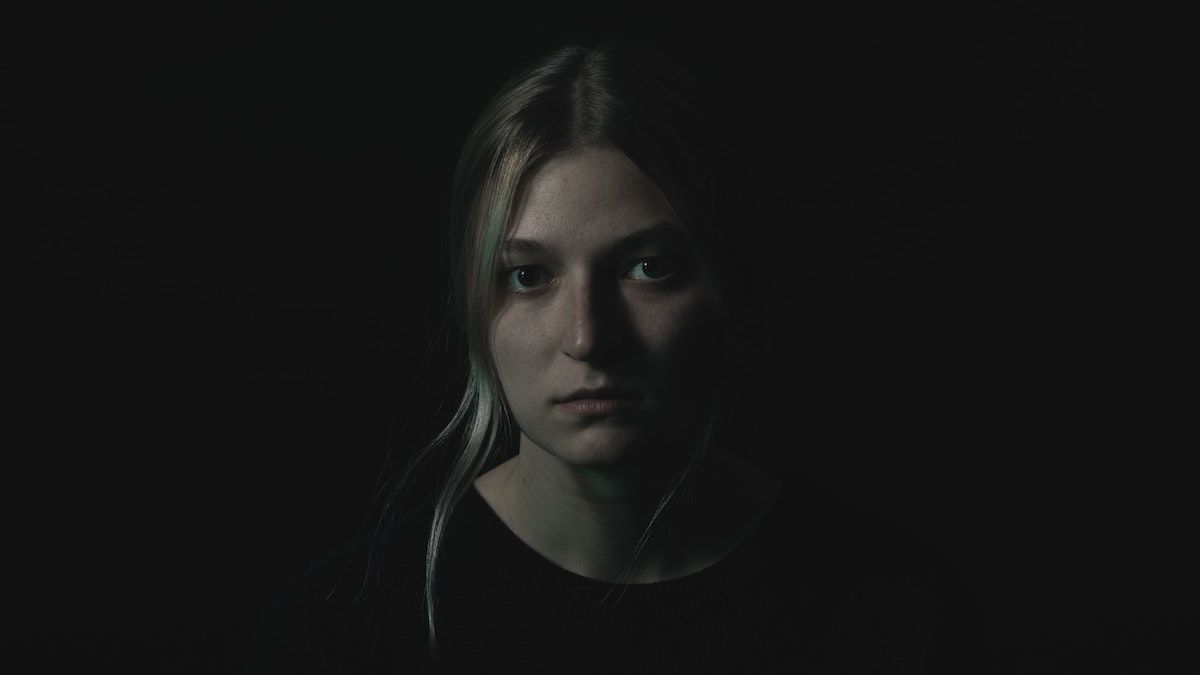
If you have a light background, such as a white wall, you risk the light reflecting off the wall and giving you bad results. So set up in a dark room with your lighting and camera equipment, and ensure you have a dark background to line your subjects against.
A dark background will absorb the light and give you complete control of the lighting.
Once you have your room set up, consider marking your lighting spots with some tape to set up the lighting easily.
You could always make a note on the tape if you have several. This way, you know exactly how to set up your lighting technique in a minute or two.
2. Use a spot meter
Spot metering is something that every photographer should know how to do.
It is a method used to measure light in the center dot of the frame. It measures between 1 and 5% of the frame's lighting. This helps the camera determine the appropriate shutter speed, ISO, and aperture.
Spot metering is especially great when working with hard contrasts, such as in Rembrandt lighting.
It helps enhance the contrast in the image, both the light and dark areas, and gives you incredible results.
Every modern camera should have a function that allows you to enter spot metering mode. So, you can easily find out online if you're unsure how to do it on your specific camera.
3. Shoot in RAW
Shoot in RAW.
I can't emphasize this enough when you're doing portrait photography, you should always shoot in RAW!
RAW is a file type, just like JPEG and PNG. Unlike JPEG and PNG, RAW doesn't compress your images. This gives you a more detailed picture but requires more memory to save.
Keep an SD card or two in hand, just in case you run out of memory.
Regardless of nailing the lighting in the picture or not, there's no shame in using post-processing software to enhance your images.
RAW gets you the most out of your photographs, which also goes for the contrast in your photos.
It also makes editing your pictures in post easier if you want to emphasize the contrast even more. And the best way to do that is by editing RAW images because they have the most details.
4. Consider using flash and a light stand
You should consider using a flash as your key light to achieve the ultimate intensity.
To do this, you'll need to have an external flash where your key light would be.
You'll also need a light stand to hold your flash at the same angle your key light was placed.
5. Play with the light triangle position
This might seem confusing because we just told you the rule of thumb to achieve the correct light triangle position, right?
While that is true, there's another thing that's also true: rules are meant to be broken.
By playing around with the position of your lighting, and your model, you can change how the triangle appears.
This will give you different results and make for more unique photos. You just have to consider what story you want the portrait to tell and consider if the triangle's size can affect that.
Up next: Learn all about portrait lighting
Hopefully, now you're an expert at achieving the Rembrandt lighting effect.
What's next for you?
If you're interested in continuing your journey, consider reading our article on portrait lighting. Here you will learn all the tips and tricks for lighting your portraits!
What is Rembrandt lighting?
Rembrandt lighting is a lighting technique used in portrait photography to give pictures a natural but interesting look. It is characterized by an illuminated triangle, which is named the Rembrandt patch, underneath the eye of the subject.
How to do Rembrandt lighting?
1. Place your camera in the middle, facing the model.
2. Place your key light at 50 degrees or a wider angle with the model's nose. It has to be lifted above the model's face, angled down at them.
3. Place your reflector on the opposite side of your model, a couple of feet away from their face. This should be at a 45-degree angle.