Astrophotography: 5 Tips for Taking Beautiful Pictures
Rent film gear from local filmmakers.
Rent film gear from local filmmakers.


If you want to learn how to do astrophotography, you've come to the right place.
Astrophotography is the art of taking pictures of a starry night sky. And it is hard to achieve the perfect photographs.
But fear not - because, in this article, you will learn everything you need to know about astrophotography.
If you want to learn more about taking pictures in general, you can read our article on photography 101.
Key equipment for astrophotography
If you want to start photographing the star system, you're going to need some good equipment.
We have made a list of necessary equipment for your astrophotography endeavors.
1. A DSLR or Mirrorless in manual mode
First of all, you're going to need a camera. Shocking, I know! All jokes aside, you're going to need a great camera if you want to take astrophotos.
You should aim to get a DSLR or mirrorless camera that allows you to put it into manual mode. It must be manual mode because neither camera has an autofocus fitting for the night sky. You can't rely only on technology for this one!
If you want to go all-in, you're going to want to get a full-frame camera. Full-frame cameras simply perform better in low-light than other cameras. But if you're going for the budget solution, a crop-sensor camera will do as well!
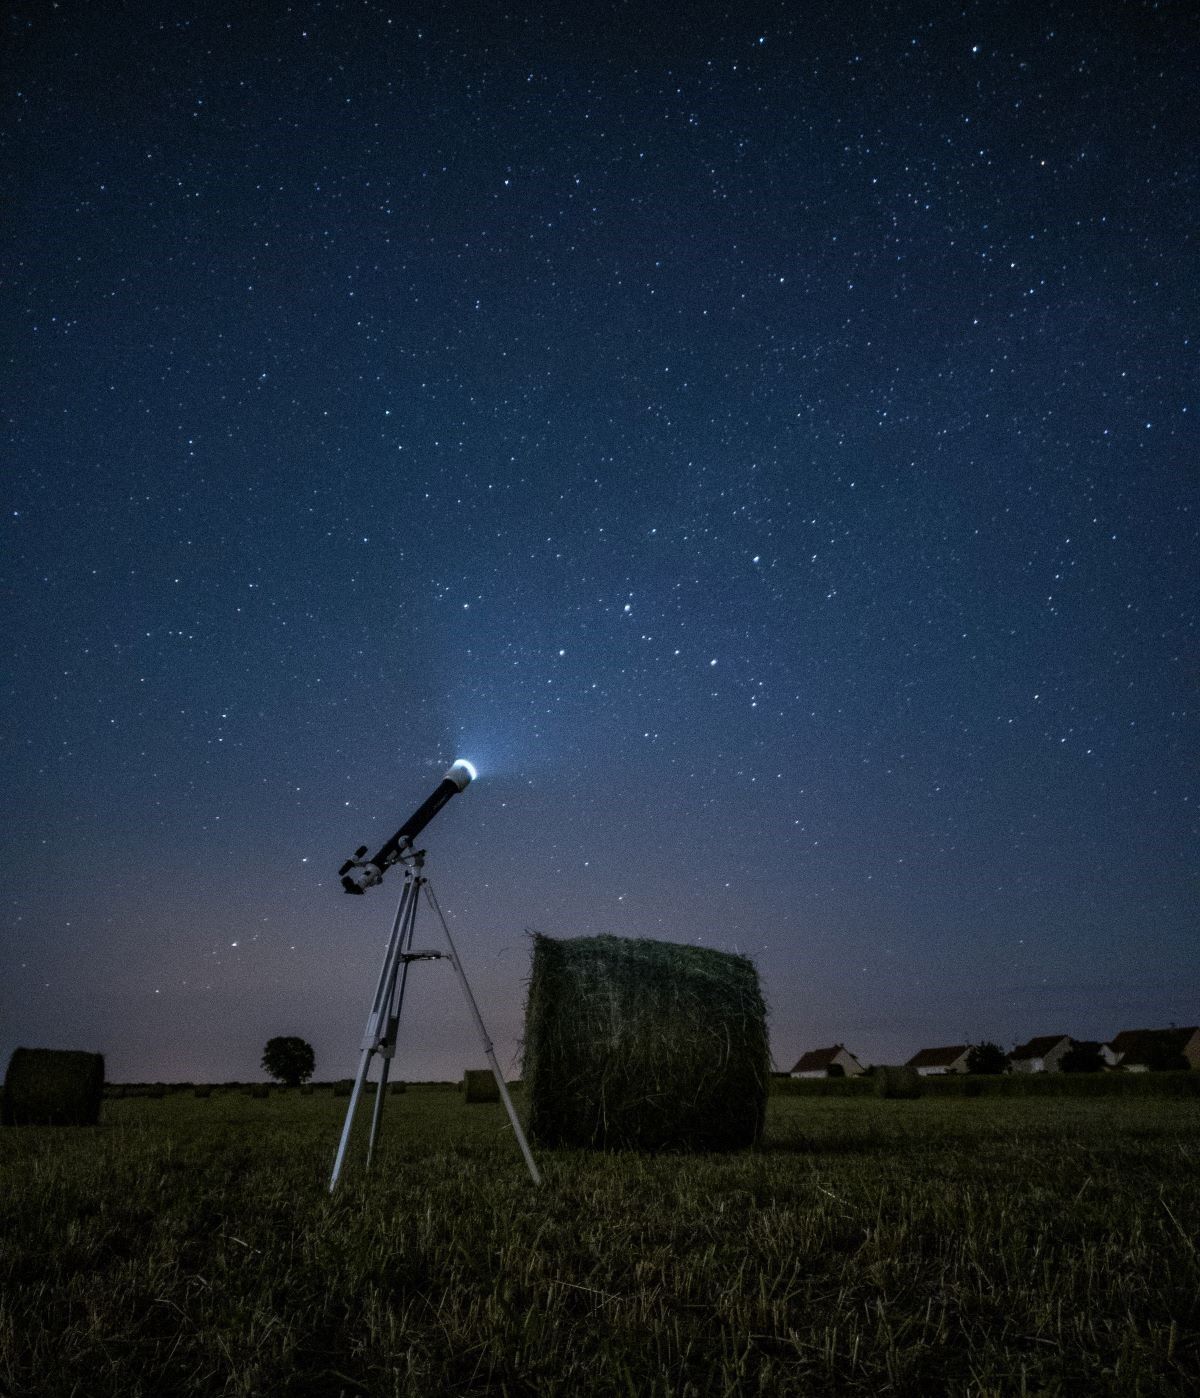
2. A telescope
If you want to be serious about your astrophotography, you'll need a telescope. Most astrophotographers start out small, so there's no need to invest several thousand on a brand new modern telescope. Just make sure that your telescope works. And you need to be sure that your camera can be mounted to the telescope.
Speaking of your camera, you'll need to invest in an adapter for your camera to actually mount it on the telescope. This makes it easier to mount your camera to the telescope, and it also makes sure that your lens fits the telescope.
3. A wide & fast lens 12-35mm
The next thing you need is a wide-angle lens that is also considered fast. The lens has to be wide-angle simply because it can capture a wider angle of the night sky. It should preferably be around 12-35mm.
If you've already got a lens for landscape photography, then you're probably set to go. Astrophotography tends to use the same type of lenses.
As to being a fast lens, it all depends on the f-stop number. You want to go for a small f-stop number, meaning a lens with f/2.8 or lower. A faster lens lets in as much light as possible, which is needed when shooting stars at night.
4. A tripod
Unless you want to stand there all night holding your camera, you should probably invest in a tripod. Other than being a massive load off your arms, it also ensures that your camera is steady at all times.
When taking long-exposure pictures, a steady camera is vital. Even the slightest movements in your camera can blur your image and completely ruin it. So you have to have a sturdy tripod on a solid surface. A tripod is also needed for the star tracker.
5. A star tracker
A star tracker is a handy tool for taking professional-looking images. As we all learned in elementary school, the earth is always rotating. While you probably won't see it with your own eyes, your camera sure will catch it.
Usually, your long-exposure astrophotos are limited to 30 seconds to a minute. This is due to the rotation of the earth distorting the pictures.
With a star tracker, you can follow the earth's rotation. This means that your long-exposure photos can be really long-exposure photos. This makes for amazing pictures of the night sky that are unmatched without a star tracker.
6. A headlamp
This is probably the most practical tool you will need, but it is still necessary. Whenever you're doing nighttime photography, you're going to want to be as far away from light pollution as possible. That means better-looking photos, but it also means poor visibility.
That is why you'll need a headlamp, so you can keep your hands free and ready to operate your equipment. As you can see in the article, you'll need a lot of equipment, and holding a flashlight in your hand would slow you down significantly.
If you want to preserve your night vision, consider getting a red light headlamp. Yes, you might get a first-person view of every horror movie ever, but it really does help with preserving your nighttime vision.
7. A remote shutter release
Unless you have the hands of a surgeon, you're going to need a way to take photos without you touching the camera.
That's because you risk vibrations when you press the release, which can distort the images that you take. A remote shutter release is your best bet to combat this. It allows you to trigger your shutter without touching your camera.
If you don't want to invest in that, you can also use the timer on your camera if it has such a feature.
8. Intervalometer
The intervalometer is a piece of equipment for truly dedicated astrophotographers. The intervalometer is a device that automatically triggers your camera's shutter release, while you're off somewhere else.
So if you fancy not staying up all night to take pictures, then the intervalometer is the tool for you. You can program it to your liking and make it do whatever you want. Photography has never been so easy!
This also means that if you're using an intervalometer, you won't need a remote shutter release. So it is really up to you what you prefer.
5 Essential tips for astrophotography
Now that you have all of the key equipment, you'll need to actually do the shoots. We have written down 5 essential tips to enhance your astrophotography sessions.
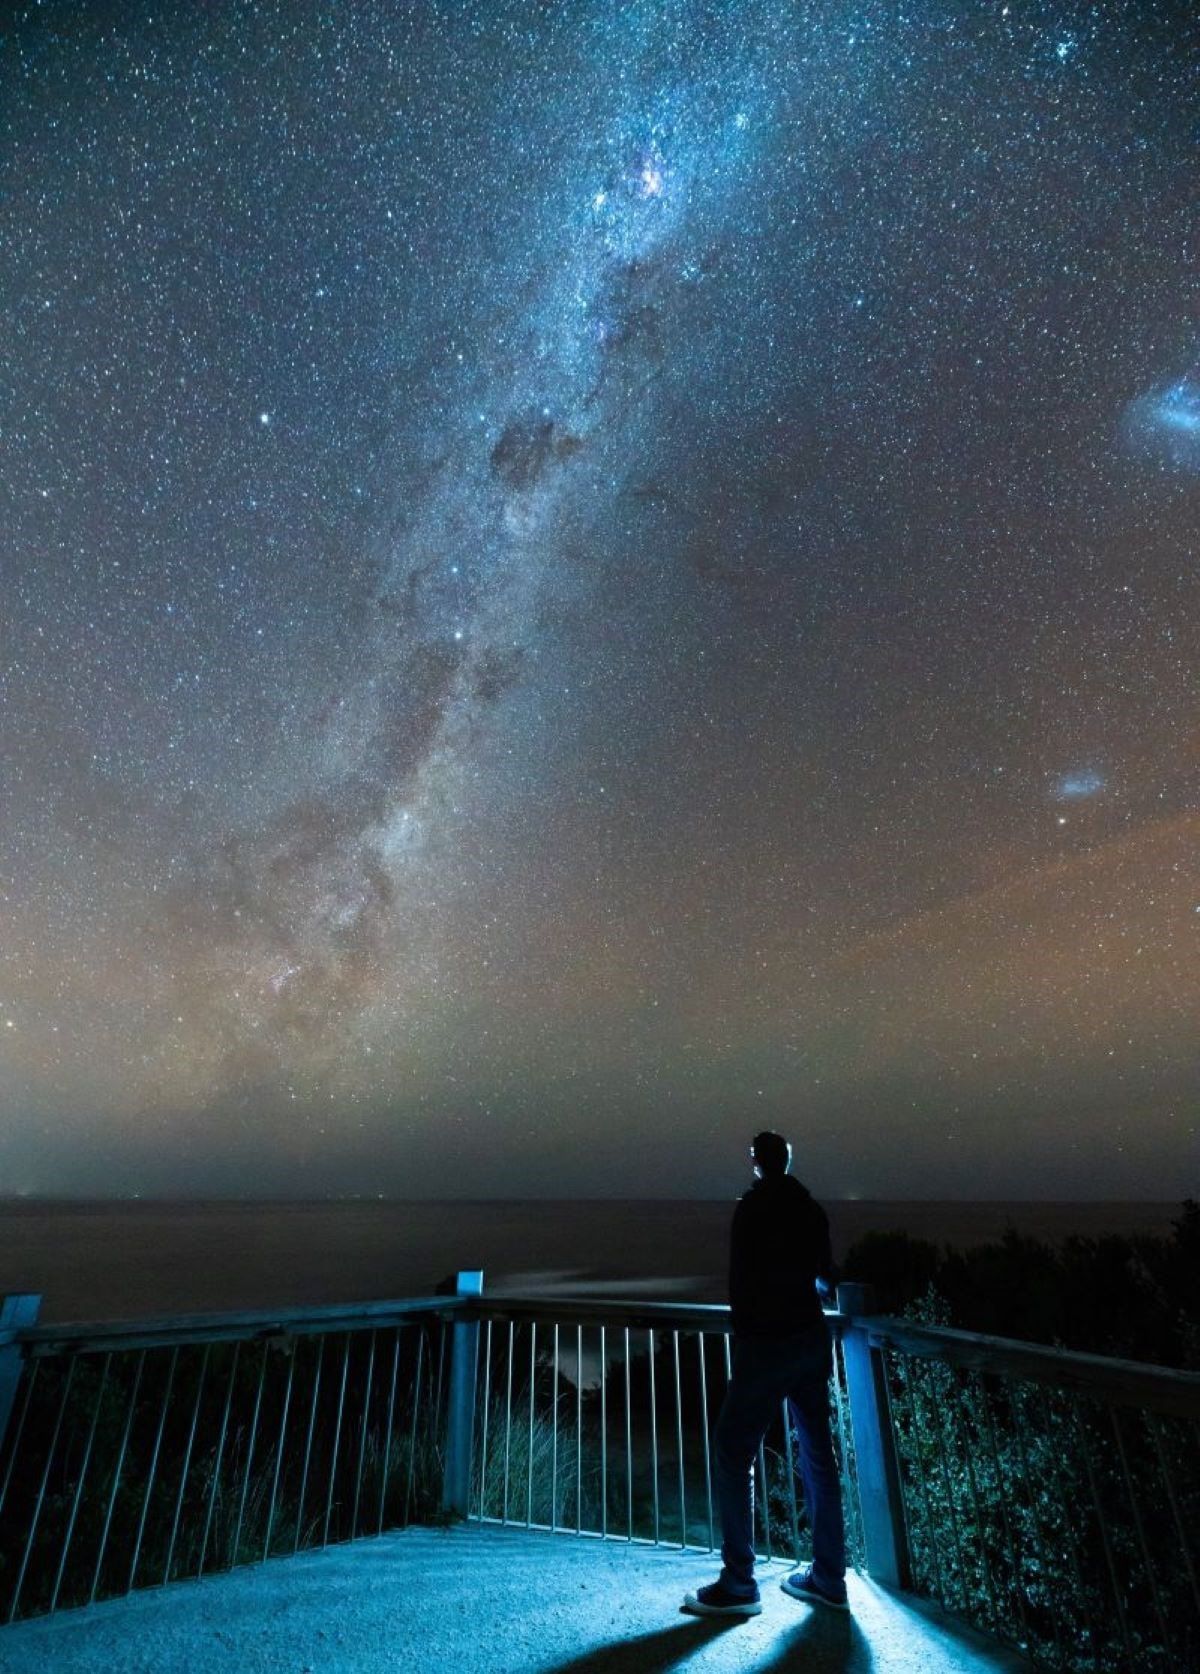
1. Plan your shooting location
Consider where and when you want to shoot. Obviously, it has to be nighttime when you start shooting, but you also have to make sure that the location is readily available.
Most beginners will probably start off by shooting in their back garden. And that is fine to get a better understanding of your equipment.
But if you want to take amazing photos, you're going to have to travel a bit. Chances are that there's light pollution from nearby light posts in your garden, and you want as little artificial light as possible.
You also preferably want a place where your camera can be undisturbed, especially if you're using an intervalometer. It's pretty expensive equipment that you're leaving out there, and it would be a shame if someone stole it.
Consider somewhere in nature, either in the woods or in a deserted area. Just make sure that you have open access to the night sky, and there aren't any trees or leaves in the way.
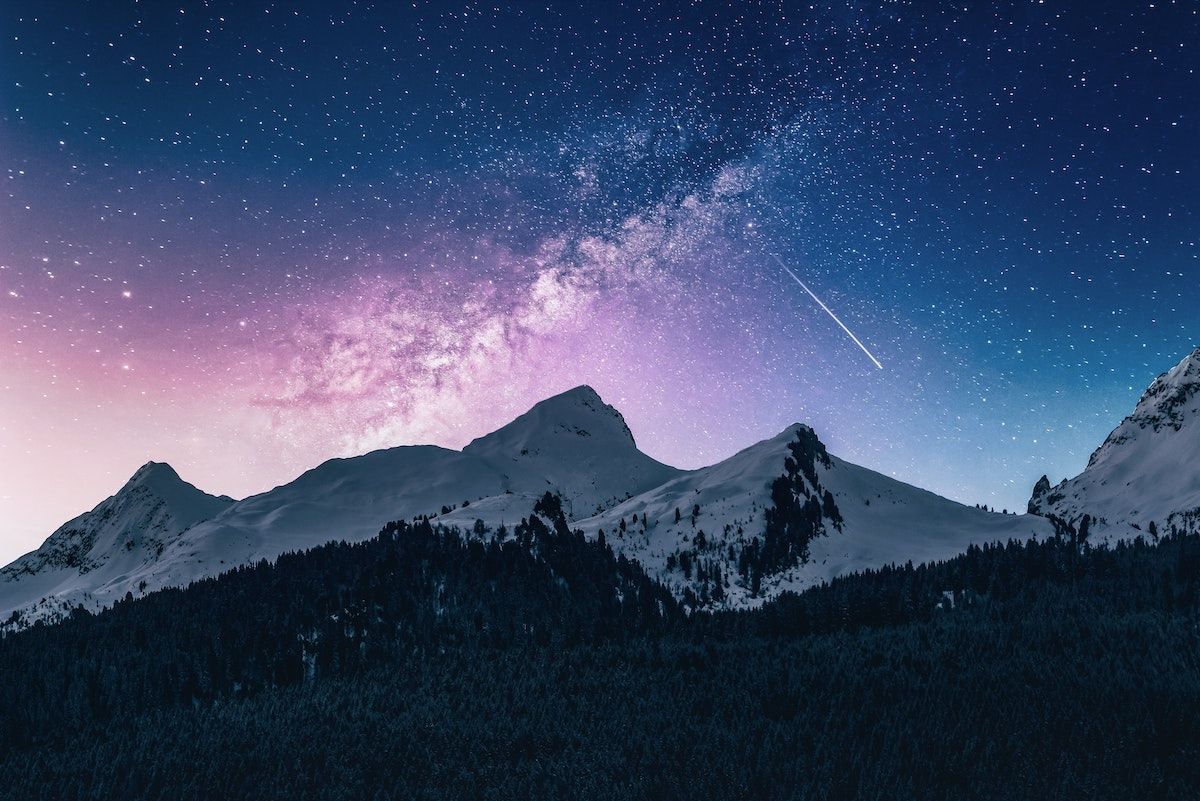
2. Know what you want to capture
Before setting up your equipment, you should decide what you want to capture.
Consider checking a star map to see any star constellations. There are also plenty of apps available for your phone, which can show you the night sky at any given time or date.
Doing research on what appears in the night sky will elevate your astrophotography.
Maybe there's a full moon, or maybe Saturn is visible. Either way, it's practical to research beforehand. If you know what you're shooting, the setup will be a lot easier.
3. Choose a high ISO
When you're setting up your camera settings, you want to pick the highest ISO your camera allows while still maintaining your image quality.
The high ISO lets in more light, which is needed for astrophotography. While a high ISO is often associated with grainy images, it is needed to let in as much light as possible.
This is also why full-frame cameras are the preferred cameras for astrophotography. Their high ISO capabilities make them the perfect tool for a night sky picture.
4. Set a minimum aperture of f/2.8
Your aperture should be at least f/2.8 or lower. The f-stop of 2.8 or lower allows you to let in more light, which again is crucial in astrophotography.
5. Adjust camera focus manually
Lastly, you want to adjust your camera's focus manually. That is because your camera simply won't be able to do autofocus in the dark.
First, you want to zoom in on your subject or any type of distant light source. Then you need to make sure that whatever you're aiming at, like a star, is as small as possible in your camera's live view. And that's it - your camera is focused.
Explore more aspects of photography
Now you're ready to take your own beautiful pictures of the night sky.
If you like being out in the field and taking pictures, consider reading our article on documentary photography.
What do I need for astrophotography?
You'll need A DSLR/Mirrorless camera, a telescope, a wide-angle and fast lens, a tripod, a star tracker, a headlamp, a remote shutter release/intervalometer.
How much does astrophotography cost?
If you already have your camera, you should expect to use between $600-$2000
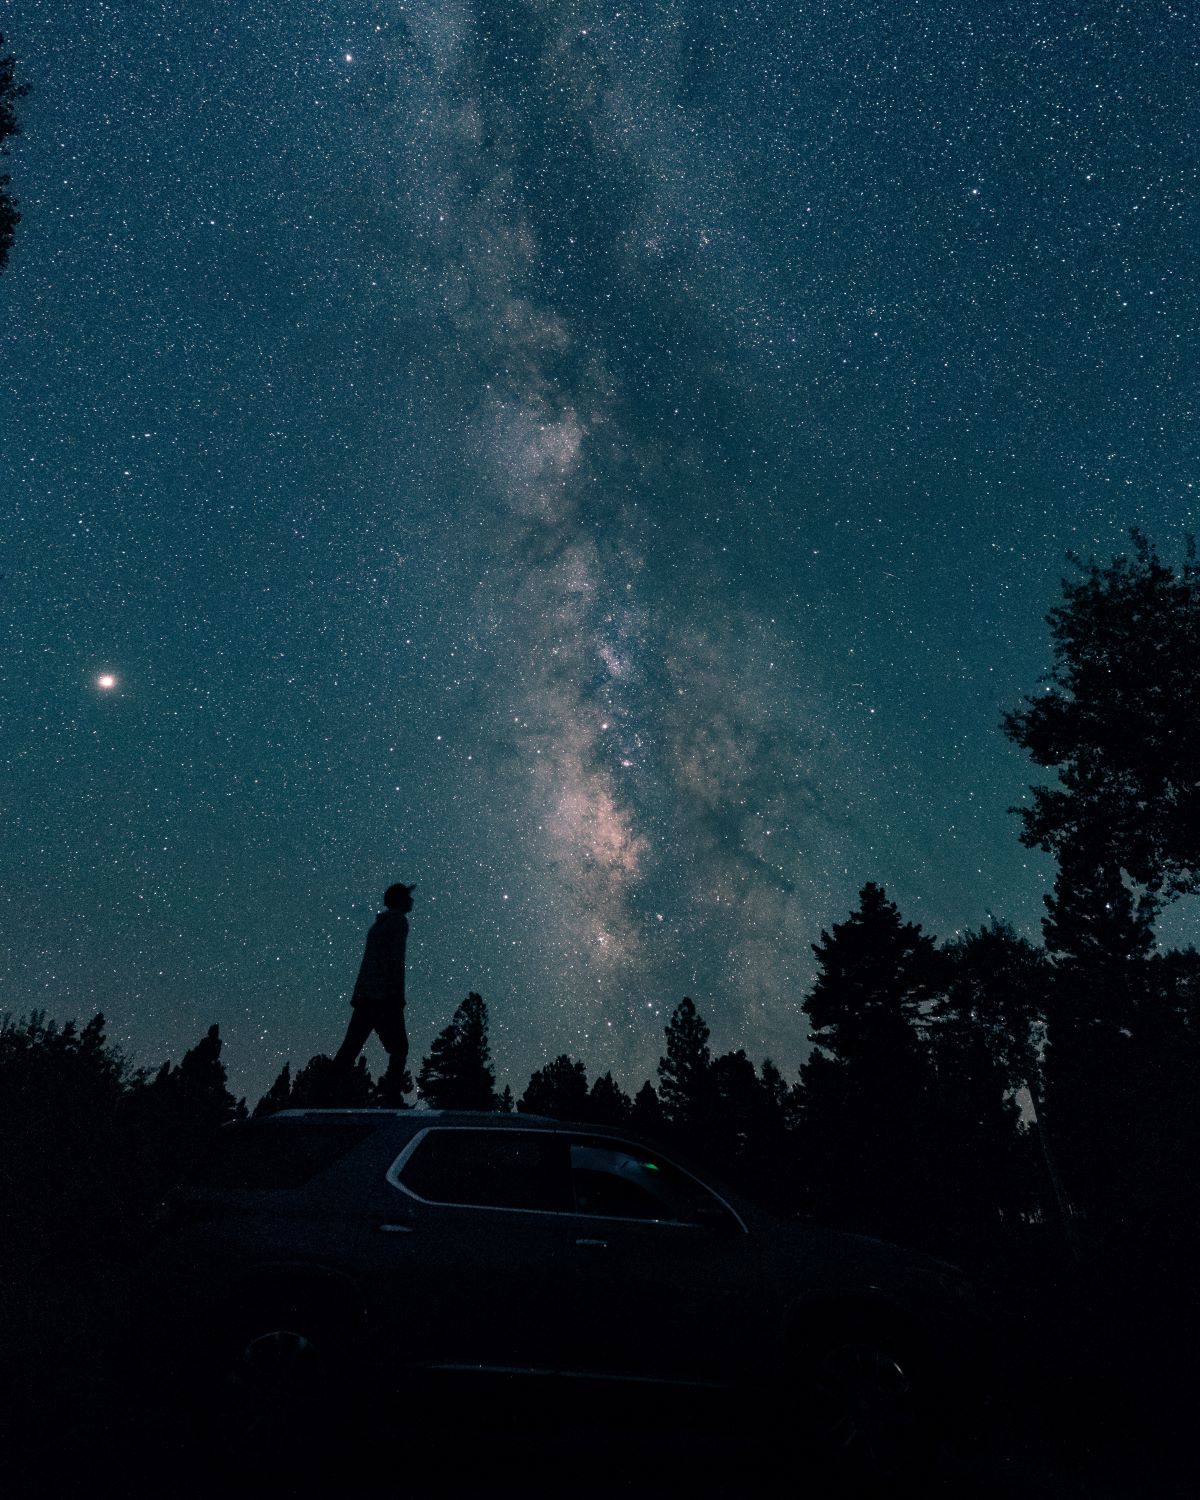
What is the purpose of astrophotography?
Taking beautiful pictures of the night sky. Astrophotography can capture things you may not be able to see with the naked eye.
What is astrophotography?
Astrophotography is the art of taking pictures of a starry night sky.