7 Valuable Tips & 5 Quick Hacks for Mastering Your Ski Photos
Rent film gear from local filmmakers.

Rent film gear from local filmmakers.
Do you love skiing and taking pictures? Why not combine the two?
Ski photography is a popular hobby, but it might seem complicated to get into. In this article, you will learn everything you need to know to get into ski photography!
Before you start reading this, consider reading our article on photography. You will learn everything you need to know about taking some good pictures!
7 tips for taking awesome ski photos
1. Wait for great weather and good snow conditions
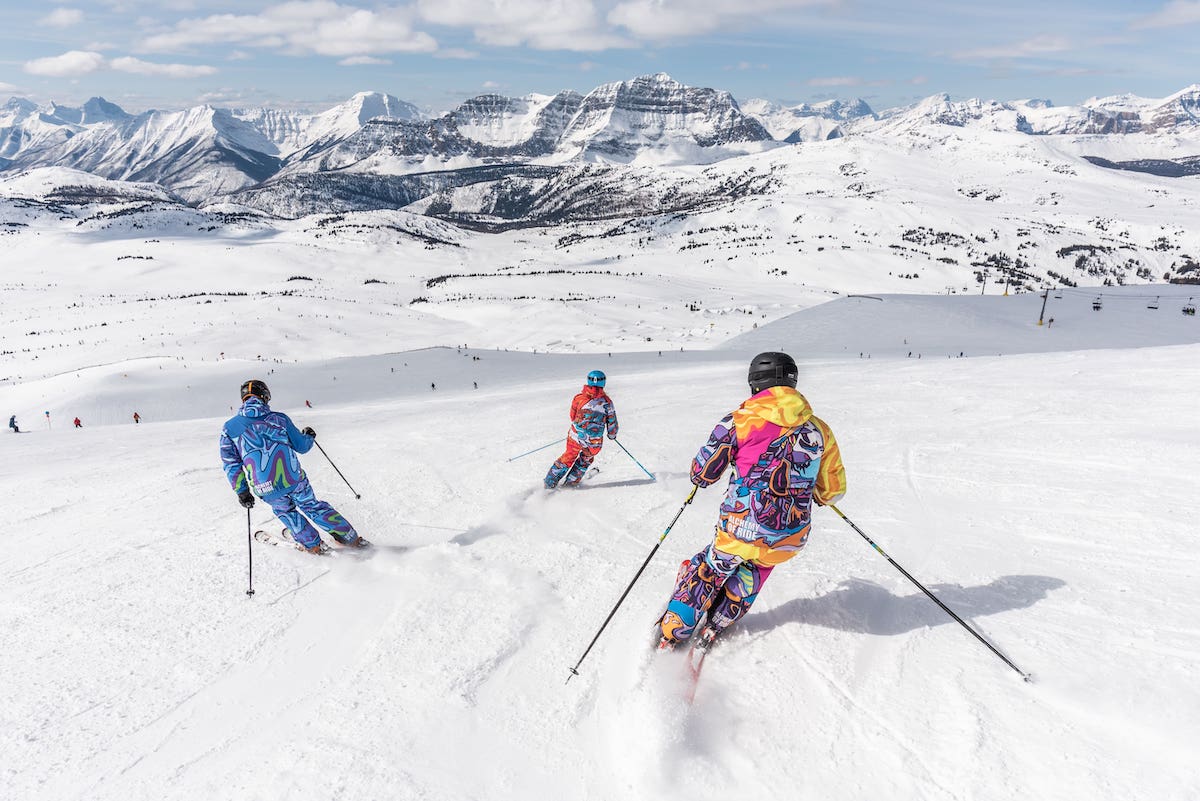
If you're booking a ski photography trip, make sure you don't go for just one day - because you can't bank on the weather being cooperative on that particular day.
Storms can be great photo opportunities if you shoot in a city. But on a mountain, they can be downright dangerous. You should check out the weather and snow conditions before going out on a shoot.
The perfect weather conditions would be getting up to freshly laid snow after a night of snowstorms. You want the storm to be over before you go out.
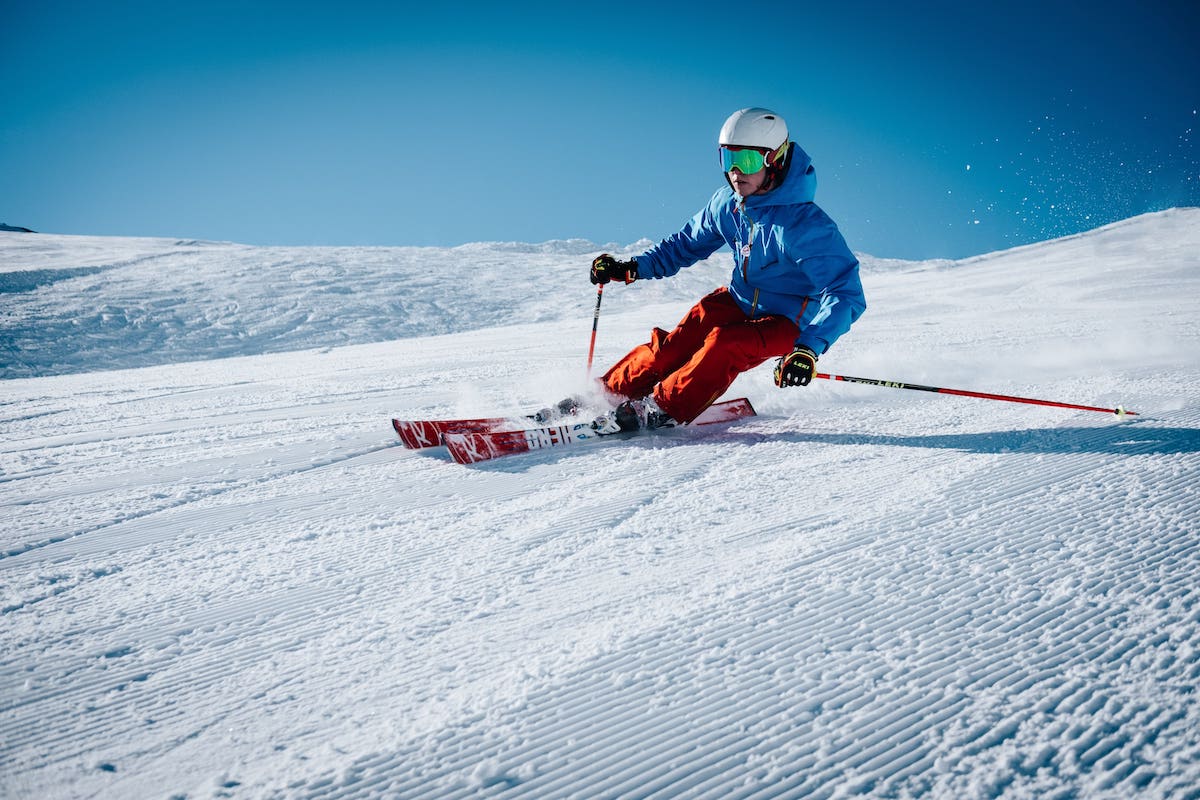
That fresh snow will provide an excellent underlay for your pictures, and it's the best snow to play around with creatively. It doesn't have to be high sun; it can be cold if you want to use condensation for your pictures. You also want it to be clear skies, so you have that awesome-looking blue background.
The most important thing is that it isn't windy, stormy, or snowing because it will be difficult to take great pictures in those conditions. Clear skies also provide fantastic natural lighting for your images, which will give you sharper pictures in the end.
2. Look for astonishing locations
You should get to know the area you're going to and do some research beforehand. In that way, you'll know exactly where to go when the perfect weather conditions set in.
Waste no time - right?
Consider keeping a list of great areas to shoot at so you always remember how to get there when the opportunity arises.
Get out on the first day and look around for places that look great, something with a great foreground or background, or places that look like they could make for a unique shot. This is where your imagination comes into play.
Try to find places that are not too far away or too hard to get to. The perfect spots are accessible, slightly remote (so no one messes with the snow before you), and doesn't require complex navigation that could lead you to get lost.
3. Manage your camera equipment
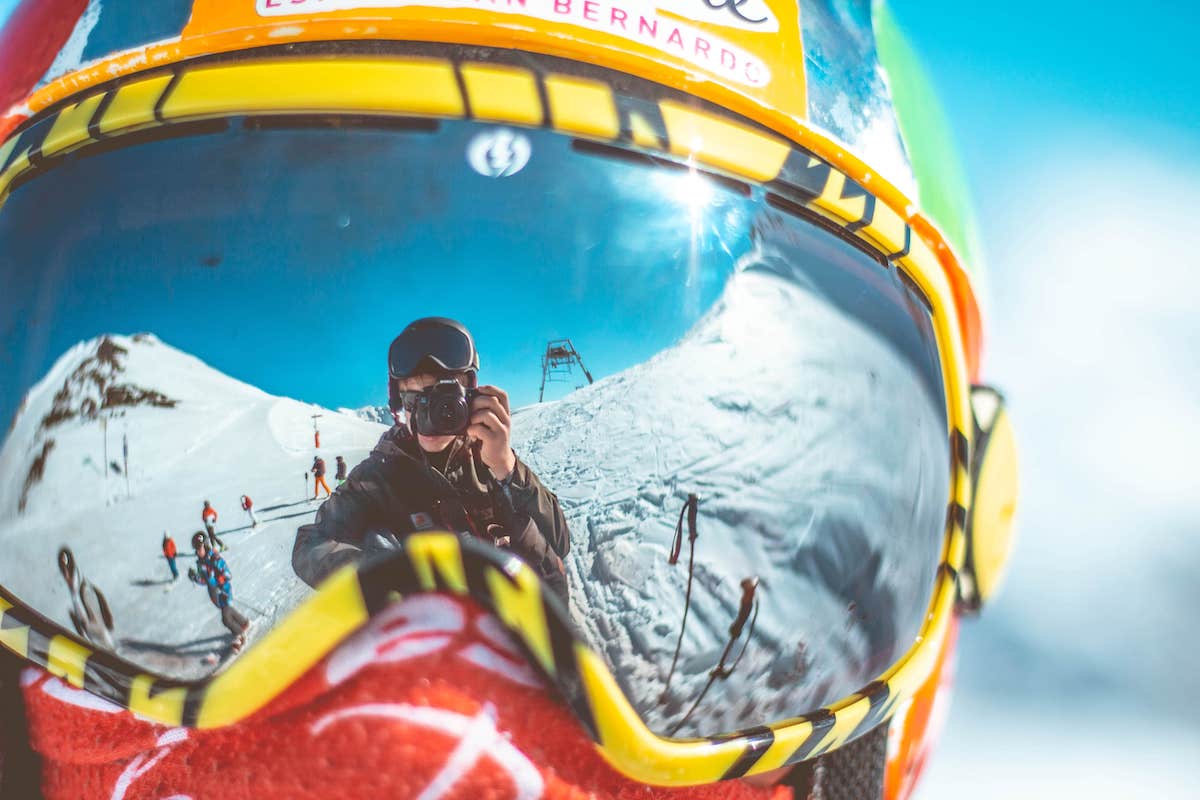
You should know how to manage your equipment when doing ski photography properly. It is similar to shooting in the rain. You want to keep your gear protected.
The best way to protect your gear is to use a lens hood/cover for your lens, which keeps it dry in any condition.
A lens hood allows you to take all shorts of awesome images with snow flying everywhere. And you don't have to worry about damaging your lens(es).
4. Manage your ski subjects
Communication is vital in ski photography. You should always tell your subjects exactly how you want the shot to go down. Plan it out with them, and agree on a particular route for them to take for you to take the best images.
One way to keep in communication with your subjects is to acquire some walkie-talkies. Then you'll be sure you can talk together because finding a signal on your phone might get tricky. And even if you could, walkie-talkies are just more durable.
You should also agree on some signals you can use with your ski poles. Something that can be seen from far away, signaling to go, wait, etc.
You can use markers such as branches or landmarks to direct them to precisely what you want. For example, if you want them to turn at a specific point, put down a marker for them to remember where to turn.
5. Consider different positions and angles
Always consider the different positions and angles that your surroundings allow you to get into.
Consider whether or not it would look cooler to take pictures from behind your subject or if you want them to move towards you or past you.
Try to find different camera angles, such as wide-angle shots or close-ups. You can also consider shooting your subject while in motion—like an action photography style.
Working with experienced skiers, you could even consider making a ski hop and taking pictures as they jump over you. Your imagination only limits the possibilities.
6. Prioritize safety
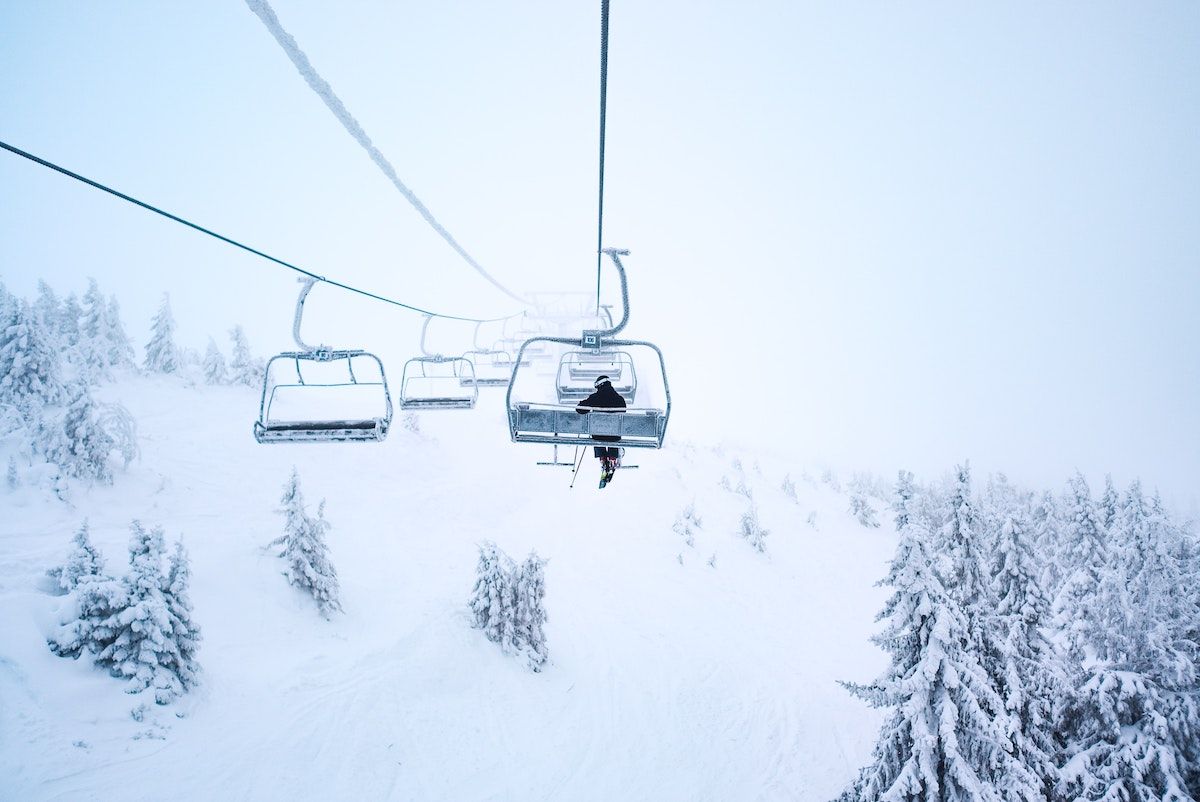
Ski photography is not a safe activity. When you're going on skis, you should never forget your safety.
Yes, you may be able to get an excellent shot in a snowstorm, but is it worth it if you get lost and potentially injured for it?
No, ALWAYS prioritize the safety of you and your subjects.
Don't do anything risky because it might make for an excellent picture. And be sure that your subject is an experienced skier and isn't just playing it up for the camera. People will do crazy things once the lens is on them.
Make sure that you're following the guidelines and safety regulations from the local government anywhere you are.
Always check the weather conditions before going out, and get an avalanche-safety kit. You can typically get by, by carrying an avalanche beacon, a small shovel, and an avalanche probe.
7. Adjust shutter speed, aperture, and ISO
When doing skiing photography, you have to make sure that your camera's set up correctly. Ensure that your shutter speed, aperture, and ISO are set up correctly.
Skiing is fast, and to get the best pictures, you'll have to take fast-moving pictures.
Recommended shutter speed
You should shoot with a shutter speed of at least 1/1000. If your subject is moving fast and skiing past you, consider setting it to 1/2000, depending on their speed.
This will allow you to capture sharp images, despite having a fast-moving subject. If you have a burst mode on your camera, use it!
Recommended aperture
In terms of your aperture, it all depends on the available natural light. But anything within f/4 - f/6 should be pretty safe to capture some sharp images.
Recommended ISO
For your ISO, try to use the lowest ISO possible. Unless, of course, you're in an area with a lot of shade. Then you probably have to put it up a notch or two.
Most of the time, you will want to keep your ISO as low as possible to gain more dynamic range and get less noise in your pictures.
5 quick tricks to hack your ski photography
1. Shoot in RAW
- It gives you the best quality images
- It makes it easier to crop the images afterward without losing quality - this means you can always edit the framing in post-production.
2. Shoot in manual
- It gives you complete control over your camera settings - specifically your shutter speed, aperture, and ISO
- If you set it up correctly, the manual mode will always give a better outcome than auto.
3. Overexpose by 1 to 2 stops
- Overexposing your images by one or two f-stops enhances the 'whiteness' of the snow. Snow can otherwise show up as grey on the final photo.
4. Test your camera's modes for action tracking
- Try to use the action tracking or autofocus system of your camera. It probably has some great features that allow for autofocus on moving subjects.
- While the manual mode is always better, autofocus can be great for shooting fast-moving subjects.
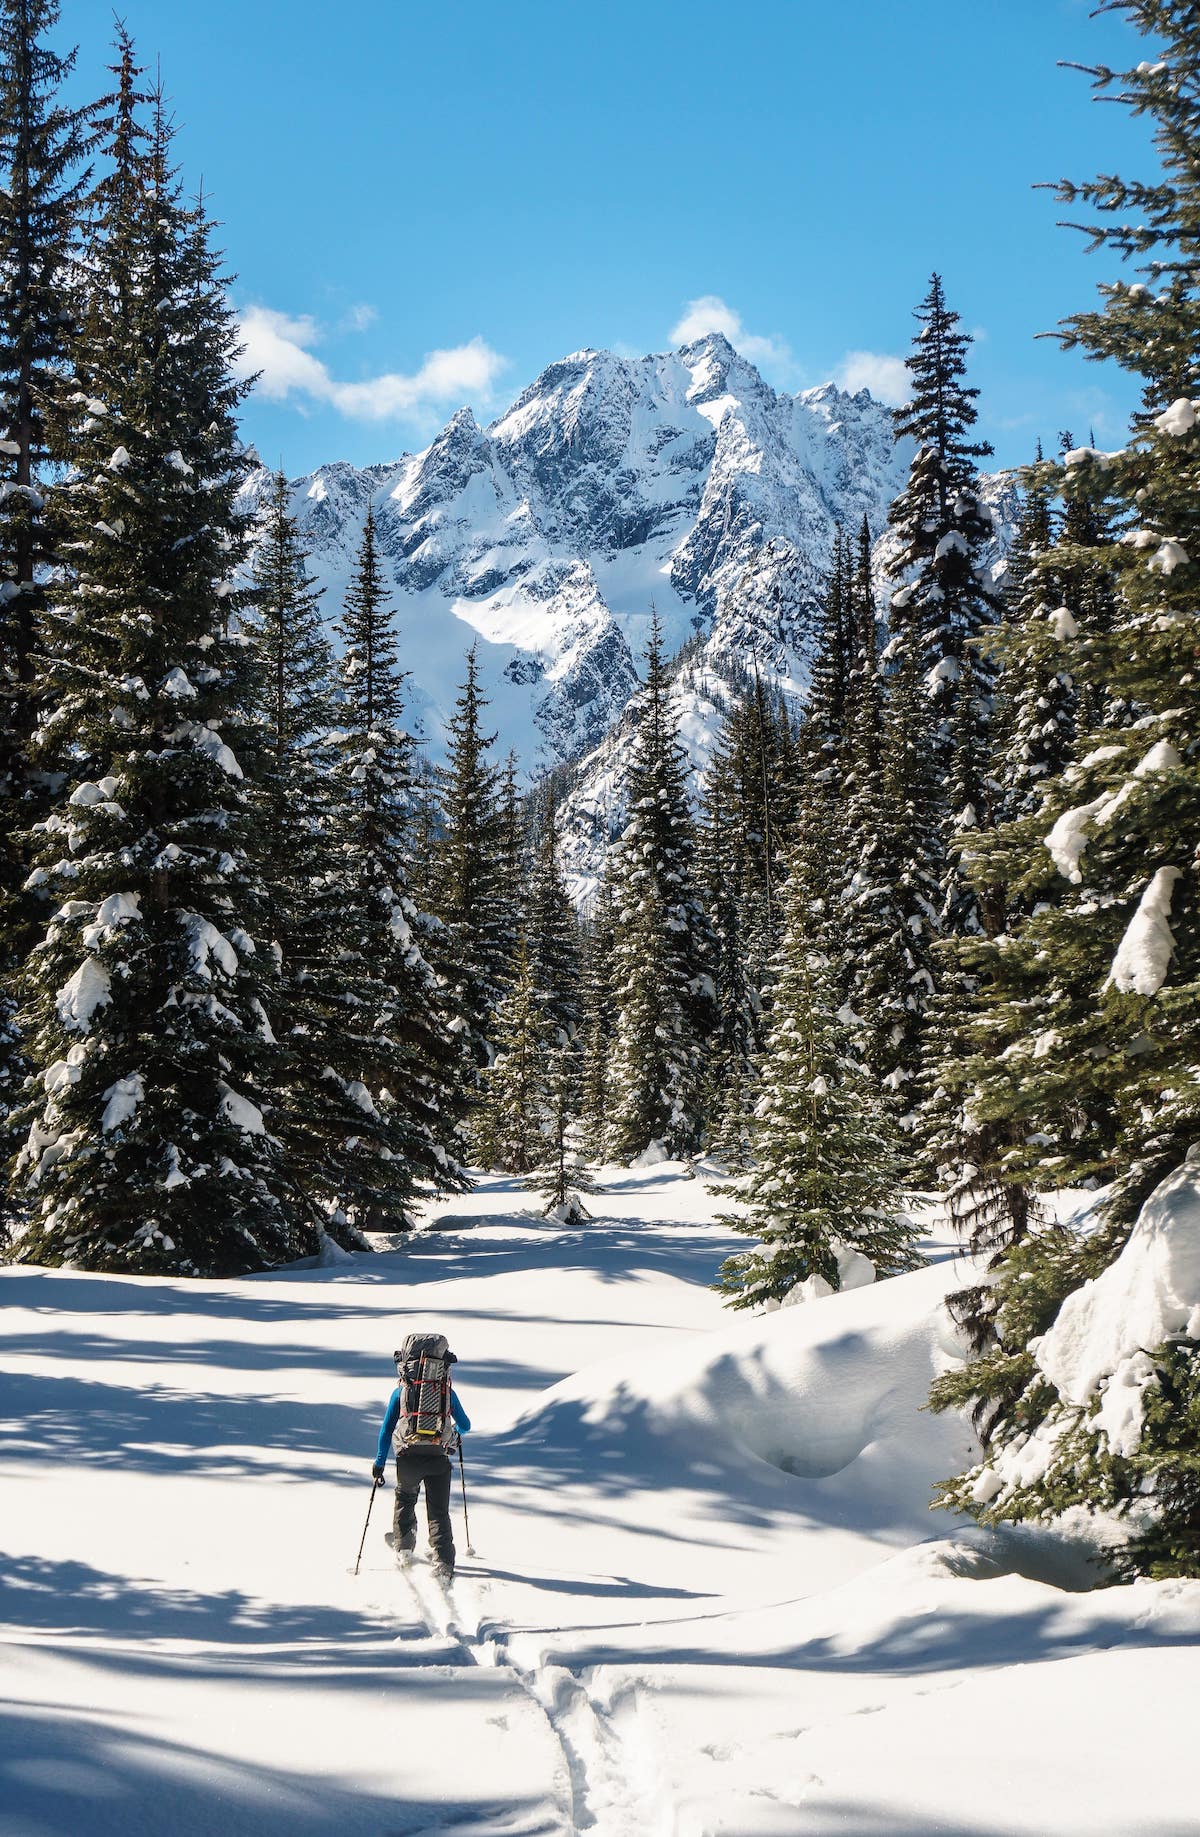
5. Look for contrast in your picture
- Look for an interesting foreground, middle ground, and/or background. Avoid taking images of your subject and the snow, but also get in nearby trees or the blue sky as a contrast.
Learn more. Become a better photographer
I hope you learned a thing or two about ski photography and that you're ready to do more than just after-ski on your next trip!
Do you want to become a better photographer in general? Then consider reading our article on fundamental photography practices.
How do you take good ski photos?
1. Wait for great weather and good snow conditions
2. Look for astonishing locations
3. Manage your camera equipment
4. Manage your ski subjects
5. Consider different positions and angles
6. Prioritize safety
7. Adjust shutter speed, aperture, and ISO
How do you carry a camera when skiing?
Use a camera backpack or a hip bag.
How do you edit ski photos?
Look at the white balance and color temperature
How do you film yourself snowboarding?
Using a GoPro/Action camera.


