Capturing Your Ink Like a Pro: 7 Tips on Doing Tattoo
Rent film gear from local filmmakers.
Rent film gear from local filmmakers.


Tattoos are notoriously tricky to photograph. They tend to affect the light, get blurry, or wash out unless the images are done by an expert.
How can you improve your tattoo photography?
Find the best gear and tips to tackle the challenge by reading on.
Do you want to learn the basics? Check out all you need to know about photography to understand camera settings and best practices in the industry.

Best camera and lens for tattoo photography
The gear you use for tattoo photography considerably impacts the final result. If you find yourself struggling to take captivating images of ink, your camera or lens could be the reason why.
Best camera for tattoo photography
Use an interchangeable lens camera like a mirrorless or DSLR to improve your pictures. RAW capabilities are important! A full-frame sensor is likely to achieve optimal results, but an APS-C will also work fine.
If you plan to shoot on location inside a tattoo studio, look for cameras with outstanding low-light performance.
Best lens for tattoo photography
The lens you use can completely transform the look of your tattoo photography. You have several options to choose from depending on your personal style. Prime lenses are preferred over zooms due to their sharper imaging capabilities.
Standard lenses, like a “nifty fifty” lens at 50mm at f/1.8 are a popular choice in the industry. These lenses provide an accurate representation of the subject without distortion.
They’re relatively easy to use since they replicate what the photographer sees with their bare eyes.
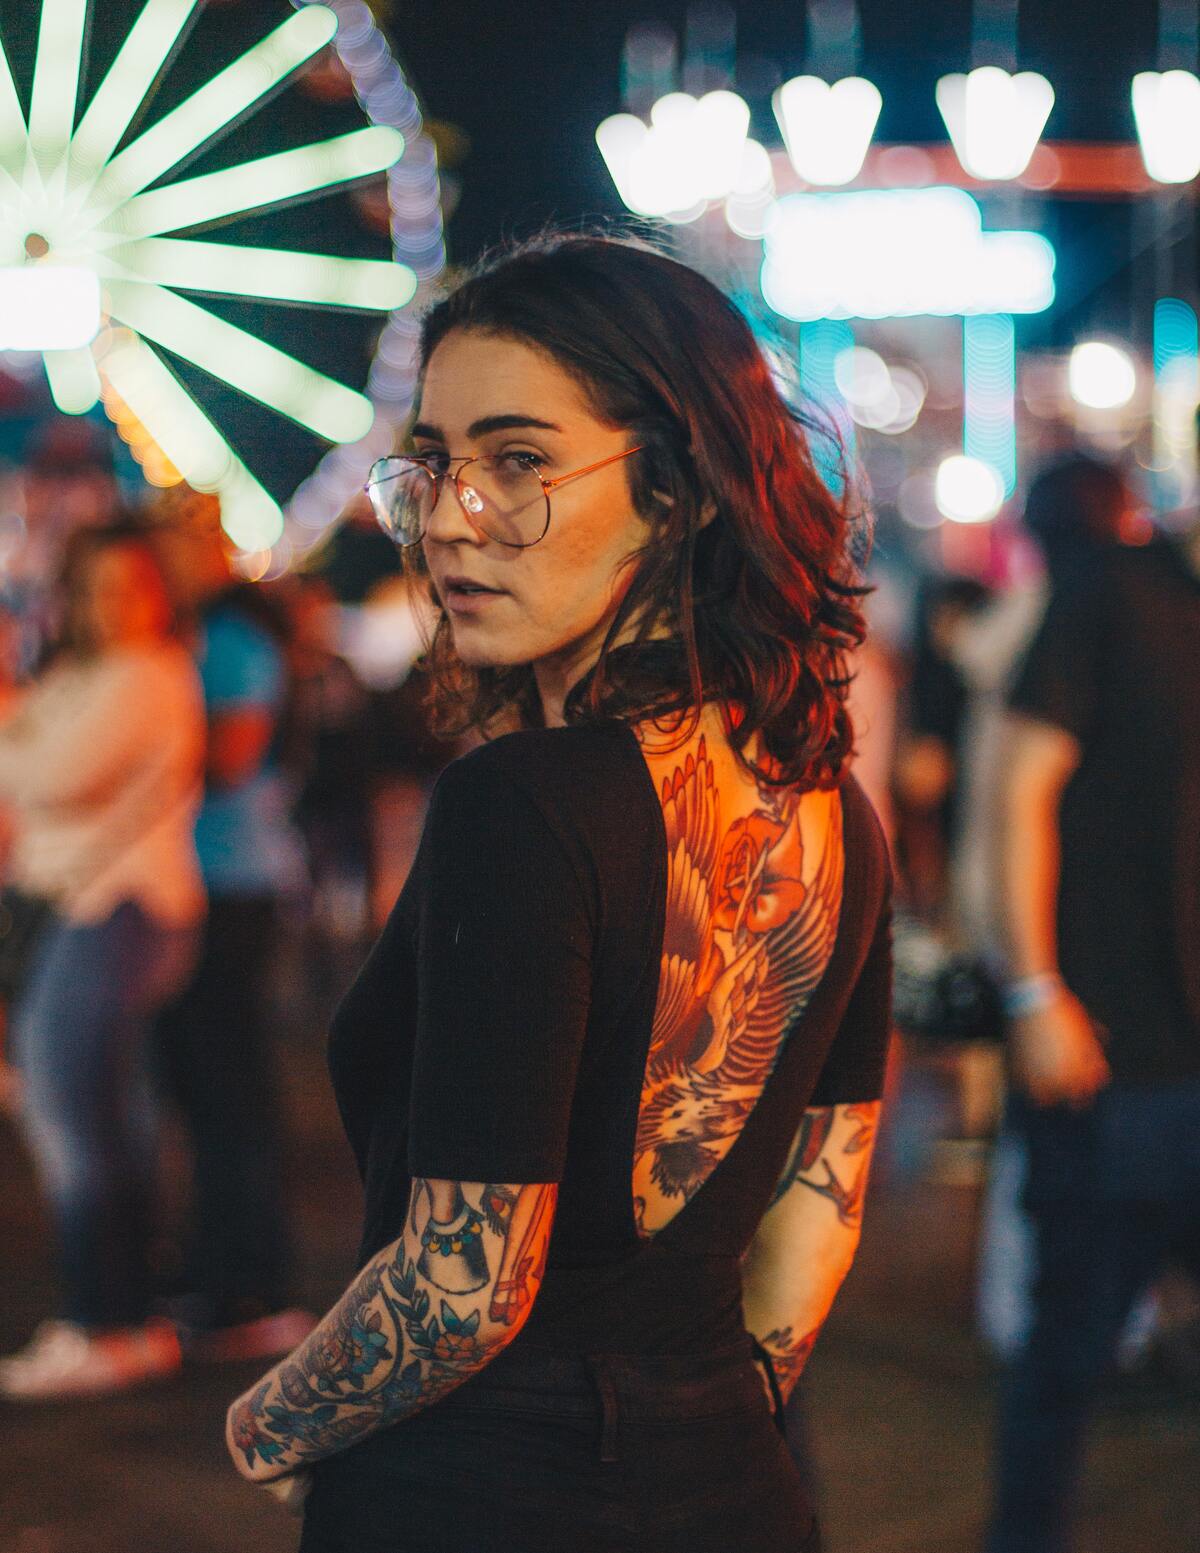
A wide-angle lens is an excellent option if you’re looking to capture the environment in your tattoo photography. The surroundings can be an impactful storytelling element and provide context to your images.
Macro lenses are designed for different purposes. If you want close-ups without distractions, consider a capable macro lens.
7 valuable tips for photographing tattoos
You’ve got the gear, and you’re ready to go. How can you improve your tattoo images? Follow these 7 photography tattoo tips to get started.
1. Prioritize enhancing the tattoos above all else
Your top priority should always be showcasing and enhancing the tattoos above all else. No matter what creative choices you make with the rest of your image, viewers are here to check out the tattoos.
Communicate with your clients to understand their needs and get on the same page before the shoot.
The tips below will guide you on making ink pop and stand out in your photos. With some experience, you’ll notice and learn to bypass the largest challenges that tattoo photography provides.
As a general tip, do not shoot fresh tattoos unless necessary. The healing process takes several days, and the area around a new tattoo often becomes swollen and discolored.
Suggest your clients wait a few days to a week before photographing their newest ink.
2. Take a vast amount of pictures
It’s hard to get your tattoo photos right on the first try. As a matter of fact, you probably won’t get them perfect on the second or third try either.
By scheduling enough time with clients or friends, ensure that you have ample time to try new things and experiment with different elements. The only limit should be your memory card! You can always bring extra.
Start with a simple setup and try to understand how the tattoo moves, stretches, and responds to light. Take a few test shots head-on before moving on to riskier angles and poses.
Try shooting close-ups or bring more personality into your pictures with wide-angle shots.
Shoot in RAW to retain control over the white balance and exposure, even in post-production.
3. Experiment with multiple poses
As part of your vast array of photos, dedicate time to experimenting with poses. While in other types of photography you might find your favorite framings and poses, tattoo photography provides a different challenge.
Tattoos are unique, and their placement on different body parts makes it difficult to anticipate how they’ll look their best.
Start simple to scope out the tattoo and help your model get comfortable. Take close-ups, portraits, or full-body images to provide a wide range of options and expand your portfolio.
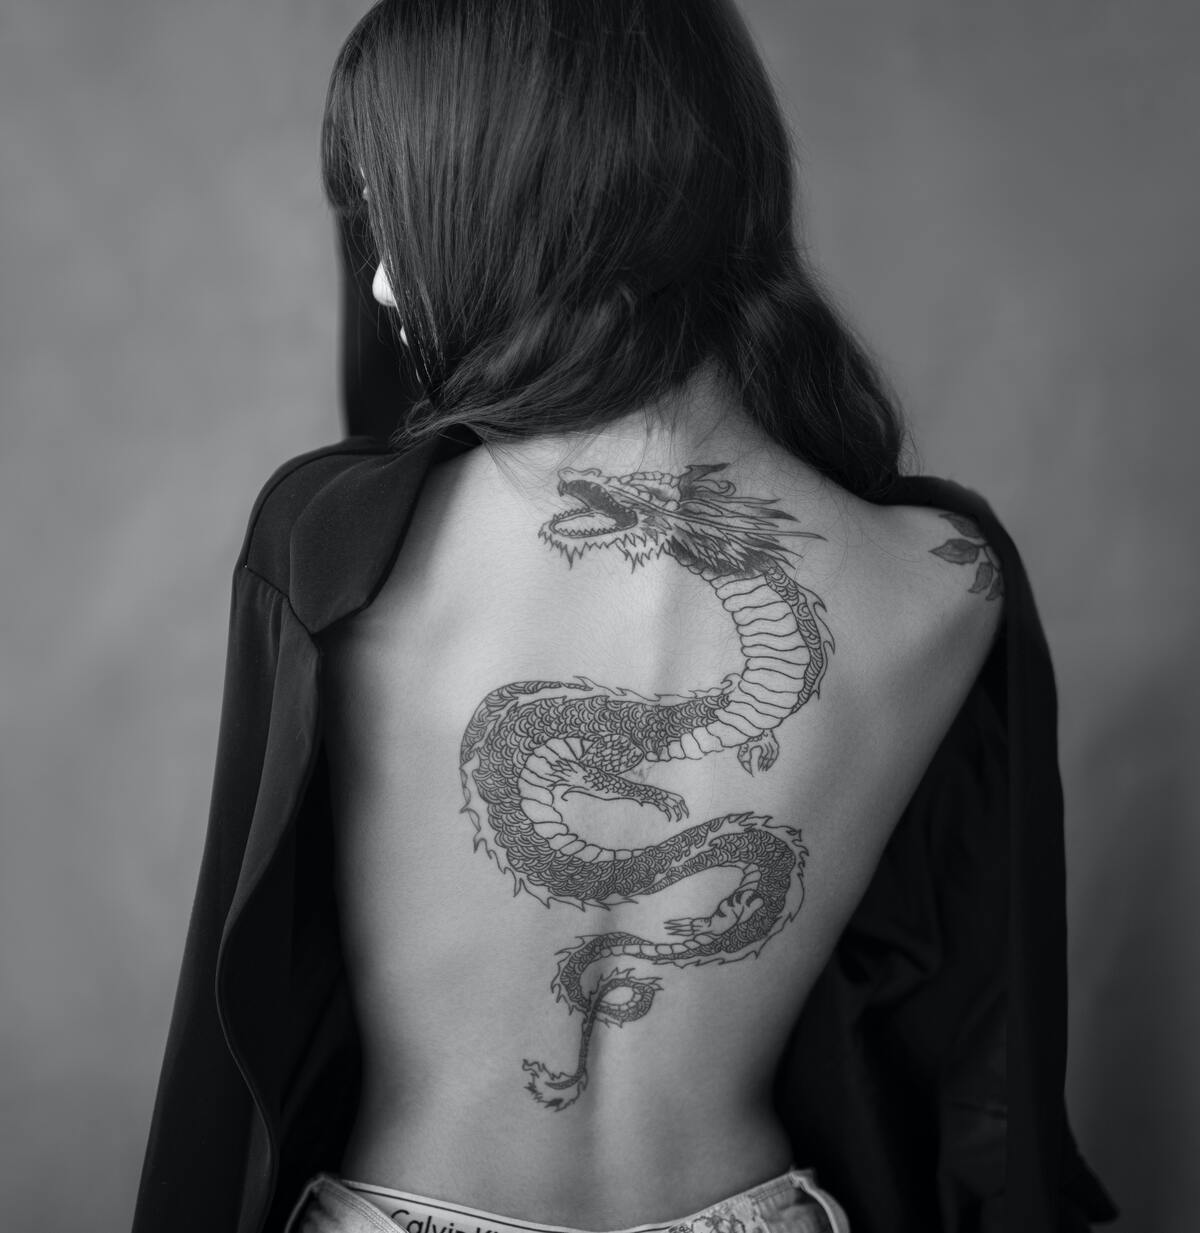
4. Find a plain background to make the tattoos stand out
If your goal is to make tattoos stand out, you can’t distract from them with any component. That includes the background.
While an outdoors setting or interesting textures might work well with other types of portrait photography, here, simpler means better.
Let the ink speak for itself by going with a matte white or dark background and help the artwork catch viewers’ eye.
5. Focus on depth of field with a wide aperture
When it comes to camera settings, almost every stunning photography tattoo chooses to go with a shallow depth of field for a reason.
This effect pleasantly blurs the background and separates the small area where your subject and focus are. It can even create a pleasing bokeh for added visual interest!
To achieve a shallow DOF, you’ll need to work with an open aperture, ideally f/1.8 or wider. You’ll have to compensate for this with the rest of your settings to avoid overexposing your image.
Select a low ISO and fast shutter speed, which will help eliminate shake and blurry pictures. Expose for the skin with spot metering and learn more about a shallow DOF for optimal results.
6. Avoid glare with proper lighting
Getting the lighting right for tattoo photography is one of the biggest challenges creators face.
Tattoos have a tendency to generate glare and easily wash out or lose details if you’re off with the settings even the slightest bit. Avoid this by using the correct lighting equipment!
Pick up the advantages of diffused light
Diffused light is a lot less likely to cause you problems than harsh light from the sun or a head-on camera flash. If you’re shooting outdoors, soft natural light in the shadows will work excellently.
However, most tattoo photography is done indoors. To achieve ideal conditions in a studio or anywhere else, consider using a continuous light source with a diffuser positioned at a 45-degree angle.
If you don’t want the light to cast noticeable shadows, you might need a reflector. You can also go all out and create a classic three-point setup for a controlled and polished look. Just make sure that no harsh light is hitting the tattoo.
Don't be afraid to rely on post-postproduction (to some extent)
If you’re shooting a colored tattoo and struggle to reproduce the organic colors, don’t fret. You can either fix it in post-production or use the handy trick of adding a bit of body lotion to the area.
Make sure you have your shine control on lock, though, otherwise you’ll suffer from the glare.
7. Take inspiration from portrait photography techniques
While there are differences in technique, tattoo photography can be considered a subgenre of portraiture. Applying the same techniques to capturing stunning portrait photos works well in this context too!
Experiment with colors, master your editing software or use classic portrait lighting techniques. Correct your photo’s white balance in post-production. Seek out portraiture tips and make them your own to improve your photography tattoo.
Up next: Learn photography fundamentals
Getting the lighting right is a huge step towards taking captivating tattoo images. Follow the 7 steps above to improve your skills and experiment to find your unique style.
Do you want to learn more? Learn photography fundamentals with our article about everything you need to know to get started in the industry.
Drum up some business and take captivating tattoo images.
How do you take good pictures of tattoos?
Taking stunning tattoo pictures largely depends on the lighting. Make you work with diffused soft light to avoid glare. Experiment with poses to see how the tattoo looks its best and take your time to find the best angle.