Long Exposure Photography – What It Is & 10 Steps to Do It Yourself
Rent film gear from local filmmakers.
Rent film gear from local filmmakers.


Have you ever seen a picture online that looks too good to be real?
And then you find out that it actually is. That's what long exposure can do!
If you're a fan of the style but have been too afraid to try it out, there's no time like now to learn a few new tricks!
If you want to learn more about taking pictures in general, you can read our article on photography 101.
What's long exposure photography?
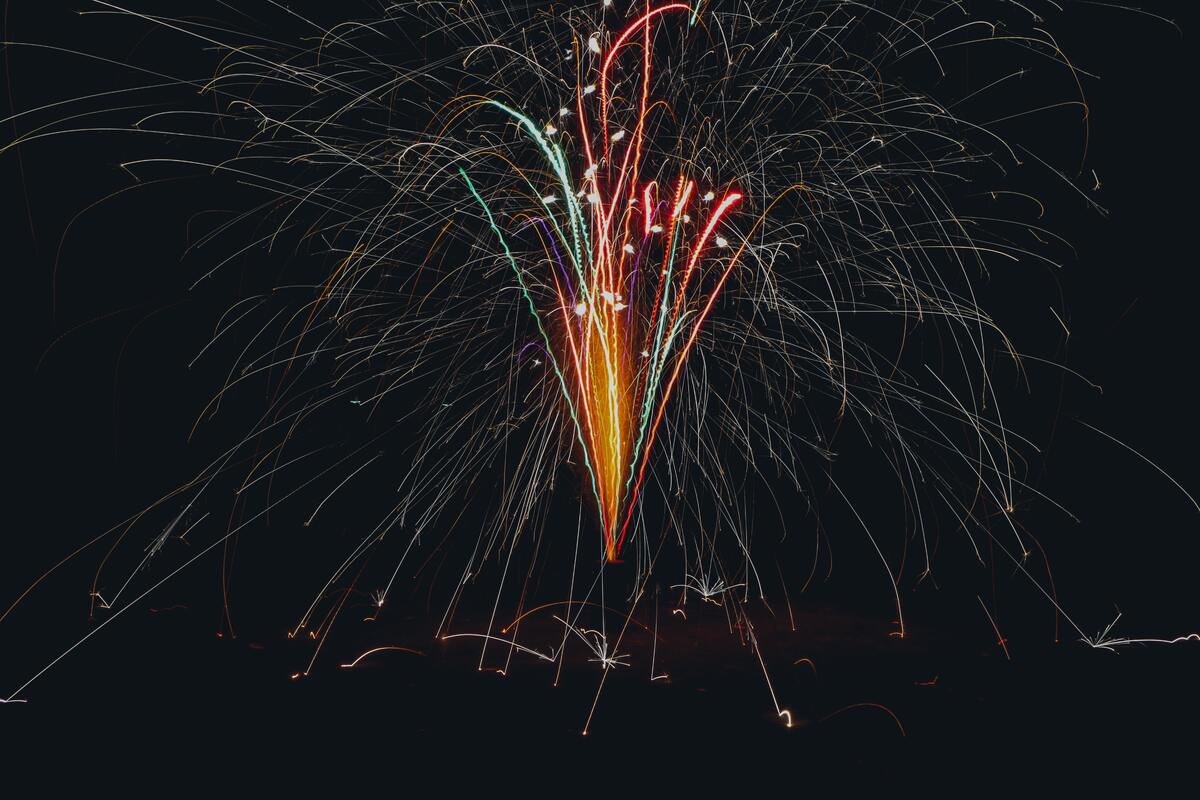
Long exposure photography is a complex technique of using a long-duration shutter speed to capture the static elements and blur the moving parts.
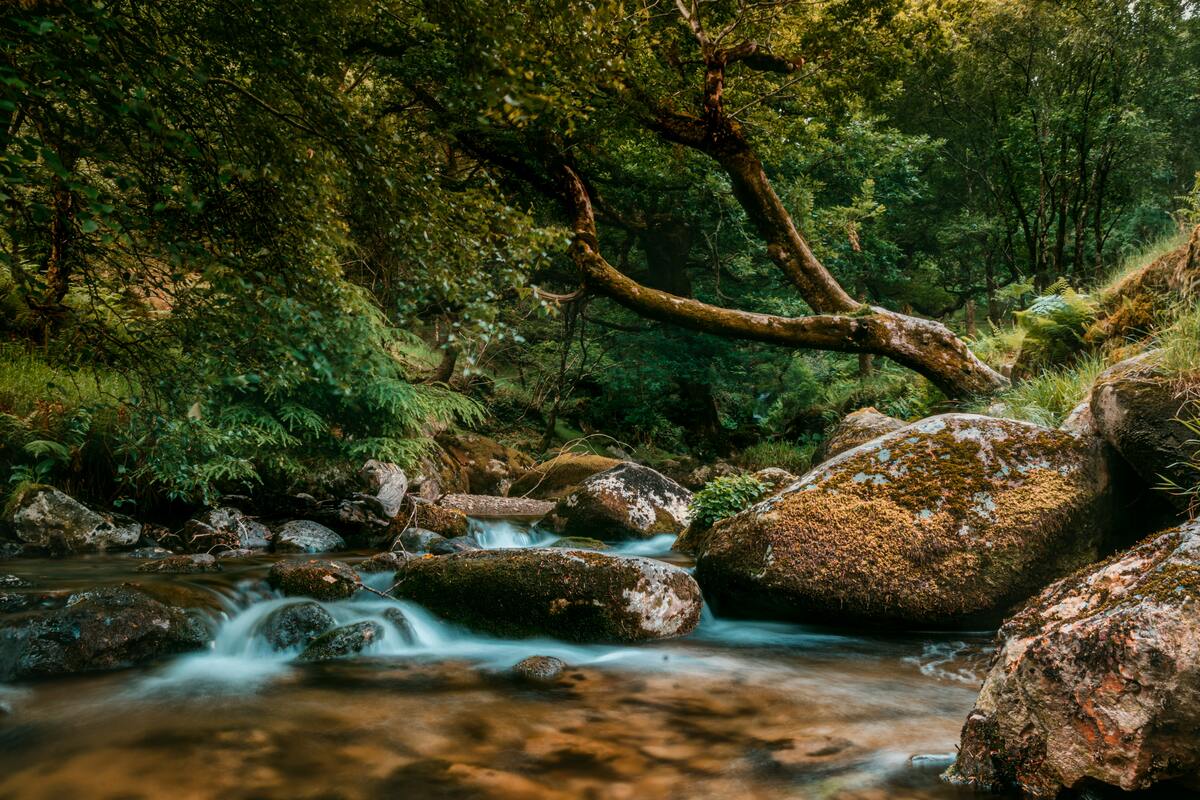
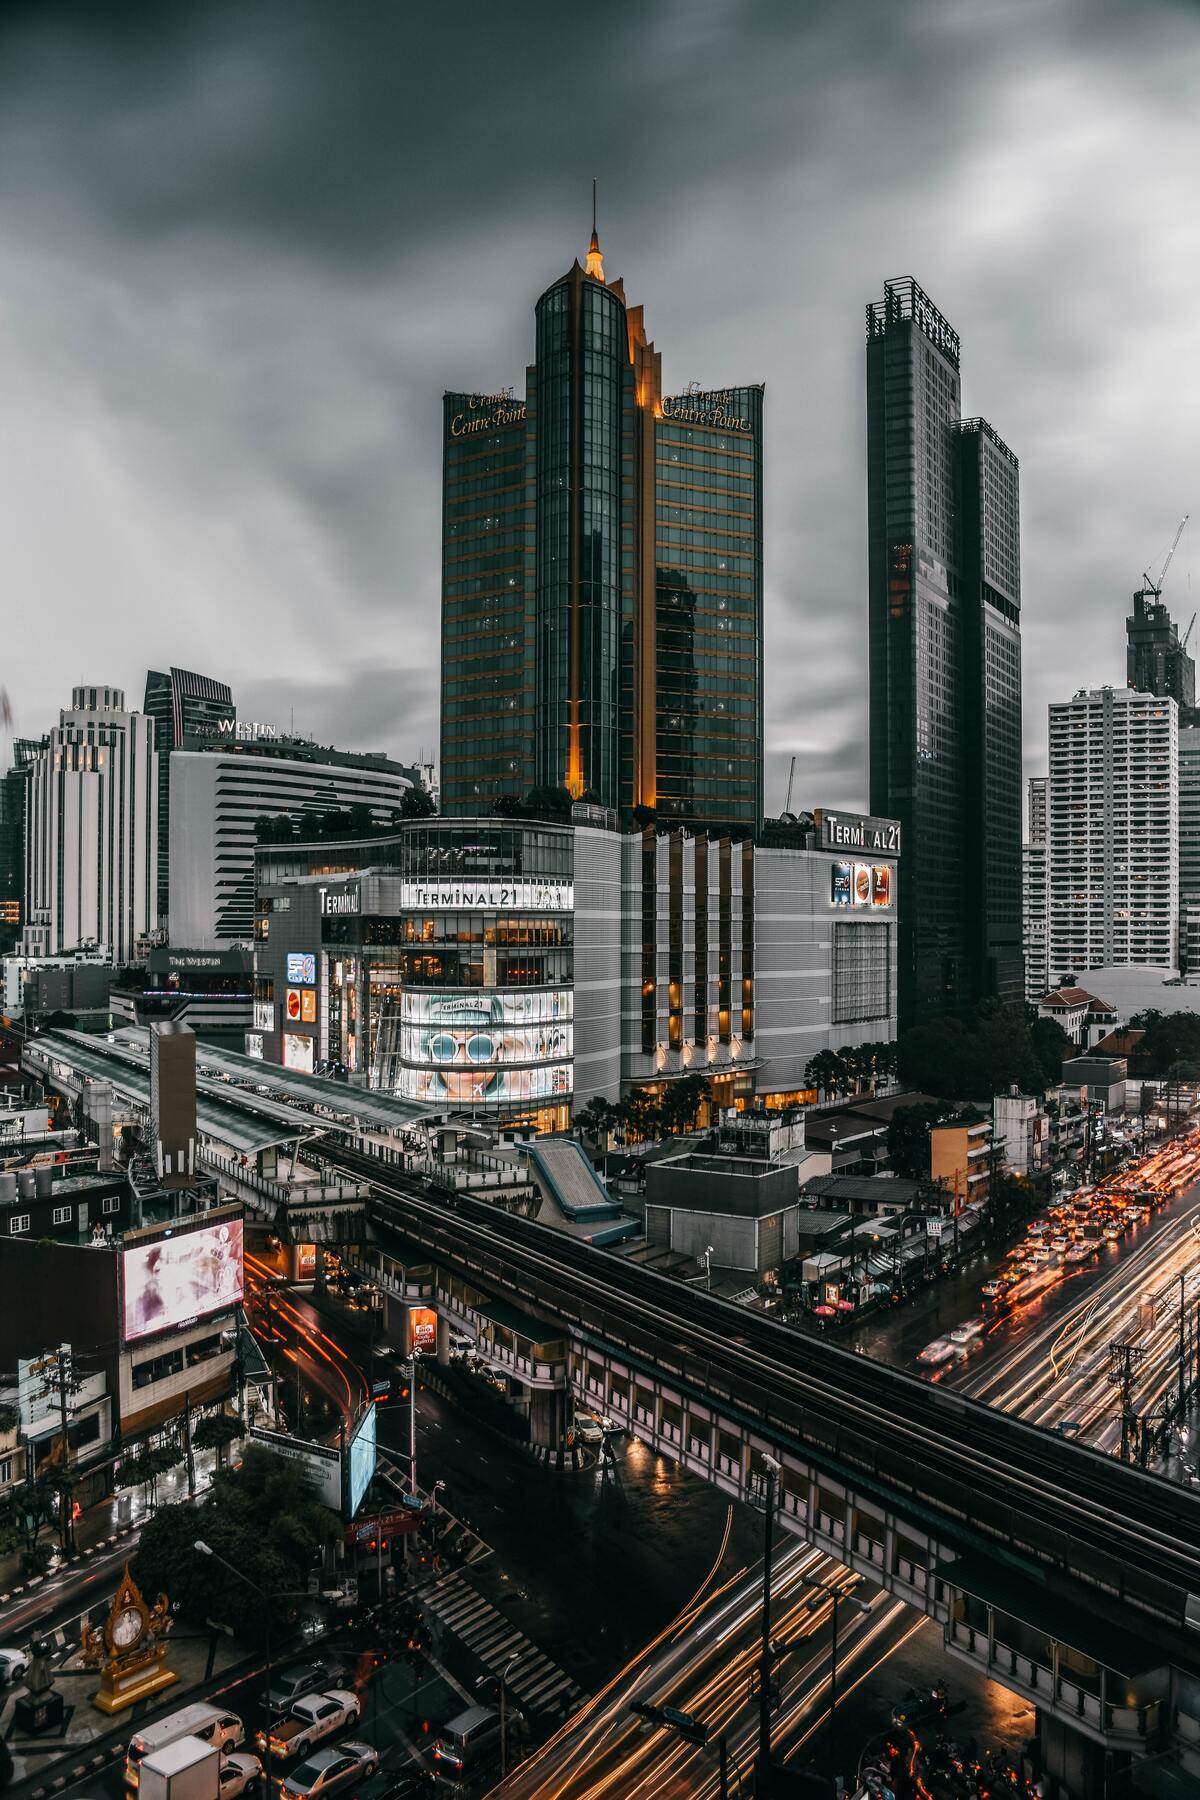
Usually, long exposures are of either a specific subject in nature or some sort of light exposure. It could be a starry sky, the city night, animals, or waterfalls.
The long exposure technique is used for depicting motion or movement in a photograph, which is why it's never used for purely static motifs.
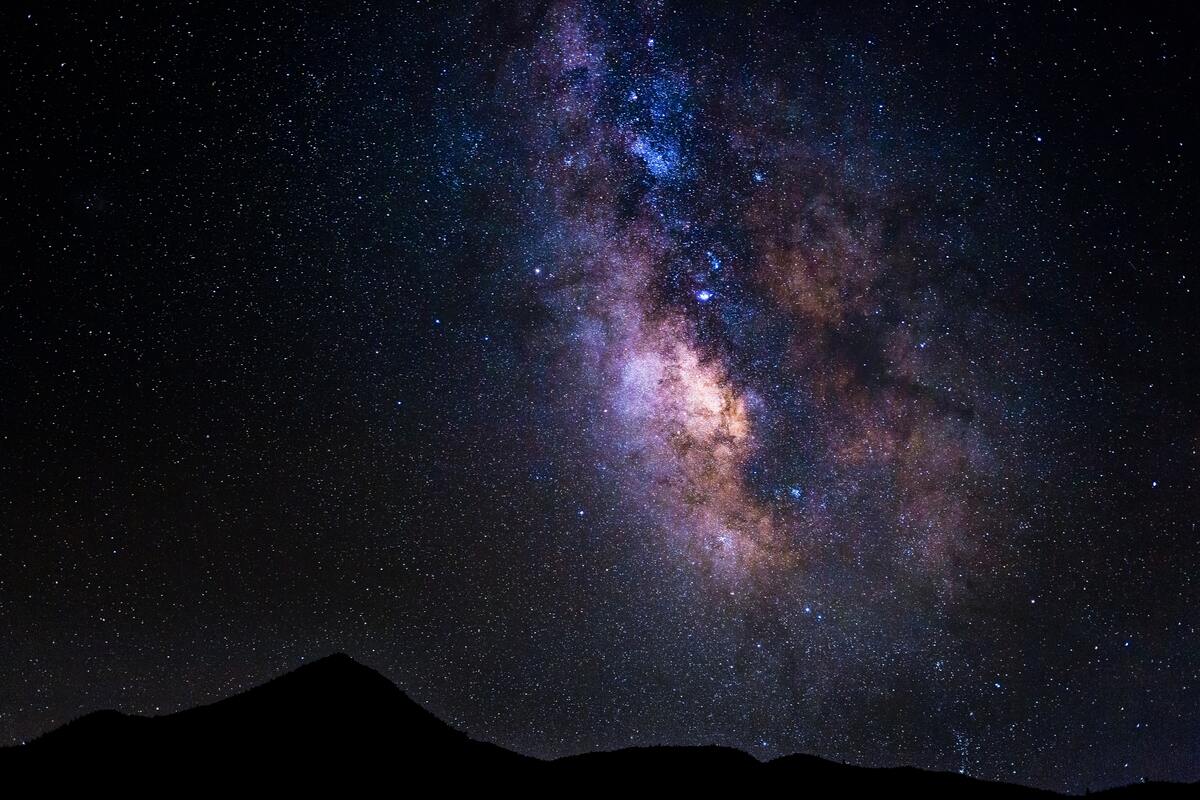
Astrophotography is an example of a genre that uses the technique.
How to do long exposure photography in 10 steps
Getting started on long exposure photography can be difficult - but it doesn't have to be.
We have made 10 simple steps to start doing long exposure photography yourself!
1. Study the weather
The best way to get into long exposure photography is to utilize the sky, whether it's daytime or nighttime. When shooting the sky, you should be wary of the weather
Not because it will impede you from shooting, but because it will drastically change your focus. Well, that's unless it's a fully clouded day. Then you should probably stay at home.
A fully clouded day means that the sky will look bleak. The best weather is dry and partly clouded. You can use the clouds as the dynamic, moving object in your frame. And remember, the more defined the clouds are, the better the end product will look.
2. Scout location beforehand
Make sure that you're well-acquainted with the area you're shooting before you start setting up.
You don't want to carry your equipment in rough terrain for hours finding the right spot. You also don't want to show up just to find out that it's a tourist trap.
So a good tip would be to visit the place beforehand, or at least scour the area before you bring your entire setup. Try to imagine how the finished product will look. That'll give you a pretty good idea of where it would be a good spot to set up.
3. Set up the appropriate gear
When you've found a great spot, it is time to set up. Hopefully, you're reading this article before you're actually there, so you know what equipment you'll need.
There are many different preferences for professional long exposure photographers, but the following is what you need per minimum:
- A Camera with manual functions
- A long exposure lens
- A sturdy tripod
- An ND filter
4. Take a few test shots
This step is vital in the process of taking a long exposure photograph. When everything is set up, you should take some test photos to check if the exposure is alright.
You have to make sure that the focus is looking great. You can do that by zooming in on the picture preview on your camera and seeing if the picture looks distorted or clear.
You should take your time finding the best settings and locations because it really matters in long-exposure photography.
5. Refine your composition
Now it's time to refine your composition and make sure that everything looks great.
Maybe there's one particular cloud formation that looks great that's too far away.
Or maybe there's a boat coming through that you want to capture that's just about to enter your frame.
Well, now is the time to make sure that your framing and composition are looking good. You can always do as many long exposures as you want, but sometimes opportunities arise that are time-sensitive.
You never know what could happen in a shoot, which is the beauty of long-exposure photography.
6. Lock focus at the hyperfocal distance
Next, you'll have to lock the focus on the hyperfocal distance. If you don't know what that is, don't worry. Here's a speed course.
Hyperfocal distance is the distance you have to focus on to get the maximum depth of field. Focusing on the hyperfocal distance allows you to capture most of the frame in focus.
With long exposure photographs, it's vital to have sharp images, as it gives a better contrast between the static and dynamic aspects of the picture.
Finding the hyperfocal distance depends on your aperture value. If you're using a higher f-stop number, you focus on something relatively close. The lower the f-stop number goes, the further away the hyperfocal distance goes.
The best way to calculate the exact distance is to get a hyperfocal distance chart or app to your phone.
7. Set Aperture priority and low ISO
Your Aperture priority and ISO levels are also vital settings for the success of your photography. This is why you need a camera with manual settings because you have to change a bunch of them to get the best outcome.
If you're doing landscape photography, consider a small aperture like f/16, as it will increase your depth of field and allow for a wider capture. The Aperture priority mode will help you find the shutter speed based on the available light.
Once you've found the shutter speed, note it down, you'll need it later!
Your ISO should be set as low as possible. Usually, around 50-200, depending on the camera.
8. Add an ND filter
Next, you'll have to apply an ND Filter to your lens. ND, or Neutral density, filters are filters applied to your lens to control exposure.
The reason you're adding an ND filter to your camera is that shooting in the daytime can mean that there's too much light coming in. Too much light exposed to your lens will overwhelm the camera sensor and ruin the picture.
You can get several ND filters depending on the amount of sunlight, so don't bring too few. If you're shooting at nighttime, this is obviously not going to be a problem for you.
The neutral density filter and your aperture settings might make you unable to see through your live view screen, but as long as you've followed along with the article so far, you should be good.
9. Use bulb mode for a longer exposure
If you've never used bulb mode, that's because your camera has always done a better job of controlling the shutter speed than you.
Bulb mode essentially adds the ability to manually control the shutter speed. Yes, it might sound like I'm talking about a 1900's camera, but trust me, bulb mode is still great to use.
Usually, cameras have a shutter speed between a few milliseconds to 30 seconds. Almost every type of photography can be done within this range, and in most situations, there really isn't a need for going slower or faster.
But when you're doing long exposure photography, you might want to increase that to even longer.
10. Adjust shutter speed
Remember when you had to note down your shutter speed? Well, now's the time to put that to use.
This is only relevant if you added an ND filter to your lens. That's because the ND filter requires an adjusted shutter speed, or it'll all turn out too dark.
There are two different ways to calculate your shutter speed adjustments. You can either do it manually through mathematics or by using an app.
Calculate shutter speed manually
To calculate your shutter speed manually, you will have to know which filter you applied. Here's a brief overview of the filters and their shutter speed adjustments.
- ND 0.3 or 1 stop - shutter speed 2X
- ND 0.6 or 2 stop - shutter speed 4X
- ND 0.9 or 3 stop - shutter speed 8X
- ND 1.2 or 4 stop - shutter speed 16X
- ND 1.5 or 5 stop - shutter speed 32X
- ND 1.8 or 6 stop - shutter speed 64X
- ND 2 or 6 2/3 stop - shutter speed 100X
- ND 2.1 or 7 stop - shutter speed 128X
- ND 2.4 or 8 stop - shutter speed 256X
- ND 2.7 or 9 stop - shutter speed 512X
- ND 3.0 or 10 stop - shutter speed 1024X
Essentially what this means is that if you have an ND 2 Filter and a shutter speed of 1/10 of a second, you should change the shutter speed to 10 seconds.
As you can see, the numbers grow exponentially, which is also why you're sometimes required to use bulb mode.
Calculate shutter speed on an app
You can also do it the easy way, just using an app. There are plenty of options out there, both for Android and Apple.
You can then input your data and easily find your shutter speed. You can even use it as a stopwatch if you're controlling the shutter speed through bulb mode.
Up next: Explore astrophotography
That's all you need to know about long exposure photography. I hope you're ready to go try it out yourself!
If you're more interested in nighttime than daytime photos, check out our article on Astrophotography.
What is long exposure photography?
Long exposure photography is a complex technique of using a long-duration shutter speed to capture the static elements and blur the moving parts.
How to do long exposure photography?
1. Study the weather
2. Scout location beforehand
3. Set up the appropriate gear
4. Take test shots
5. Refine the composition
6. Lock focus at the hyperfocal distance
7. Set Aperture priority and low ISO
8. Add an ND filter
9. Use bulb modes for longer exposure
10. Adjust the shutter speed
What should ISO be for long exposure photography?
Your ISO should be set as low as possible. Usually, around 50-200, depending on the camera.
What shutter speed is best for long exposure photography?
It depends on your aperture, but preferable a long shutter speed. You can find the perfect shutter speed using an exposure calculator.