


How to Light an Interview? 6 Tips to Nail Lighting
Rent film gear from local filmmakers.
Rent film gear from local filmmakers.


Do you need to do an interview? Are you shooting a documentary or maybe something else?
The fact of the matter is that you want to present the subject of your interview in the best possible manner. One of the things you will need to nail is the lighting of your subject and your scene.
In this article, we’ll take you through the equipment you need and some tips on how to get the best lighting possible.
Lighting equipment for interviews
First up! Equipment. You will need lights, at least two, but preferably three.
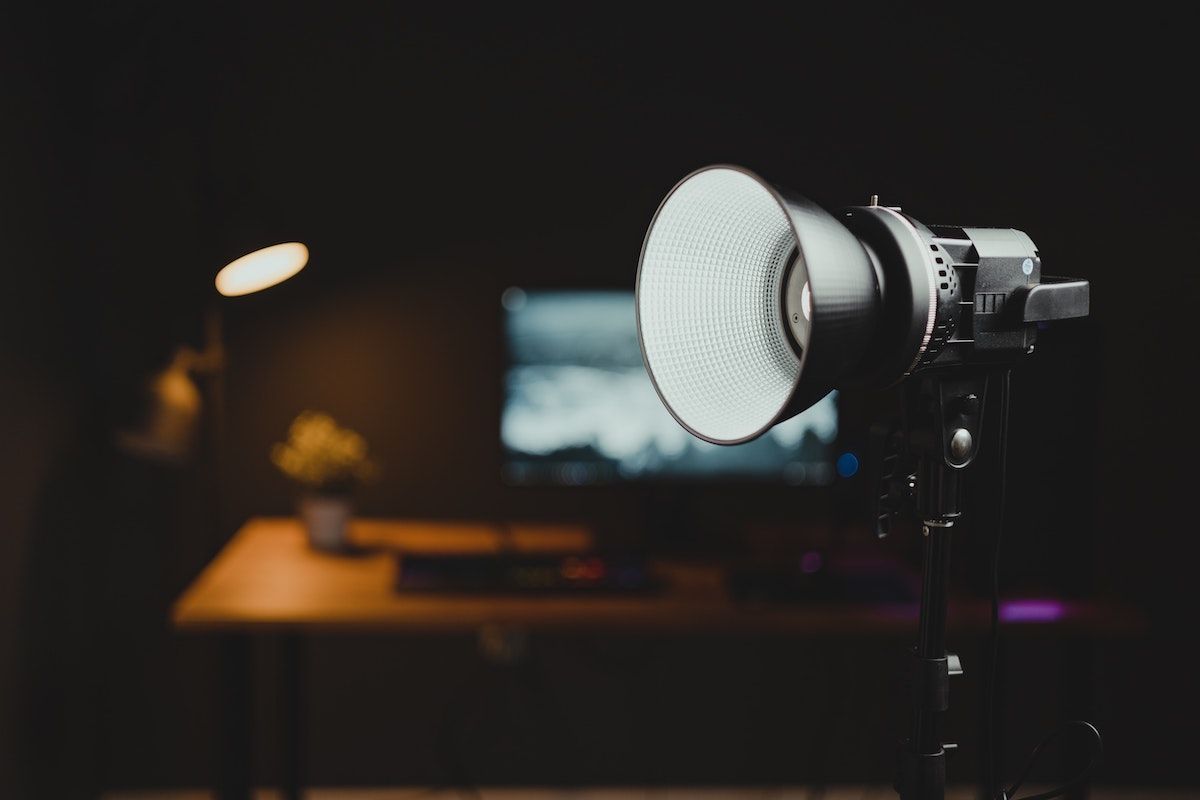
Type of light
A soft source of light for your subject - this is the key light, and its job is to make your subjects look their best, a second light for the background and to light up the outline of your subject, and a third, the fill that can fulfill (get it?) a variety of roles, but it’s often used to remove harsh shadows on your subject.
Lighting equipment
As for the type of equipment, you will want either tungsten or fluorescent lights. Tungsten is traditional and more widely used, while fluorescent is getting increasingly popular and more affordable. Tungsten creates more yellow-orange light, while fluorescent is more towards the blue spectrum. So depending on your location, one might be better.
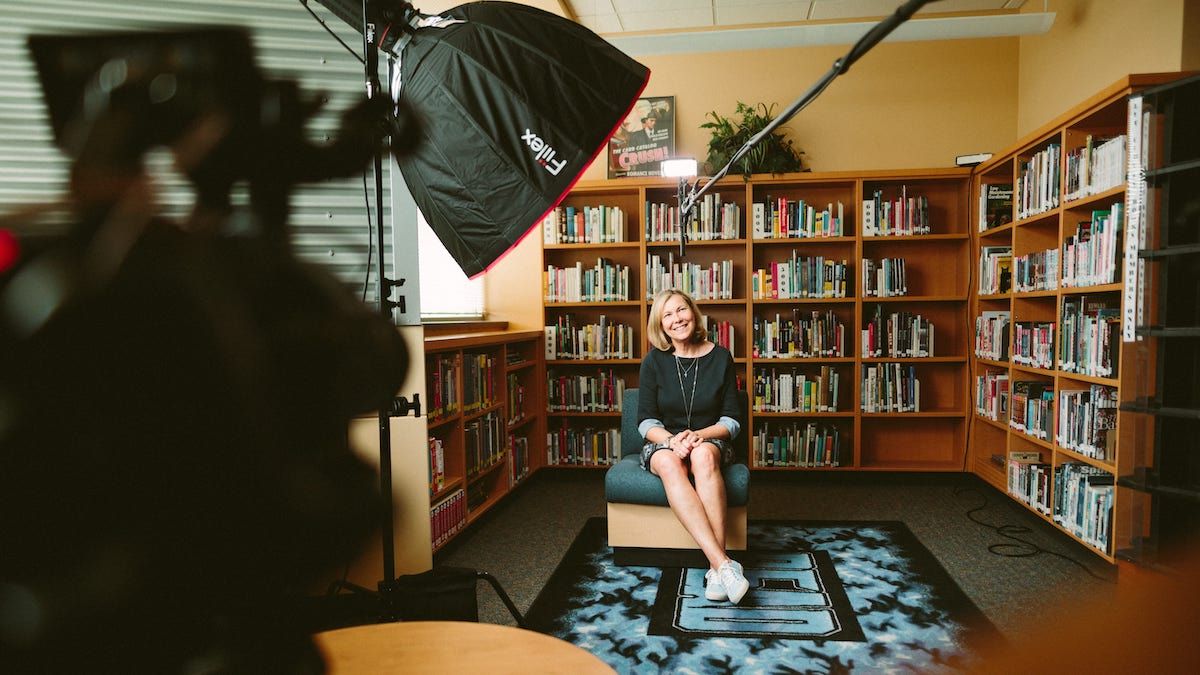
Relevant background
Another important thing is that when choosing a background, you should choose something that tells the audience something about your subject or their interest. A bookcase usually always works whether you’re interviewing a professor or a scientist of some sort. But be creative and think about what your background says about your subject.
6 Tips on interview lighting
1. Take advantage of three-point lighting
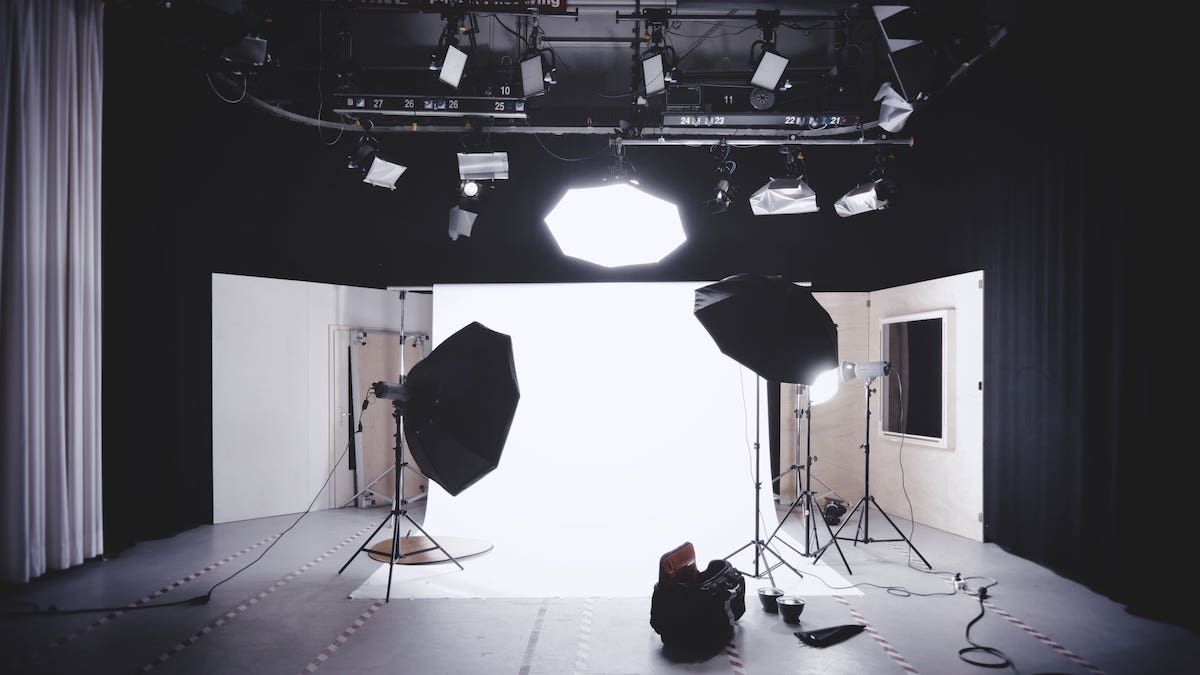
Three-point lighting describes lighting your subject from three different angles. Those angles are known as key-, fill-, and backlight.
The key light is the light that does the heavy lifting in lighting your subject, so you are best of using the biggest and brightest light source you have.
The fill light balances out the shadow areas often created by the key light. The fill light is less bright than your key and isn’t necessarily created by light. It can also be made by bouncing the light from your key.
The backlight is usually placed above and behind your subject and helps you illuminate the frame of your subject.
Three-point lighting is the basic setup to create good lighting on your subject.
2. Use a softbox to control spill
A softbox is a modifier that confines the light from your light and adds a diffusion layer. It helps reduce harsh shadows on your subject. The walls on a softbox help reflect the spill light towards your subject.
It’s an incredible and versatile tool to help you control your lights and lighting.
3. Use gels to add mood to the scene
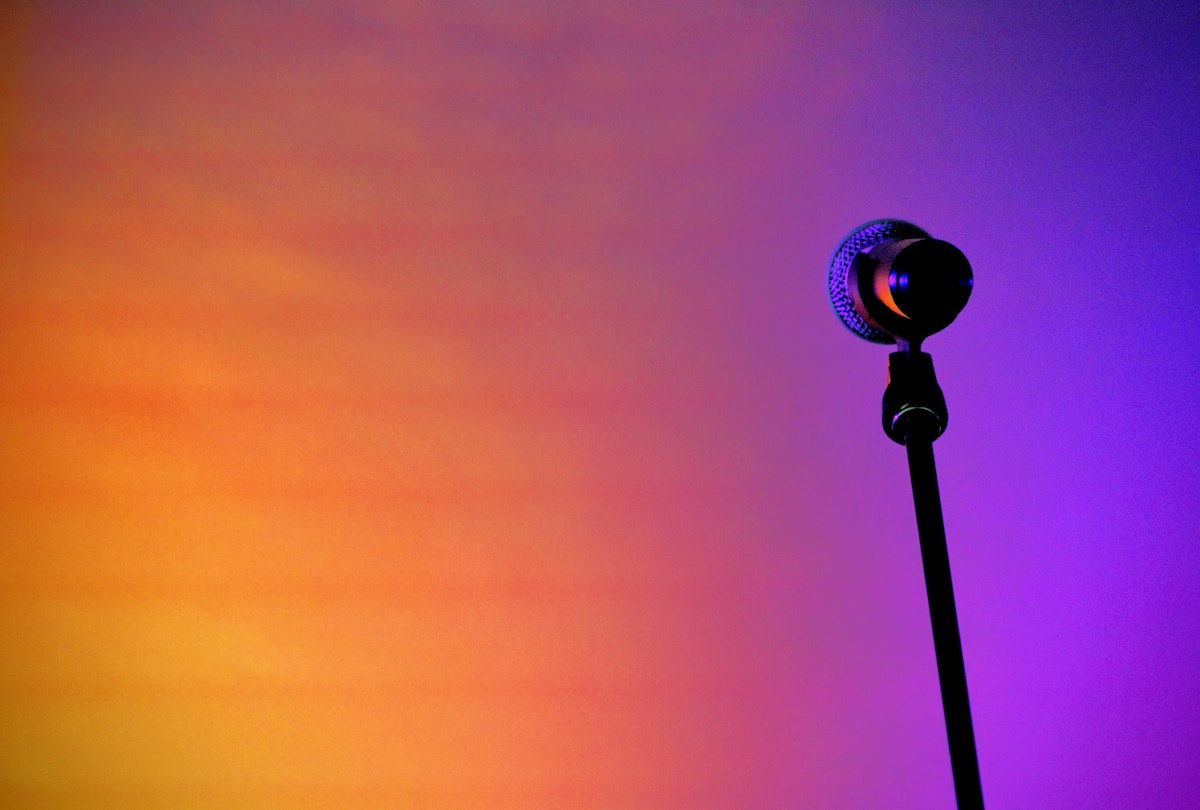
These techniques can help you make your footage more attractive to the viewer. Adding gels to your lighting setup can drastically change the mood of your scene. They can be used to make the mundane a bit more exciting and can even be used to create contrast and tension in your image.
4. Scout for location ahead of time
Knowing what you are getting into ahead of time is vital when shooting an interview. It will help you plan where and how to set up your background, subject, and lights. What you need to know is:
- How large is the room or location that you are going to be filming in
- How tall are the ceilings
- What ambient light is already in the room
- If there are lights, then what kind of lights are they, and can they be turned off
- If there are windows in the room, how many and what type of light do they create.
You need to know this information to create the perfect lighting setup, so scouting ahead is critical.
5. Set your camera settings according to lighting
This tip might seem simple, but it is essential to get the best results. You need to adjust your camera settings according to your light. You do not want to end up with an image that either is overexposed or underexposed. So make sure that all your camera settings are in order before you begin to shoot.
6. Shoot into the shadows
Shooting into the shadows gives you more room to play within the edit. You don’t need to work as hard to get to your desired exposure. It’s effective if you are on a budget and therefore have less control over your environment.
If you pick the darkest areas as your surroundings as your background, you’ll have a lot more options when it comes to lighting your subject.
Learn more about film lighting
I hope you learned something from this article. If you want to learn more about film lighting, you should check out our other articles on the subject here.
If you are interested in learning more about filmmaking in general, you should check out our other articles, which dive into many different filmmaking subjects.
Are ring lights good for interviews?
Ring lights aren’t good for interviews as they need to be close to the subject.
How to set up lighting for an interview?
A good lighting setup is three-point lighting, you’ll need a key-, fill- and backlight.
How do you light interviews for tv and video?
There are a ton of different methods for lighting interviews.


