Step-by-Step Guide: How to Edit Your YouTube Videos
Rent film gear from local filmmakers.
Rent film gear from local filmmakers.


Looking to get started with YouTube? Editing can seem like a daunting task for beginners to the YouTube game but it doesn’t have to scare an aspiring content creator away.
Before you read this article, check out how to become a YouTuber! Here you can find all you need to ensure that your youtube videos are of excellent quality!
How to edit YouTube videos using YouTube video editor
YouTube video editor is the platform’s inbuilt option with all the basic capabilities that you need. You can find it by opening the Content tab in YouTube studio.
Then click the title or thumbnail of the video you’d like to edit, and select Editor from the left side menu.
How to edit YouTube videos: Adding music
- Select the audio tool from the left menu and Add a track,
- Search for an audio track and click Play to review,
- Add your chosen song,
- Drag the audio box to adjust start time and repetition,
- Click Save.
How to edit YouTube videos: Adding blur to a face or an object
- Select the blur tool in the left side menu.
- Pick between Face Blur or Custom Blur,
- Click and drag the blurred box to the right location,
- Select the right shape and timing of the blur box,
- Click Save.
Learn how to customize your blur effect even more here.
How to edit YouTube videos: Adding an end screen
An end screen can encourage viewers to watch your related videos or subscribe!
- Locate the End screen icon in the left side navigation, at the very bottom,
- Use your own template or any presets: Video, Playlist, Subscribe, Channel or Link.
How to edit YouTube videos: Trimming the start and end
- Select Trim on the left, above the timeline panel,
- Move the white line at the beginningm or the end to select what not to display,
- Preview the video to check if you’re satisfied,
- Click Save in the top right.
How to edit YouTube videos: Trimming the middle
- Select Trim above the timeline panel,
- Click in the middle of the video where you want to cut a part out,
- Press Split, and repeat on the other end of the part you’ll take out,
- Click and drag the blue line at the beginning of your clip to the other side to take it out,
- Preview the video, and
- Save it.
Best practices for editing YouTube videos
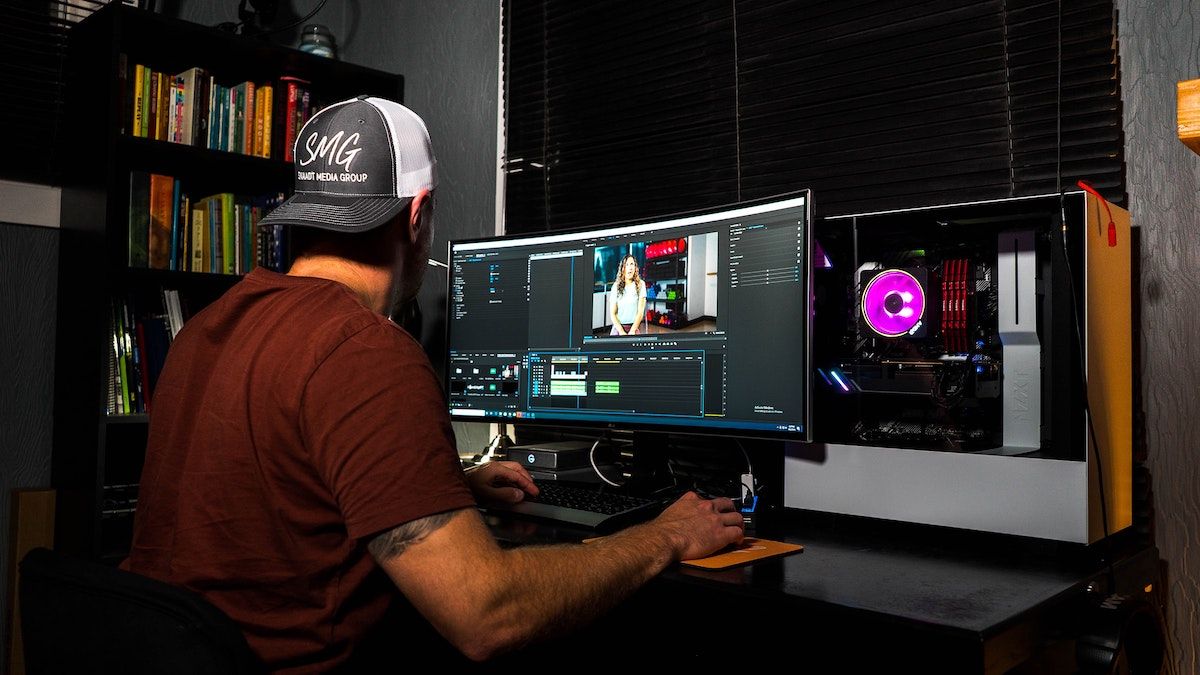
If you’re new to editing, you might have a hard time even knowing where to start. Post-production is a huge part of becoming a YouTuber and any filmmaking project in general.
These are the best practices to keep in mind when editing YouTube videos:
Create intriguing thumbnails
Get viewers to click on your uploads by creating intriguing thumbnails! YouTube’s algorithm rewards videos with a high click rate. Capture viewers’ attention by including the title and faces in your thumbnail.
You can use either a screenshot that describes your video’s content or edit a picture from scratch.
Use engaging elements
While video is an excellent storytelling medium, including other elements like music, transitions, images, or text will engage your audience and keep your content fresh.
Don’t go overboard, and do keep things natural! You don’t need a slow transition or funny image every 10 seconds.
Create a unique editing style
Develop your unique style when it comes to editing your videos. This includes all relevant elements, like your music, thumbnails, and transition.
Over time, you can also make a signature intro and outro and reuse those to cut down on editing time! This will make your videos recognizable for your loyal viewers too.
Top 5 third-party editing apps
1. Shotcut
Shotcut is a free, open-source video editing software for Windows, Mac OS, and Linux. You place
Pros:
- Wide range of editing options and filters,
- Intuitive, customizable menu,
- Automation of work processes,
- Free and multi-platform.
Cons:
- No filter preview.
- No automatic new layer creation.
2. Adobe Premiere Pro CC
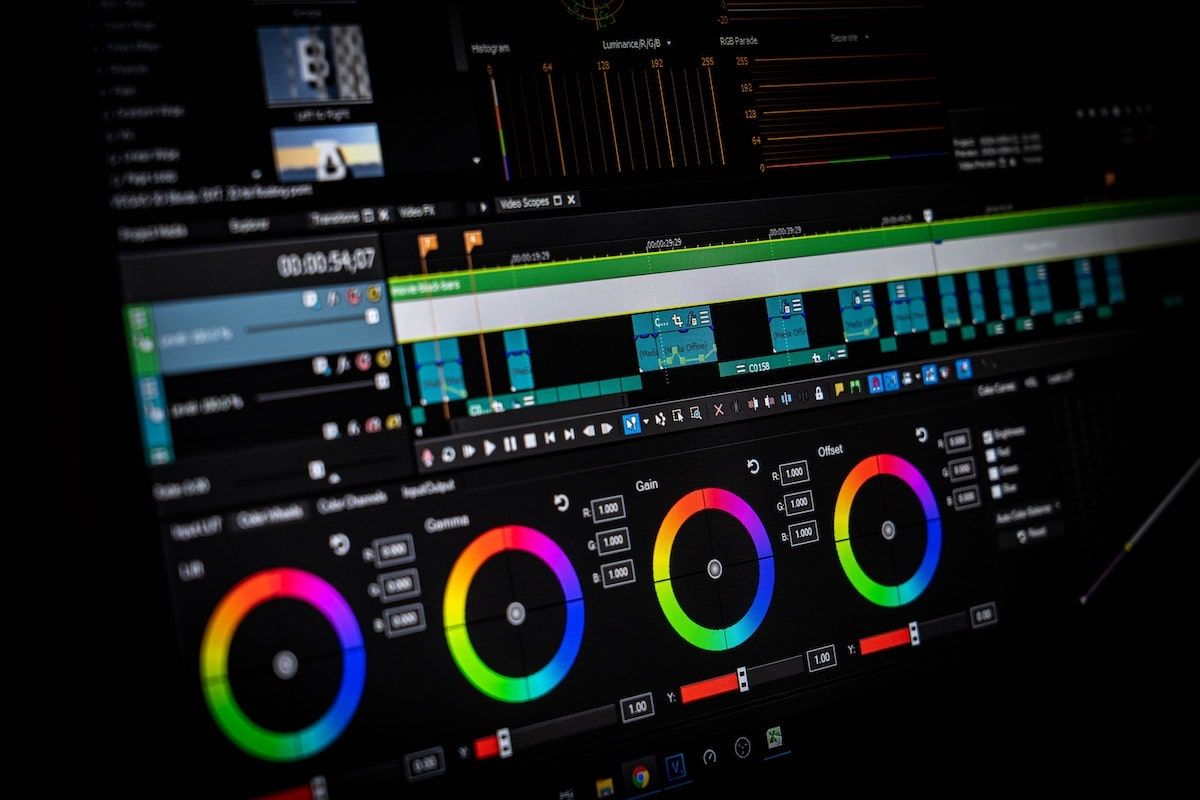
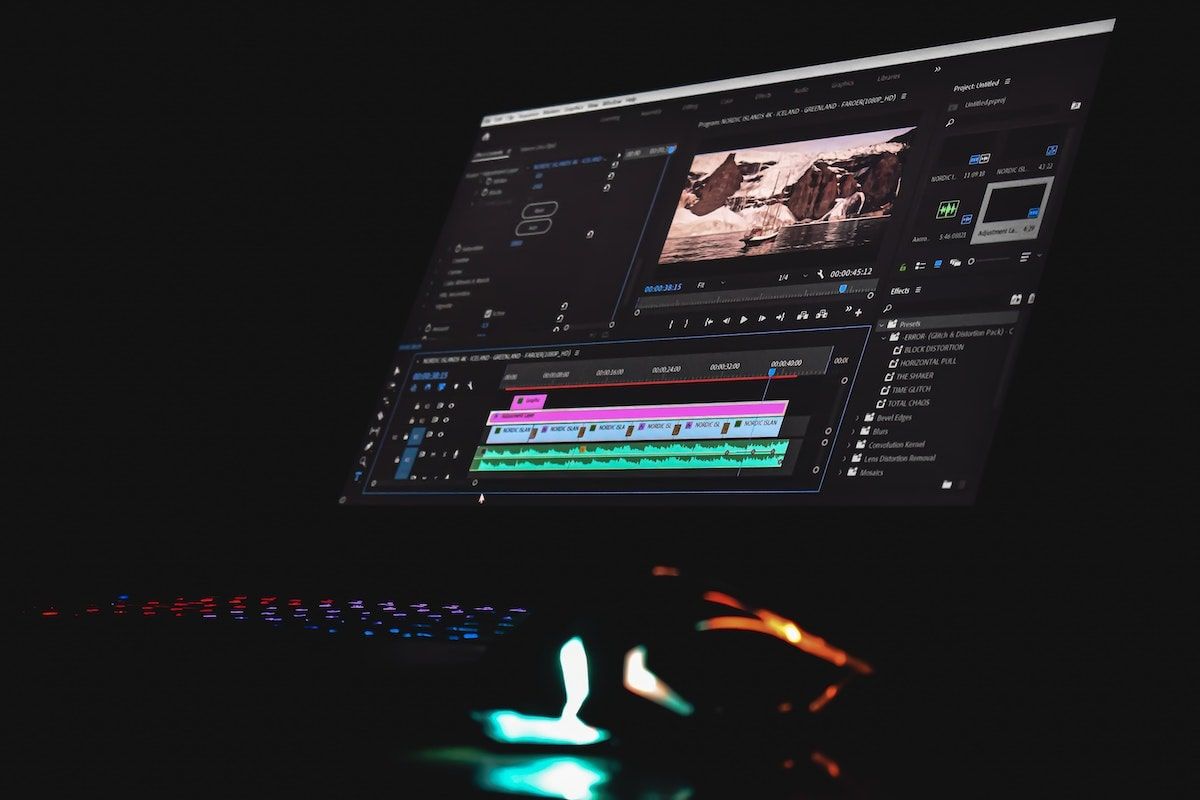
Adobe Premiere Pro CC is one of the most popular video editors today. It utilizes excellent features for adjusting the video, colors, and audio of your footage.
Pros:
- Very clear, flexible UI,
- Process any type of media content,
- Many customizable features, options, and plugins,
- Integration with other Adobe products.
Cons:
- No sound effect samples,
- Pricey license.
3. Apple iMovie
Apple iMovie comes included with Mac computers. You can add templates, sound effects, green screen, and split-screen effects. Simple and minimalistic, iMovie is capable and still easy to use.
Pros:
- Aesthetically pleasing, simple interface,
- Huge selection of audio tools,
- 4K video support.
Cons:
- No tagging support,
- Limited to two video tracks,
- No 360-degree video support.
4. Final Cut Pro X
Similar to iMovie, Final Cut Pro X is made of Mac OS and features a very similar interface. It has a great range of effects and packs loads of features!
Pros:
- High-resolution output,
- Preview effects without applying them,
- Flexible formats,
- Great integration with other Mac programs.
Cons:
- Expensive,
- No import dialog search.
5. Adobe Premiere Rush
Create tailored transitions, adjust the speed of your video, and add sounds. Premiere Rush is the simplified version of Premiere Pro CC, specifically targeted at content creators.
Pros:
- Quick and easy editing,
- Simple interface,
- Optimization for social networks.
Cons:
- Limited audio tools,
- Few transitions,
- Not fully fledged in terms of features.
Closing thoughts
Looking to get better at YouTube? Read our filmmaking 101 to master techniques for cinematic content.
You can also explore our article on YouTube video editing software for more editing software suggestions.
How to edit a YouTube video FAQ
How to edit youtube videos?
Edit YouTube videos with the platform’s own YouTube video editor or use a third-party program for extended functions.