Color Grading – Uplift Your Editing Skills In 5 Steps
Rent film gear from local filmmakers.
Rent film gear from local filmmakers.


Post-production can be quite a task. But some parts of it are known to be more fun than others. Yes, I'm talking about color grading.
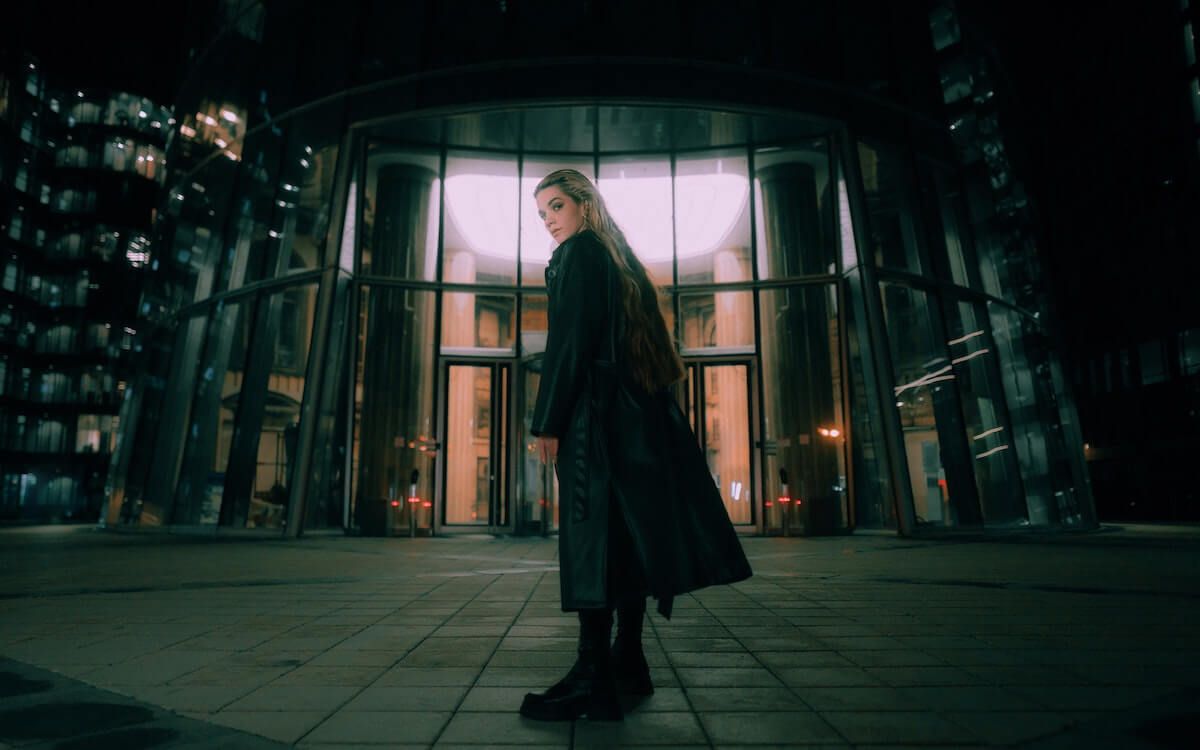
Whether it is a short commercial or a feature film, what really differentiates your work from others is how you stylize your picture. Monochromatic palettes, deep shadows, or washed-out hues – it's up to you!

Gabriel Kaunitz
Color Grading 101: All You Need to Know to Get You Started by Gabriel Kaunitz
A crucial part of the post-production process – grading is about using color values, hues, saturation, brightness, and contrast to add a specific effect to the footage. Learn more about that with Gabe 💻
Trailer
hG8LGhrABIk
Intro
1
eEyssiHX21o
Color grading vs. color correction
35
Color grading basics
92
What is a colorist?
259
How to become a colorist
338
Workflow
604
Color grading theory
821
Eye for contrast
896
Trends
1066
Making living as a colorist
1131
Why is coloring important
1248
How to be a good colorist
1326
Biggest mistakes
1629
Best color grading software
1699
Skills needed
1860
Tips & tricks
2039
Inspiration
2275
Ending
2365
Meet Gabriel
NqK8GfvgJaw
What you’ll learn
Color correction and color grading are different. Color grading is when you get into the localized color correction and changes for creative purposes.
The waveform monitor is your number one go-to tool in addition to the RGB parade. Waveform for overall contrast & RGB for color data.
The holy grail of color grading is contrast, saturation, hue, and localization.
Learn color theory, your formats, and the colorist language, and follow trends.
To become a colorist, you just have to do it – you have to gain experience and have a portfolio.
The industry is very competitive, that is why workflow and speed can become your biggest advantage.
Before we dive into the A to Z of adjusting colors in post-production, take your first step into Filmmaking and learn all the basics with our guide.
What is color grading?
A crucial part of the post-production process, grading is about using color values, hues, saturation, brightness, and contrast to add a specific effect to the footage.
Making these adjustments will always greatly depend on the desired look. It can depend on the genre, emotional framework, storyline, or your individual style as a filmmaker.
Important note: "looks good" is very subjective. Even though there are theories and guidelines on working with color and light, grading is always a creative process more than anything else.
What is cinematic color grading?
The key to a cinematic effect is creating a specific atmosphere. It all starts with a vision of what the final product should look like.
Of course, to create the desired cinematic atmosphere, creating a color profile must begin long before the footage gets to your computer.
With that being said, forget about suddenly deciding on the color palette only in post-production. Planning your composition, configuring your camera, setting the lighting just right plays a huge role.
Adding artistic effect
At the stage of actual color grading, the focus shifts to adding an artistic effect and stylizing your film in a specific way.
Here, color psychology can come in handy. Knowing what subconscious effects different shades and light have on the viewer, you can contribute a lot to the storyline by simply grading the picture appropriately.
For example, The Matrix uses a lot of green hues and deep shadows to add a dramatic, futuristic effect. It seems mysterious and dark from the get-go thanks to the color palette.
What is the difference between color grading and color correction?
To be fully honest, professionals in the field are no strangers to using those two terms interchangeably. In fact, the terminology used for color grading in post is "CC" because "CG" stands for computer graphics.
Yes, I know what you are thinking. How am I to make any sense out of it then?
Essentially, color correction and grading are done with the same skillset, in the same software, usually by the same person, but in a very particular sequence.
Color correction contains more technical aspects
Correction is more technical. It's so-to-say fixing any slacks of the original footage. Let's say the best take of a scene you're working on was with poor lighting. Then a color correction of dragging highlights or shadows should do.
It's all about fixing the consistency of the whole footage, the basic tints, white balance, exposure, and contrast. Think of correction as setting a baseline for any further adjustments.
Color grading is more of a creative process
Grading is much more creative and done on top of the correction. It's there to add whatever "extra" effect you desire.
With correction, we try to come as close to realism as possible, and with grading, we move away from it as far as the creative vision allows.
5 Steps on how to color grade
1. Normalize your video clips
When you start filming, you have two basic options on hand. Either using linear mode or log mode for your exposure profile.
In simple terms, a linear profile gives you much friendlier-looking footage - mostly good tones, light format, but very little information. Log profile mode preserves a lot of information, making the footage much more flexible.
The moment you open log profile footage on your editing software, don't freak out! It's supposed to look dim and super washed out.
It allows you to recover contrast, saturation and adjust your shadows and highlights. We call this "normalizing" - basically bringing it back to life by retrieving information.
It also leaves you with much more work, but trust me - it's worth it!
2. Color correct your video
Going back to the correction vs grading discussion, we need to bring the picture as close to realistic-looking as possible before we let our creative visions carry us.
This means that if the exposure is a bit off or the white balance needs fixing, it should be done at this stage. The goal for color correction is merely a picture that looks like through a human eye.
Assuring that everything is in place at this stage will make the actual grading process considerably more enjoyable.
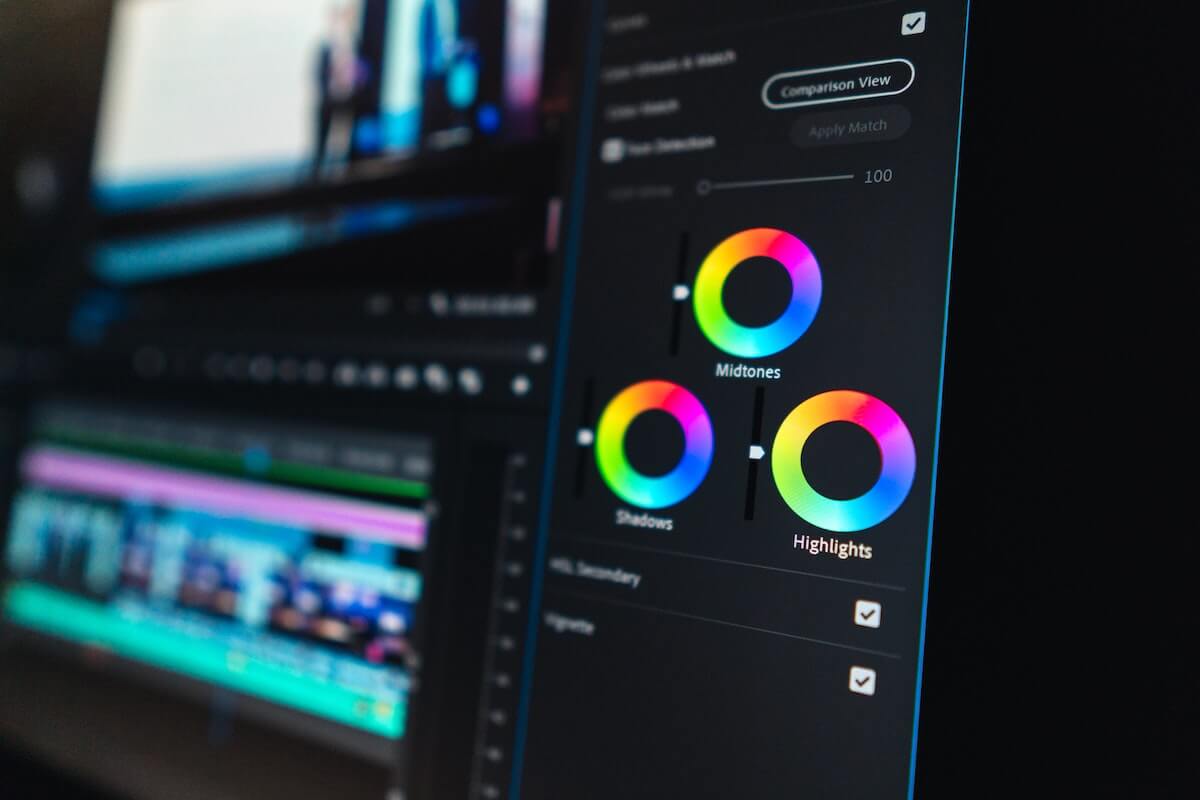
3. Color-grade your footage

Here a colorist can take two paths: manual grading or applying a LUT. Here's the trick - a colorist is most likely drawn to manual work since it provides much more control over every setting.
However, in a lot of cases, LUTs could be a great option. In plain English, LUT (stands for Lookup Tables) is a shortcut that mathematically transforms an input (your footage) into the desired output (what you's like it to look like).
For example, a LUT could include changing the saturation of all blues in the picture to make a warmer effect, used in romantic movies. Usually, LUTs consist of numerous settings combinations to create a specific effect.
Sounds easy, right? Except for one vital factor - LUTs only work well on very well corrected footage. Any tiny inconsistency with, for instance, exposure, and you might have an issue there.
4. Adjust final colors
This step is especially relevant for those little hit-and-miss situations when using LUTs.
Your main goal with those touch-ups is to make sure the picture remains consistent. LUT ruthlessly applies your settings to all of the footage, but it is your job then to correct any slip-ups.
It could be, for example, too much of one specific hue or oversaturation of one shade in some shots. This longs for going through all the footage.
5. Vectorscopes and skin tones

So you've gone all the way through color correction and grading.
But how do you know your hues are accurate? That's the thing - sometimes you don't want them to be. But as a rule of thumb, for most productions, we strive for artistic effects that still look persuasive and believable to the human eye.
This is especially true for humans in the frame. Whenever there is a skin tone appearing, it's a top priority to make sure it's color-corrected properly.
This is where the challenge begins. Our perception of color on the monitor highly depends on its calibration and the light falling onto it. To be absolutely sure of the values, we use vectorscopes.
It can be found in most video editing software among scope panels. A vectorscope shows you the most accurate placement of color tones and saturation on a scale.
Learning how to read the vectorscope can take some time. But with basic color theory knowledge, it is manageable. Huge help with specifically skin tones is the line between yellow and red. Most human skin tones should either fall directly on or next to that line.
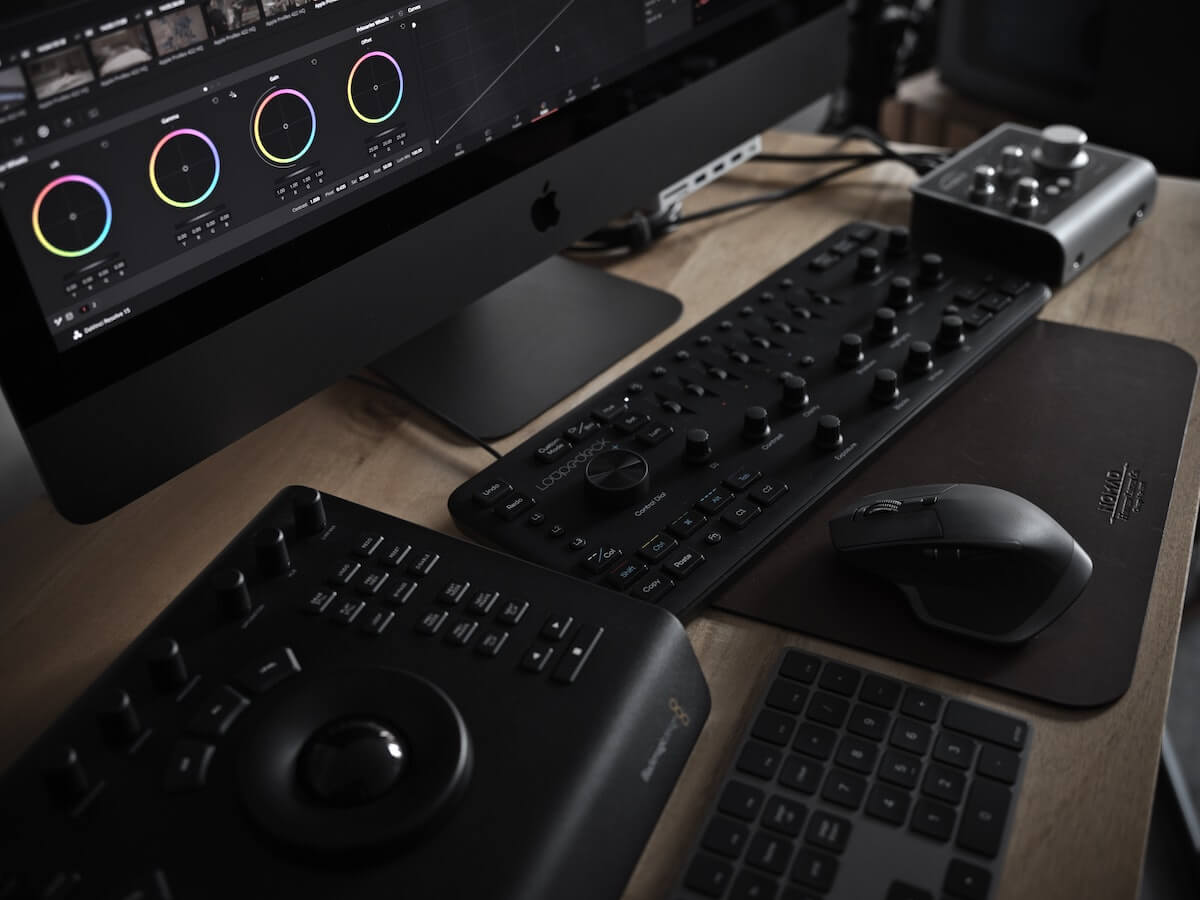
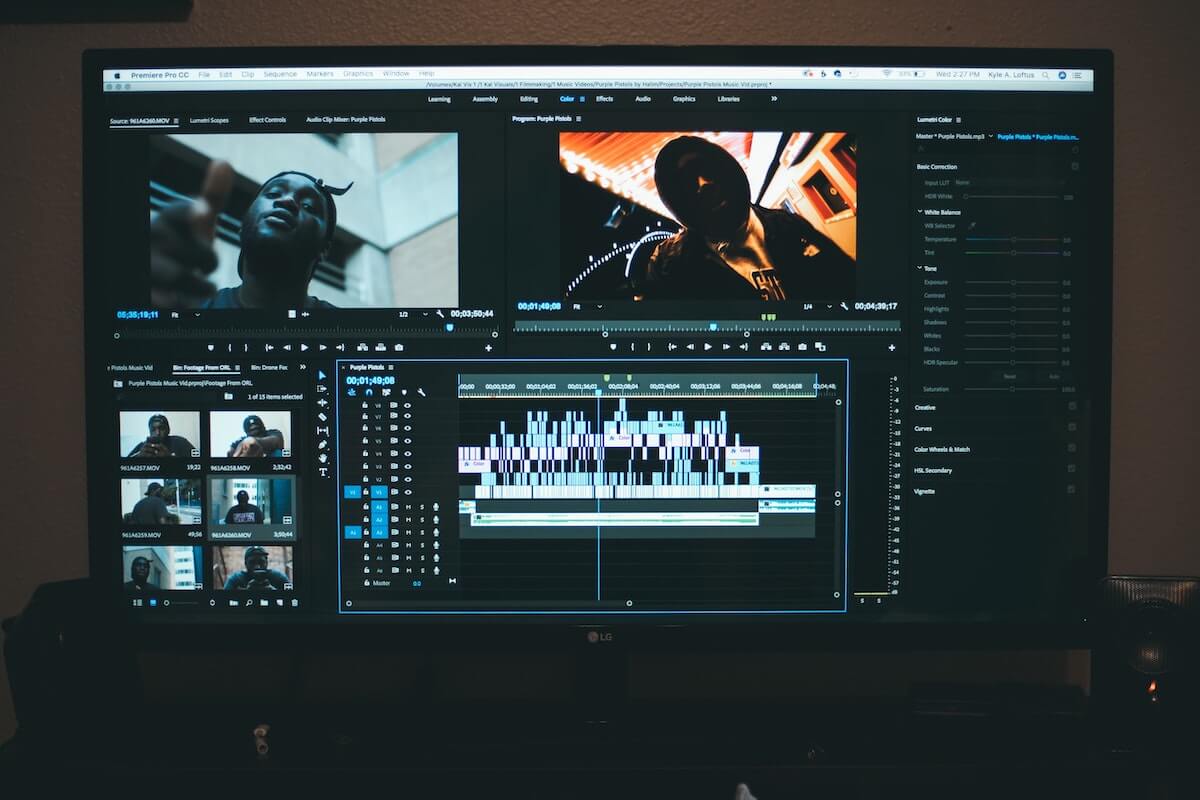
Best tools for color grading
After getting a step-by-step process, you might be wondering where to actually execute it.
There is an abundance of video-editing software that lets work on your footage during the whole post-production process, including color grading. Some allow you to do it all at once, while some require transfer or footage, but here is our list of the best software for film colorists.
The best programs to use:
- DaVinci Resolve
- Final Cut Pro (Color Board)
- Adobe Premiere Pro (Lumetri Color)
- Avid Symphony
- Nucoda
- Baselight
Up next: Dive into more post-production tasks
Now that we've learned about one crucial part of editing a film, it's time to zoom out and see the bigger picture.
Learn more about Filmmaking 101 guide, to get a better understanding of every stage of producing a great film.
About the instructor
Gabriel Kaunitz
Director
Columbus, Ohio, United States
Gabriel Kaunitz is a filmmaker, colorist, editor, and animator out of Columbus, Ohio. With almost 10 years of experience, he has worked with brands like O.A.R, Nationwide, and Velvet.
FAQ
What is color grading?
Color grading is the process of stylizing final footage by adjusting color hues, values, saturation, brightness, and contrast.
What is color grading in photography?
Much like in film, color grading a photograph means adjusting the color palette, dragging brightness and contrast to reach a specific effect.
How do you do color grading?
There are 5 main steps to color grading: Normalizing your video, Color correcting, Grading the footage, Adjusting the final colors, Checking colors on a vectorscope
What is the difference between color grading and color correction?
Though the terms are often interchangeable, color correction is all about fixing the slacks in the original footage and making it more realistic. Color grading is about adding a creative effect after the correction.