Wildlife Photography: 11 Tips for Capturing the Wilderness
Rent film gear from local filmmakers.
Rent film gear from local filmmakers.


Have you grown up watching and reading National Geographic? If you, like myself, wondered how they capture those gorgeous pictures of exotic wildlife, I have good news for you.
Wildlife photography is not inaccessible, and if you’re willing to improve your skills, you too can take stunning wildlife pictures.
11 Pro tips to elevate your wildlife photography
These 11 pro tips will help you improve and elevate your wildlife photography shots and capture the best pictures possible.
1. Select a suitable camera
When it comes to wildlife photography, suitable gear plays an even more significant role than in many other subgenres. The right camera is a DSLR or mirrorless with outstanding low light performance, meaning high ISO capabilities. When you’re looking for animals, especially nocturnal ones, you won’t be able to set up artificial lighting without scaring away or angering your subjects. Therefore, a high ISO is an absolute must to avoid your pictures turning out too dark or noisy.
Autofocus capabilities impact your final result considerably. Your subject might move fast in wildlife photography. You need to hurry to get those perfect shots! The ability to shoot in burst mode is important for the same reasoning.
2. Choose a telephoto lens
An outstanding telephoto lens is an indisputable favorite for wildlife photography. Any lens below 300mm will likely be too short for your purposes. Wild animals won’t let you get close enough to them, and you should try to avoid putting yourself in danger anyway. A lens with a sizeable focal length will do the trick.
Using telephoto zoom lenses in the 200-500mm or 150-600mm range is a convenient and relatively portable option compared to the alternative. One or several prime lenses shoot brighter and more detailed pictures, but they’re usually pricier and quite hefty.
3. Find a robust tripod
While the ideal camera settings, which I’ll discuss below, might not warrant it, using a tripod makes a difference in a long shooting day. Imagine waiting for days for the encounter and messing up the perfect opportunity with a shaky camera. If you know where the animal nests or rests, set up a sturdy tripod to wait.
Considering the hefty, large lens you need to capture the right moment, a tripod will also alleviate the pressure of holding your setup for hours on end. Your sore muscles will thank you for it.
If, for whatever reason, a tripod is not available, look around for something in your environment to rest your lens on. This can be a flatter rock or even your backpack in a pinch.
4. Use a low ISO
Whenever possible, use an ISO of 200 or so to minimize the noise in your photos. The ideal wildlife shot is crisp and clear, but the conditions won’t always be perfect. They usually won’t be, in reality.
Adjust your ISO to the lighting condition and go up to ISO 800 or 1000 if it’s really dark out. Better cameras work better on both ends of the range, so keep that in mind if you struggle in sunny or nighttime settings.
If you’re a bit confused or uncertain about ISO, brush on your photography basics before your shoot.
5. Choose a fast shutter speed
A fast shutter speed is the common setting that freezes the motion and ensures your picture doesn’t get blurry. Try working with a minimum of 1/500s for moving subjects and go up to over 1/1000s for fast-running or flying animals. Experiment and practice to find the right settings!
If you’re not shooting manual, consider working with aperture priority rather than shutter speed priority mode. This may seem counterintuitive, but it will ensure that your images are almost always properly exposed. If you want to raise the shutter speed in aperture priority, increase the aperture itself by choosing a smaller f-stop number. Your camera will automatically adjust the shutter speed to compensate for the change.
Using a fast shutter speed with a camera without manual controls or aperture priority is not easy, but it's possible. Select Sport mode or something similar for the best results.
6. Know the animals you’re shooting
Do your research and learn about the wildlife in the area in which you’ll be shooting. Information on animal habits and patterns will improve your chances of encountering or avoiding them. Stay alert when the animal is most active and seek out locations they generally prefer.
Look out for signals of danger and learn what a safe distance and behavior look like. Consider bringing a local guide depending on the conditions.
7. Consider a silent shutter
Animals scare easily, especially herbivores. You should work to eliminate any unnecessary noise and movement if you want the chance to photograph them. Move slowly and quietly and keep a respectable distance.
The sound of the shutter clicking, particularly in burst mode, will frighten wildlife. Especially if they have excellent hearing. Use a silent shutter if your camera has one.
8. Experiment with different compositions
While often even getting the picture is an accomplishment, it’s always important to be familiar with the rules of composition. Use the rule of thirds to take balanced pictures. Your camera will likely have the option to toggle a grid that will help you align your subject. Create depth in the image by including the foreground. Zoom in for close-ups, and zoom out to let viewers understand the environment and context where the animals exist.
9. Use autofocus
Autofocus makes your life as a wildlife photographer much easier, especially with fast or active animals. Continuous focus mode is probably the easiest option where your camera will try to find the main subject and keep them in focus. Most cameras do this if the shutter is pressed halfway down. If you’re serious about improving the speed of your shots, consider back-button focusing to save a couple of milliseconds.
Setting a single focus point works better in challenging lighting conditions. Also when your subject is camouflaged! However, this only works if you have ample time to set it up, so use it sparingly and with caution.
10. Stay patient
What do wildlife photographers, kindergarten teachers, and retail workers have in common? They are all incredibly patient.
If you’re working with wild animals, you need to understand that they do things on their own terms, on their own time. You might need to wait hours, days, or weeks for the opportunity to present itself, not just mere minutes.
This often means long stakeouts with nothing to show for it and going days on end without seeing the animal you’re there to photograph. On assignment looking for endangered or elusive species, this can take even longer.
Staying patient is the way to get the perfect shot. Lie in wait, remain observant, and move fast but cautious at the sign of a sighting.
11. Play with depth of field
Experiment with a shallow depth of field to help your subject stand out and pop from the image. You can achieve this by working with a large aperture like f/4 or f/2.8 or simply getting closer to your animal.
Get creative with your composition and place something in the foreground to create depth.

What’s next?
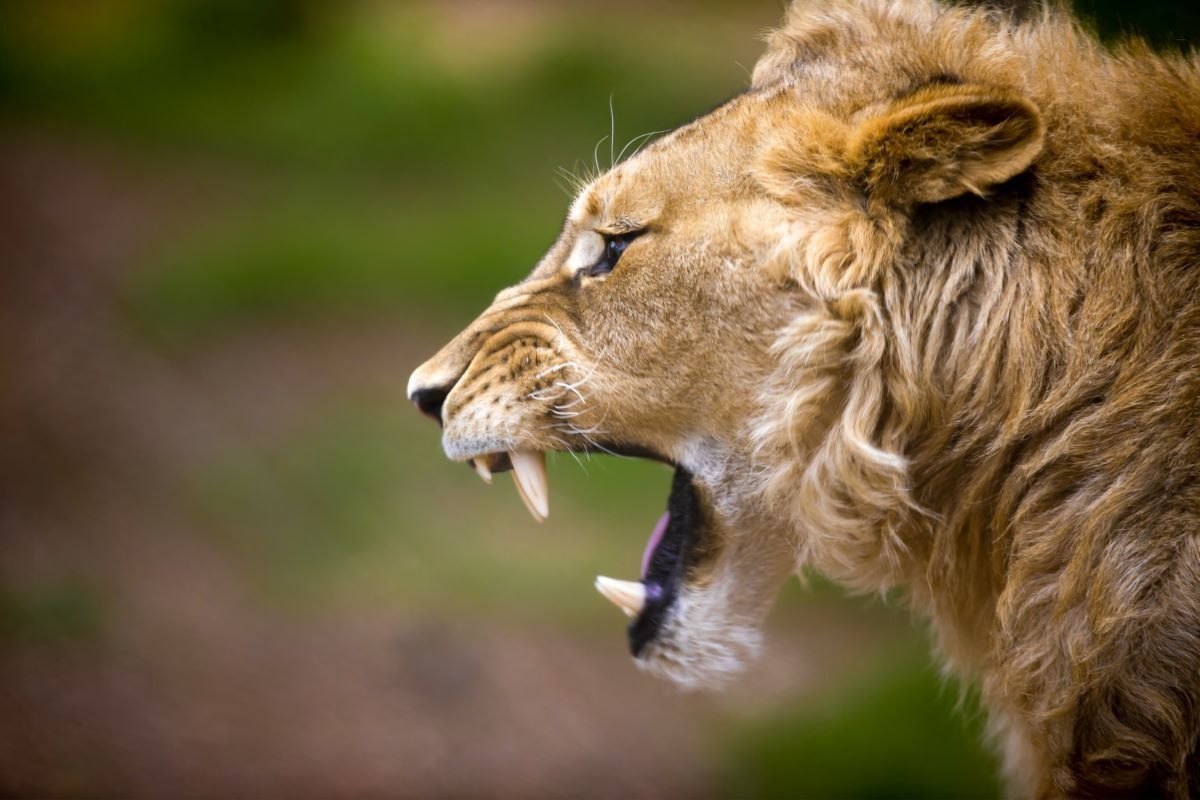
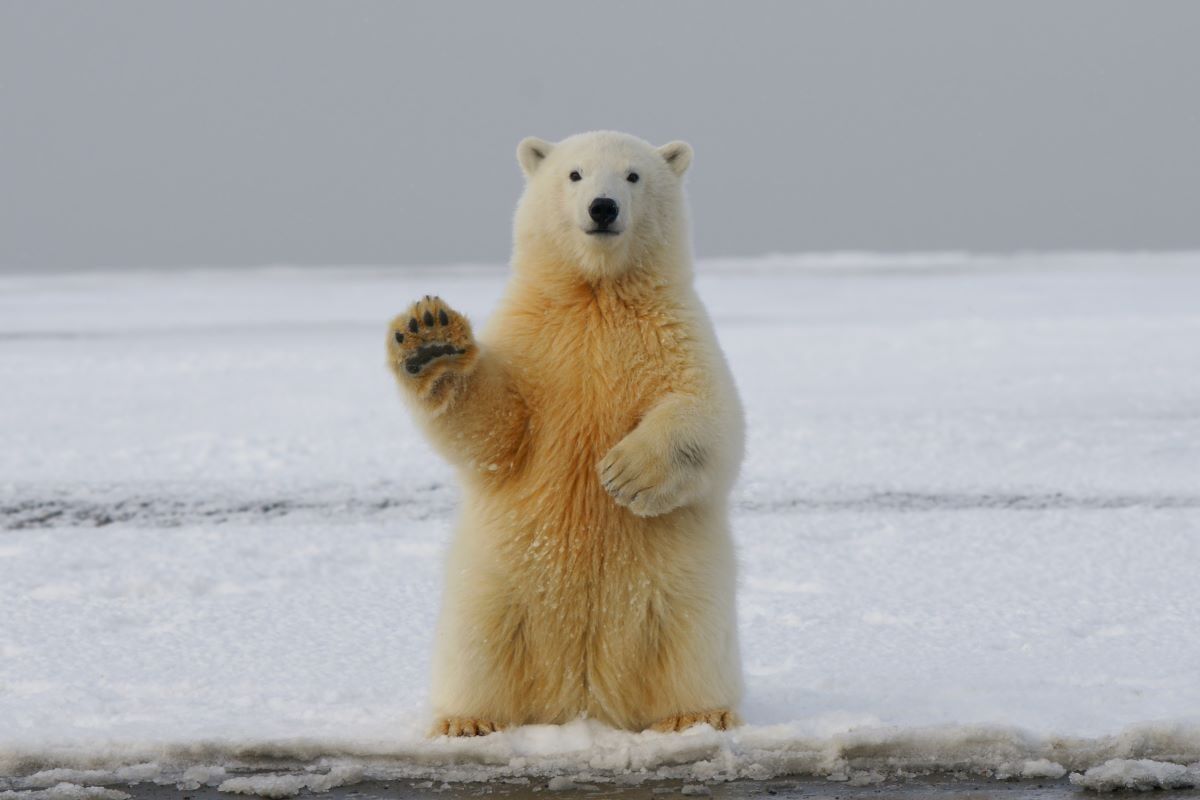
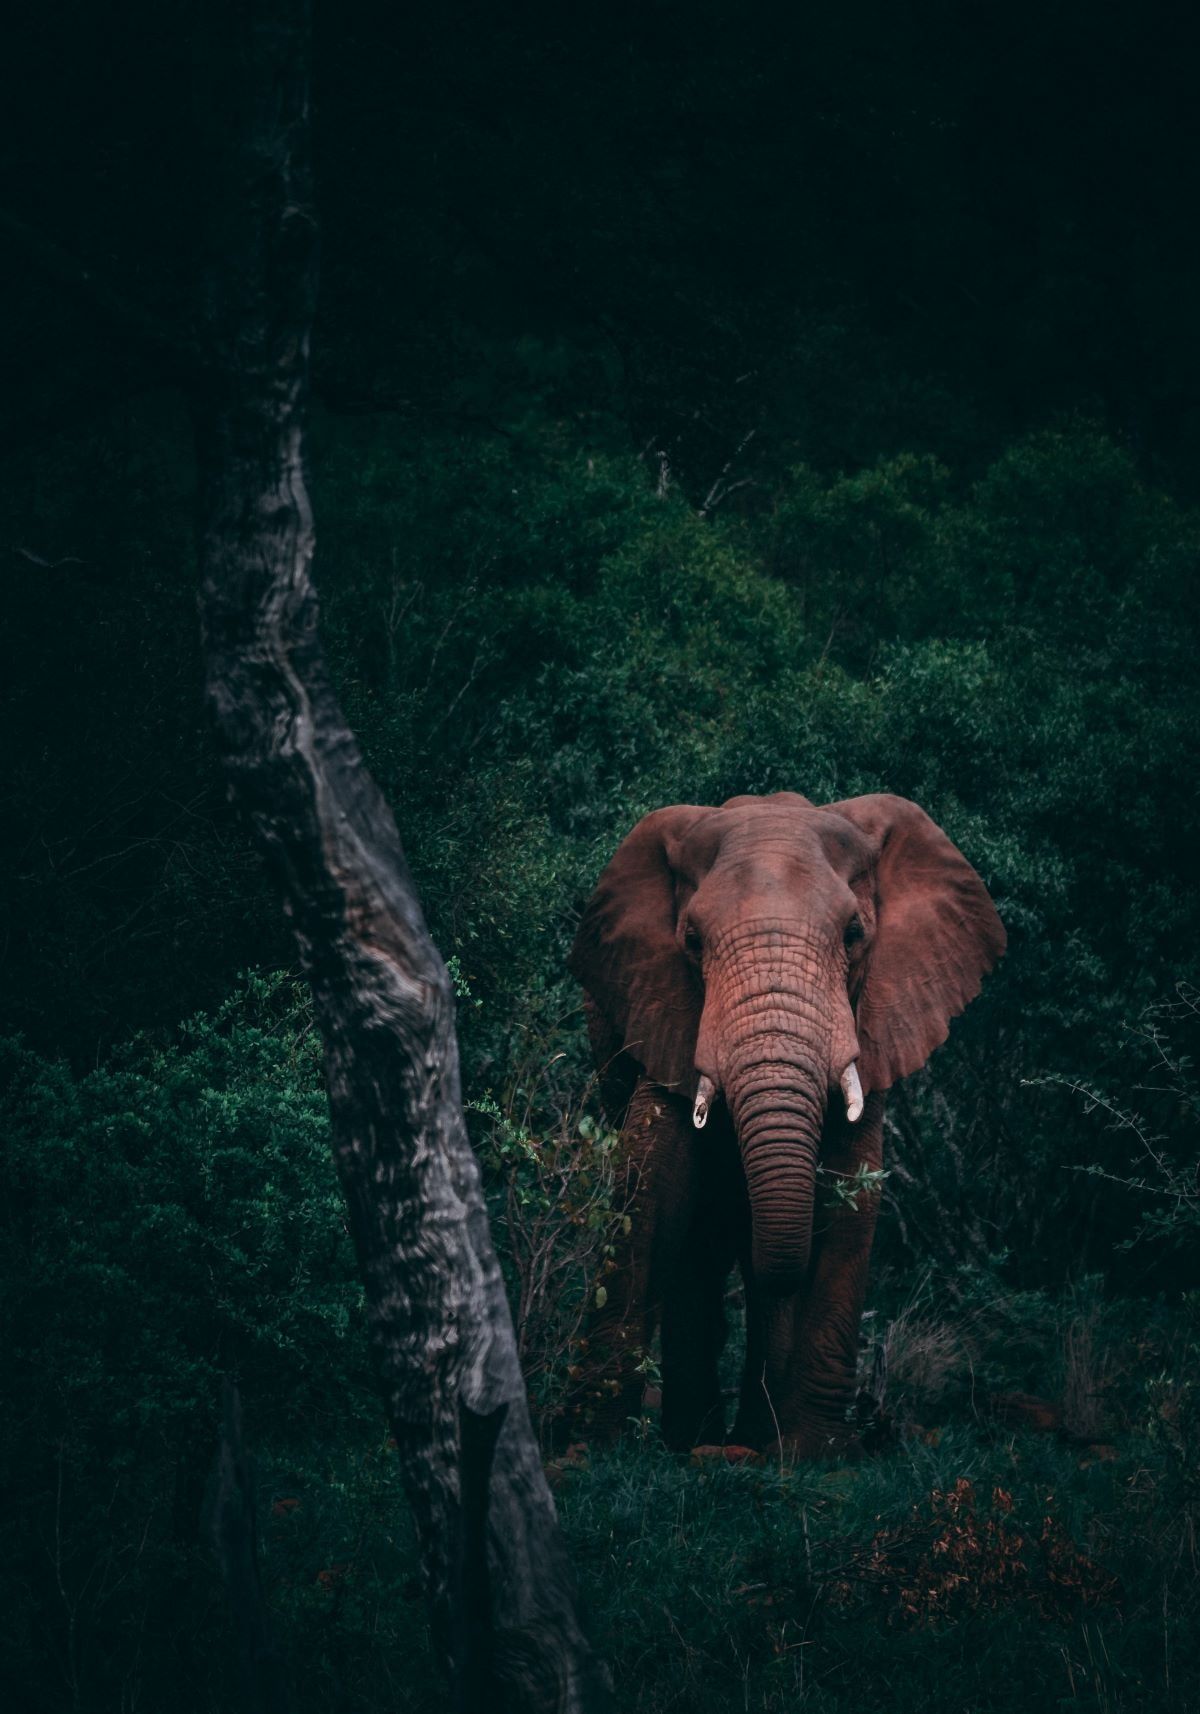
Are you ready to go on an adventure? Whether the next stop is a pride of lions in central Africa or the ducks in your local park, these tips will help you get the best pictures possible.
Are you looking to improve your skills? Become a better photographer by learning all there is to know about the craft of photography.
Book your ticket today and enjoy shooting!
How do you become a wildlife photographer?
Become a wildlife photographer by improving your skills and finding the right gear. Experiment with photographing pets and local wildlife.
Is wildlife photography a good career?
Wildlife photography is an exciting and dynamic career, perfect for the adventurous photographer.
What is wildlife photography?
Wildlife photography is a photography genre documenting animals in their natural habitat.
How to get into wildlife photography?
Get into wildlife photography by expanding your network or freelancing. Grow your skills and reach out to peers to get assignments for larger clients.