


Tips for Beginner Filmmakers on How to Create Cinematic Videos on YouTube
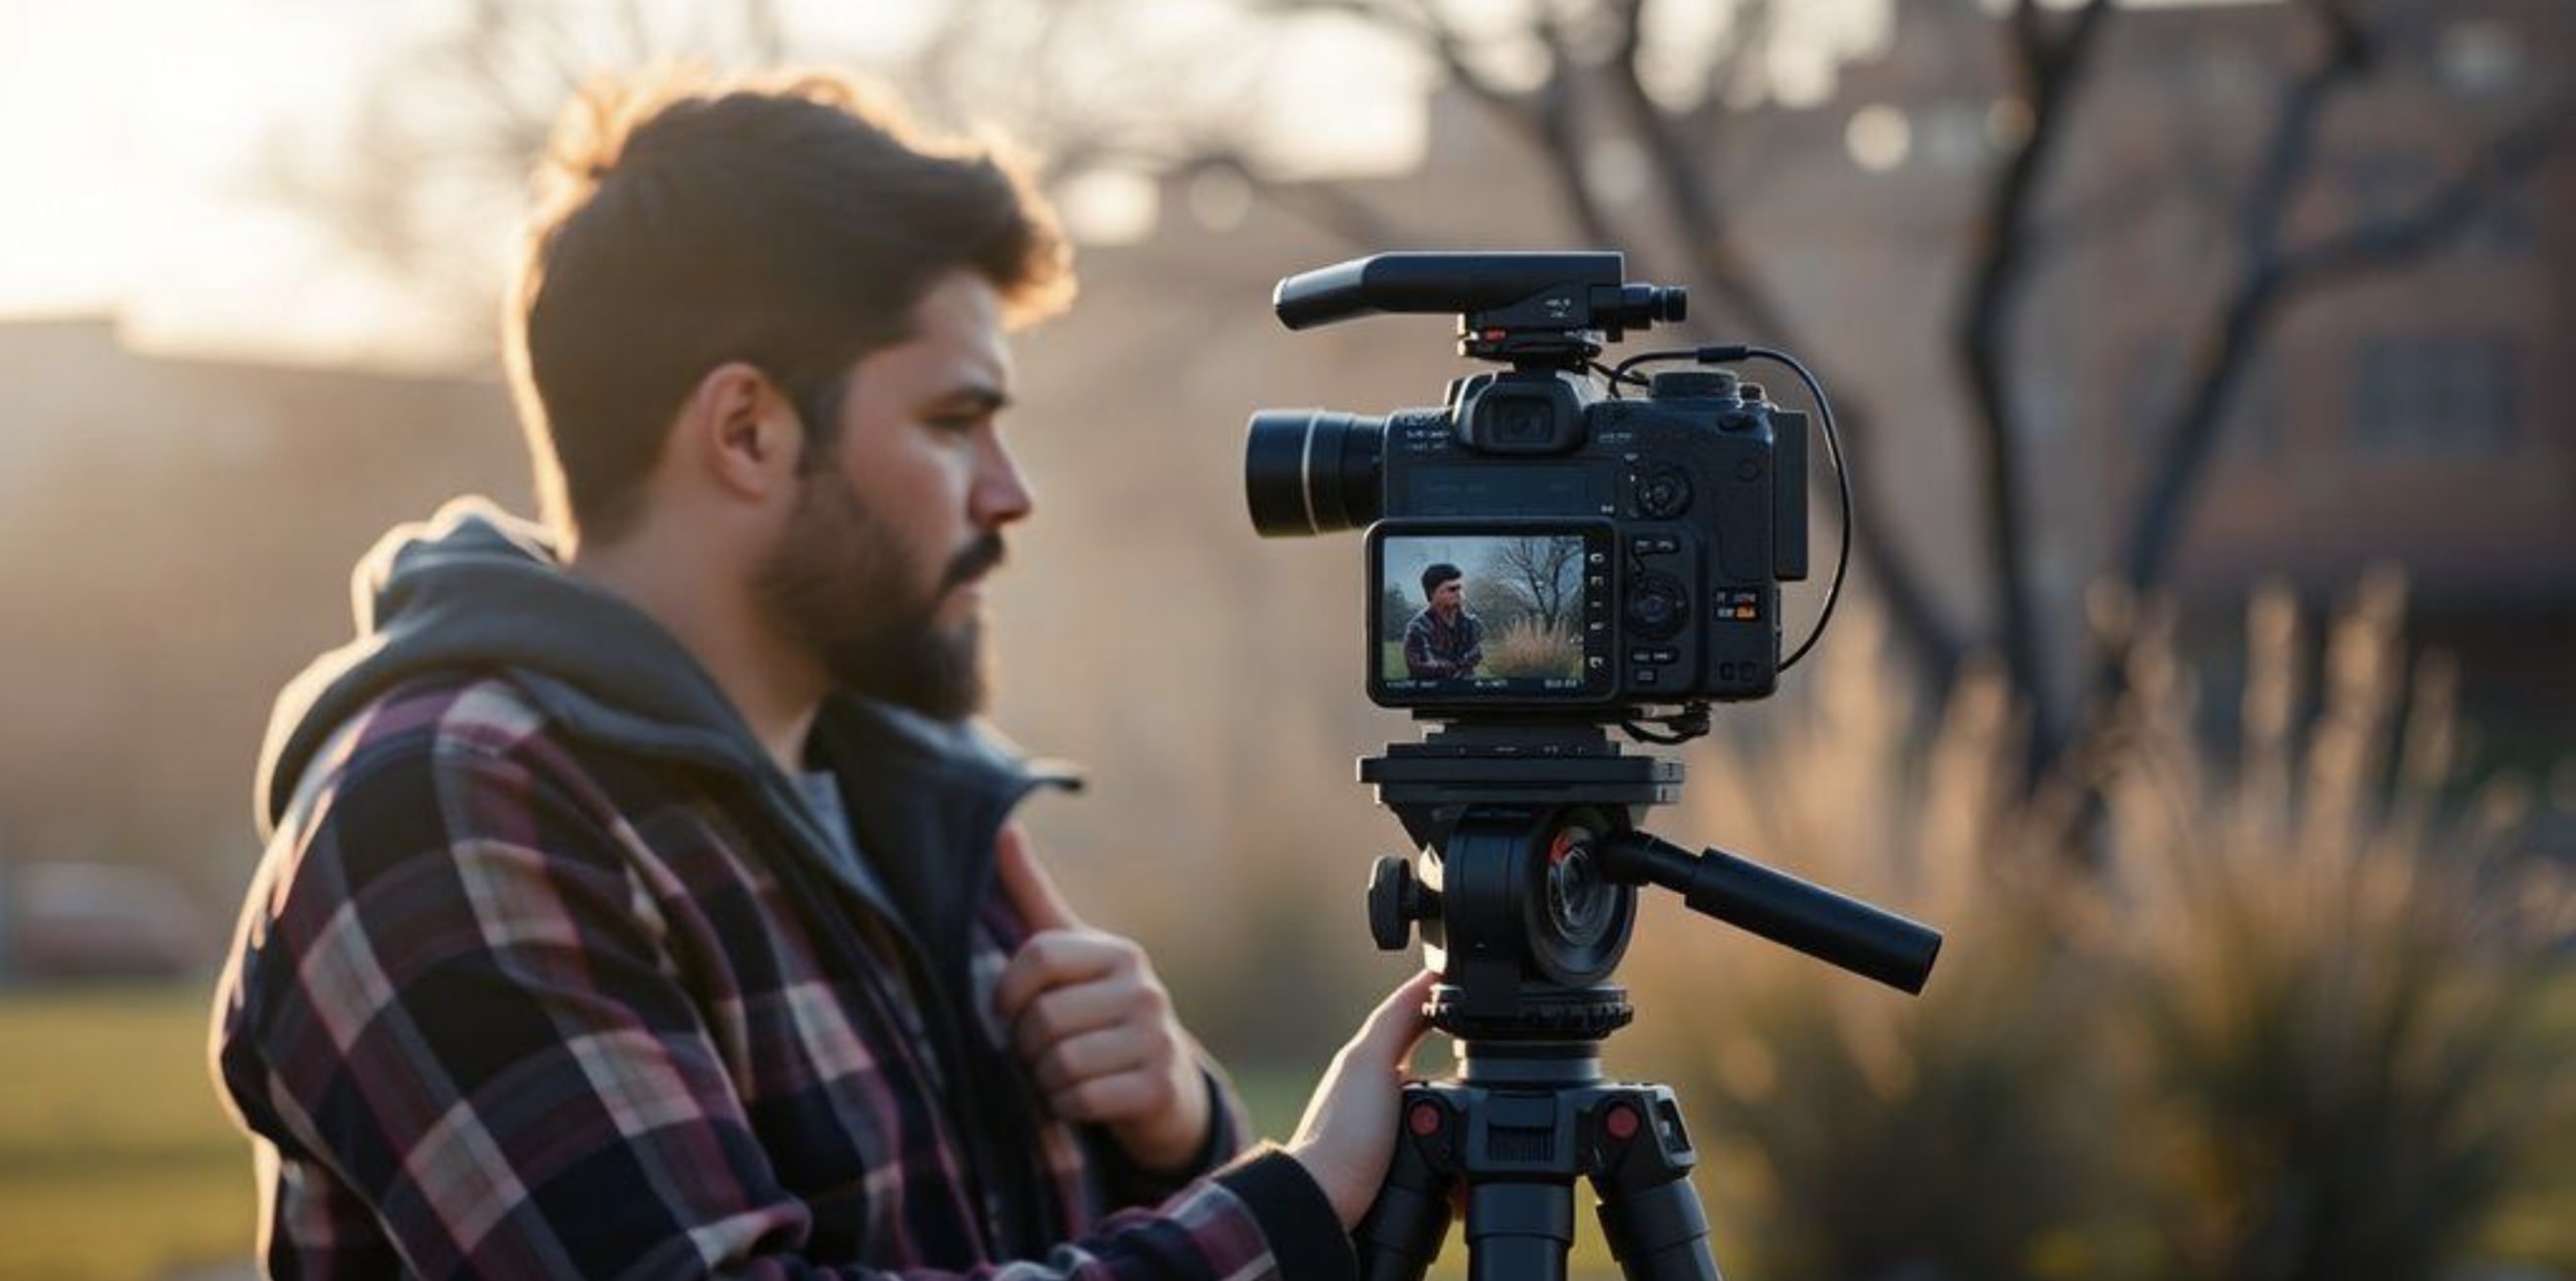
Rent film gear from local filmmakers.
Rent film gear from local filmmakers.


Creating cinematic videos isn’t about owning the best gear or using expensive software—it’s about how you frame your story visually. Framing is the foundation of every great shot. It draws the viewer’s eye, adds depth, and ultimately shapes how your audience feels about what they’re watching.
If you’ve ever seen a video that pulled you in and made you feel like you were right there in the moment, chances are it wasn’t an accident. Framing plays a huge role in making that magic happen. Let’s break it down.
The Rule of Thirds: Your Framing Starting Point
The rule of thirds is probably the first thing you’ll hear about when learning to frame a shot—and for a good reason. It’s simple, effective, and works in nearly every scenario. Picture your screen divided into nine equal sections with two horizontal and two vertical lines. Now, place your subject where those lines intersect. Boom—you’ve got a shot that feels balanced without trying too hard.
Why does this work? Because our eyes naturally gravitate to these points, which will help you get more YouTube views. When your subject sits slightly off-center, it creates a sense of space and makes your shot feel more dynamic. It’s not a hard rule, though. Sometimes breaking it can be just as impactful, especially if you’re aiming for something unconventional. But when in doubt, stick to the rule of thirds—it’s a solid foundation.
Adding Depth: Making Your Shots Feel 3D
Flat shots are boring. Depth is what makes your video come alive, and there are a few tricks to achieving it.
1. Play with Layers:Put something in the foreground, middle ground, and background. For example, if you’re filming someone walking through a park, use trees or benches in the foreground, your subject in the middle, and the skyline in the background. This layering adds dimension and makes your shot more visually engaging.
2. Experiment with Angles:Shooting from a low angle makes your subject feel powerful or imposing, while a high angle might make them seem small or vulnerable. Tilt the camera slightly or shoot through objects like windows or fences to add a creative twist.
3. Use Leading Lines:Think of roads, fences, or even shadows as arrows pointing to your subject. These lines naturally guide the viewer’s eye, creating depth and directing attention where you want it.
Depth of Field: Blurring the Background for Drama
Ever noticed those shots where the subject is crystal clear, but the background is all dreamy and blurred? That’s shallow depth of field, and it’s an easy way to make your videos look cinematic.
Here’s how to nail it:
- Use a wide aperture (f/1.8 or f/2.8). Lower f-numbers mean a blurrier background.
- Get closer to your subject. The closer you are, the more pronounced the effect.
- Use a longer lens. A 70mm or higher compresses the background beautifully.
On the flip side, deep depth of field keeps everything sharp and in focus—perfect for wide landscape shots or scenes where every detail matters.
Why Aspect Ratios Matter
Aspect ratios might sound technical, but they’re just the shape of your frame. The default for most videos these days is 16:9—it’s what your phone, TV, and YouTube all use. But if you’re going for a more cinematic vibe, consider 2.35:1. That ultra-wide look screams “movie magic.”
Of course, platforms like Instagram and TikTok prefer vertical or square videos, so always think about where your content will live before choosing an aspect ratio. The right ratio can shape how your audience experiences your story.
Movement: When and Why to Move the Camera
Static shots have their place, but camera movement can breathe life into your scenes. The trick is knowing when to move and when to hold still.
1. Motivated Movement:Move the camera because it serves the story. Following a character as they walk through a room? That’s motivated. Panning to reveal a hidden detail? Also motivated. Movement without purpose, though, just feels distracting.
2. Tools of the Trade:
- Dollies give you smooth, controlled motion for tracking shots.
- Gimbals let you glide through scenes effortlessly.
- Handheld shots, while a bit shaky, can add intimacy and rawness. Just practice keeping the shake minimal for a professional touch.
Lighting: The Secret Sauce of Cinematic Videos
Lighting isn’t just about making your subject visible—it’s about setting the mood.
Three-Point Lighting Basics:
- Key Light: Your main light source. It’s usually placed at a 45-degree angle to your subject.
- Fill Light: Softer light on the opposite side to reduce harsh shadows.
- Backlight: Adds a subtle glow behind your subject, separating them from the background.
If you’re working with natural light, shooting during golden hour (just after sunrise or before sunset) gives your shots a beautiful, soft glow. Can’t control the light? Grab a reflector or use a nearby white wall to bounce light where you need it.
Music: The Unsung Hero of Visual Storytelling
Music is more than just background noise—it’s the emotional core of your video. The right track can make a scene unforgettable.
- Choose royalty-free music that fits the mood. A tense thriller demands something vastly different from a joyful montage.
- Balance is key. Don’t let the music drown out dialogue or important sound effects.
- Silence can be powerful, too. Know when to let the absence of music do the talking.
Wrapping It Up
Framing is just the start of creating a cinematic video. It’s about layering techniques—depth, lighting, movement, music—and using them in harmony to tell a story. Don’t get caught up in needing fancy gear or expensive software. Start with what you have, practice often, and experiment boldly. Every video you create gets you one step closer to mastering the art of cinematic storytelling.
Frequently Asked Questions
What is the rule of thirds, and why is it important?
The rule of thirds is a way to divide your frame into nine parts using two horizontal and two vertical lines. It helps to place your subject on the intersections or along the lines to create more balanced and engaging visuals.
How can I create depth in my videos?
You can create depth by using camera angles, placing subjects between the foreground and background, and incorporating leading lines like pathways or fences to guide the viewer's eye.
What is shallow depth of field, and how does it affect my video?
A shallow depth of field means that only a small part of your image is in focus, usually the subject, while the background is blurry. This technique can make your video look more cinematic by drawing attention to the subject.
Why is aspect ratio important in filmmaking?
The aspect ratio determines the shape of your video's frame. Different ratios can affect how your story is perceived, with wider ratios often giving a more cinematic feel.
How can music enhance my cinematic videos?
Music can set the mood and emotion of your video, helping to tell your story more effectively. Choosing the right soundtrack is crucial to match the theme and pace of your video.
What are some basic lighting techniques for cinematic videos?
Basic lighting techniques include using key, fill, and backlight to create depth and mood. You can also use natural light creatively to enhance your video's look.
How does color grading improve my video?
Color grading adjusts the colors in your video to create a specific mood or look. It can make your footage look more professional and consistent.
What is the purpose of adding film grain to a video?
Adding film grain can give your video a nostalgic or artistic look, mimicking the texture of the old film. It can add character and depth to your footage.
