How to Use a Green Screen - Beginner Recommendations
Rent film gear from local filmmakers.
Rent film gear from local filmmakers.


Whether you want to create a film, Youtube video, or just a kickass Zoom background, there exists the perfect solution.
Using a green screen!
A green screen helps you add a layer of creativity, convenience and reduces costs. With green screens, the world is your oyster and you can be the king of shellfish.
If you're just starting out, read our guide on how to start with photography.
What is a green screen?
A green screen is a green background canvas. It is used in video production to add visual effects later during the post-production phase.
A proper name for the process is Chroma keying. Basically, you can replace everything with a specific color with a different background image.
Before you ask - no, the green screen doesn't have to be only green. In fact, it can be any color (green and blue are used the most). Be aware, this color won't be seen after the editing.
Green is used because most people hate green. Just kidding (green is wonderful), it is used simply because most of the things in our everyday lives simply aren't green - so it's a good contrast color.
You can create a DIY greenscreen by painting your background or using a green blanket, but make sure you're okay with having green walls unless you really like re-painting. You can also buy one.
Green screens are simply incredible! Some of the most iconic films and scenes were created using them, and now we're going to teach how to use a green screen background yourself.
7 tips on how to use a green screen
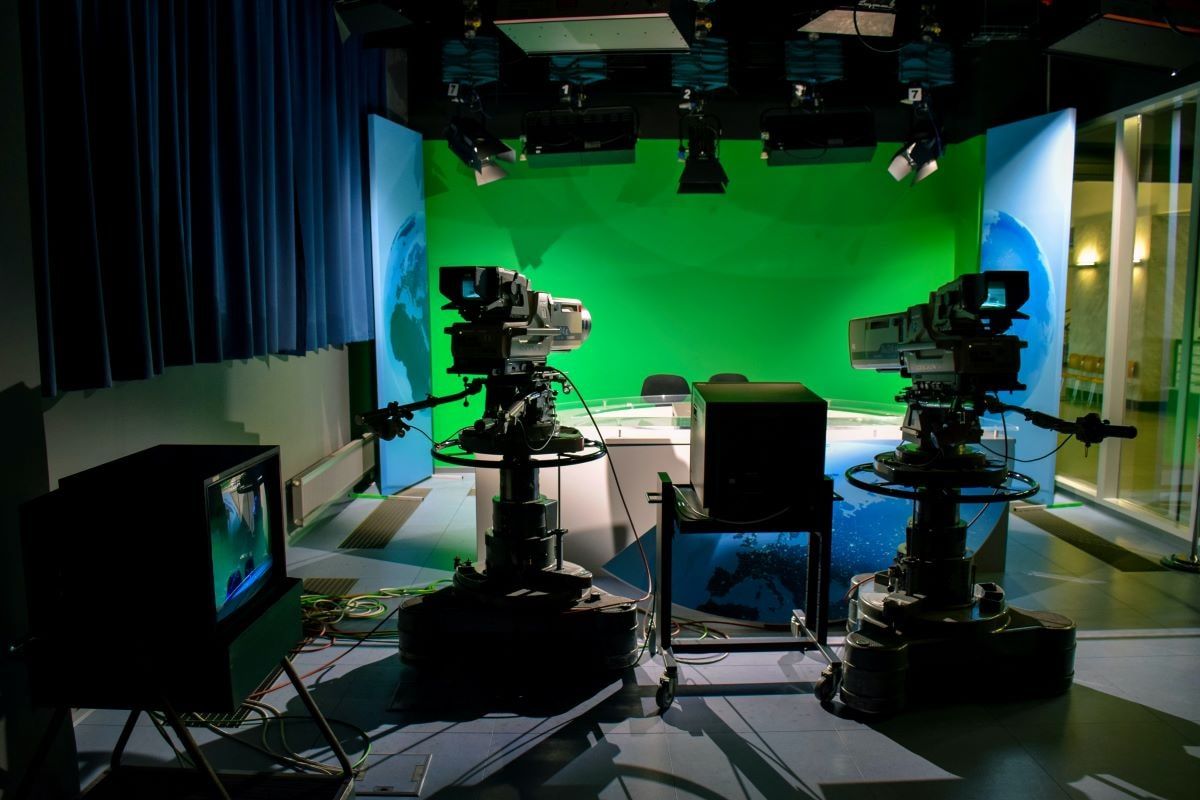
1. Set up your green screen
Depending on what type of green screen you have, you can hang it on a wall or on a frame and use sturdy supports, so it's nice and even. This is important - you don't want any wrinkles or folds as they will affect the quality of the footage.
2. Adhere to plenty of lighting
You should first light the person/thing in your scene. Then adapt the green screen lighting. This is done to avoid using too much light. Some people do this in reverse. As long as you take the time to create a proper setup, it's okay.
For the effect to be perfect, you need strong, even, and consistent lighting. You should aim for non-directional, diffused lighting to ensure it's even. Positioning of the light is also very crucial - depending on the effect you want to create, it might be a good idea to explore different places.
Next, you don't want a light overspill - meaning your background becomes much brighter than the subject. Your subject light and background light should be around half a stop different.
Getting the lighting right is crucial for a great result, so don't hesitate to experiment and try different setups.
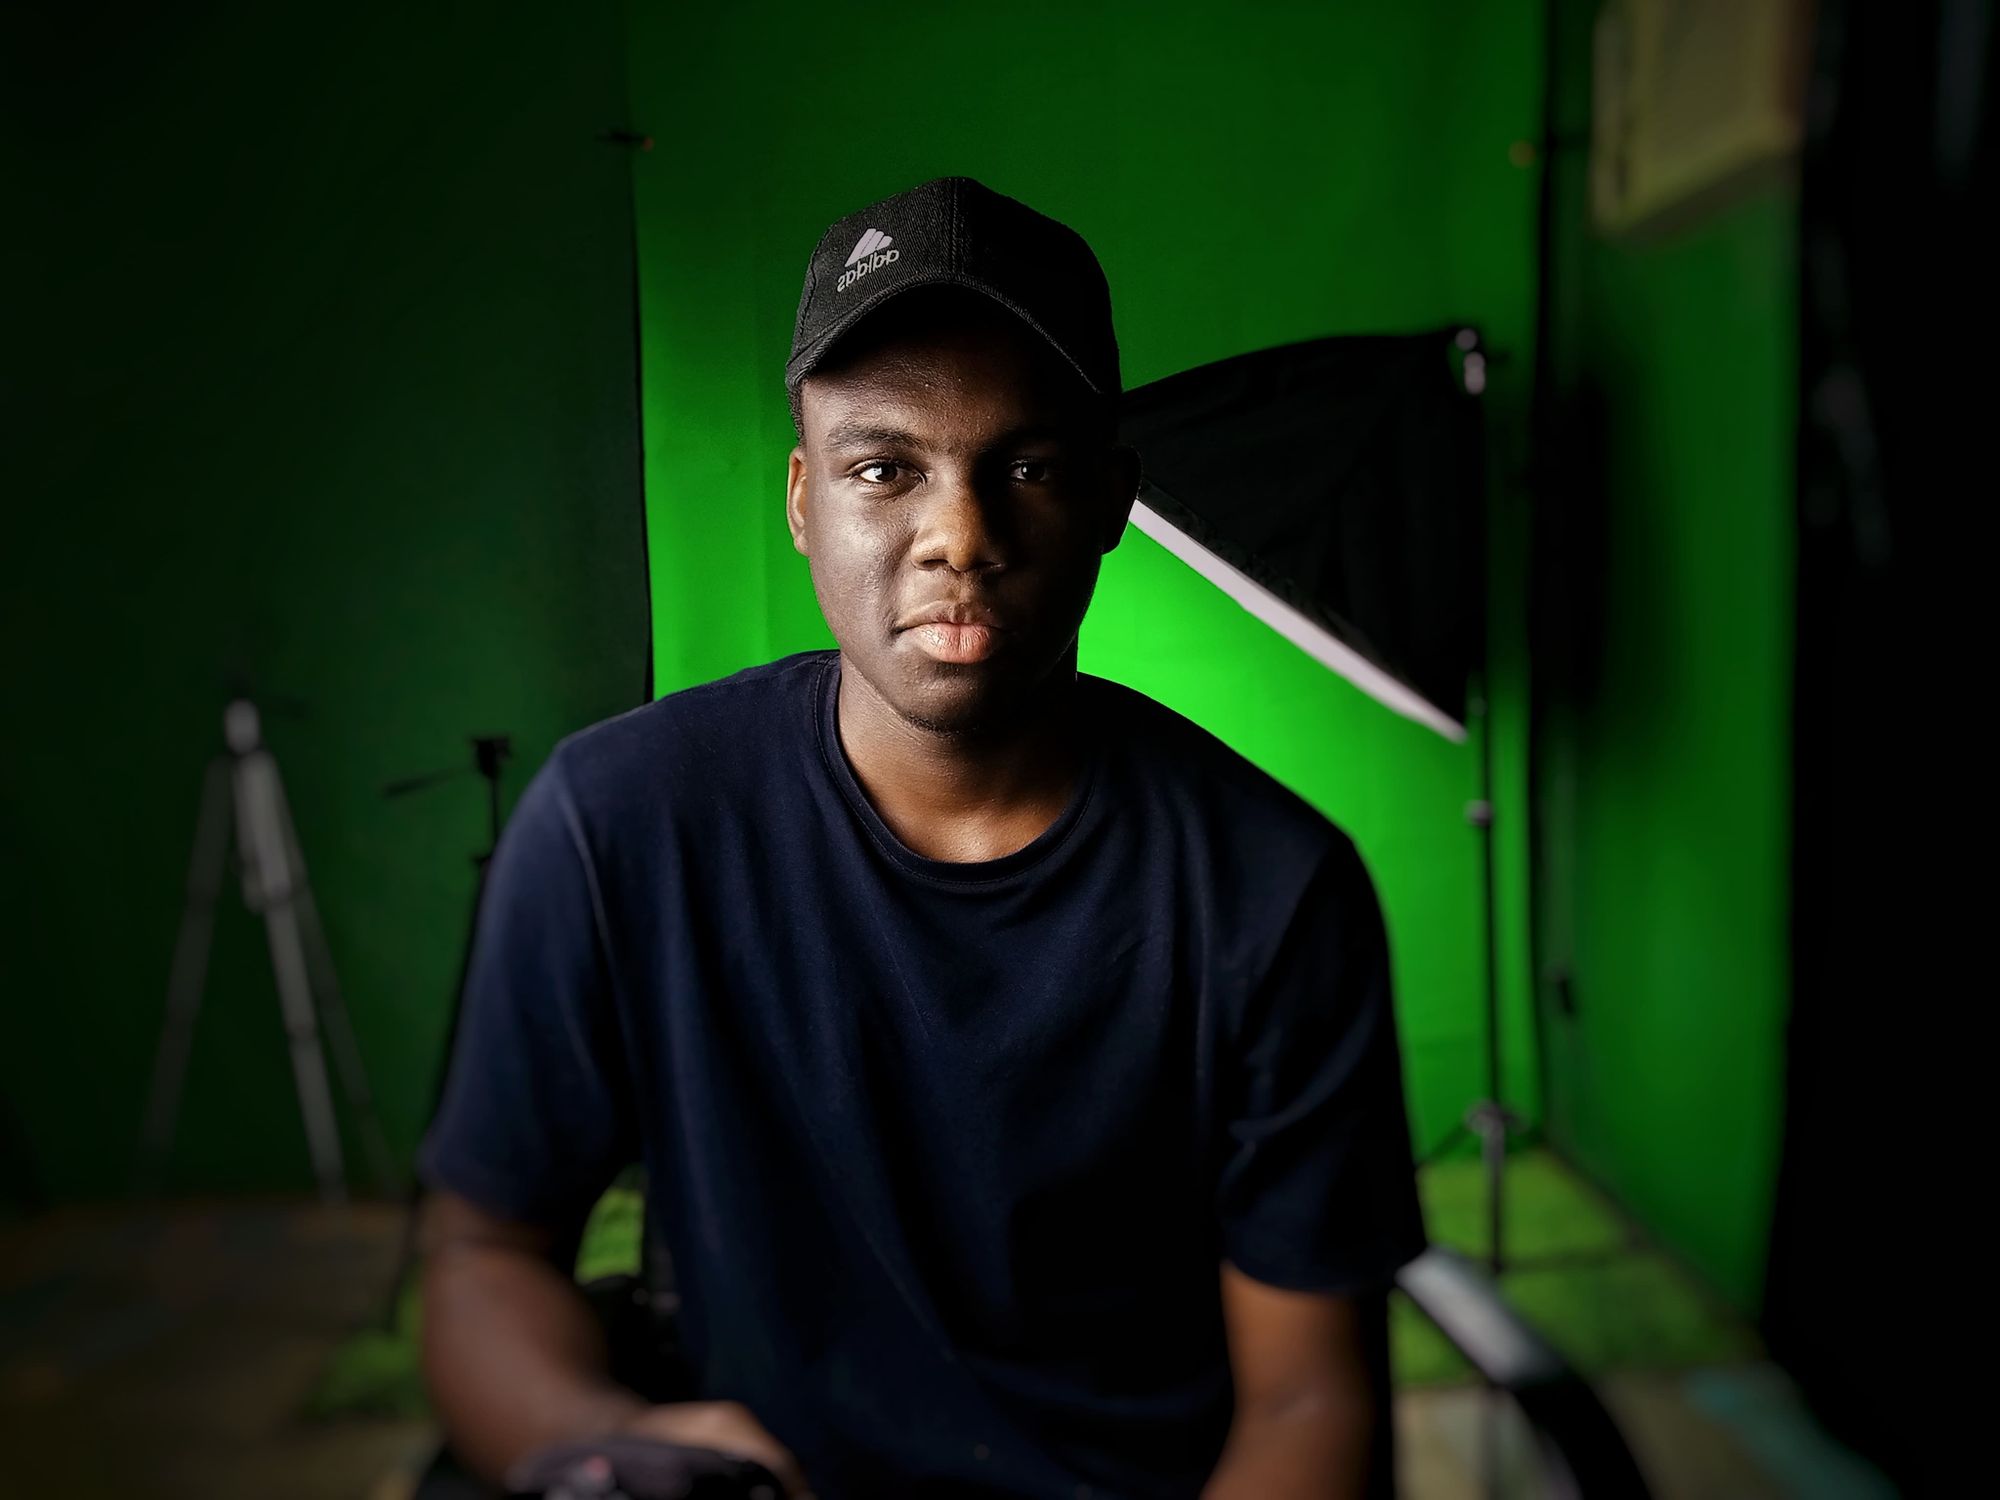
3. Set up your subject
It's crucial for your subject to not be too close to the green screen, as the lights will be reflected onto them, affecting the quality. Aim for at least 2 meters (6.5 feet) between your screen and the subject.
The more space you have, the easier it will be to match the lighting afterward. Ideally, you want about 3 meters (10 feet) or more.
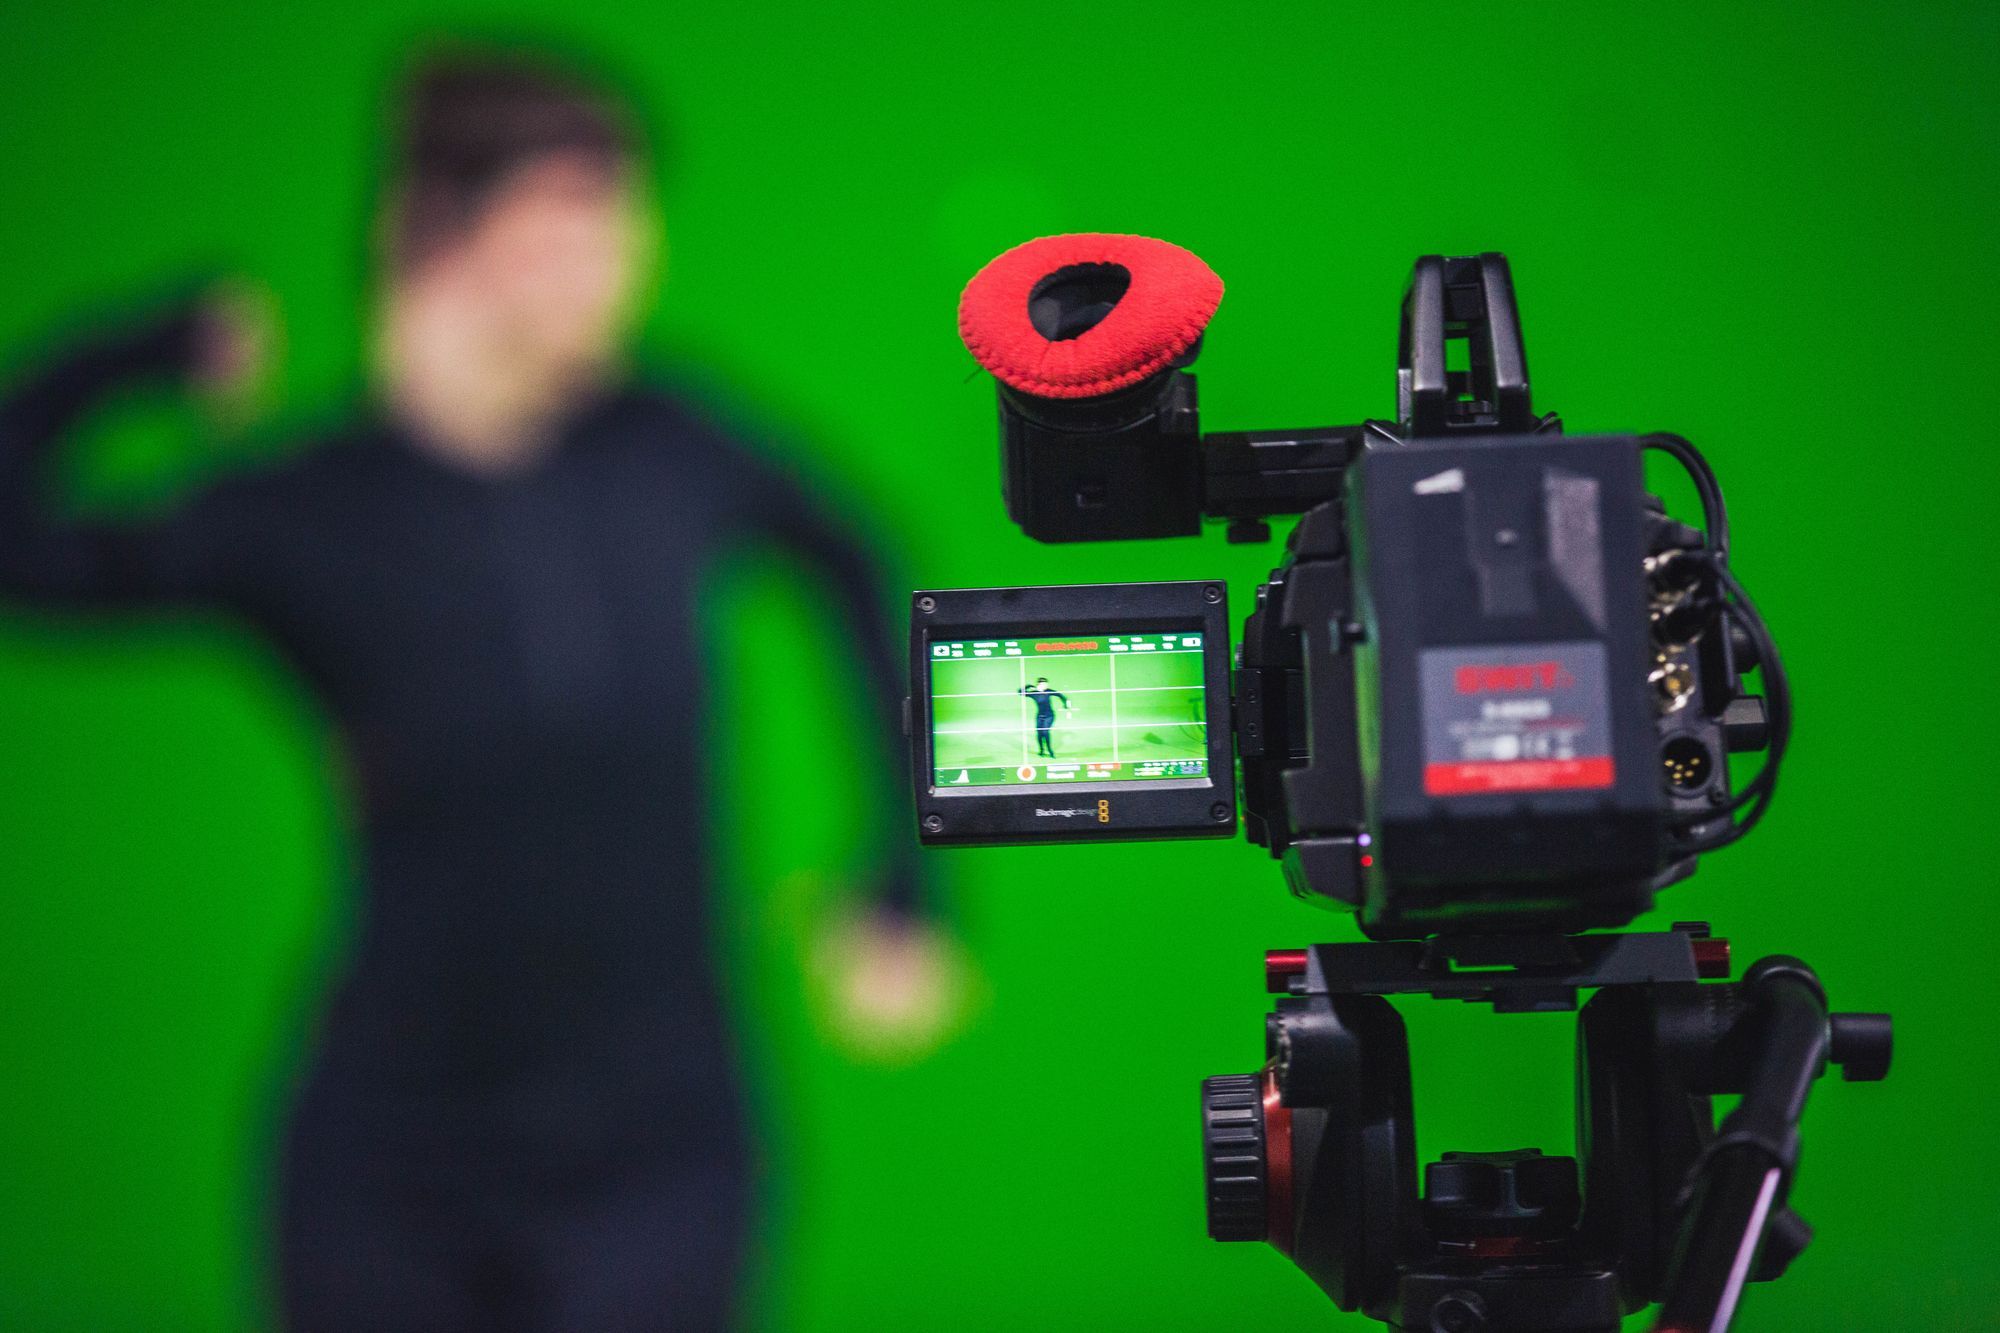
4. Shoot your video
When the green screen, subject, and lighting are ready, you can start shooting! This should be the easy part, but if you want to learn more about how to shoot great videos, we got you covered.
Many times, you only have your phone available. That's fine since modern smartphones have great cameras. If you only add a few smartphone filmmaking tricks you're good to go!
On the other hand, if you're looking for cameras and you're not sure where to start, you can always rent your favorite camera and decide whether you'd like to buy it!
5. Edit the rough cut
First, make a rough edit - meaning remove shots you don't need, won't be using, or are not as good as others. This helps you save a lot of time later when you do more complex editing.
6. Remove the green screen in the edit
Now you are ready to remove the green screen. This is done using editing software and is generally pretty simple - you select a color that should be removed, and voila - it's gone. Of course, the whole editing process may be much more complicated.
7. Put in your new background
Finally, you can put in your background of choice. As always, pay attention to the details and make necessary adjustments. Editing software has many tools you can experiment and play with, so don't be shy and try stuff out.
Congratulations, you successfully used chroma-keying and made your own photo/video.
3 elements to consider when using a green screen
1. Don't forget about the shadows.
As already mentioned, lighting is crucial. Shadows can create pesky problems that are hard to deal with when editing the footage. Also, uneven light creates different shades of the background color, again making the editing more difficult. The background should be as solid and straight as possible.
If shadows create a problem, try to:
- move the lights around
- add more lighting
- change the place of the person/object in the scene.
The better you do now, the less you will have to do when editing!
2. Use a tripod to keep it stable
The last thing you want is to have shaky footage and motion blur. When filming, your camera must be stable and remain with the same focus. A tripod helps you make your footage steady.
3. Avoid anything green
Captain Obvious here: Don't forget, if it's green, it's going to disappear in the editing. Unless you intentionally want to, make sure that clothes and objects are not green. Also, look out for different shades of green, they may look semi-translucent after the editing.
Learn to edit your videos
Great! You've learned how to use a green screen!
Now that you know how to set up and use it, learn how to do video editing.
Or, if you'd rather jump right to the action, set up a green screen like in this guide, get a camera, and good luck filming!
P.S. We're always happy if you tag us in your creative work!
FAQ:
How to use a green screen?
1. Set up your green screen
2. Adhere to plenty of lighting
3. Set up your subject
4. Shoot your video
5. Edit the rough cut
6. Remove the green screen in the edit
7. Put in your new background.
Is using a green screen easy?
Yes! Just get a green background. Lighting is key. Experiment around with different positions. And don't forget - anything green will disappear in the edited version.
How do I edit a picture with a green screen?
The green color is removed while editing. In Photoshop, select the background with Magic Wand, and remove it. Now add a new background with layering. Perfect!
What app do you use to add a green screen?
There are many editing software you can use out there. You can use Adobe Suite or Photoshop. Some of the popular apps include: Motion Ninja, PowerDirector, Chromavid