


Build Your Own FPV Drone: What You Need to Get Started
Rent film gear from local filmmakers.
Rent film gear from local filmmakers.


Recently seen some fantastic photographs and videos taken from an drone and desperately want one?
In that case, you've come to the right place. Let's do some DIY together.
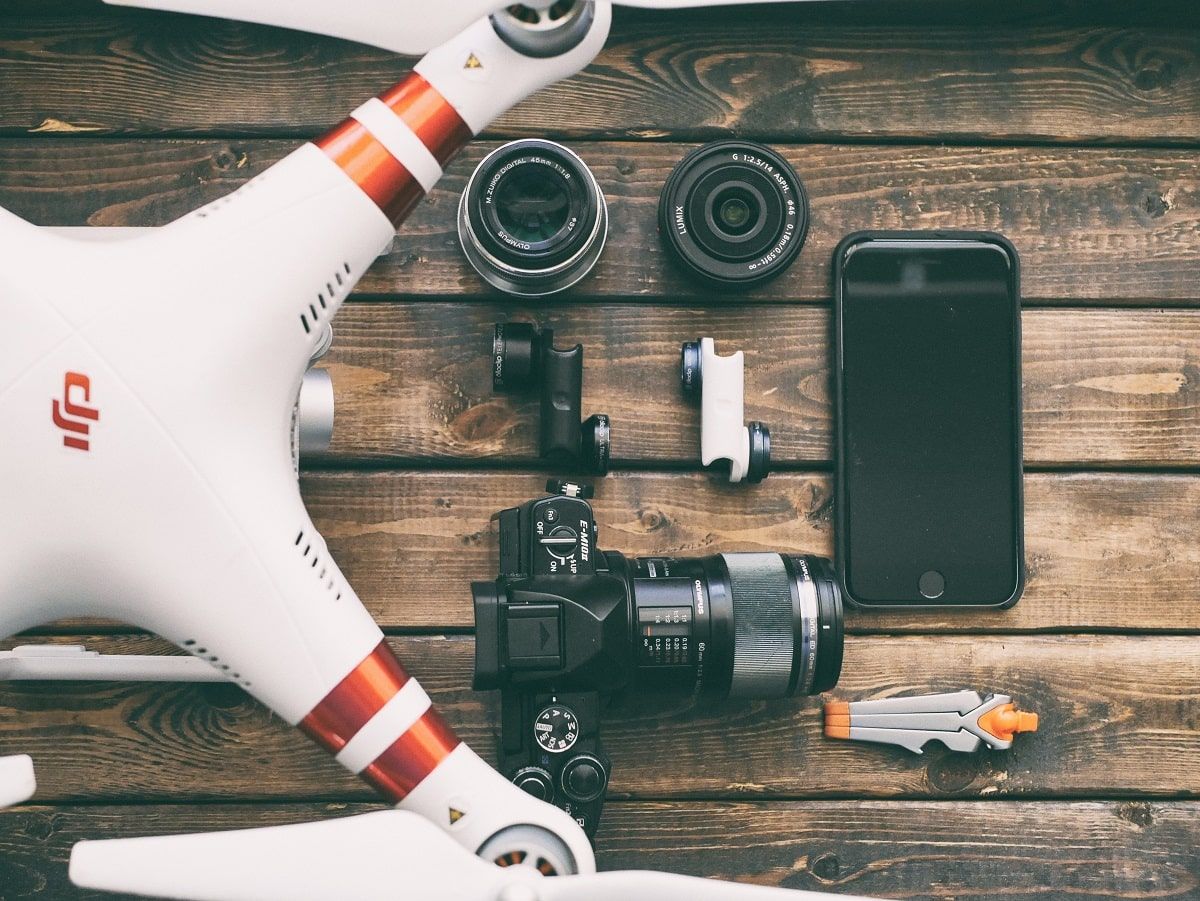
Interested in exploring camera equipment in general? Head to our article, where you'll find all the essential camera equipment you need for a shoot.
What parts do you need to build an fpv drone?
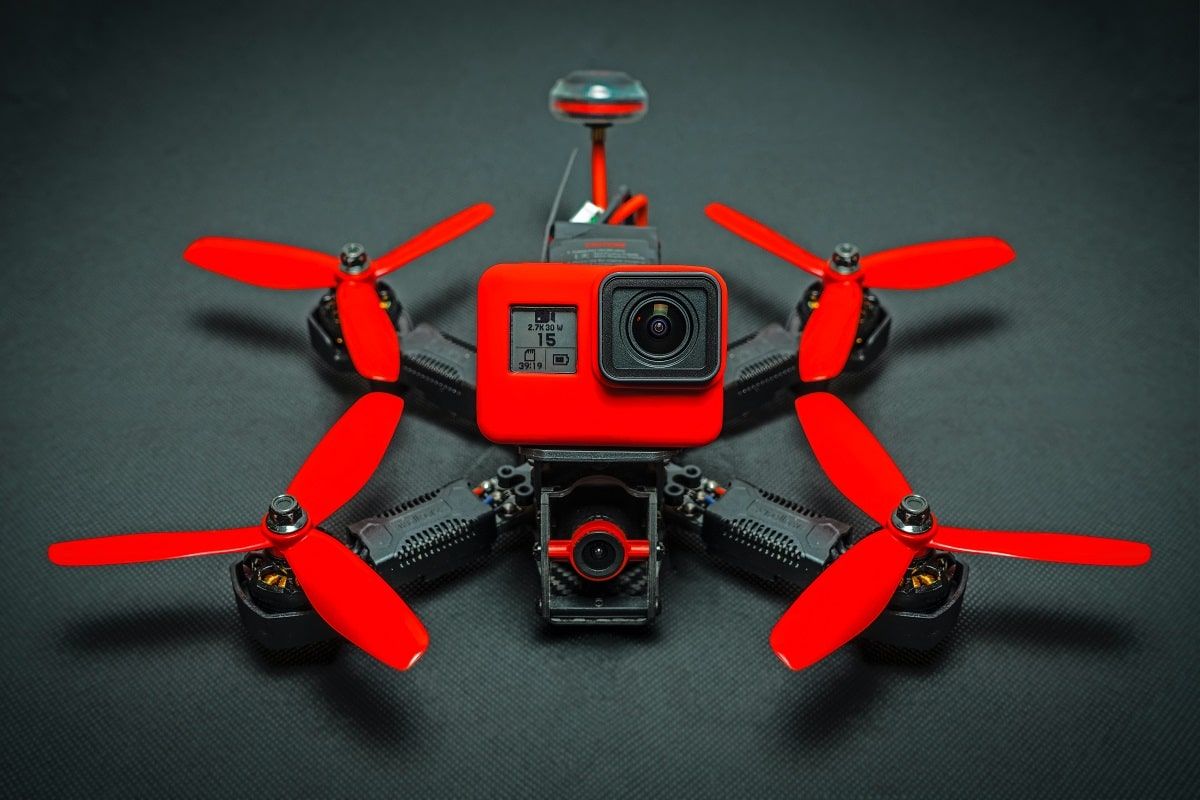
Of course, there are many variations on how to build an FPV drone, but the components are pretty much always the same. These include:
1. Frame – The main body of your drone
2. Motor – The powerhouse gives the FVP drone the ability to reach speed
3. Fight controller - The brain of your drone which sends signals to the ESC
4. Electronic Speed Controller (ESC) – Produces the three-phase AC which drives the motor
5. Camera – The eye of your drone
6. The Power Distribution Board (PDB) – Connects all electronics by taking battery voltage
7. Vtx (Video Transmitter) – Takes signals from the camera and sends them out through the antenna
8. Goggles – Your vision of the drone
9. Vtx Antenna – improves video range and clarity by having two antennas, one to send out the video and another to receive it
10. Receiver – The control of your drone
11. Propellers – The source of movement for your drone
12. Batteries – The source of electric power for your drone
13. Battery charger – Specialist charger for the batteries
14. Battery straps – Holds your batteries firmly to your drone
Step guide on how you build an fpv drone
Step 1: Assembling the frame
To start, you will need to assemble the frame of your FPV drone. Don't worry; you'll receive an instructions manual with it, so there's no going wrong.
Step 2: Mounting the PDB
Mount the PDB first. Every other component of the drone will connect to it. Think about the battery's position and the direction of the USB connector, as this will determine the direction of the PDB.
Then use your nylon or rubber standoffs to complete the process of mounting the PDB.
Step 3: Mounting the Motors
To mount your motors onto your frame, make sure you have a clear understanding of your motor order. This will guide you to fixing them correctly, with screws, and it's as simple as that.
Step 4: Mounting the ESCs
If you have four separate ESCs, I recommend you mount them on the arms with double-sided tape and wrap them up in electrical tape once connected.
If you have a four in one ESC, it's easy peasy; mount it onto your frame.
Step 5: Connecting the ESC's to the motor
This step requires some soldering skills, so get ready! It's important to note that each motor will have three wired needed soldering to the ESCs.
Four separate ESCs: Connect the three wires from each motor to one side and connect the two power wires from the ESC to the flight controller.
4-in-1 ESC: you can connect three wires of each motor to each side of the ESC.
- Cut the motor wires to the desired length
- Tin the ESC pads and the ends of the motor (to make soldering easier)
- Solder each connection separately by bringing the wire to the pad, heat them and remain still until cool
- Once cool, check the connections
- Repeat
Step 6: Connecting the ESCs to the PDB
You'll need to connect the ESC's to the PDB by using the same technique in the previous step.
Yet, in this instance, connecting the positive (red) wires and the negative (wires) to their corresponding pad is necessary. This will ensure the power system works.
Step 7: Testing your batteries
As they say, better be safe than sorry, so time to test the power system.
Run a continuity check on the positive and negative pins on the battery. The result should be no continuity, and so you can plug in the battery.
In general, this is where you double-check if something needs a minor (or enormous) fixing or some tweaks.
Step 8: Mounting the FPV system
The next step includes mounting and setting up the camera and VTX. Your frame should have a place to mount the camera to plug it in quickly.
But don't forget to check the angle – preferably at around 15-degrees for beginners.
And for the VTX, use double-sided tape to secure it to the top or bottom plate of the frame.
Step 9: Connecting the FVP System
Now you'll need to connect the FVP system to the PDB, connecting the positive (red) and the negative (black) wires to matching pads of the PDB (low voltage, either 5V or 12V).
Don't forget the video signal, too – the yellow wire comes out from the camera's 'video out' and into the VTX's 'video in'.
When you plug your battery, you should see LEDs lightening up on the VTX. This means you should receive your picture from the camera, but first, get the focus right!
Step 10: Powering the Receiver
The receiver will then need to connect to the 5V or 12V positive and ground pads on the PDB to send the signal wire to the flight controller.
Then all that is left is to bind the receiver (check the manual as they all differ)!
Step 11: Wiring the Flight Controller
Your drone needs its brain – the flight controller.
As you need to connect all your signal wires to it, I would highly recommend checking out a diagram of your board to give you a step-by-step guide of what pads you need to solder.
Step 12: Completing the Build
We're down to the last touch. Finish the frame, tape any extra bits and bobs and fit the camera mount.
Step 13: Software configuration
This step requires installing a software configuration (e.g. Betaflight) on your computer. You'll need to use a USB cable to connect the drone.
Step 14: Final Tests
It's time to test the machine; get hyped up for this one!
In your configurator, make sure you test the:
- Flight controller orientation
- Receiver channels
- Motor rotation
- Arming
- Failsafe
And…
6. Test Hover (finally!)
Head over to open, outdoor space. Move away from the drone, please, and try it out.
Hopefully, your bird has flown out of the nest.
All that time and effort put in is something you should be incredibly proud of. So, congratulations.
Rent or subscribe to your next drone
14 steps... seem a little overwhelming?
That's okay – I get it. Once you get going, this guide should hold your eager drone-glad hand all the way.
However, if you're not ready to embark on a DIY project (or just don't want to), get your hands on a drone right away by renting or subscribing to a drone.
About the instructor
Adam Sadílek
Video Producer
Aarhus, Denmark
Adam is a videographer, photographer, and drone flyer based, who works with both small and large businesses to help them achieve their goal and visualize the powerful stories they would like to tell.
How to Build an FPV Drone FAQ
What parts do I need to build an fpv drone?
An FPV drone requires at least 14 parts, all accessible online and in stores.
Is it cheaper to build your own fpv drone?
There's a huge market out there for cheap FPV drones, but you could make yours with as little as £150 and feel proud of yourself whilst you're at it.
Is building an fpv drone difficult?
With this step-by-step guide, building an FPV drone has never been easier.
Rent FPV drones from local creators.
Save up to 40%.
Global Coverage included.
https://images.wedio.com/images/listing_images/images/1946431/300x215/dji-fpv.jpg
https://www.wedio.com/en/fpv-drones
https://images.wedio.com/images/listing_images/images/1937729/300x215/ori-dji-fpv-combo-drone-3372.jpg
https://www.wedio.com/en/fpv-drones


