5 Ways to Create Double-Exposure Photography & 6 Hacks to Nail It
Rent film gear from local filmmakers.
Rent film gear from local filmmakers.


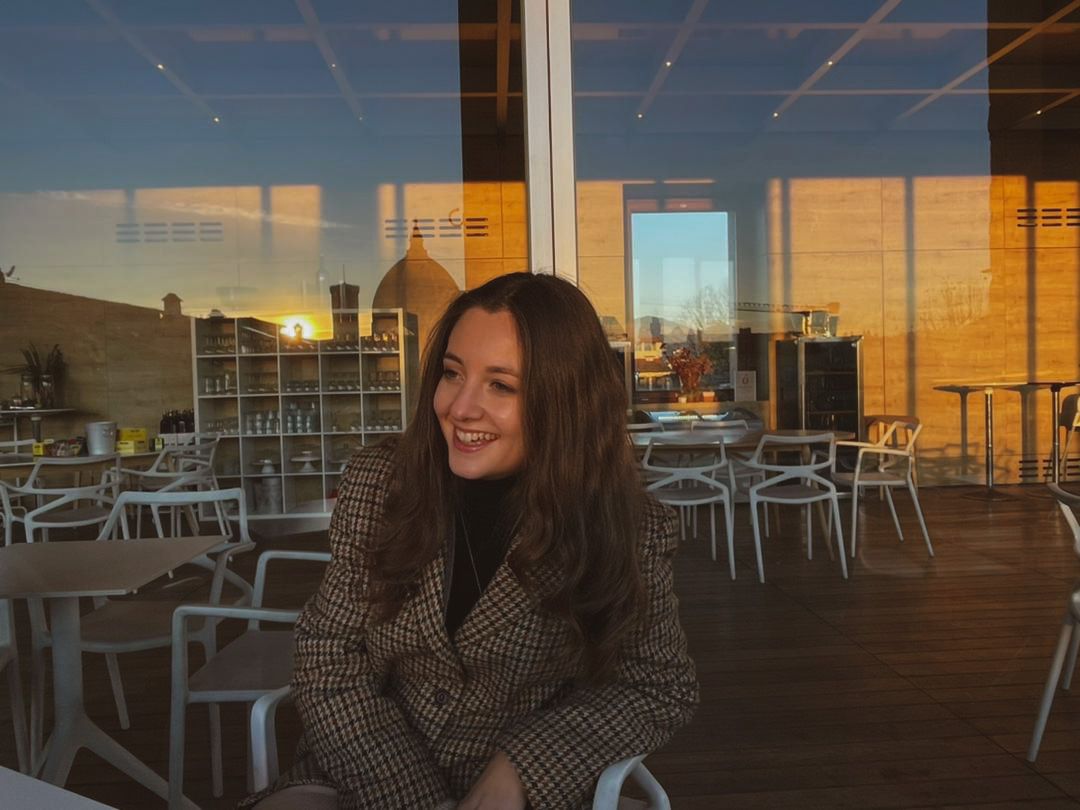
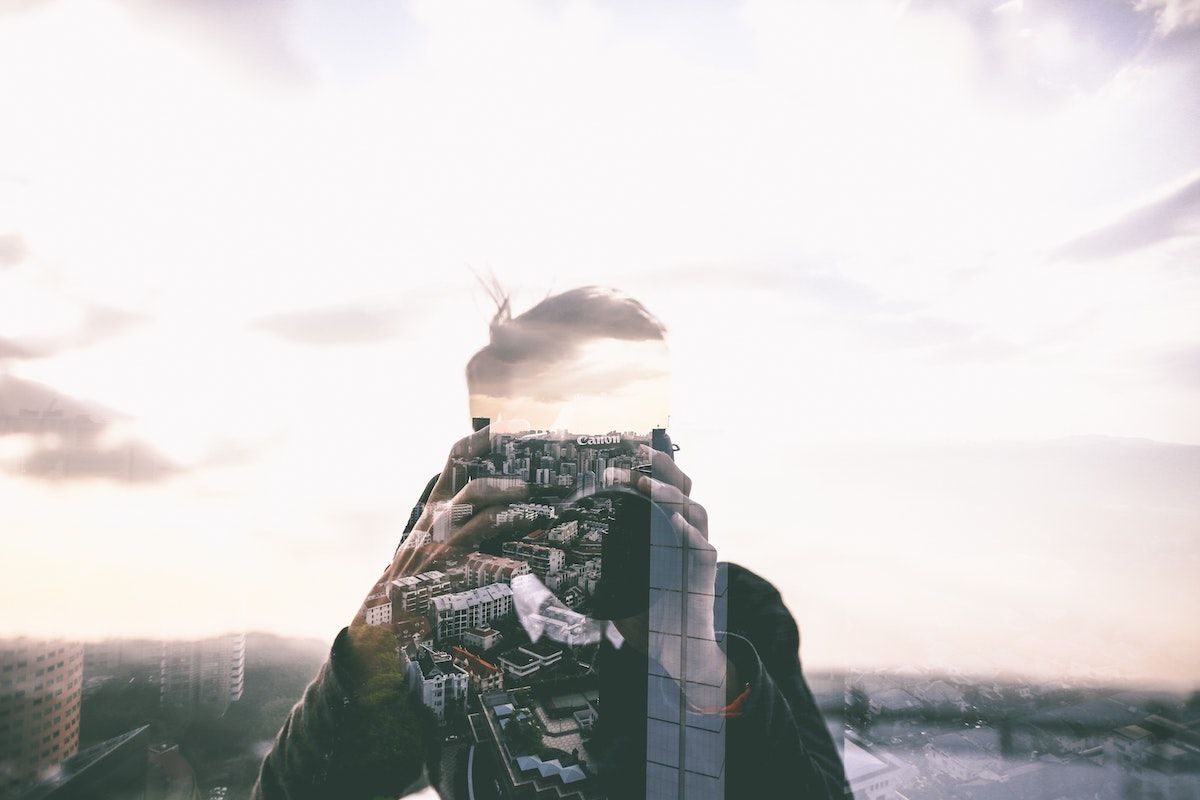
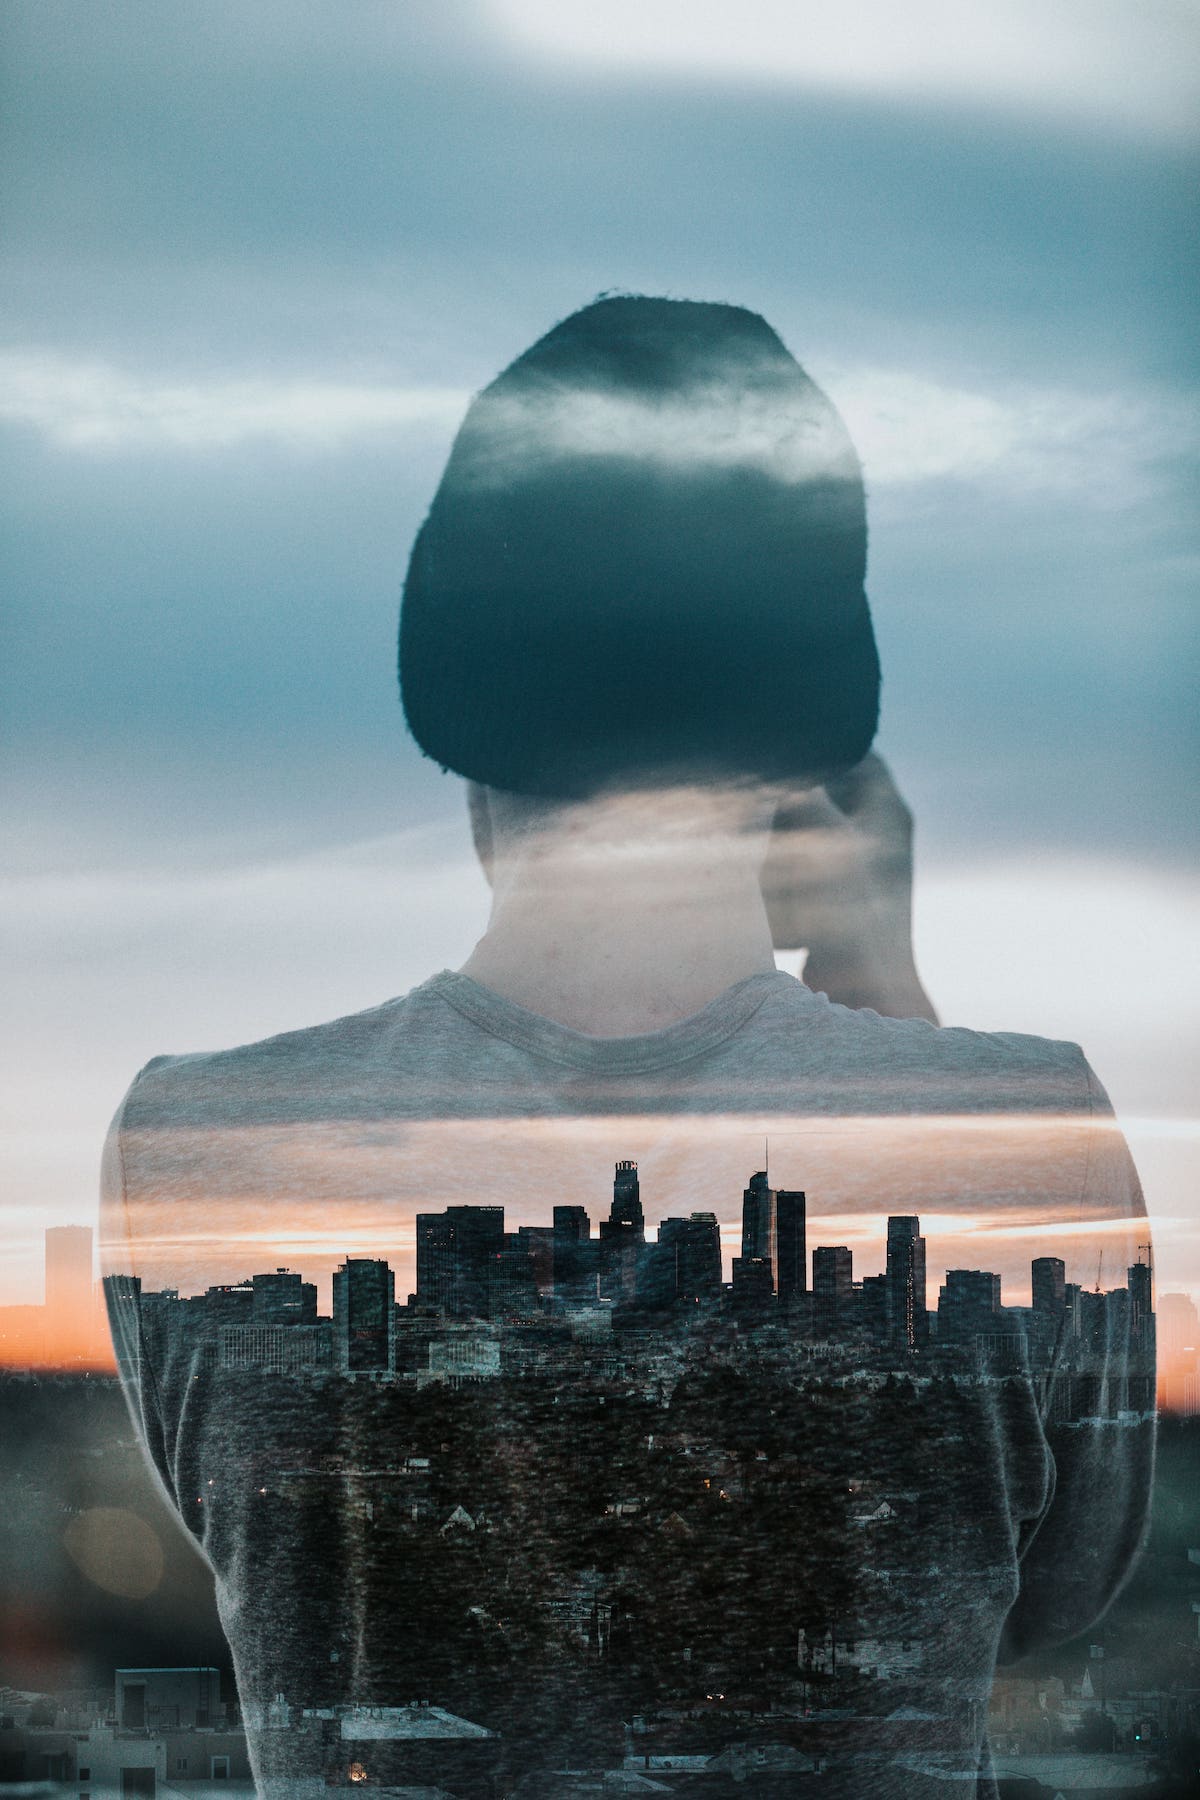
A portrait of a beautiful girl combined with sharp peaks of mountains, or a silhouette of a person with crashing ocean waves going right through their body…
This is the art of double exposure photography, and creating it is easier than you think!
Explore this article to discover how to create double exposure with a digital camera and Photoshop, and learn six quick tricks to make your multiple exposure project an artistic piece!
What is exposure? Start by learning the basics of the exposure triangle.
What is double exposure in photography?
Let's start with the definition: double exposure photography means combining two images into one.
In other words, when one photograph is overlaid onto another at less than full opacity.
In earlier days, it was used to achieve special effects, but in modern days double exposure photography is more of an artistic choice.
Double exposure photography can be created in-camera or in post-processing, using Photoshop, for instance.
In film photography, double exposures are made by exposing the same portion of film twice, which results in the superimposition of the second image over the first.
With digital photography, things are way easier today: many cameras come with a Multiple Exposure mode, which allows you to easily and quickly create a double exposure.
Photoshop and other image editing apps are other options for doing double exposure photography.
2 Types of double exposure
1. Double exposure on film cameras
Creating double exposure on film cameras is a bit more work than on digital ones, but still, the process is relatively simple.
Take your first photograph, rewind the film by one frame or skip this step if your camera is manual.
Then, recompose for your next image and shoot the picture. When developing the film, you should see the two photos combined.
2. Double exposure on digital cameras
Digital cameras make the creation of double exposure as simple as possible.
For example, most Canon and Nikon cameras have an in-camera multiple exposure setting that sometimes even allows overlaying more than two images.
Discover how to create double exposure on a digital camera in 5 simple steps below.
How to create double exposure with a digital camera
Although we said that most cameras have multiple exposure settings, it's always good to double-check if that's the case for your camera.
But, again, you can go straight into the camera menu or consult the manual.
Here are the 5 steps for double exposure creation:
- Set your camera to Multiple Exposure mode;
- Adjust the multiple exposure settings, like the number of exposures;
- Shoot your base layer, or select one from your camera's memory card;
- Shoot your second layer;
- Let the camera overlay the two images and process them.
5 ways to create double exposure with Photoshop
Photoshop is an excellent place for limitless expression of creativity - it also allows you to create double-exposure images and edit them to your liking.
We dare say it even offers more room for unusual multiple exposure photos thanks to its editing options!
Here we will walk you step-by-step on the creation of your dream overlay photograph:
1. Retouch your base photo
In this first step, take the time to prepare your base image.
First, edit imperfections like dust and blemishes with the Healing Brush tool.
Next, apply the rule of thirds to position your image rightly.
Finally, optimize the base image for blending - adjust the brightness and add contrast.
2. Get rid of the background
The next step is removing the background - this can be quickly done with the Quick Selection tool or Magic Wand.
Select the entire background area and elements you want to remove, and press Select > Inverse to invert the selection.
While still using the selection tool, apply the Refine Edge tool, tick the Smart Radius box and increase the Radius value in the Edge Detection to 1.5 to reveal minor details like hair strands.
Then, select the New Layer with Layer Mask in the Output section to create a copy of your image and hide the background without making permanent changes to your photograph.
The last step - click Add a Mask and then Create a New Layer.
Next, move the new layer under the cutout subject and fill it with neutral color, like white or light medium gray, with the Paint Bucket tool.
3. Add the layer image
To add the layer photo, drag the second image to the edited first image.
Next, press the Ctrl key with the second image selected and click the Layer Clipping Mask button on the first photo layer below.
The moving outline of the main subject's silhouette will become apparent on the landscape layer, and you'll be able to unlink the mask and move the second photo to where you want it to be positioned within the outlined silhouette.
4. Blend the images
Get creative and experiment with the blending modes and other features for image blending to achieve the desired effect.
For example, you can try using the Screen Layer for the second image, one of the most commonly used blending options for double exposure.
This feature offers a reduced opacity and reveals the second image underneath. However, the Screen layer is just a start – be sure to go ahead and try other options to finalize the image.
5. Add the final layer
As a final step, copy the subject layer, drag it on top of the second layer, and adjust the subject layer's blending to Lighten.
Finally, you're done with some final changes, like erasing the topmost subject layer to show more landscape underneath!
The double-exposure photograph is ready.
6 tricks to double exposure photography
1. Think of a theme
To make sure your double-exposure photograph looks like an art piece with meaning and not like mindlessly combined pics that don't make sense, think of a topic before shooting the layers or creating something in Photoshop.
Try to come up with a message your project will convey.
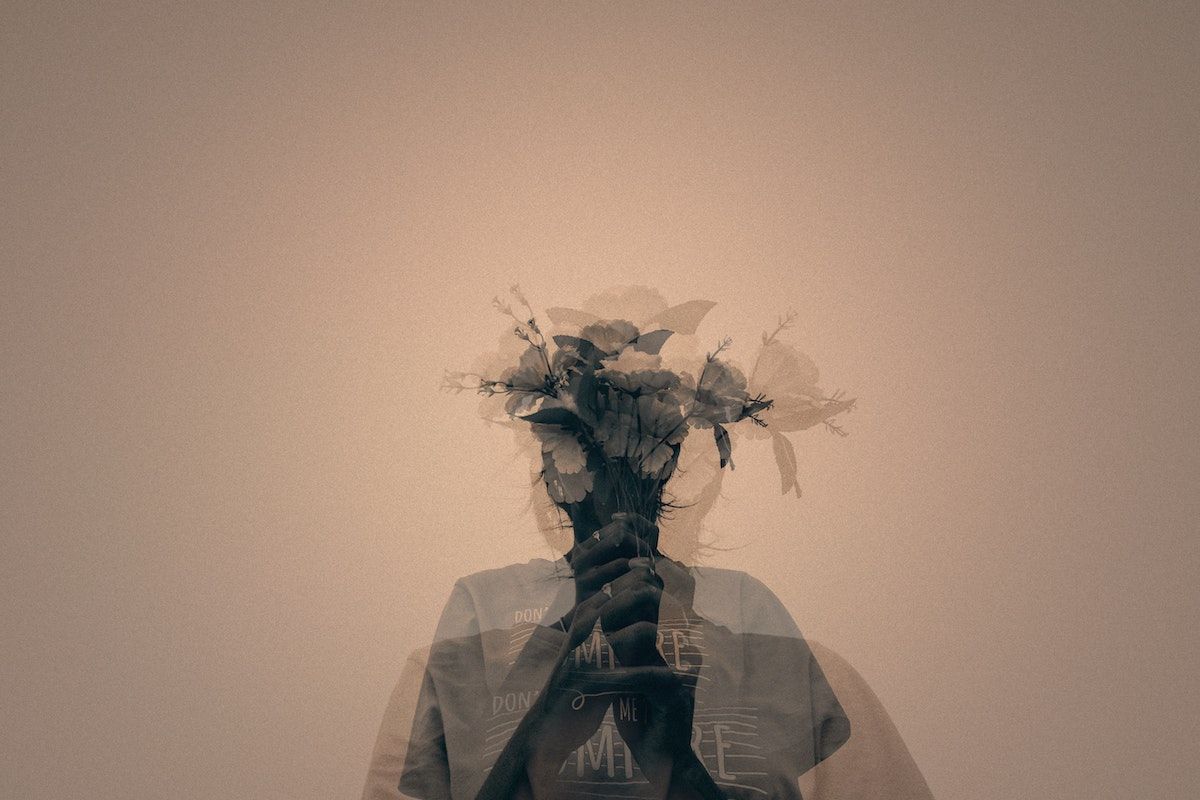
For example, some of the most compelling double-exposure images are portraits with abstract photos with creative textures or landscapes.
Create a connection between the two images to produce an overlaid one that evokes emotions or makes the viewers take some time to understand what you're trying to say with the photograph.
2. Plan your final picture
After you've decided on a connection between the pics and the message or idea, plan what your final picture would look like.
This will help you stick to the plan and not get lost too much in creativity while producing the image – you don't want to lose your main message somewhere in the creation process.
3. Use flash
When shooting layers for your future image, you can use flash to fill in light. This is a helpful tool if you must underexpose both images to create a properly exposed final image post-processing.
4. Use a seamless backdrop as a background
A seamless backdrop or a plain black or white cloth will make your background look cleaner when shooting a double-exposure portrait.
This is because the contrast between the skin of your subject and lighter parts of the image will be easier to achieve than if you'd use a background of another neutral color.
5. Put the camera on a stabilizer
Try putting your camera on a tripod for more balance and consistency, especially if your goal is to create a sharp image with no blur.
6. Slightly underexpose the subject
Another exposure trick for a while you're shooting the layers: try slightly underexposing your subject, as this will lessen the chance of the overexposed final image.
Up next: Master your photography skills
Double exposure photography is a fun way to produce stunning images and get out of your creative comfort zone. But rest assured, there is much more to try and challenge yourself if you want to level up your photography game!
For more ideas, tips, and tricks, give this ultimate guide on photography a read and start mastering your imaging art today.
What is double exposure in photography?
Double exposure photography means combining two images into one. In other words, when one photograph is overlaid onto another at less than full opacity.
How to do double exposure?
Double exposure can be done with film cameras, digital cameras, and editing programs like Photoshop.
How to do double exposure with a DSLR camera?
Set your camera to Multiple Exposure mode;
Adjust the multiple exposure settings, like the number of exposures;
Shoot your base layer, or select one from your camera's memory card;
Shoot your second layer;
Let the camera overlay the two images and process them.