Concert Photography: How to Capture the Perfect Moment
Rent film gear from local filmmakers.
Rent film gear from local filmmakers.


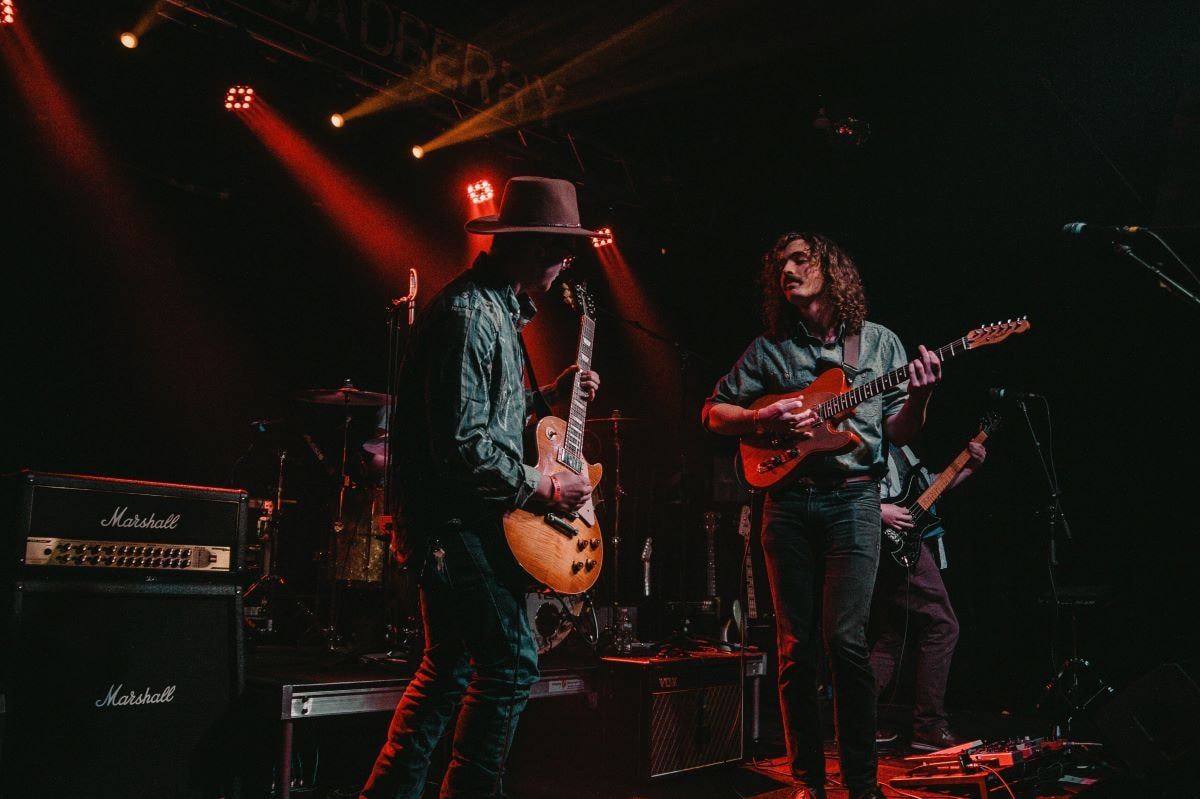
The addictive world of beaming lights and screaming fans has always attracted adventurous creatives for a reason. If you’re into the music scene and photography, concert photography might be perfect for you.
Learn how to do it right and get started in the industry by reading on. Let’s stage dive right in!
9 Pro tips for shooting music photography
Concert photography aims to make performers look great and convey the atmosphere. You want people to look at your pictures and feel they missed out.
How can you achieve that?
Follow these 9 pro tips!
1. Shoot in RAW
If possible, always choose to shoot in RAW rather than jpeg. While jpegs might look better initially due to the automatic processing of the image, you’ll fail to take the best picture. Why?
Because the RAW format preserves your images unprocessed, it gives you the freedom and flexibility to shape it however you want in post-processing. You can be in the moment and correct white balance, exposure, contrast, or all of the above in the editing software of your choice.
Not every camera is capable of shooting in RAW. If you can, upgrade to elevate your photos or rent a camera for your next gig.
2. Select a high ISO
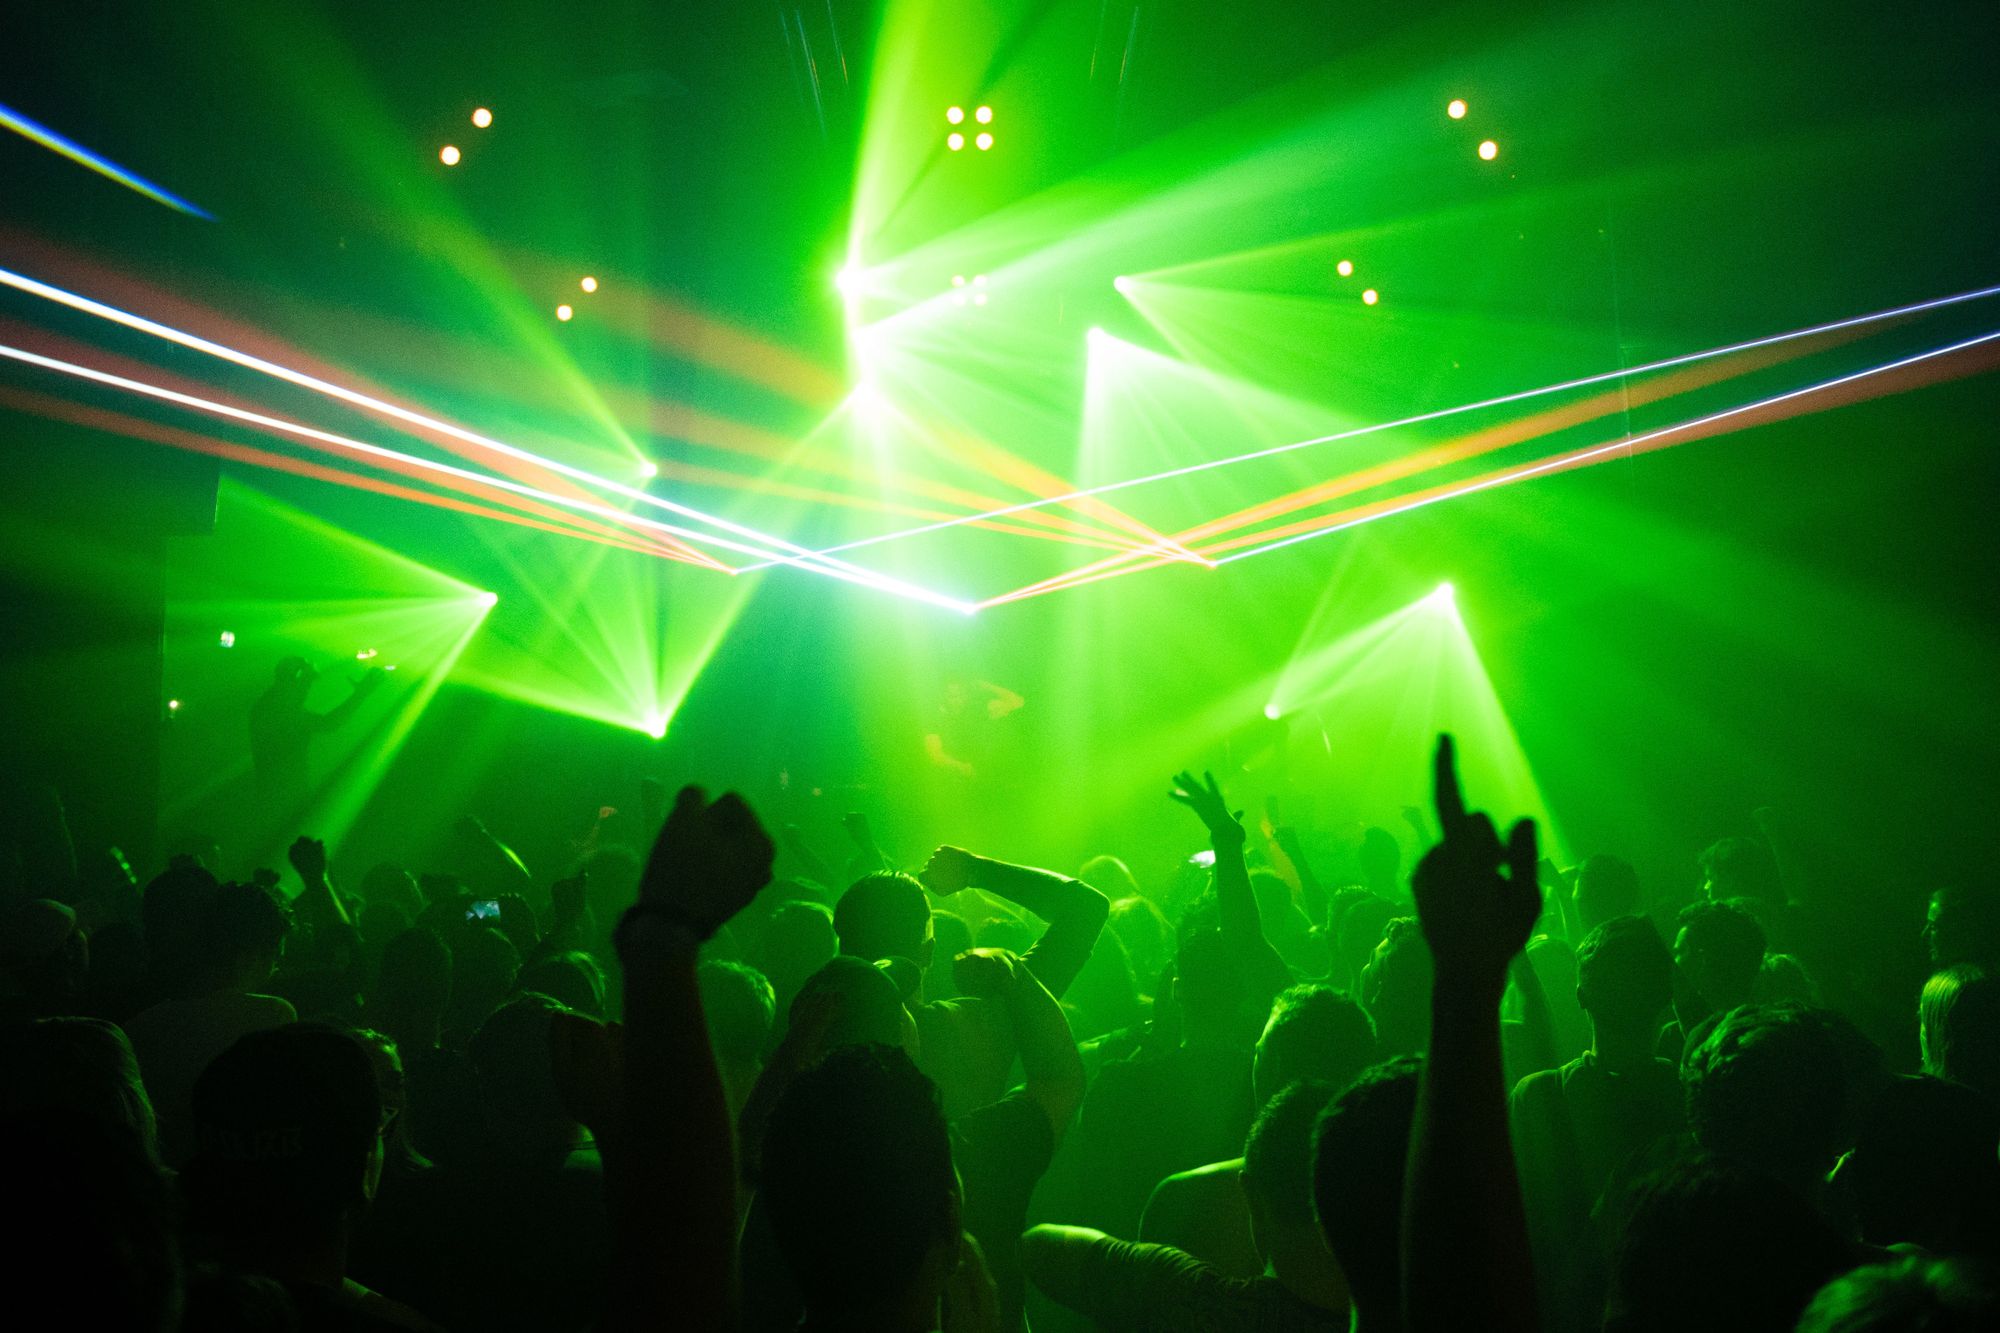
The biggest challenge you’ll face when it comes to concert photography is the extremely difficult lighting conditions. It’s generally very dark at most venues!
ISO settings influence your camera’s sensitivity to light. So boost your ISO to around 1600, 3200, or even 6400 for optimal results!
One tradeoff is that a high ISO means that images might get noisy above a certain level. When this happens depends entirely on your camera. Even beginner DSLRs and mirrorless cameras have better low-light performance than the usual compact camera.
Experiment with ISO in low light to see how high you can push it before the image gets too noisy. That is the ideal threshold you should be using on the day or night of the gig
3. Avoid using flash
We arrived at the golden rule of concert photography: avoid using flash like the plague.
This rule is often explicitly stated if you’re on the gig with a photo pass. Even if it’s not, hold yourself to it.
Great effort goes into planning the light at the show, and the last thing the performers need is 5-10 or more concert photographers flashing their lights directly in front of them.
It’s distracting for the band and the audience. It can earn you a spot on the no-invite list. Your photos wouldn’t look good since the faces would get overexposed. Just don’t use flash.
4. Use continuous shooting mode
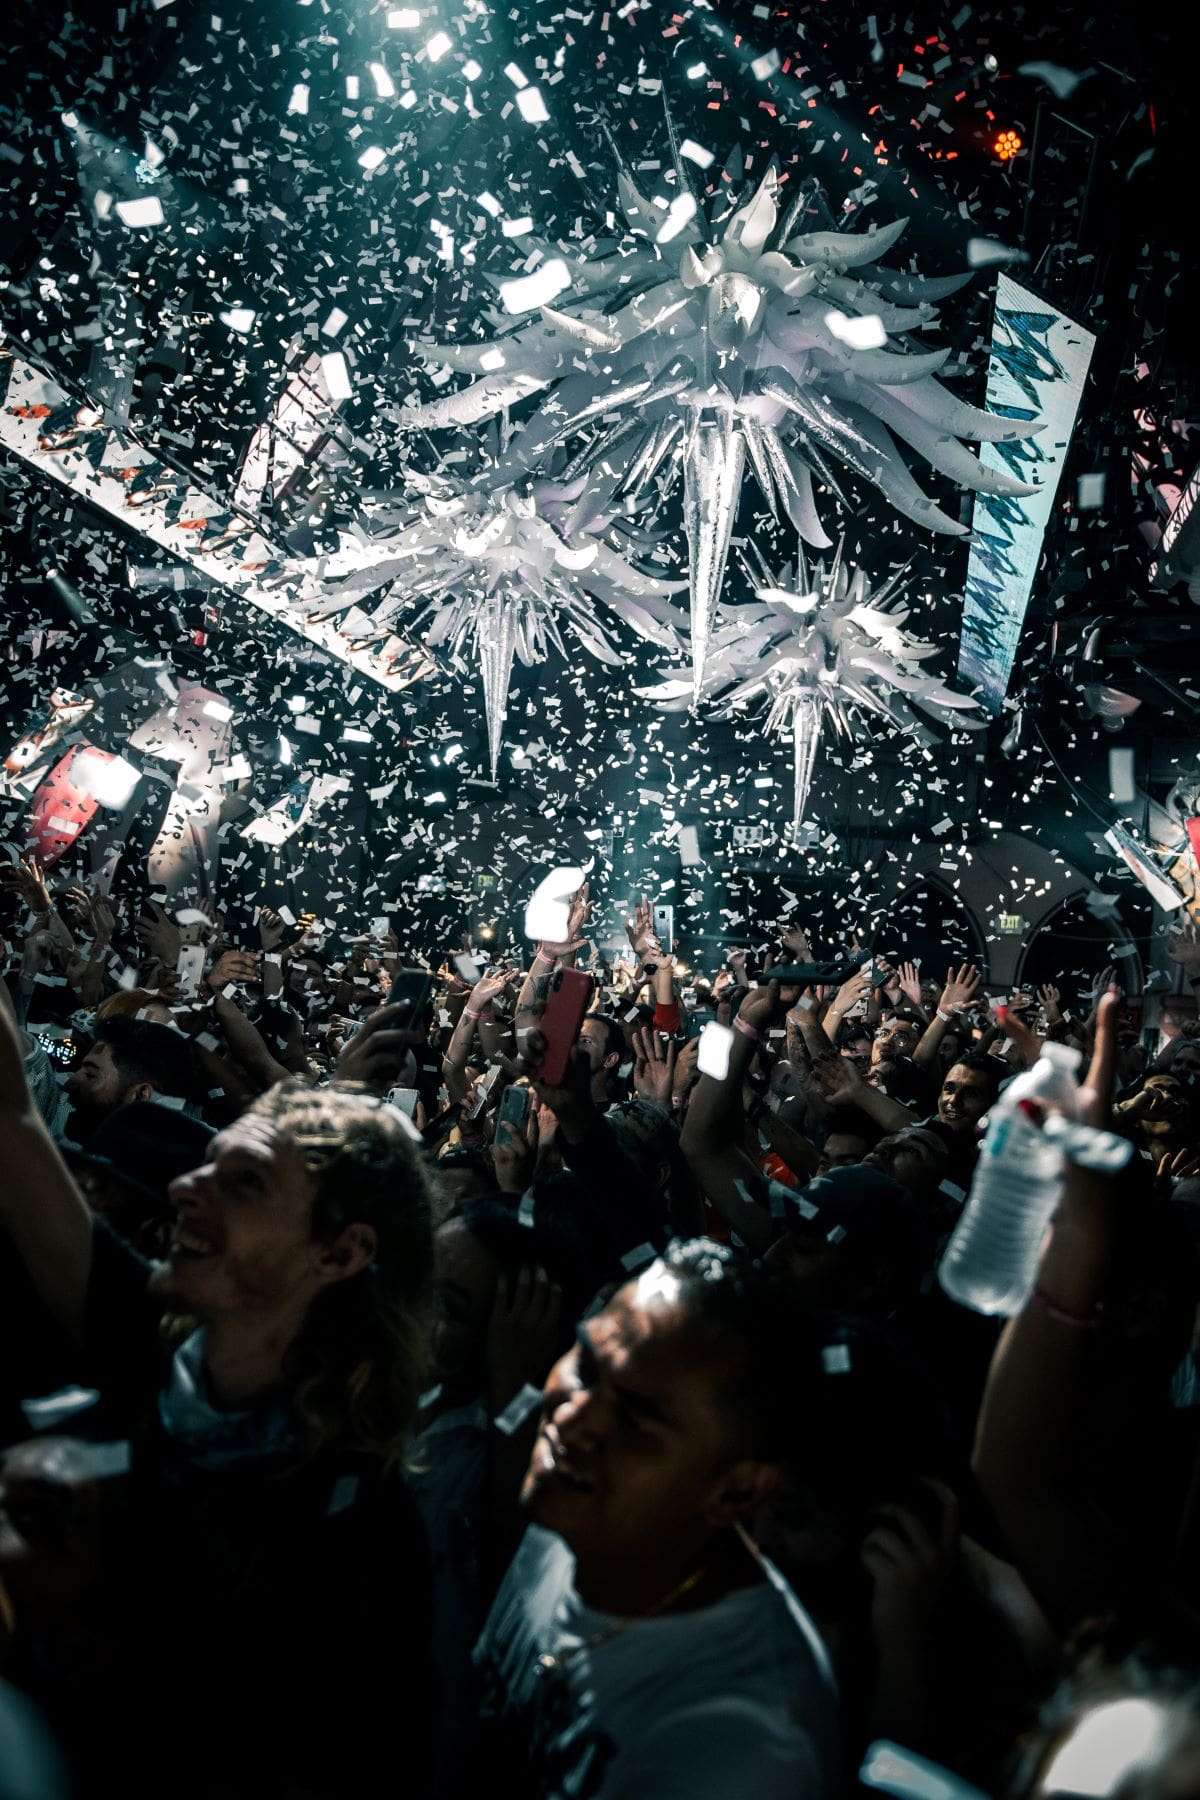
Capturing the right moment usually makes for the best music photos. It’s often hard to anticipate when the lead singer will strike the pose, or the bass player will jump into the crowd. When you feel the energy peaking, consider using burst or continuous shooting mode to never miss the perfect moment.
In this mode, your camera can take up to 50 shots per second! If used at the right time, it will likely capture at least one sharp image of a special moment.
Do use it sparingly, however, since it’s a surefire way of cluttering up your memory card fast. Try to anticipate the right moment to nail that perfect frame.

5. Use Autofocus Single-mode
Keeping the action in focus is often a challenge in changing lighting conditions. The performers might move around, the stage could be filled with smoke.
The best way to combat the curse of blurry pictures is to use Autofocus Single mode. This setting allows you to use a central focus point and grab it to keep the performers or action sharp.
In soft daylight, peripheral focus points work as well as the central one. In bad lighting, this won’t be the case.
Consider using back-button focusing too to speed up your process even further. With a programmable button, you’ll be able to focus on the back of the camera body rather than halfway pressing down the shutter. This will ensure that you won't miss even amazing moments.
6. Research the band and their previous concerts
It’s hard to guess the right place at the right time, especially as a beginner. The only thing that can help you know what to expect? Researching the band or artist and their previous performances.
Watching previous shows will help you anticipate the shots you want to capture. If possible, learn what songs the band will open with to already position yourself at the best possible place.
If they frequently use the same lighting setup, you can try to be ready. Getting the right shots is the key to success, so use every information source to your advantage.
7. Use manual exposure
If you've tried your hand at photography before, you know that the best results are usually shot in manual mode. This setting gives you way more control and flexibility over the alternatives. It lets you practice your photography skills and teaches you to react fast to quickly changing conditions.
Do you still have room to improve? Check out our complete guide to photography for tips and tricks.
The ideal settings in manual mode will be the aforementioned high ISO, a fast shutter speed to freeze the action, and a wide aperture to let in enough light. Try working with shutter speeds of 1/250 s or a fast aperture of 1.4 or 2.8.
If you’re not comfortable shooting in manual, try aperture priority mode. This lets you select your desired aperture and sets the shutter speed to correctly expose.
It can be a great support for beginner and intermediate concert photographers who are not confident in their skills yet.
8. Try spot metering
Spot metering is a light measurement mode for automatic, aperture priority, and shutter priority modes. It’s frequently used for scenes with high contrast – like concert photography!
Spot metering allows you to use a minuscule area of your frame to determine the automatic exposure settings. This works well since taking the whole image often results in overexposed faces when most of the venue is dark.
Exposing for the performers' faces ensures that the most important part of your picture will be perfect.
Spot metering is available on most DSLRs or mirrorless cameras but might be lacking from the feature set of compacts.
9. Pack the necessary camera equipment
While anyone can take pictures from the crowd with their smartphone, the best gear makes a world of difference, especially in these challenging conditions.
What is the necessary equipment a professional needs to bring?
For the best low-light capabilities and AF performance choose a DSLR or mirrorless camera. Full-frame cameras let in even more light than four thirds.
For lenses, consider two options. Zoom lenses are versatile and let you capture wide-angles and shots at a distance. A 24-70 mm f/2.8 zoom lens is usually affordable and will let you cover most angles from the photo pit and the rest of the venue.
Prime lenses tend to produce better images, but they run a bit more expensive. Many concert photographers swear on standard 50 mm prime lenses with a fast aperture. This is f/2.8, f/1.8, or even f/1.4 for the best results.
Primes don’t provide the same flexibility, but they let you focus more on the composition and timing of your shots.
How to get into concert photography
Before you collect your all-access pass and party with the VIPs, you need to earn your place amongst the professionals.
If you’re a beginner dreaming of breaking into concert photography, here is how you can get started.
Start small, focus on local venues
While large concerts often headline the biggest performers, getting started at small, local venues actually have several benefits.
These concerts are often free and don’t require a photo pass to get into. Taking pictures might even be encouraged, although you won’t be compensated. You can, however, get stunning photos for your portfolio and use the opportunity to network within the music industry.
Improve your skills with no limitations and less pressure by attending local gigs, and call the venue first to make sure it's okay to take pictures. Learn how to deal with the extreme conditions of concerts before snagging your first paid gig.
Connect with publications
Ready to move on to the big leagues? If you want to work at bigger venues, you’ll need a coveted photo pass. This usually gives you access to shoot the first three songs of the performance from the photo pit. Publicists usually approve passes for press photographers working for publications, so try your best to connect to one!
Before you get intimidated, keep in mind that there are any local publications like music blogs, and not only national or global music editorials.
Connect with publications through your network and appearances at smaller gigs. Once you get the golden ticket, aka the photo pass, always bring a receipt to the ticket box to avoid miscommunications.
Closing thoughts
If you dream of shooting for Rolling Stone or Q magazine, it’s time to get some earplugs and get working on your concert photography. Improve your skills and become a better photographer by checking out this comprehensive guide to photography.
Don’t forget to have fun along the way and enjoy the performance!
How to shoot concert photography?
Shoot concert photography in manual mode or aperture priority. Work with a high ISO, shutter speed, and wide aperture for optimal results.
How to get into concert photography?
Get into concert photography by working local venues to increase your skills and build your network.
How do you become a concert photographer?
Start shooting concert photography! Go to as many venues as possible, build a portfolio, and network to get your big break.
What settings should I use for concert photography?
Use a shutter speed of 1/250 seconds or faster, a wide aperture around f/1.4, and an ISO of 1600.