iPhone Filmmaking 101: Get Started With Mobile Cinematography
Hire film gear from local filmmakers.
Hire film gear from local filmmakers.


Go in-depth with:
Why shoot on a smartphone?
Watched Moonlight more times than you can count? Admit it. You've been bit by the filmmaking bug.
While Moonlight only had a budget of $4 million, it's still more than most ATM's will let you cash out.
However, this shouldn't be a case of broken dreams. You already have everything at your fingertips to get started – your smartphone.
Phones are everywhere; chances are you might even be reading this on your phone. Did I hit the nail with that one?
Every time Apple releases a new iPhone (so, every month or so), it's more powerful and innovative than its predecessor.
Although you won't get the same final result as with a professional cinema camera, the difference between cinematic imagery and mobile imagery is shrinking. There are numerous tricks you can use to make your iPhone footage look gorgeous. Meaning – you already have (almost) everything you need to make a professional-Moonlight–looking film.
Which phone is best for filmmaking?
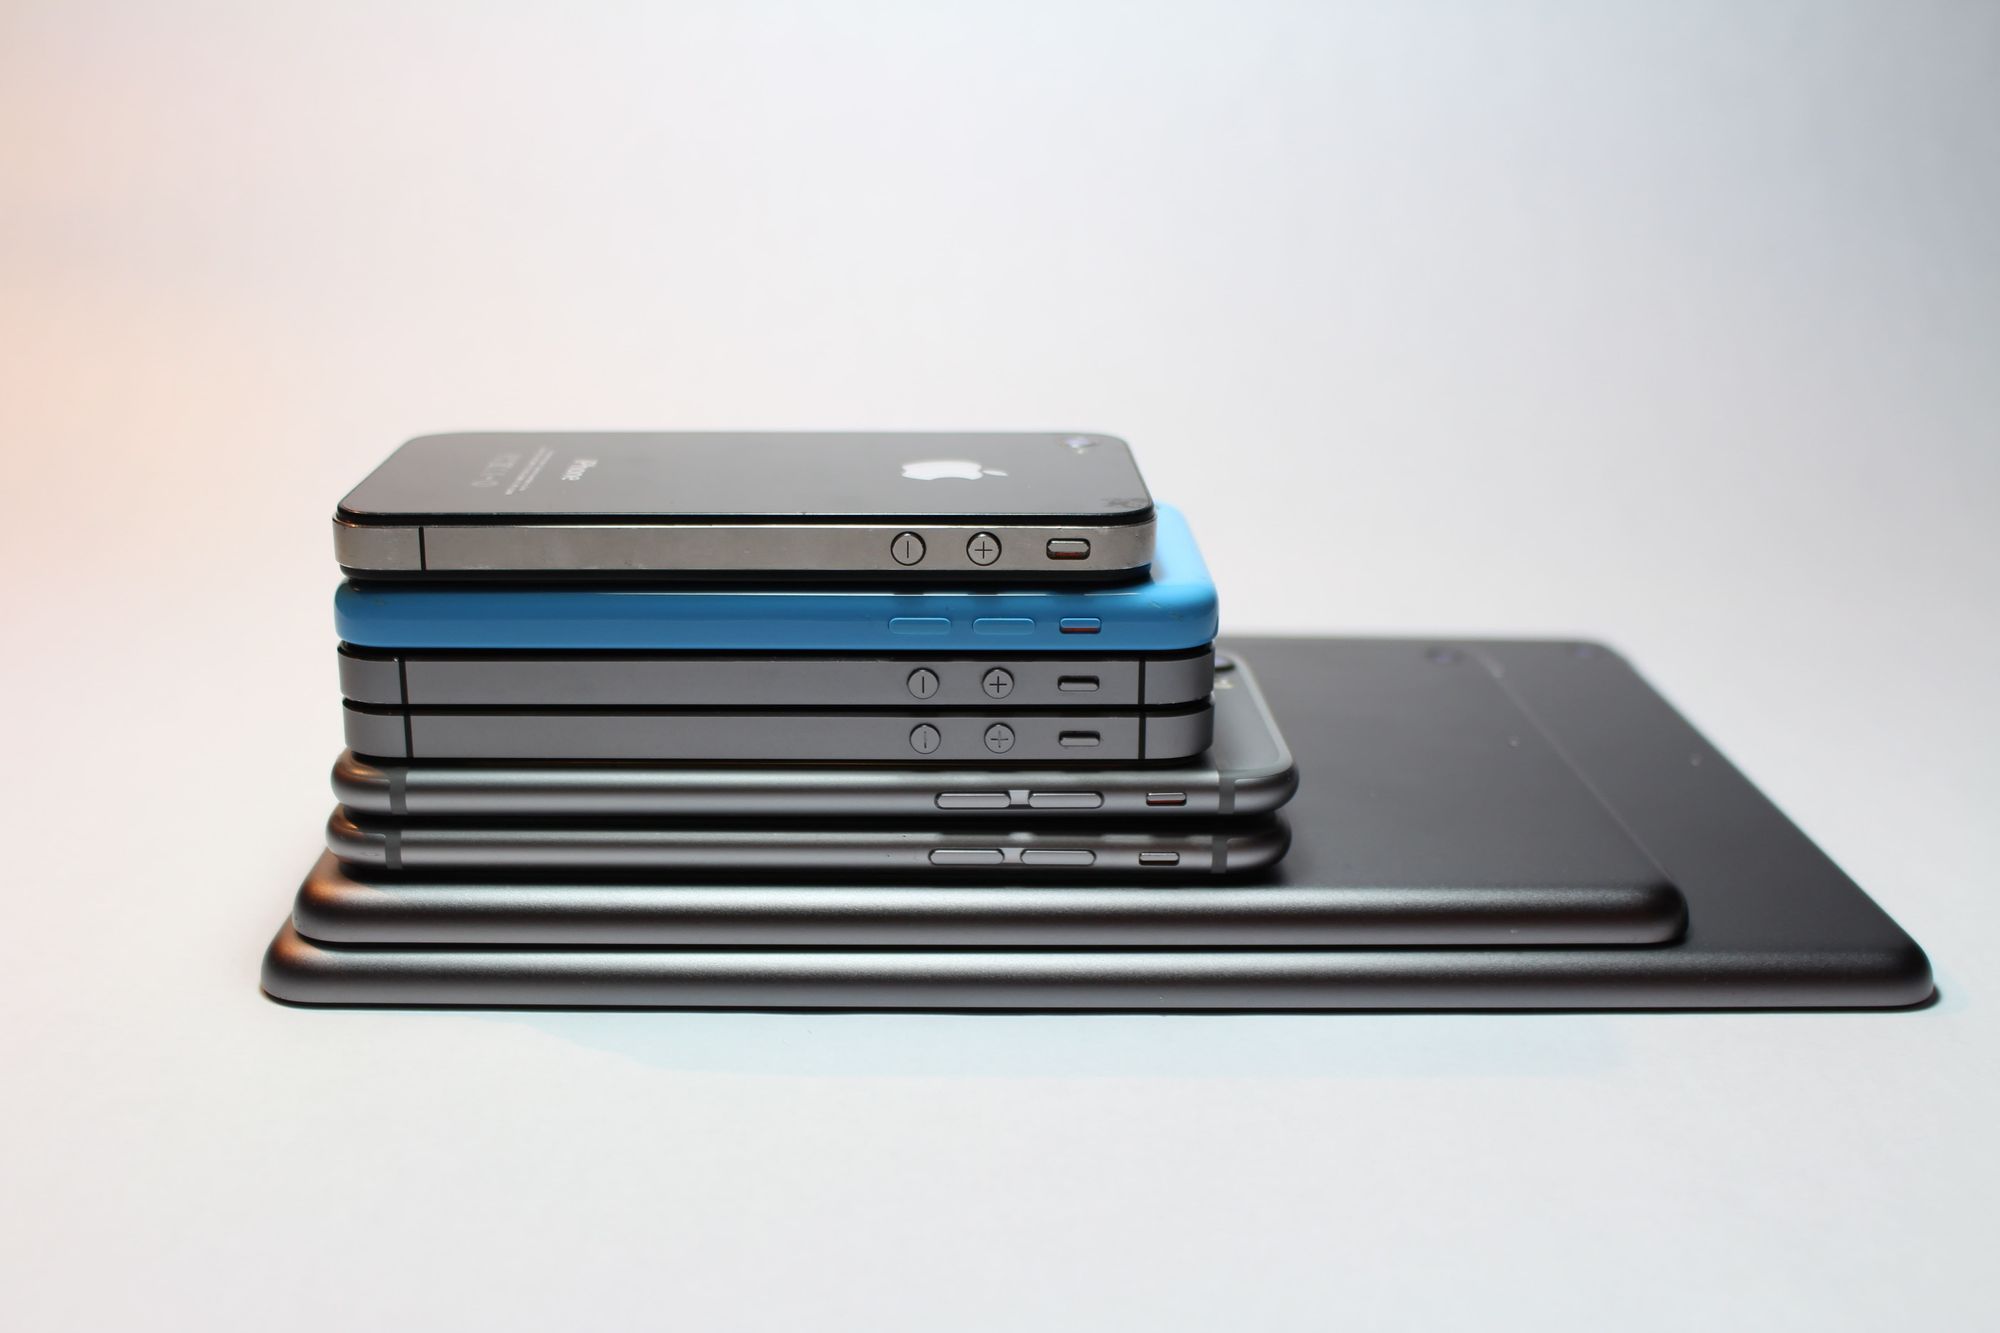
Well, for a long time, the iPhone has been the guardian of mobile filmmaking. Taking a quick scroll through their iPhone release history, it's no surprise they're one of the industry's go-to when it comes to iPhone filmmaking.
However, they are not the only players in the galaxy. Over the last couple of years, top-tier flagship devices on Android are getting very competitive. Meaning the latest Galaxy S21 and LG V30 are quite impressive smartphones and are handling video really well.
iPhone filmmaking: The pro's and cons
The iPhone allows both savvy video wizards and newbies to create, edit and share their work of art. It's simplicity, and convenience (filmmaking in the palm of your hand? I'd say that's convenient) has compelled filmmakers like Sean Baker and Steven Soderberg to use smartphones. However, with great convenience and ease comes compromise.
What exactly will you lose when using your iPhone for filmmaking?
It's good to have an overview of smartphone cinematography's pros and cons before making the final decision.
The pro's
Of course, the primary pros of using an iPhone is its relatively manageable size and weight – well, that, and its price.
Versatility: A smartphone can be used for various purposes, and its simple interface makes it easy to navigate. While a stand-alone iPhone is not the best filmmaking tool, more and more equipment is popping up to provide better clarity, stability and sound.
Portability: After you finish your shoot, you can put it back into your pocket and call it a day; you don't have to use hours to pack everything down and then re-doing it the next day. The iPhone's portability also means that you don't have to worry about law enforcements complicate when and where you can shoot. The size of a smartphone also allows filmmakers to capture shots from various positions that would've taken a lot of time and effort to do with traditional high-end cameras.
The cons
As I mentioned earlier, you also need to compromise both the filmmaking process itself and the final result. So, if you do choose to go into mobile cinematography, keep these things in mind.
Storage concerns: As you'd want to shoot in the best quality possible, it will lead to some storage concerns. Shooting 720p resolution video at 30 FPS eats up 40 MB per minute. When a filmmaker boosts to 1080p, that number goes up to 60MB per minute, and so it continues.
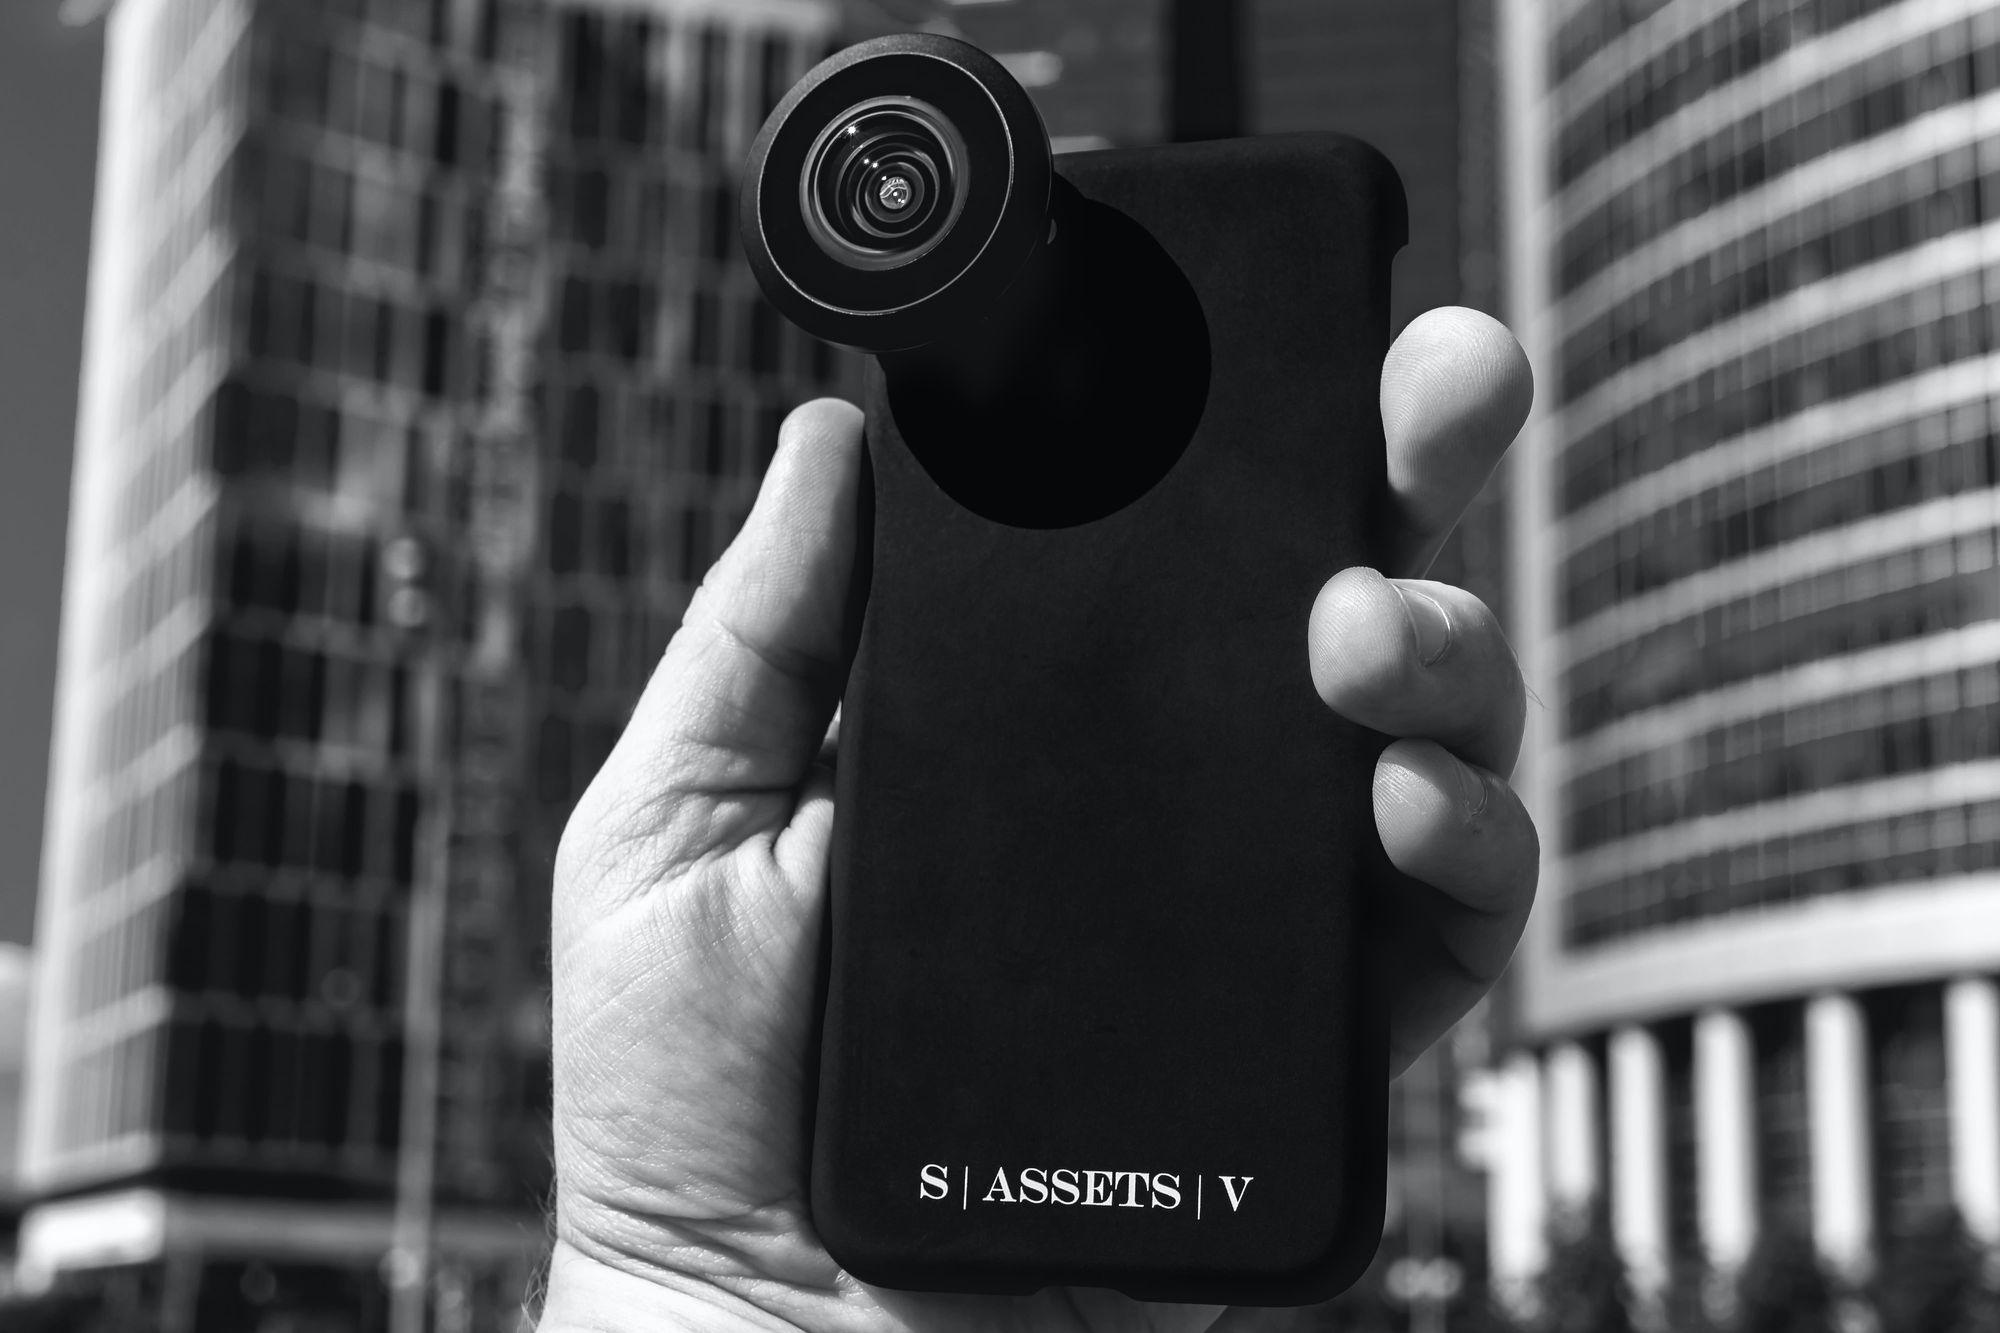
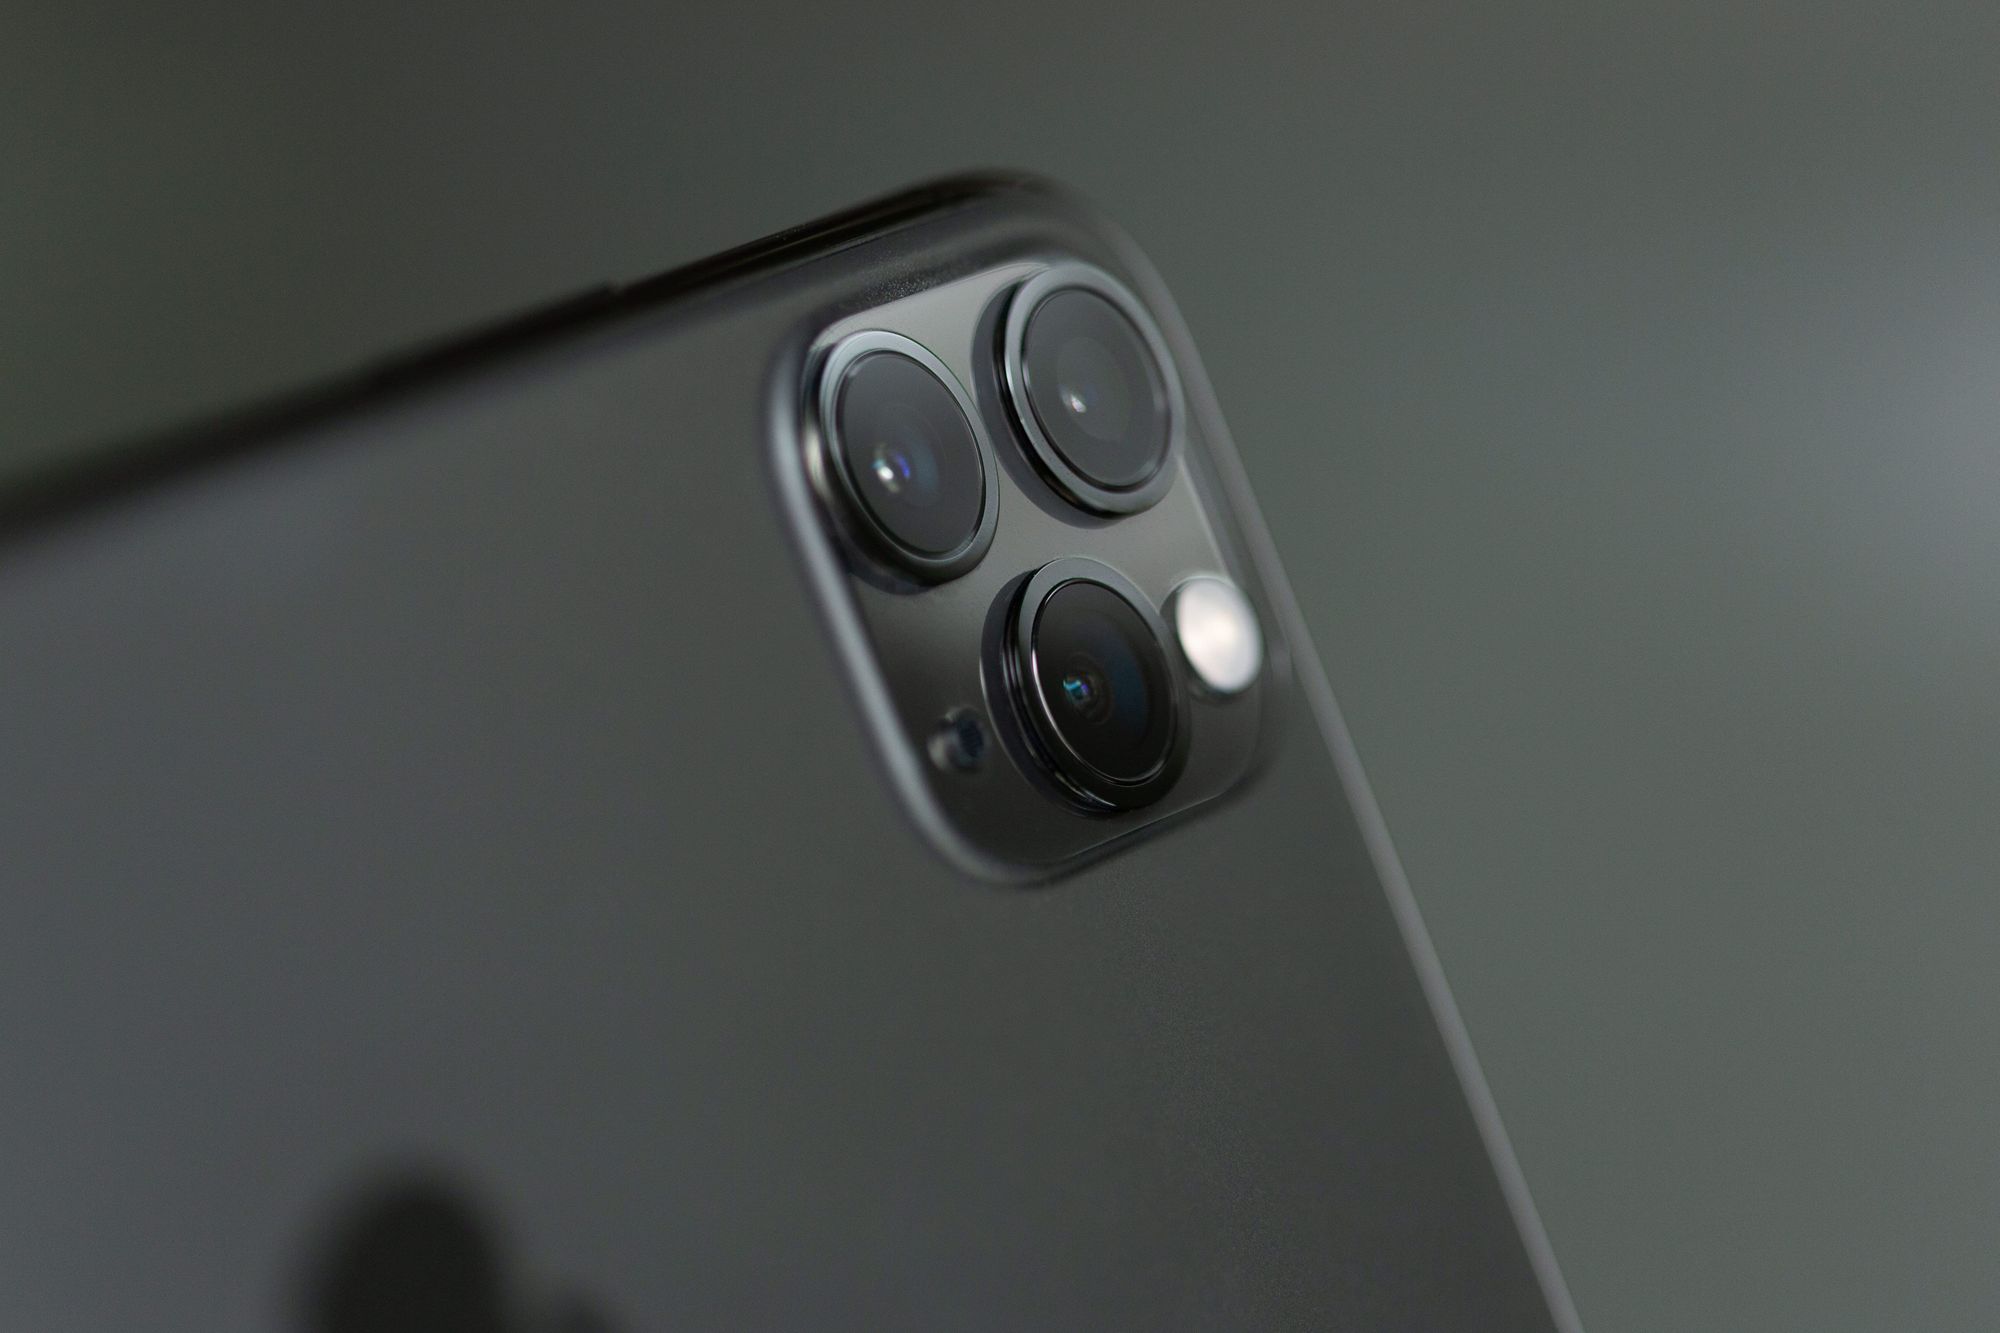
Camera lens: Though the iPhone 12 has up to three camera lenses, not one of them will necessarily provide you that crisp clarity. The camera lens on a smartphone typically has a fixed and wide-angle format. Using its zoom feature increases the risk of shooting highly pixelated video. And getting a medium- and close-up shot? You'll need to physically move closer to the subject to compensate for the lack of depth of field. Knowing this, you need to add an external lens to your already existing camera. And – you're in luck. We've collected the best anamorphic lenses for your iPhone in 2023 right here.
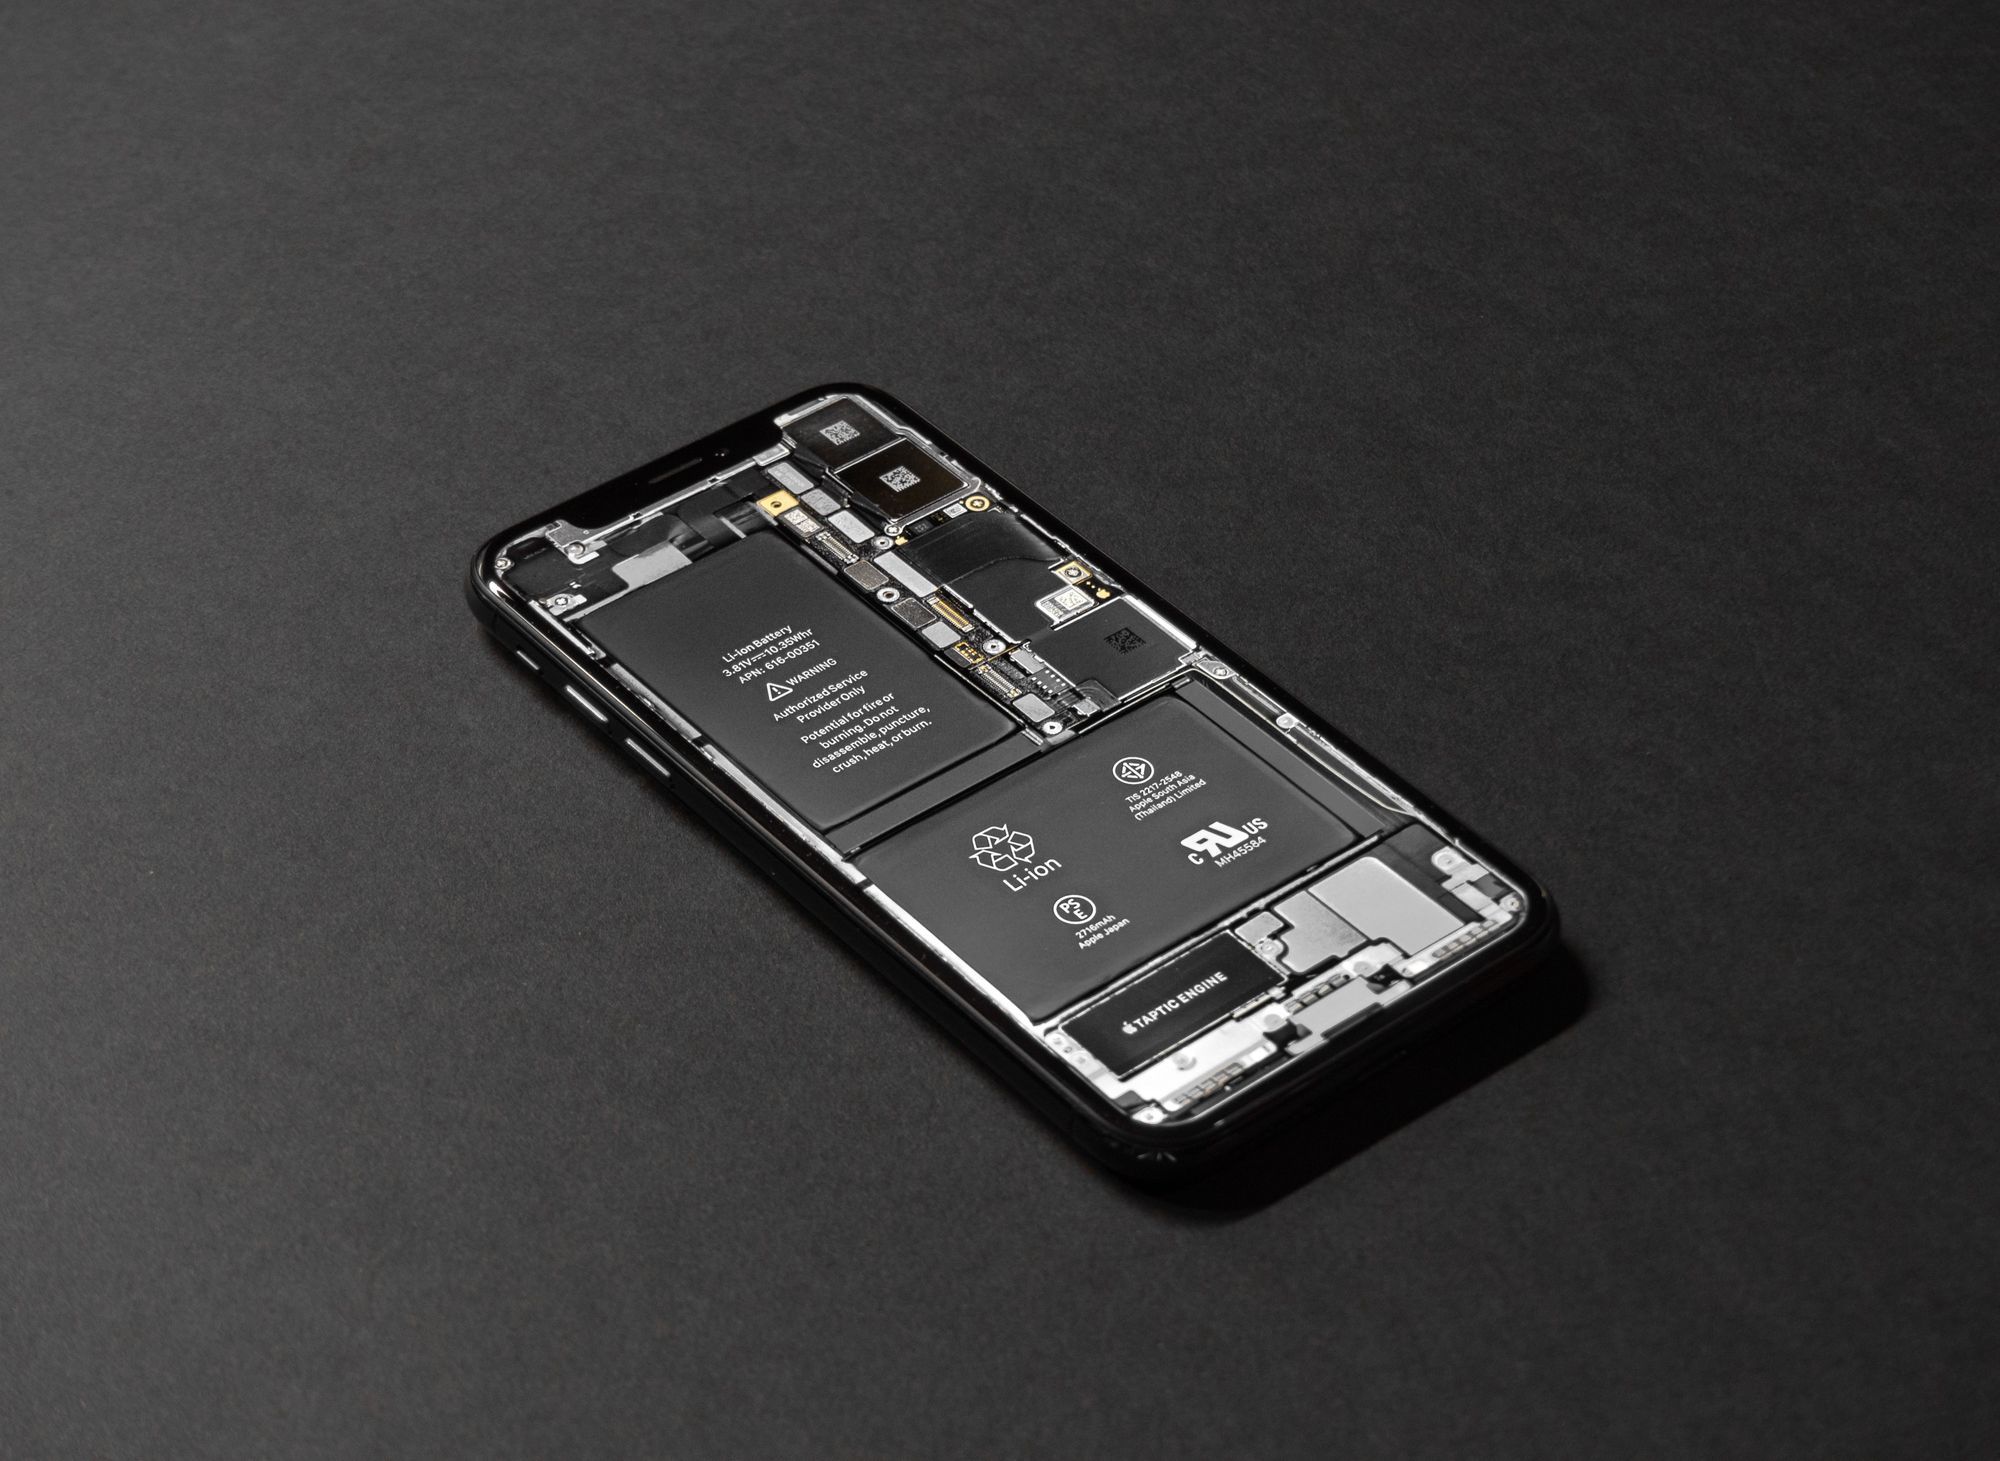
Shooting considerations: Suppose you're fascinated by Antarctica's penguins or maybe just really like the hot sand in the Sahara desert. In that case, you need to be careful when shooting with an iPhone. The iPhone can be a little sensitive to either really cold or hot temperatures and can even shot down. This has something to do with its lithium-ion battery inside. While you can adjust these settings within the phone, it can create unnecessary delays.
Film post-production: Another thing about phone cinematography is the editing process – often the reason for many headaches. To make the process a little bit easier, you need to use a third-party editing application.
You need to be aware (and accept) that a high-end cinema camera, like a RED or ARRI, comes with a different price point and needed skillset than a smartphone. Top cinema camera can take your footage to a whole other level – a cinematic level (you got that, right?). And yes, that does entail more money out of your pocket. But hey, ever heard of renting?
9 must-knows to iPhone cinematography
1. Use a filmmaking app
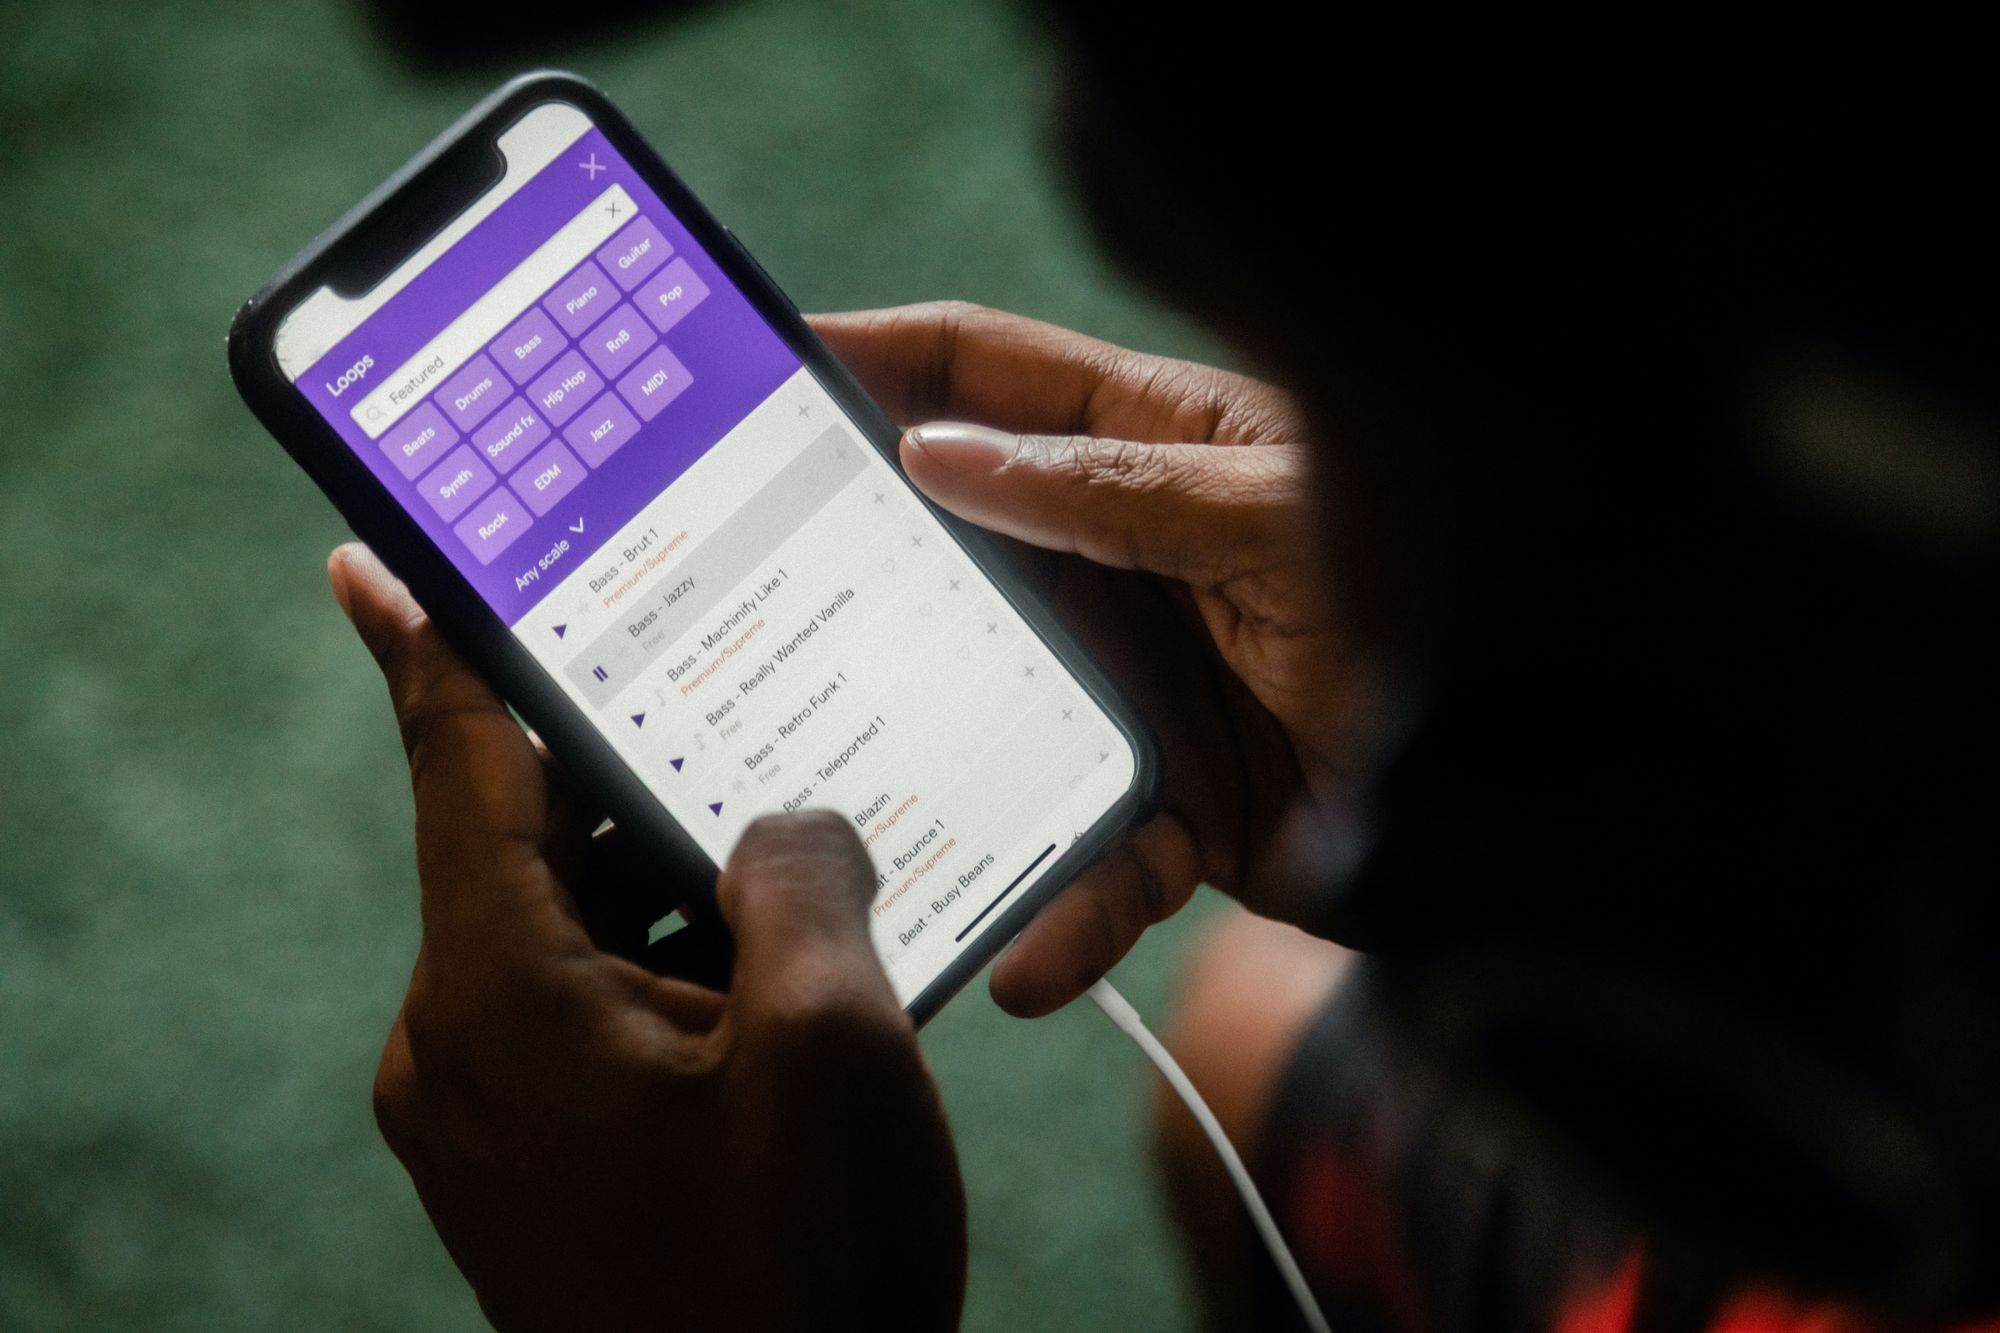
Your phone has loads of auto camera settings, such as auto exposure, auto white balance, autofocus and auto stabilization. All great tools for the classic Charlie-bit-my-finger home video, but to achieve the cinematic look, you'll want complete control over your camera settings.
There are several mobile apps for filmmaking out there, such as MoviePro, Mavis, Procam and Moment. The most famous (and for good reason) is FilmicPro, which costs around £15.
FilmicPro gives you manual control over all of your settings. This means adjustable ISO, aperture and shutter speed.
The app also controls white balance, focal points, resolution, frame rate and colour correction and then some. Audio control options? Yes, that's there! It's compatible with external mics like the RODE VideoMic.
Note that Filmic Pro is a professional app full of tweaks and features, so it will take some time to become accustomed to.
2. Use a stabilizer
Unless you want the audience to have a sense of a rollercoaster ride, you'll want to use some sort of stabilizer. Using a three-axis gimbal – is an excellent way to start. It will help eliminate the shakiness and instead provide some butter-smooth footage.
The DJI Osmo Mobile, Zhiyun Smooth Q and Freefly Movi are three very popular gimbals great for mobile cinematography.
Of course, you can use other tools than a gimbal – such as a Tripod. Try, for example, the JOBY GripTight PRO or a sturdier one like the Shoulderpod.
Getting steady shots is a huge part of achieving cinematic footage. If you want to save some cash in the progress, you can hire or subscribe to a tripod or gimbal (or both) – just saying.
Suppose you want to do it au naturel. In that case, you can also try to balance your phone on a table or any other household objects while holding it. You can also try to rest your upper arms against your body and try to stay relaxed. I know – easier said than done.
3. Use plenty of lighting
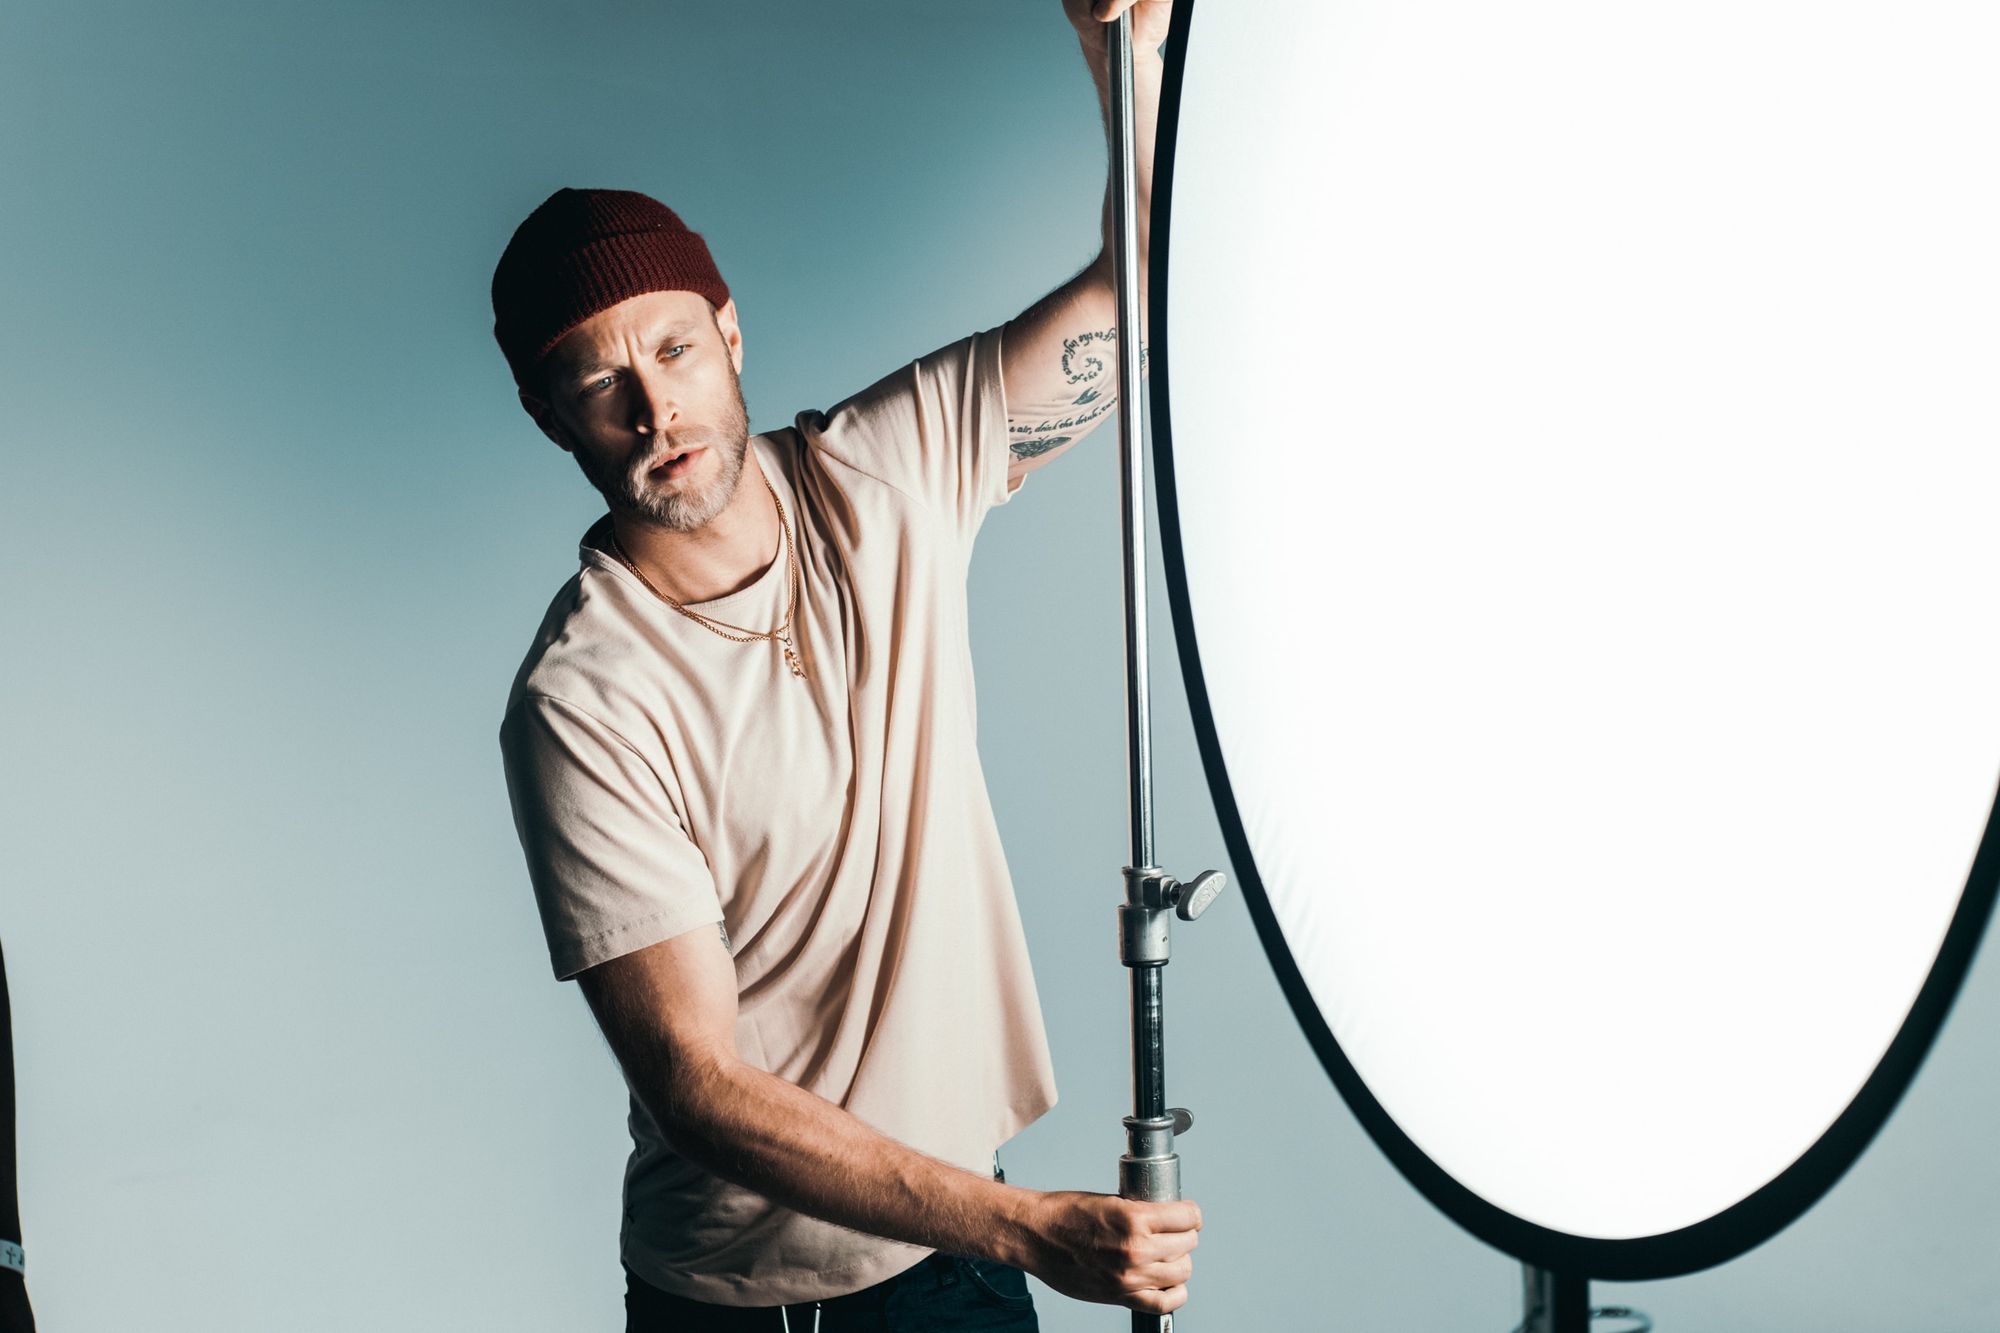
Phone cameras have tiny sensors – meaning they are not great in low light or conditions with a lot of contrast, so try to avoid that.
To reduce the contrast, shoot away from the light or use reflectors. If you have to shoot in low light (it happens), you can always include various lighting sources to give your footage proper lighting.
Discover the different lighting sources and setups, or learn more about film lighting techniques.
4. Nail the sound
Unfortunately, the iPhone does have a significant drawback in terms of sound. It has tiny microphones, meaning it's not great – especially not if you want to focus on a specific sound or a shooting in a noisy environment. In this case, you have three options. You can either; forget live sound, get in close to make the most of the built-in mic, or use a separate microphone.
As I said, the built-in mic isn't great, so if you want excellent audio (tip: you do), consider adding an external microphone to your setup. Try a lavalier microphone or a shotgun microphone (or both) to achieve good, solid, directional sound. When you choose your microphone, consider what purpose it should fulfil.
Lavalier Microphone: They're omnidirectional and easily attached to a shirt collar. The great thing about lavalier mics is that they allow you to record completely hands-free. So, once you've positioned them, you won't have to give them a second thought, letting you focus on the content you're producing. The not-so-great thing about lavalier mics, is that they pick up noise as the mic is rubbing against the shirt. You can get around this, though, by wrapping the head of the mic with moleskin. A good lavalier mic is, for example, the RODE SmartLav+.
Shotgun Microphone: A shotgun microphone makes your audio sound more natural. It's a directional mic, and since you point the shotgun mic in the direction of the sound you want to pick up, it's best for recording whatever is right in front of you. It's also a great mic to be used if you want to block out the noise coming from the sides. An excellent shotgun mic is, for example, the RODE VideoMic Pro+.
Bonus info: Before you start recording, clap loudly to establish a reference point when you're editing your audio tracks later.
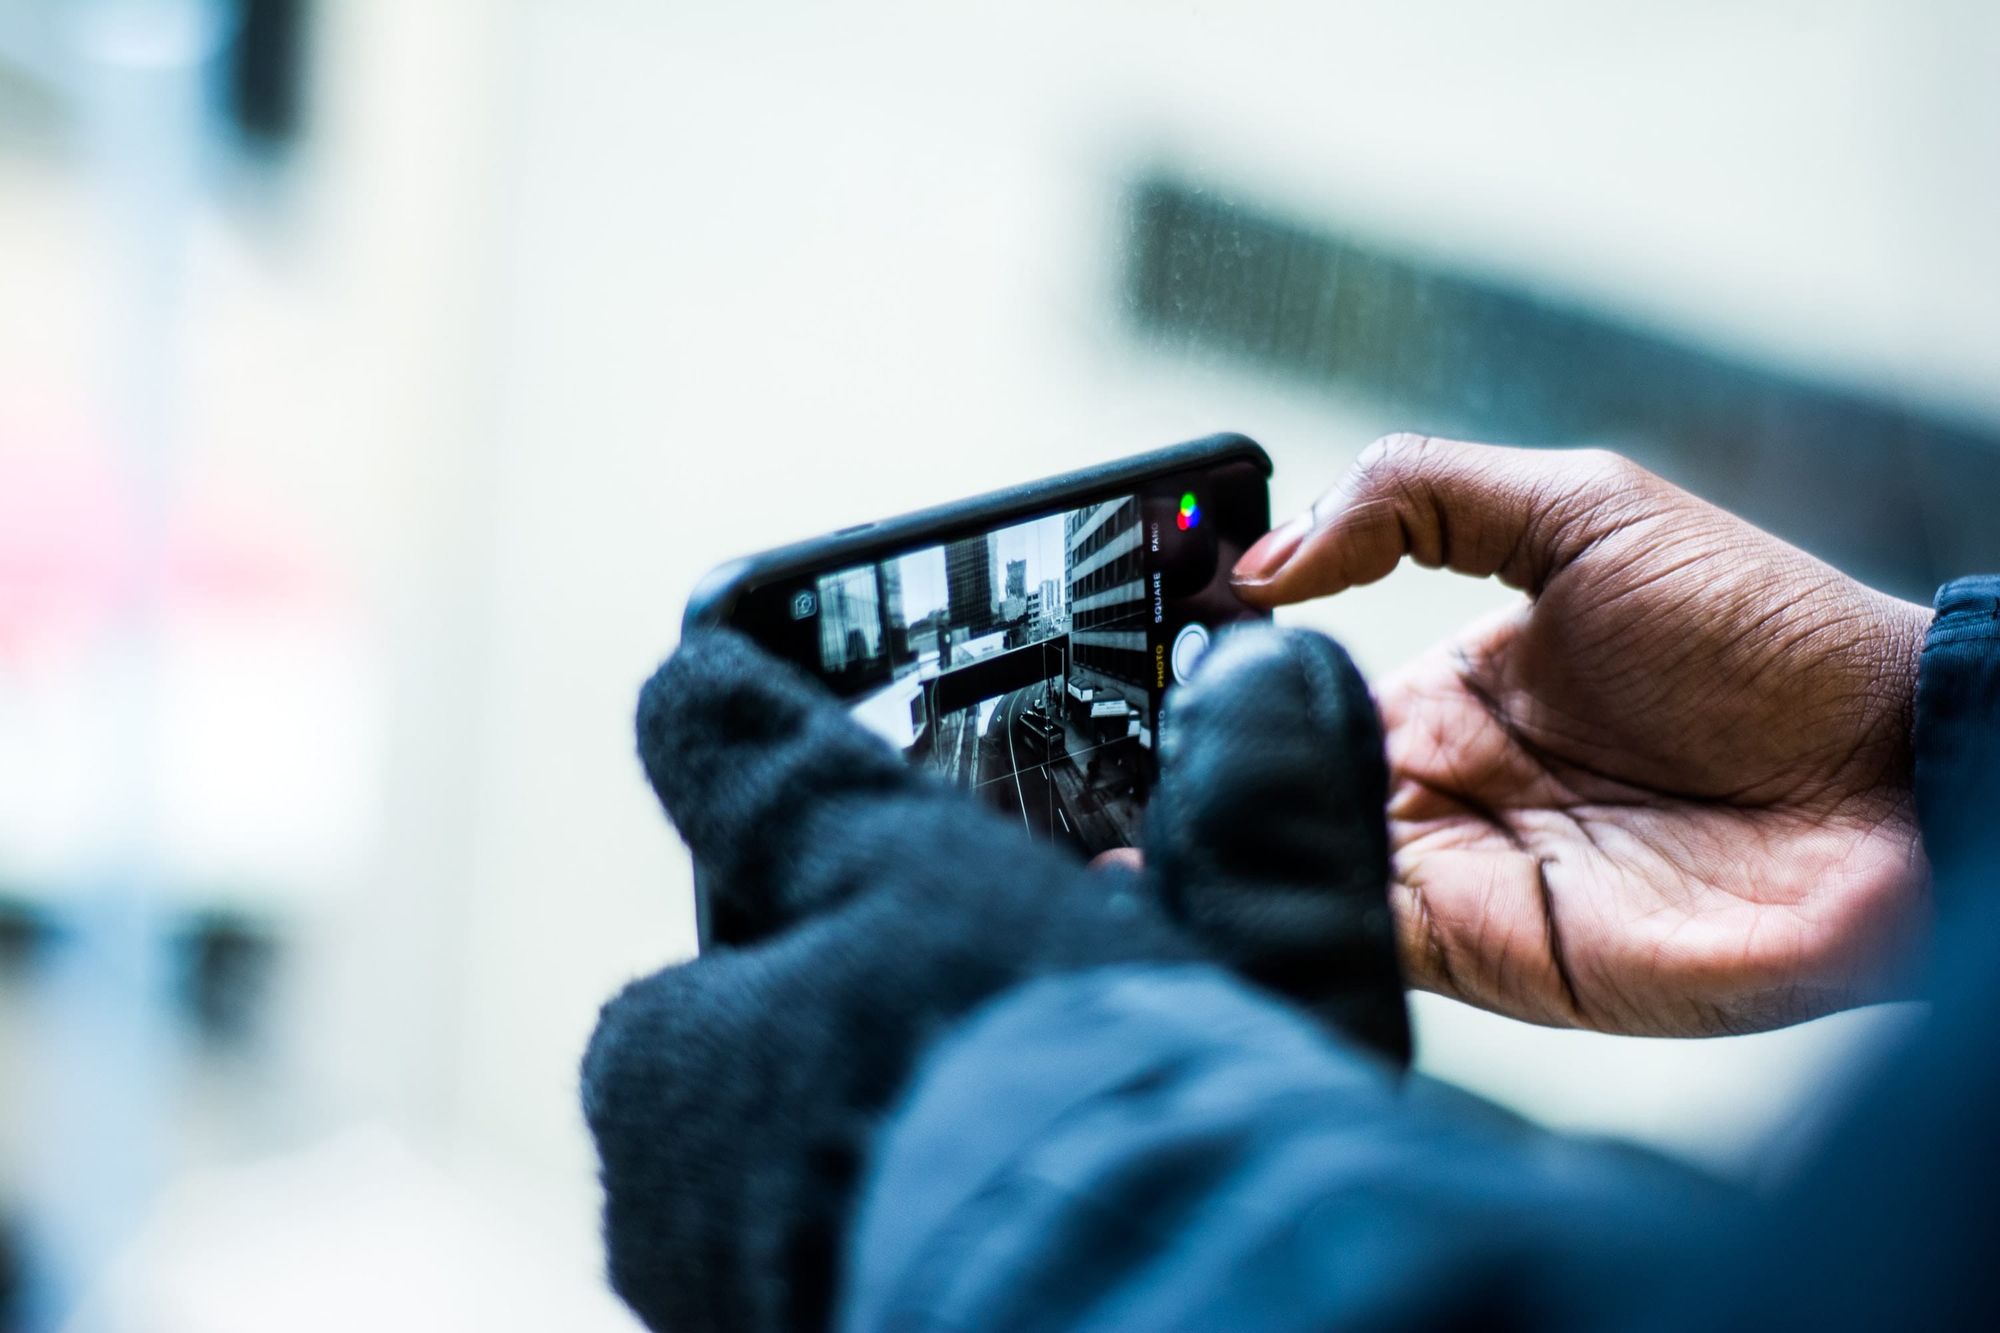
5. Check framing and iPhone position

It's not all about equipment when it comes to smartphone filmmaking. It's also about nailing the basic cinematography techniques.
That means thinking about framing and camera position.
How and where you place the smartphone will significantly impact how the audience interprets what's happening in the scene. Should it be close, in the corner or far away?
In the same way, you need to think about framing. Framing refers to the placement and position of the subject(s) in your shot. Understanding what framing will do to your footage and the way the audience interprets your subject is crucial. Let's take a high-angle shot, for example. This is when you shoot your subject from above, creating a sense of vulnerability and powerlessness. The opposite of this is, of course, the low-angle shot. At this shot, the camera looks up at the subject, creating a sense of power and control in the character.
Bonus info: Make sure your subject is looking at the camera in the phone's corner and not at the Apple logo in the middle – it will look weird.
6. Use multiple focal lengths
Using various focal lengths will help provide a sense of emotion and give depth to a scene. Some iPhones, such as the iPhone 11 and 12 Pro, has multiple focal lengths built into their lenses. With the FilmicPro app, you can easily switch between them. Another option is to add a lens to your filmmaking setup. The Moment lenses are, in general, excellent tools and offer different focal lengths.
7. Colour correct your footage
Consider adding an artistic flair to your video with colour grading. Or ensure that all the colours look as they should with colour correcting. To do colour correction and/or colour grading, you should try editing programs such as the Final Cut X or Premiere Pro.
Colour grading and correcting aren't just for smartphone filmmaking; they should happen in every filmmaking process. It takes time, but it'll be worth it in your final product.
8. Edit on your computer
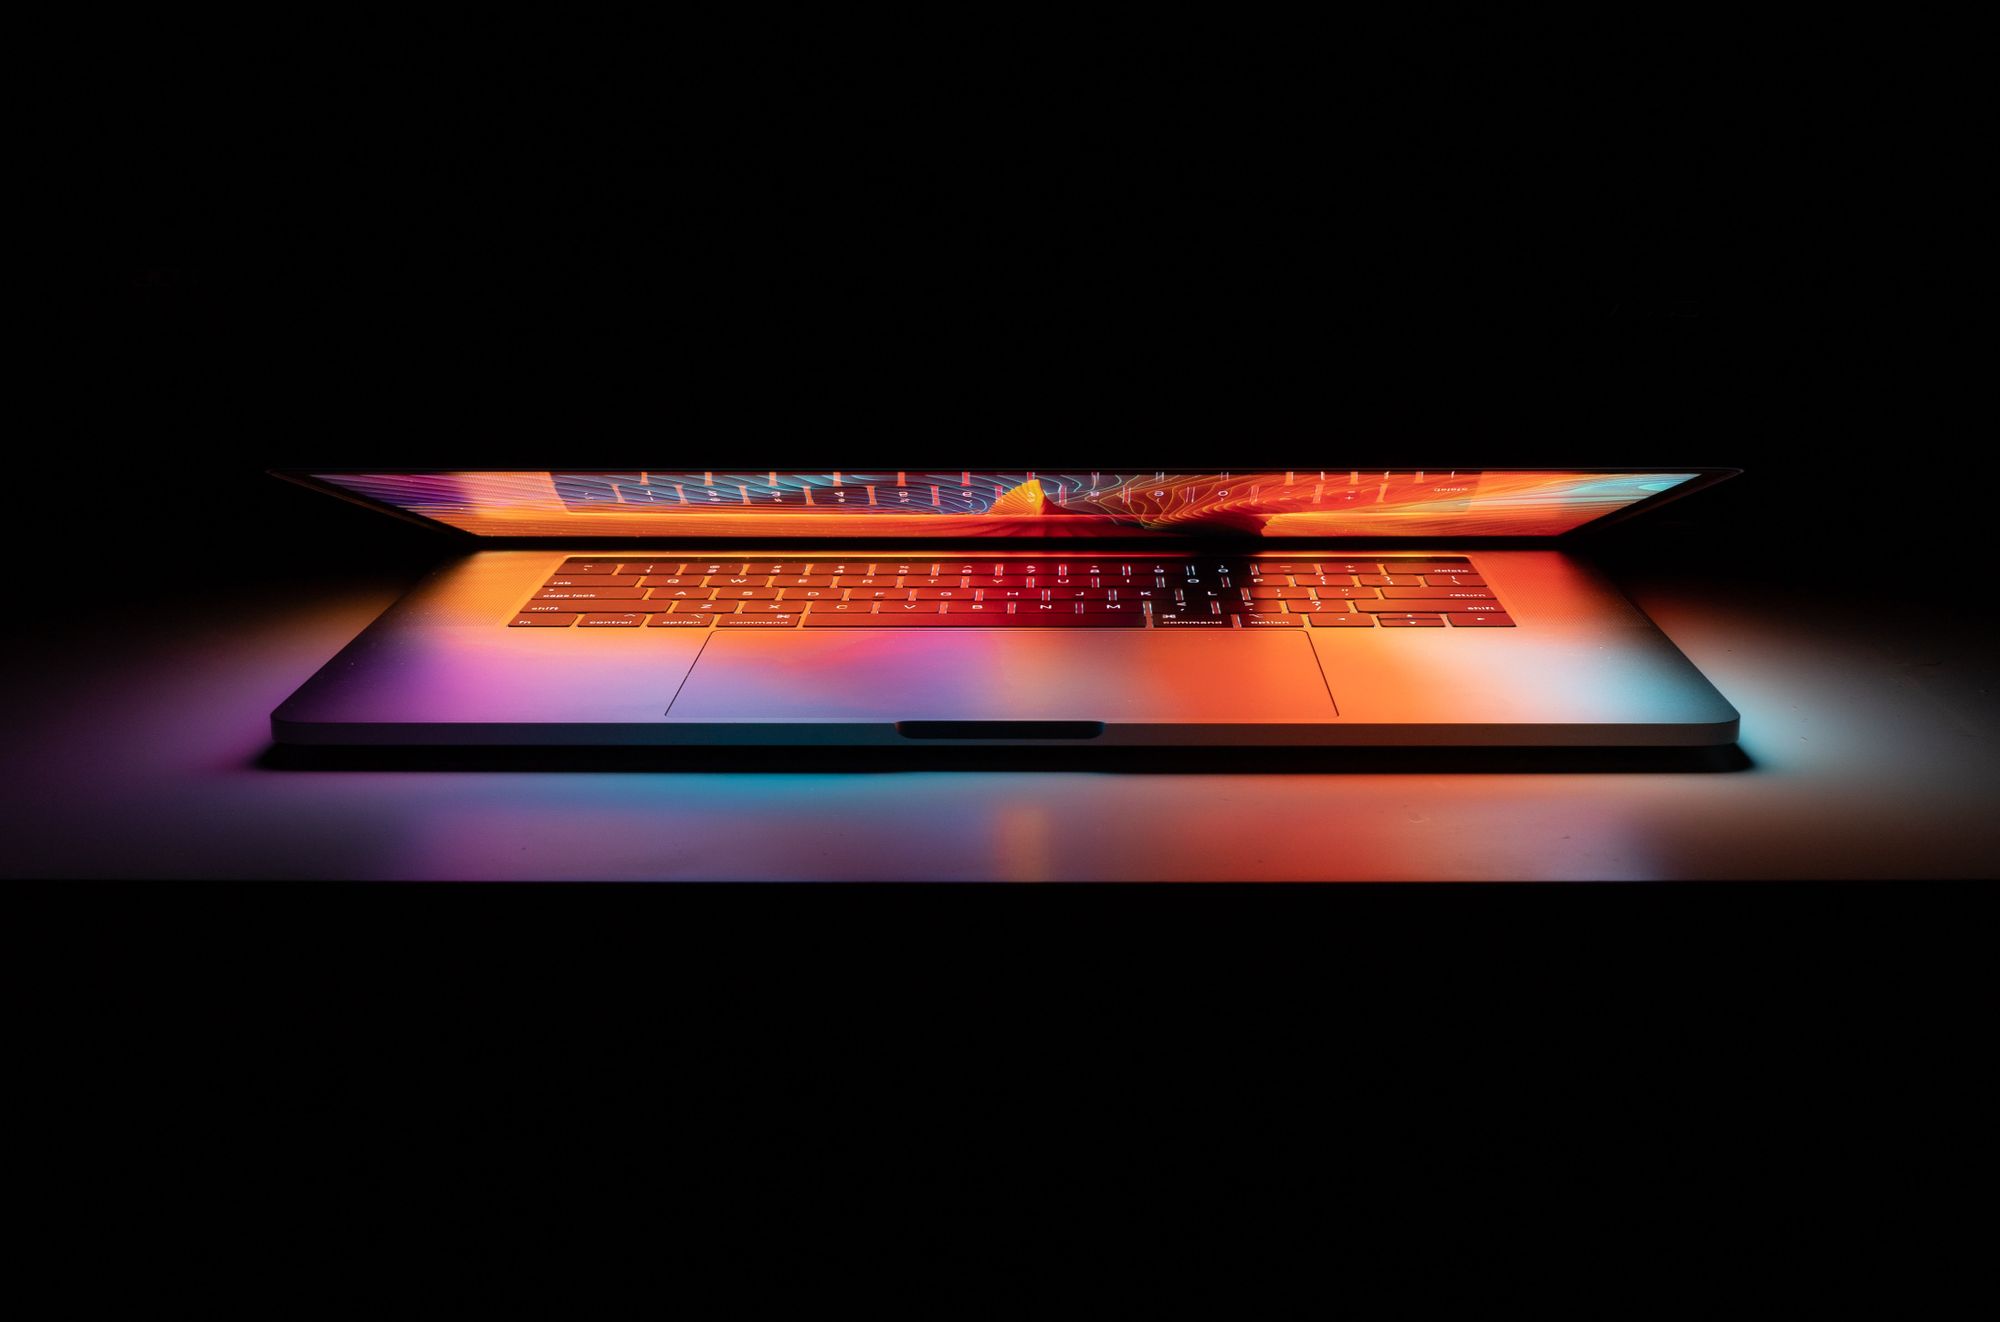
You can edit on your phone. However, can you really, though?
You're extremely limited editing on your mobile. So, consider turning to a computer editing app, allowing for much more flexibility. And if you have a Mac, it's a no-brainer – the desktop version of iMovie is the way to go. Leading me to my next and final advice for smartphone cinematography.
9. Edit your clips with iMovie
If you're the proud owner of a Mac, you will either already have iMovie, but if not, you can quickly get it in iTunes.
iMovie lets you put clips in order, trim them, change the order them, do voiceover, cutaways, titles and effects. What's more? It even lets you import music or edit your clips to a soundtrack.
A good thing to remember when editing your footage on iMovie… always name your files, don't just call them "file 1, file 2, file 30", and so on. Always export a full quality version of your film. And final note; never delete any of your clips until you're sure you won't need it anymore.
From worst to best: When is mobile filmmaking good to use?
Avoid low-light
Due to the iPhone's tiny sensor, they don't do well in low light scenarios. So, try to avoid a dark setting. And if that's not possible – artificial lights is your knight in shiny armour.
Avoid high dynamic range
Just as scenarios with low-light, iPhones can't handle places with a high dynamic range very well. Why? iPhone's tend to either overexpose or underexpose certain areas of a shot, leaving some areas very bright or very dark. If this happens, you have two options: you can adjust the camera or adjust the lighting.
Utilize the outdoors
By now, I figure you've gathered that smartphones have a hard time getting the lighting just right. This means that the best situations to apply a smartphone to your video production – when you're shooting in conditions overcast by outdoor natural light. The sun (you've might seen it?) provides plenty of light and can even act as a diffuser to add some of that soft light to your footage.
Understand filmmaking bascis when shooting on a smartphone
One thing is the equipment you need for smartphone filmmaking. However, it won't be worth much if you don't use it properly.
Firstly, it's essential to know all the critical camera angles, shots, focus' and movements.
And in terms of mobile cinematography, here some extra pointers.
Shoot in landscape mode
When filming, you will want to shoot in landscape mode. If you shoot in portrait mode, you will get those black borders in your final film clip.
More importantly, however, make sure you hold the phone the same way for each clip. It will look much better, less messy and spare you a lot of hours in editing.
Clean your camera lens regularly.
Cleaning, in general, is nice – cleaning your camera lens when you're creating a film – crucial. Whipping dust or grease away from the lens with a microfiber cloth will take you 10 seconds but will heighten your image quality substantially.
Don't use the zoom function.
Your iPhone's zoom function is digital, not optical. Meaning – it's not suitable for detail or image quality. If you use the zoom feature, you risk a shaky and grainy- looking image.
Use the exposure lock.
Your iPhone will automatically focus on the subject and then adjust the lighting accordingly (to the best of its ability, that is). However, the constant automatic adjustments can make your footage look choppy, so instead, use the auto exposure/autofocus lock feature. Do this by tapping on the screen and hold it until the auto exposure/autofocus box appears. Once that's done, you can manually adjust the exposure by dragging your finger up or down.
To control the autofocus, move the white square on the subject you'd like to focus on. You can move this box around while filming, or you can click on the box until it goes red, to lock the focus position.
Put in airplane mode.
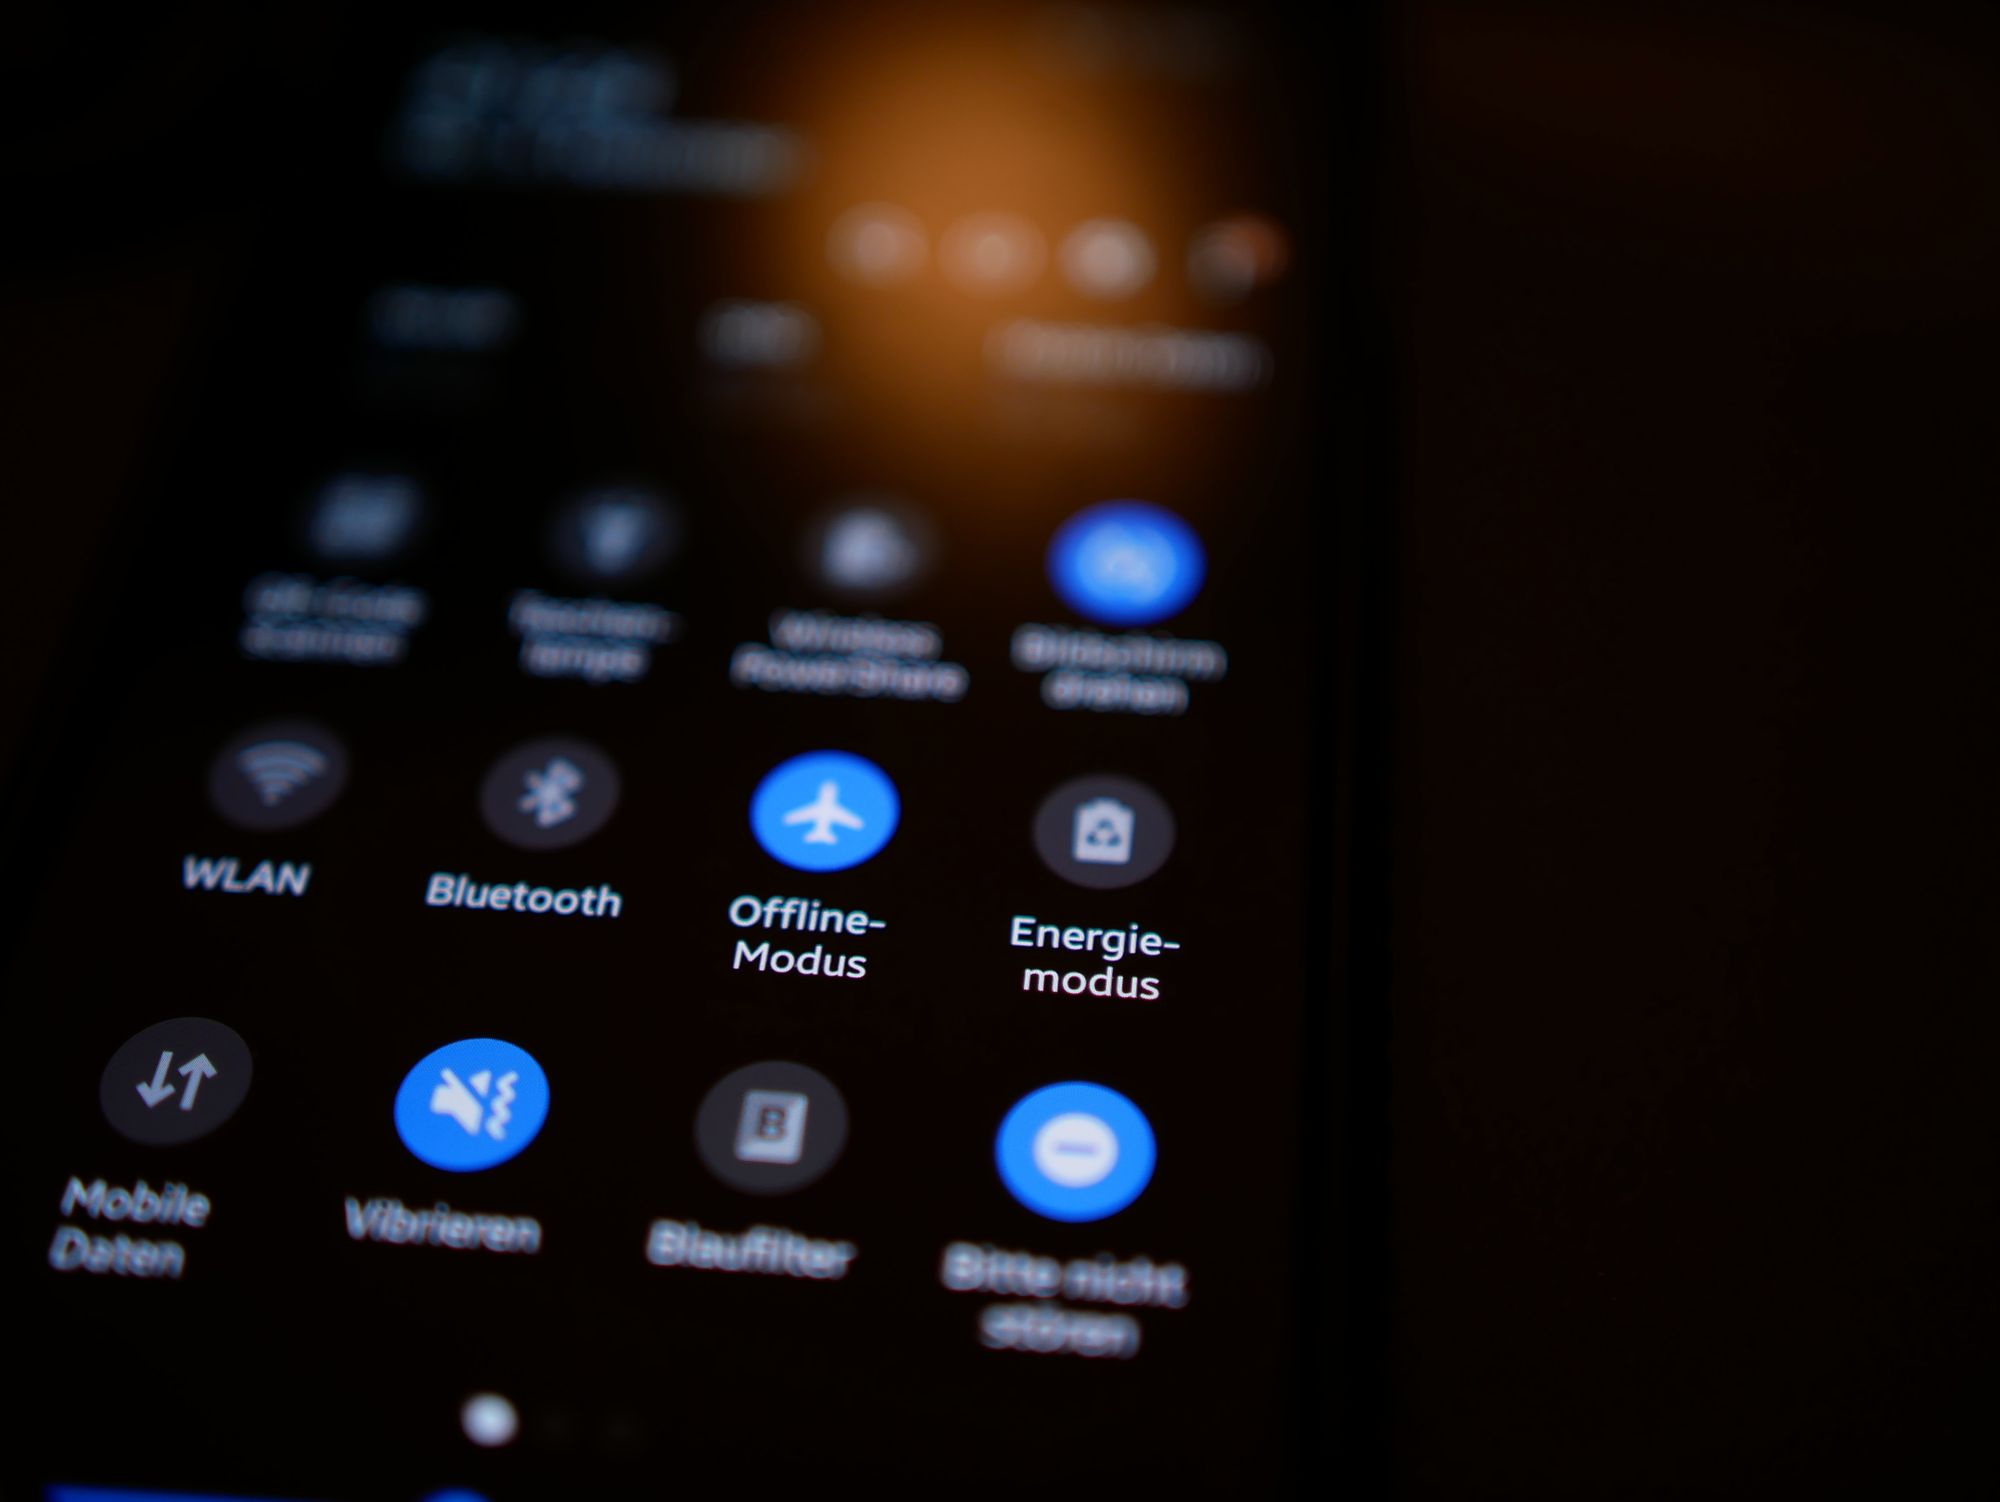
You don't want to get unnecessary distractions and interruptions sliding in. The easy fix is to hit to settings and turn on airplane mode until you're finished shooting.
Change the frame rate.
By default, the frame rate on an iPhone is 30fps. However, if you want to achieve the cinematic look, it'd be better to switch to 24fps. And if possible, a 1/48 shutter speed.
When shooting with a 1/48 shutter speed, you will need some ND filters. This to avoid your footage looking too bright.
iPhone filmmaking features
As more filmmakers are acknowledging the smartphone's filmmaking capabilities, so are the companies making them. Meaning companies like Apple and Samsung focus more and more on improving all their phone's specs to deliver the best possible footage possible for a smartphone. Here are some of the best-improved features most smartphones contain.
MP/image quality
Improving the camera has been one of Apple's main priority in every new iPhone release. Just take a look at the iPhone 12 Pro, talk about going all in. It has not one, not two, but three camera lenses, all hooked up to one phone, each with 12 MP and multiple focal lengths.
Film resolution
Many smartphones even have great video resolution rate at either Full HD resolution or 1080p to start. However, more are saddling up for the iPhone filmmaking ride and can now also shoot in 4K.
FPS
Newer smartphone holders can also modify their frame rate. From the usual 24fps, they can now go all the way up to 60fps. Moreover, the later iPhone models also come with better image stabilization.
Battery life
As people are becoming more acquainted/addicted (CommeCiCommeCa) to their phones, they need longer battery life. Luckily the smartphone manufacturers have listened and supplied. Battery life has been dramatically improved over the years. In some cases, you can have up to 10 hours or more of iPhone fun. The processors installed in the newer smartphones are also powerful enough to handle shooting video of high quality.
Equipment for your mobile video production?

While the quality of different smartphones is becoming better and better, it's impossible just to pick up your phone and start shooting cinematic footage. To get genuinely cinematic imagery, you need to add a couple of things to your mobile filmmaking setup. Here among, lenses, microphones, lights, gimbals and tripod to get you going.
Explore what equipment you need to create a full iPhone filmmaking kit.
FAQ
What is the best iPhone for filmmaking?
The iPhone 13 Pro Max is the best iPhone for filmmaking.
Is the iPhone good for filmmaking?
The iPhone has great video quality, but it can not compare to professional equipment. It will work fine for amateur filmmaking.
How do you mirror the iPhone screen to the iPad for filmmaking?
You can mirror your iPhone screen through Airplay if both devices are on the same network. Simply go to the control panel, and turn on Airplay.
Can you make a movie using your phone?
You can shoot a movie using your phone, but you would need some extra gear. External microphones are needed for capturing the right audio and lenses could be useful to get the right cinematic look. Don’t expect your iPhone to be shooting in the same quality as high-end cameras though. This means that you should not expect your iPhone to be able to shoot really complex shots.
Can I rent filmmaking gear for my iPhone?
Yes, you can easily rent iPhone gear on sites like Wedio. Rent or subscribe to it now.