Portrait Photography: 9 Tips for Mastering an Art Form
Hire film gear from local filmmakers.
Hire film gear from local filmmakers.


Go in-depth with:
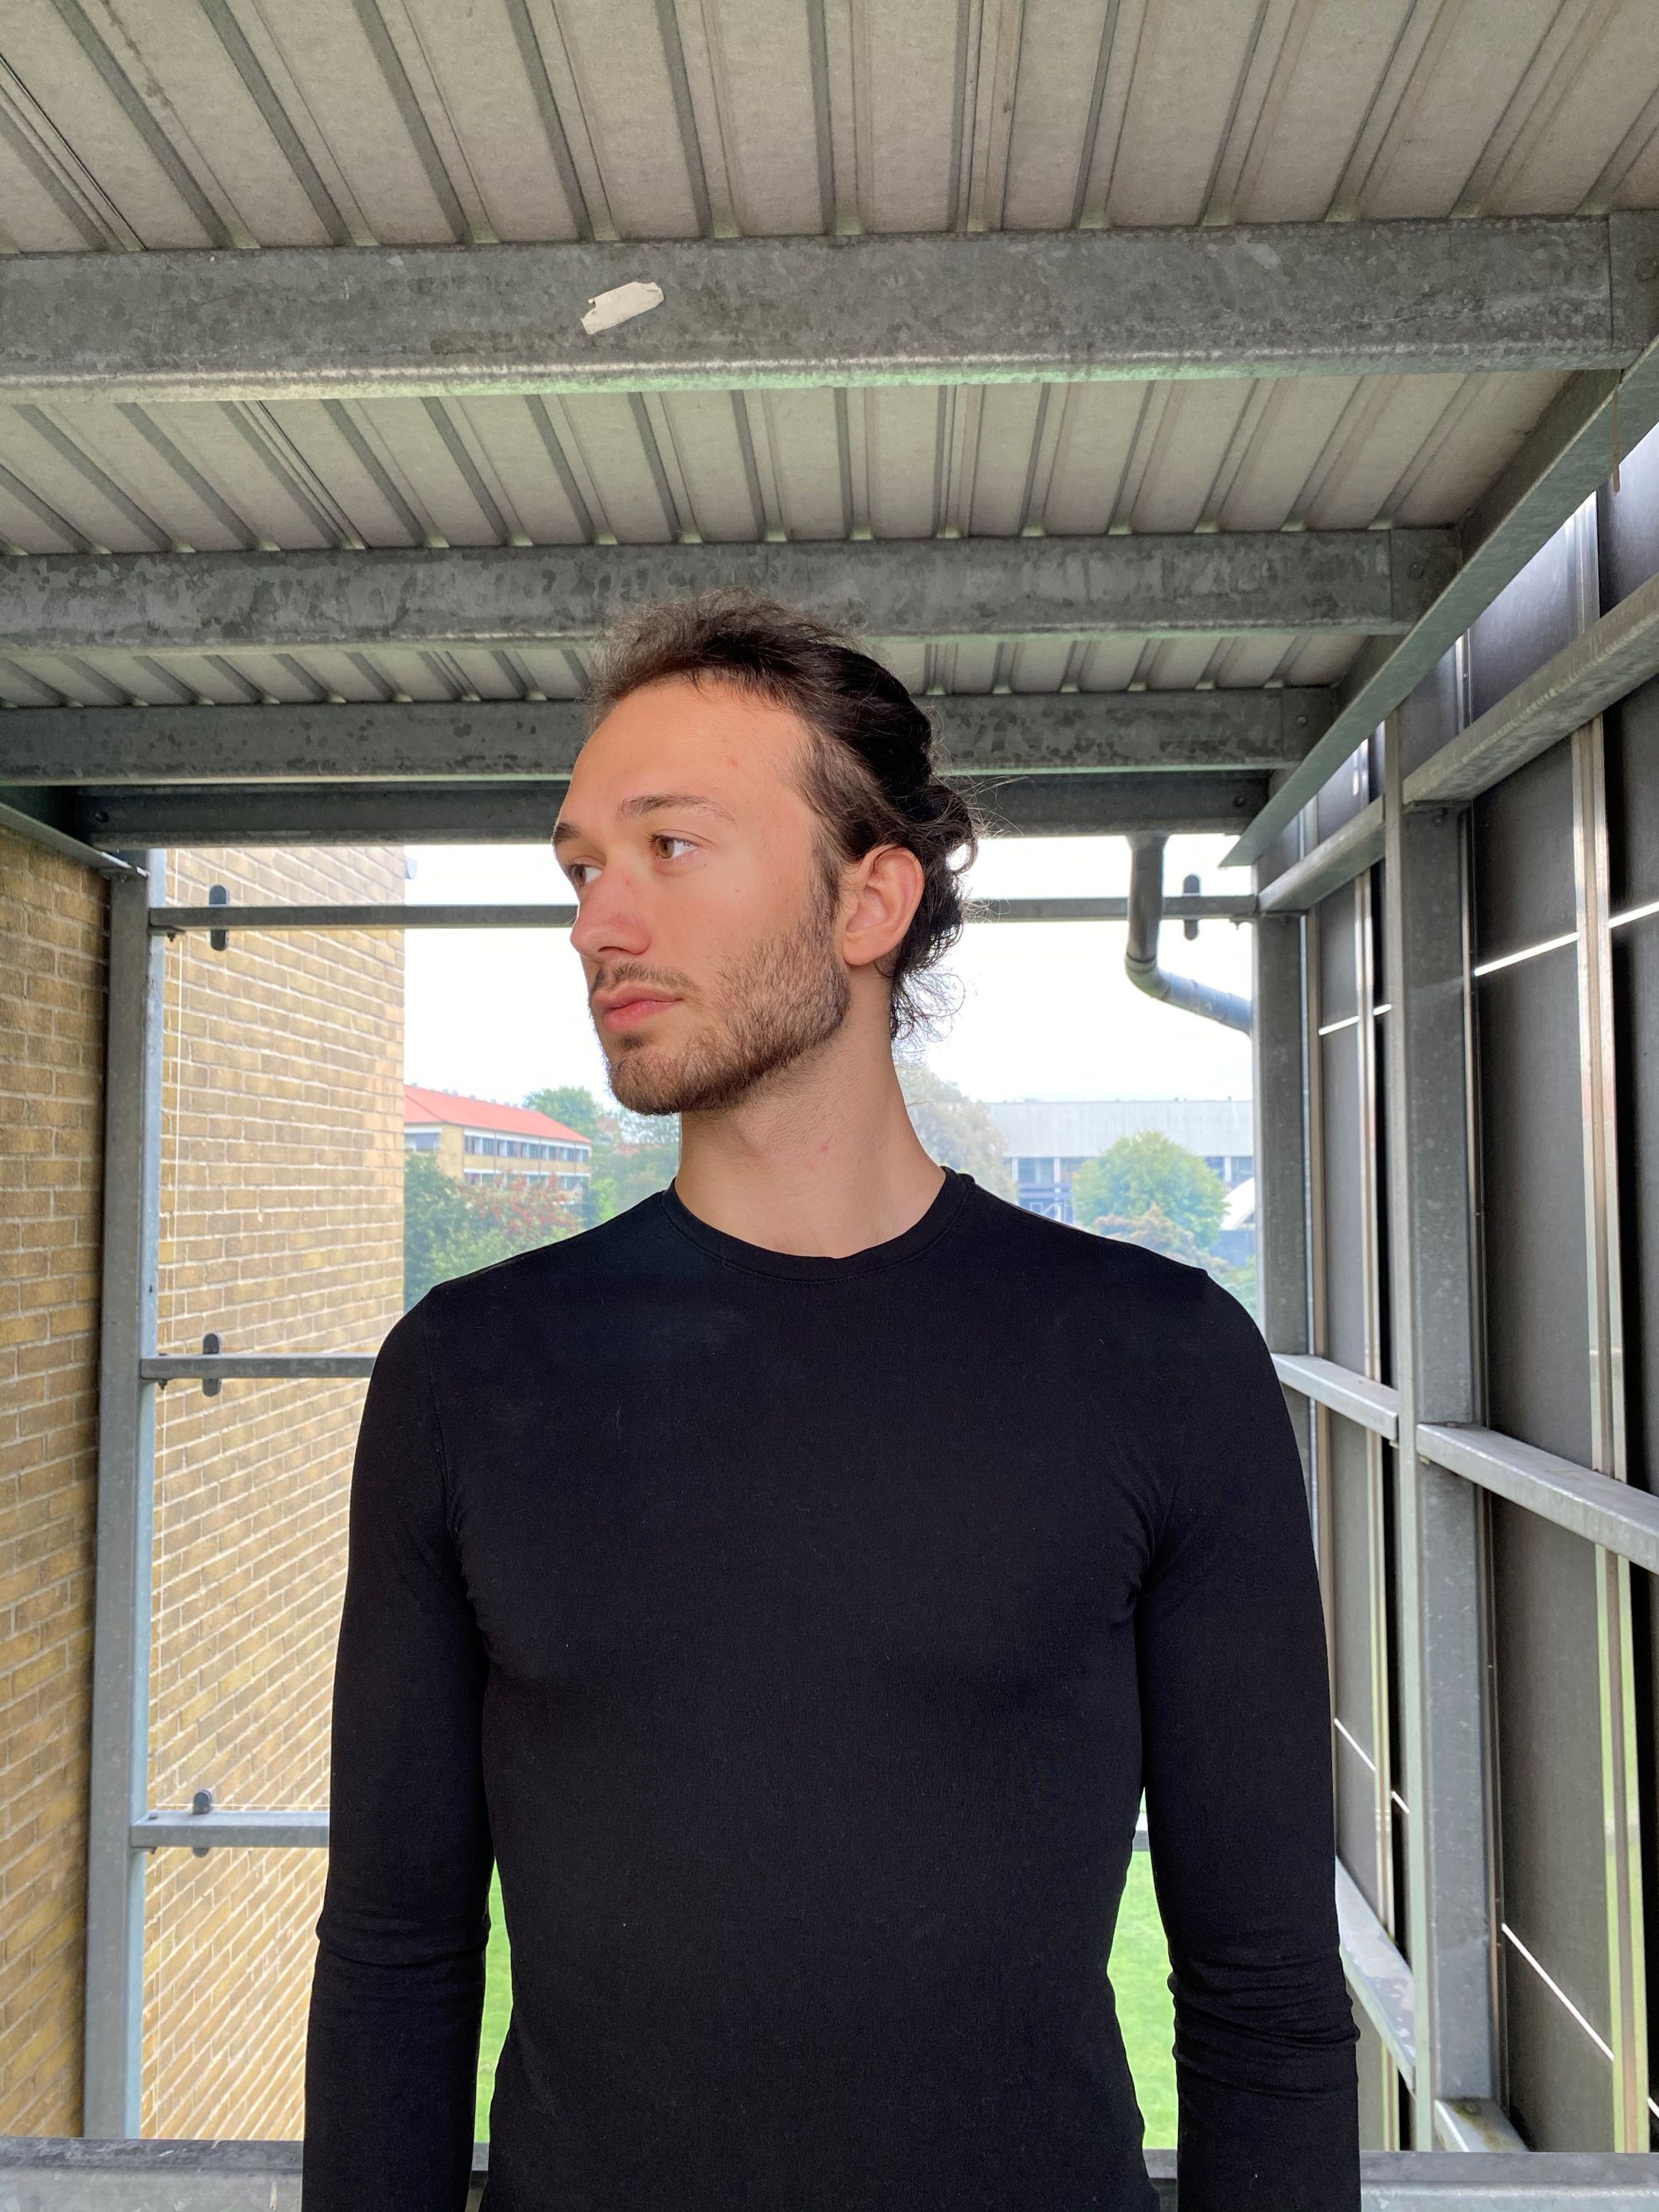
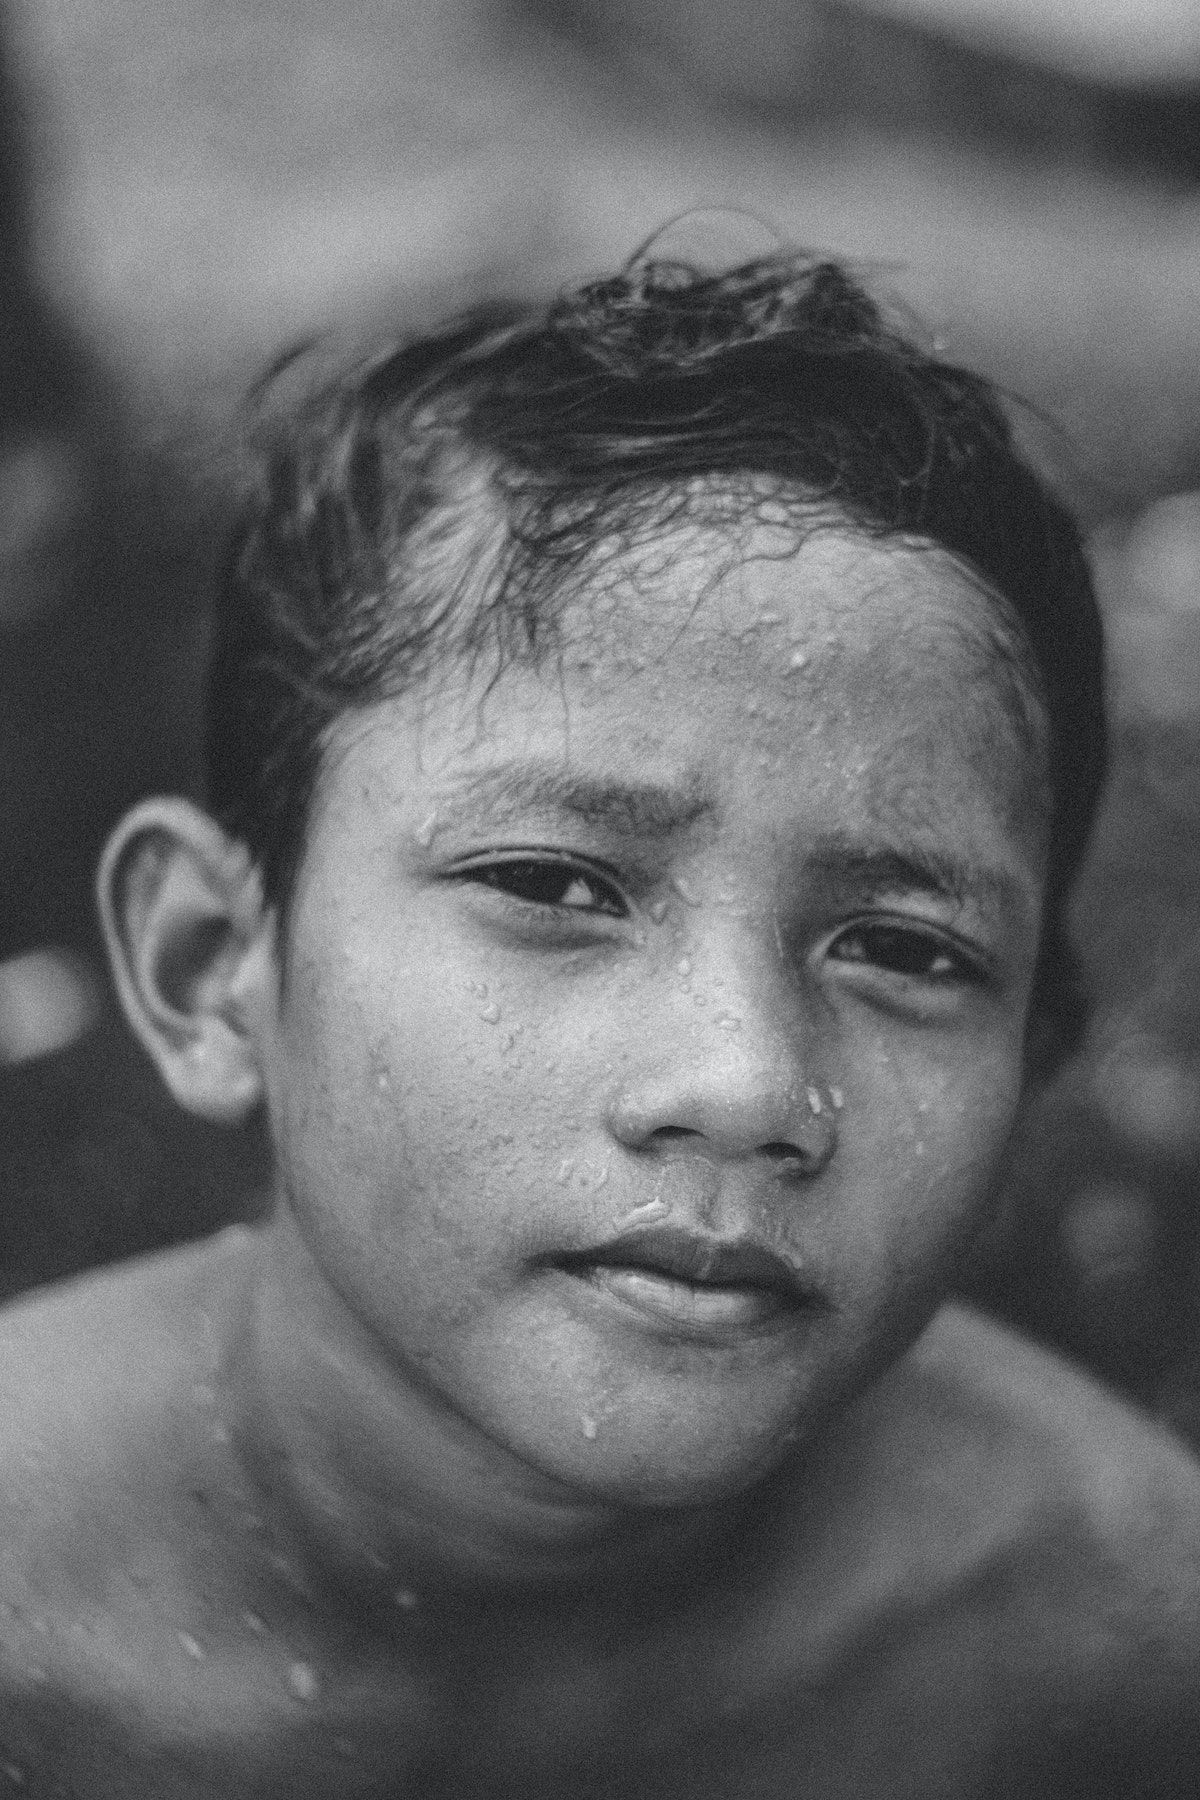
Portrait photography represents the photographer's ability to grab a camera and capture a manifestation of the subject's personality and emotion.
If done right, a portrait can last forever. Think "Steve Jobs" or "Migrant Mother". However, without the proper tools and creative understanding, a portrait can also become somewhat...redundant. Portraits that doesn't manage to capture and portray the subject's emotions become obsolete. Sort of a week-old party balloon situation – it fades away.
So, the question deeply rooted in your mind right now – like the baby-shark melody you can get rid of – how can you ensure your portraits capture those remarkable moments solid enough for us all to remember?
Keep reading to learn nine effective and essential techniques you need to apply when practising portrait photography.
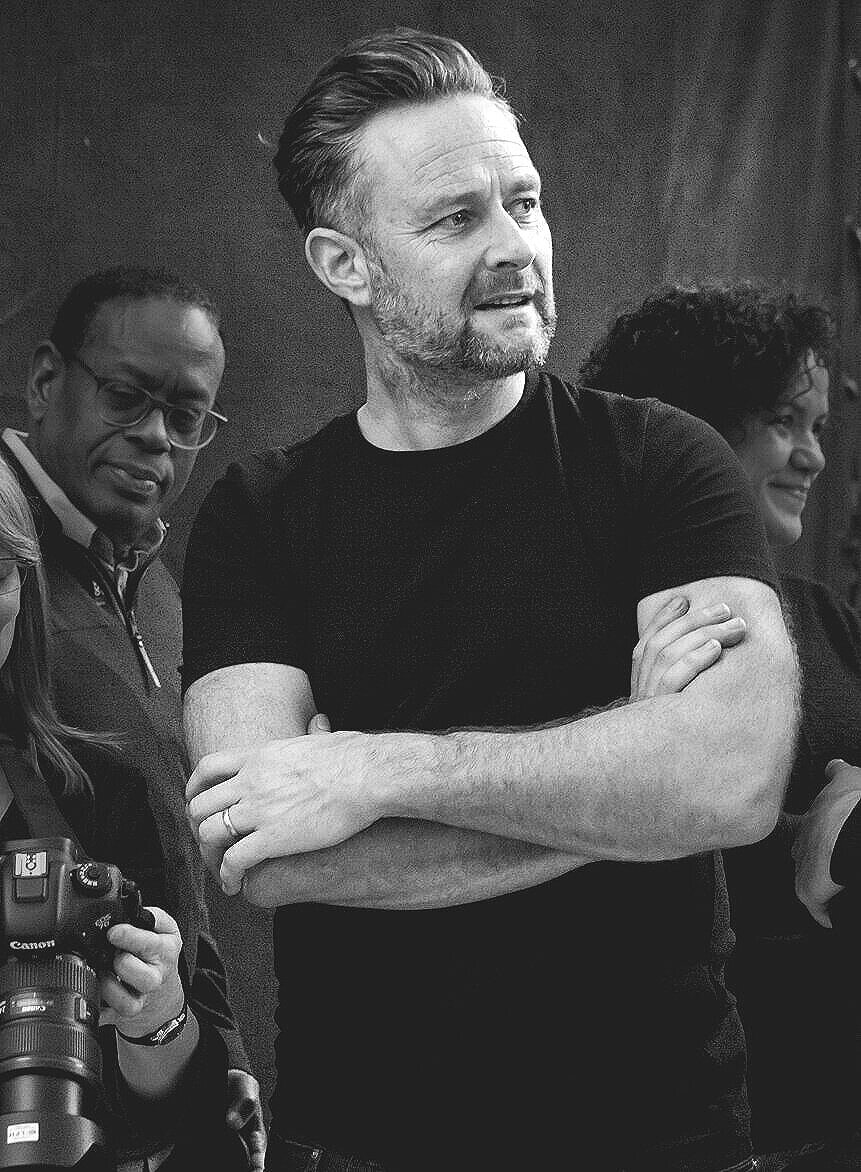
Dan Kennedy
Celebrity Portrait Photography:
The Ultimate Guide by Dan Kennedy
Interested in the world of celebrity photography? Check out the detailed guide by Dan Kennedy – celebrity portrait photographer from London.
Trailer
CN4IBR_4BXc
Sneak-peek
1
G-1R-cup8e4
Intro
31
What is celebrity photography?
56
Pre-production
173
Pre-production tools
361
Preparing a shot list
521
Shoot day
676
Essential camera equipment
871
Accessories
975
Lenses
1027
Camera settings
1108
Camera Evolution
1265
Editing
1441
Skills needed
1725
5 key learnings
1948
Breaking the rules
2477
Finding inspiration
2588
Favourite shots
2665
Tips & tricks
2762
Wrap up
2942
Meet Dan
37S8gMbuV1Q
What you’ll learn
Be reactive & move quickly: Both on shooting day and in general.
Gear up: Bring extra memory cards and batteries.
Creativity is a muscle: Practice makes perfect, also in celebrity photography.
Make it simple: Stick to one light only and focus on the subject.
Be a people’s person: Enjoy working with others and have others enjoy working with you.
Stay technology-updated: Know about changes in technology and the industry itself.
New to the photography genre? Explore everything you need to know about photography.
What is portrait photography?
Portrait photography, or as Gen Z would call it… a selfie, was first invented by Robert Cornelius. Using the daguerreotype, Robert decided to turn the camera at himself and took the world's first self-portrait photograph, laying the groundwork for a new art form to emerge.
Wonder if the good Cornelius ever thought his self-portrait would be the starting point of bathroom mirror selfies, duckfaces, and the all-time favourite "I'm on a meadow" portrait?
Camera and lens for portrait photography
Before we deep dive into the various techniques, let's talk equipment –more specifically, what camera and portrait lens to consider.
Now, there is no such thing as the "perfect portrait lens" or "the only camera you need for doing portraits".
Getting the perfect lens or best camera comes down to YOU. It's a matter of how you use your equipment under different lighting conditions, preferred camera settings, environmental conditions, and so on.
In other words, finding the one best piece of camera equipment for your portrait photography work is like trying to sneeze with your eyes open… interesting but also "eye-poppingly" impossible.
With that said, who doesn't like some best practices.
Choose a DSLR or mirrorless camera
Both a DSLR and a mirrorless camera will give you great control, plenty of camera settings and help deliver sharp, high-quality images in the RAW format that you can work on in post-processing. Once you know how to operate your camera, you can adjust the ISO and exposure compensation to alter the light or change the shutter speed depending on whether your portrait is still or moving.
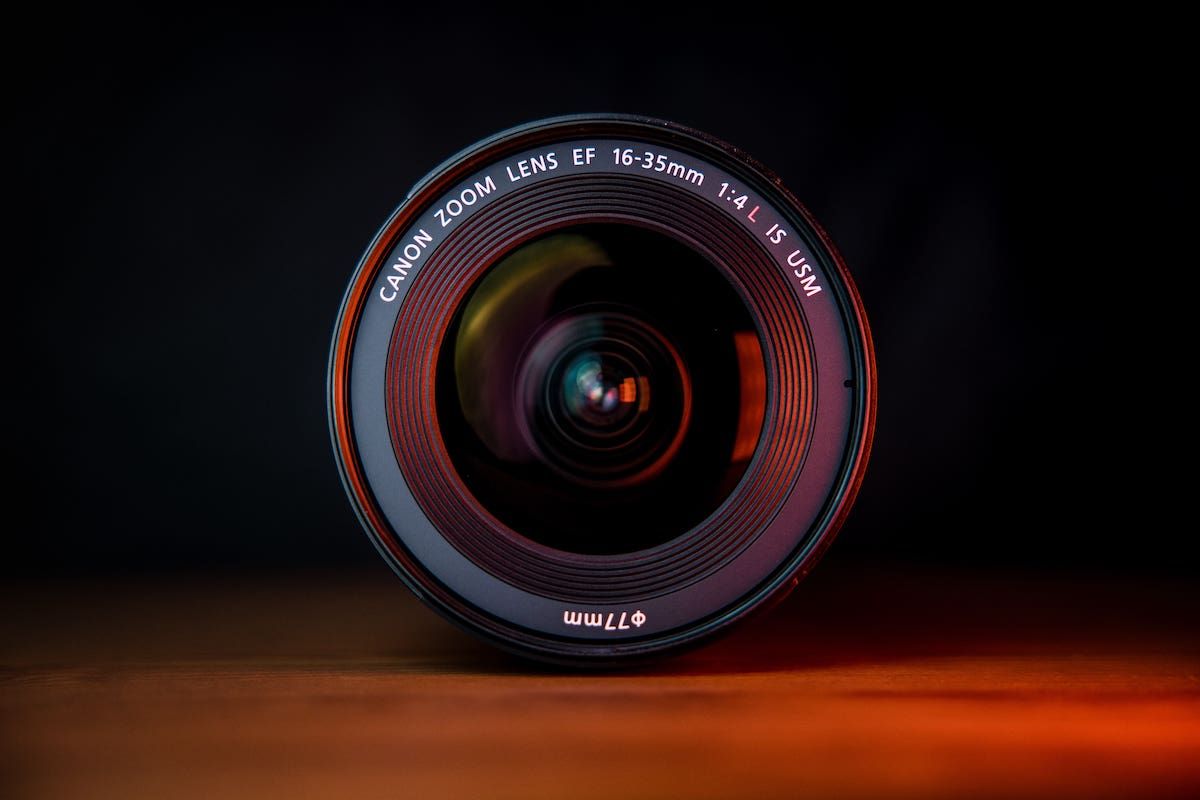
Choose a longer lens
As it goes with all types of photography, the camera lens takes the leading role – it plays both the hero, villain and awkward-overweight best friend.
Use a longer lens, like one in the 85mm to 200mm range. Long focal lengths will help produce better image compression without distorting the pixels. Longer focal lengths can also bring your background closer to your subject, increasing the bokeh (background blur) and creating a more dynamic image.
If you're going for a shot where the scenery or background is crucial to the picture, then it's better to use a wide-angle lens. Consider using a medium telephoto such as 85mm or 105mm. Here, the model is still the main subject, but the background plays an essential part.
9 tips for mastering portrait photography
Let's dive right into the essential portrait photography techniques you should utilize to enhance your shots.
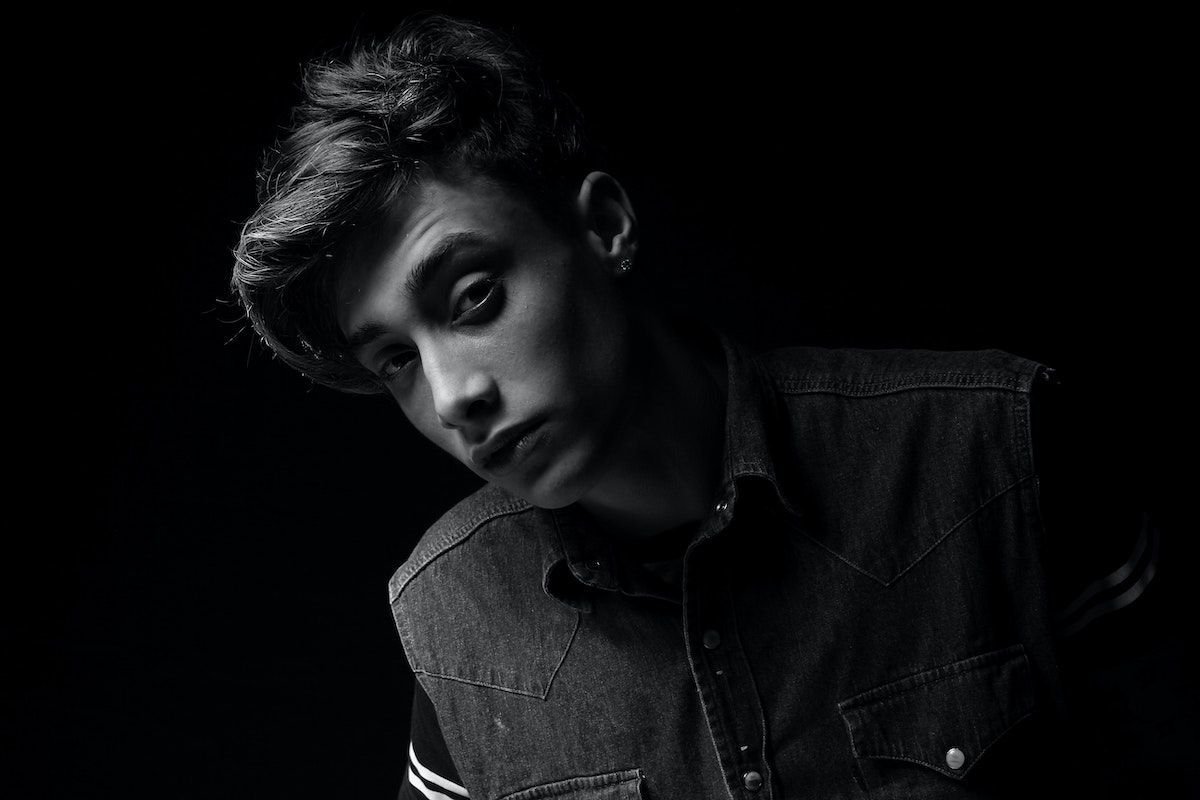
1. Look out for soft lighting
Lighting in portrait photography is vital. Imagine jumping out of an Airplane only to realize you forgot to put on your parachute… fairly critical moment, and not much to do about it.
Proper lighting can decide whether you crash and burn (or, in my example… crash and break) or if it's the thing that'll elevate your shots, keeping you airborne.
For the best lighting setup for your portrait shots, select an environment that offers a soft, diffused natural light from an indirect source.
Direct, harsh light can cast unwanted dark shadows on the subject's face and create unnatural skin colours. Should you face such conditions, try finding some light shade to position your subject. Use a diffuser like a softbox, a white sheet, or a reflector to help soften the light and produce a more flattering effect. Reflectors, in general, are great tools for turning hard shadows into softer ones.
If you're faced with too dark shadows cast across your subject's face, a reflector can once again be your knight in shiny armour (or technically, knight in shiny tin foil). Try bouncing some of the window light back onto these shadowy areas using a reflector – it's a quick and affordable way to brighten up your portraits and give them a professional look.
2. Bring your lighting source
While natural lighting can be great for portrait photography, direct sunlight can sometimes be overpowering; overdo it, and you quickly find yourself running into a classic Icarus complex. In such cases, bring your own light sources.
A camera flash, for example, is an essential feature that brings light into your photos.
While you most often will have a flash on your camera, it's not always powerful enough for the aim of your portrait. Moreover, some cameras flashes, primarily if used in a close-up headshot, can make a subject's face appear washed out and disproportionate. Instead, consider using an off-camera flash to enhance contrast and control the shadows in your portraits, making them more visually exciting and dynamic.
A dedicated flashgun (often referred to as a Speedlight or speed lite) is much more powerful than the built-in one that's on your camera, which means a brighter burst of light, enabling you to set smaller apertures to capture more depth of field. A flashgun is detachable and can be fired wirelessly via a remote control attached to your hotshoe.
You'll also experience more control over your light settings, and you can angle it up or sideways to bounce the light off ceilings and walls.
3. Exposure to the subject's face
Exposure refers to how bright or dark your image is. In portrait photography, the most critical part of the scene is the subject's face. So, make sure the face is correctly exposed – not too dark (under-exposed) and not too bright (overexposed).
While your camera's metering system is meant to determine how much light should enter the camera to make a correct exposure… it's not exactly foolproof.
Take an intensely bright or extreme dark frame, and the system begins to struggle. The metering system on your camera takes an average reading, assumes it to be a midtone (half white and half black), which means that if your portrait is all white, it doesn't understand that – as I said, foolproof… not so much.
To fix this, you can either adjust the exposure compensation (EV) setting on your camera, enabling you to increase or decrease the exposure suit. Or you can play around with the exposure triangle; ISO, Aperture and Shutter speed.
4. Use aperture priority mode to blur the background
When shooting portrait, a sure-fire way to raise the bar is to use a wide aperture with a shallow depth of field. This will blur the background and make your subject the centre of attention. The go-to aperture length in portrait photography is from f/1.4 to f/2.8.
If you're shooting a family portrait or something with more than one subject, a smaller aperture is preferable as this will keep everyone in focus.
To change the aperture on your camera, ensure you set the shooting mode to Aperture Priority or AV mode. Then use the thumbwheel, dial, buttons, or menu setting to increase or decrease the aperture value.
5. Find an appropriate background
Portraits portray the subject (I know, one hell of a Sherlock Holmes riddle for you there). Nevertheless, there are more intricacies than just that. There are ways to focus on the subject by giving more space to the background – to focus on the subject by not focusing on the subject.
Makes perfect sense, right? Welcome to the world of real-life inception.
A busy or distracting background will take attention away from the subject you so aim to focus on. But an exciting environment can add a lot of drama and *oomph to your image and help your subject stand out.
Mind that "an interesting background" doesn't necessarily equal a cluttered background. You'll want a neutral, uncluttered environment that won't distract the viewer too much when doing portrait photography.
For added texture and colour, experiment with an attractive wall or fence. Or consider including an object in the background to provide added interest or context.
6. Design a colour palette for your portrait photos
You must consciously design the visual look and feel of your portrait shots, and for this, defining a colour palette helps.
Using complementing colours for clothing, backgrounds, props, and even post-processing can add to the overall impact of your portrait shots.
Here, gels can quickly become your go-to wingman. Using gels for your portrait can change the mood or alter the colour temperature. If your photoshoot produces unnatural skin tones or odd colour casts, you may have to adjust your light temperatures. If you're shooting on an overcast day, you might want a colour temperature orange (CTO) gel to make the environment warmer. Whereas, if your images appear too warm, you might want to apply a colour temperature blue (CTB) gel to cool it down. The type of shot you're going for will determine the temperature you need, so plan for your environment accordingly.
7. Experiment with different angles
While you'll typically see portraits being shot by placing the camera at the subject's eye level, there's a lot more to come for when it comes to the different compositions for your portraiture. Choosing an unconventional angle can make your portraits stand out, including angles that aren't so neatly composed.
Try shooting from an aerial viewpoint or the side, change up your model's poses, or try a candid shot to figure out the most flattering angle for their portrait.
Depending on the angle you choose, you can make your subject look slimmer, thicker, shorter, or wider. Move around the scene to try out different angles and distances and see what specific angle captures the image best.
For inspiration, check out our article on 50+ different camera angles and shots.
8. Use props to add dynamic
Adding props to your portrait photography is a great way to add a dash of colour, a sprinkle of excitement, and a whole lot of impact.
Funny enough, it's the same recipe Cinderella's fairy godmother used, right before she sat her in a soon-to-expire giant pumpkin.
Shoot through objects in your foreground, like foliage or a form of architecture, to add a dynamic element. Blur the objects in front by using a longer lens and focusing on your subject.
Shooting through transparent objects can produce unique patterns or reflections while shooting through something like a fence can provide interesting framing around your subject.
9. Finish with editing and post-processing
True, photo editing hasn't gotten the best rep lately, and that's a shame.
See, the issue with photo editing isn't when editing and retouching colour composition, clarity and quality. The problem arises when people seem to have gone through a multi-million plastic surgery within a couple of minutes… keeping up with all those surgeries is challenging.
With that said, you shouldn't neglect the impact proper editing and retouching can have on portrait photography. A lot of the "professional" feel of the images is due to appropriate editing techniques.
Besides cropping and resizing photos, you can use beauty tools to smoothen out blemishes with minimal fuss. Colour filters and retouching/removing unwanted elements from the picture can also enhance your shots. Even if you are already happy with the quality of your photo, editing can help emphasize your preferred visual style and express your creativity.
Whether you need to crop an unwanted edge, lighten a distracting shadow, or tweak the background of your shot, become familiar with editing programs and their functions to bring your portrait photography to the next level.
What's next? Get inspired by some of the best
Ready to get started shooting portraiture?
It's simple; all you have to do is to: lookout for good lighting, bring your light source, set the correct exposure for your subject's face, use aperture priority mode, find an appropriate background, design a color palette, (#gasp), experiment with different angles, use props to add dynamic, and top it all off with some good ol' editing and post-processing.
Seems simple enough, right?
Capturing a portrayal is a creative process that looks different for every photographer. In time you'll find your process as well.
For inspiration, discover some of the top best portrait photographers of all time.
FAQ
What are 3 types of portrait photography?
The three most common portrait photography categories are:
1. Traditional or formal portraits
2. Candid portraits
3. Glamour portraits