Product Photography: 7 Important Tips for Captivating Pictures
Hire film gear from local filmmakers.
Hire film gear from local filmmakers.


With the ever-growing e-commerce market, more and more webshops are appearing. More webshops mean more product photos needed, so there's no better time than now to get into it!
Product photography is the art of taking photos of products, typically for webshops or advertisements. It might seem simple to you, but it's harder than it looks. But don't worry, because we're here to help you! When you're done with this article, you should be ready to take any product photo challenge head-on!
Are you not an experienced photographer but simply came here for tips to take pictures for your own webshop? Then we've made an easy-to-follow guide on the basics of photography.
3 Types of product photography
In the category of product photography, we typically deal with three types. To understand these types, we will go through them one by one.
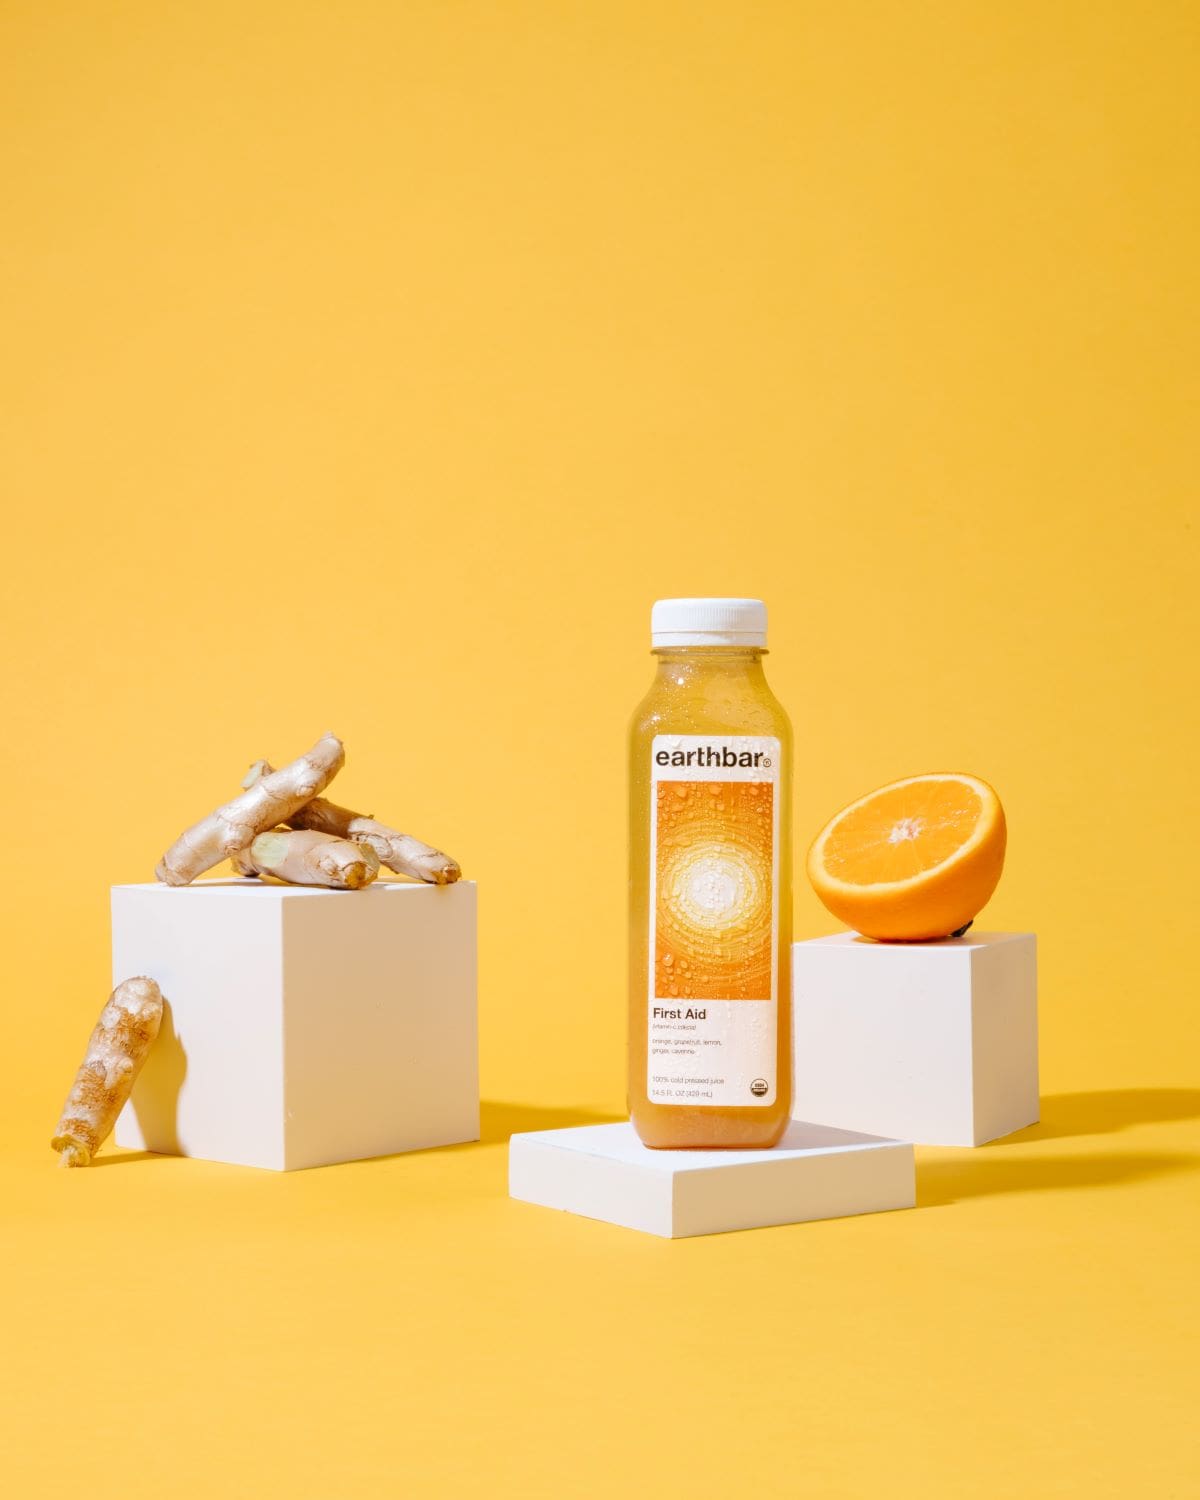
1. Individual shots
The individual shot is a product photo that only features one object. This is probably the most common shot used. Picture the product page of a camera. What do you see? Most commonly, it's a single-colored background, often white, with the product standing alone.
This is a great way to present a product, as it removes all distractions and solely puts the customer's focus on the product. You will typically see this type of photo for a product that consumers will only buy one of at a time.
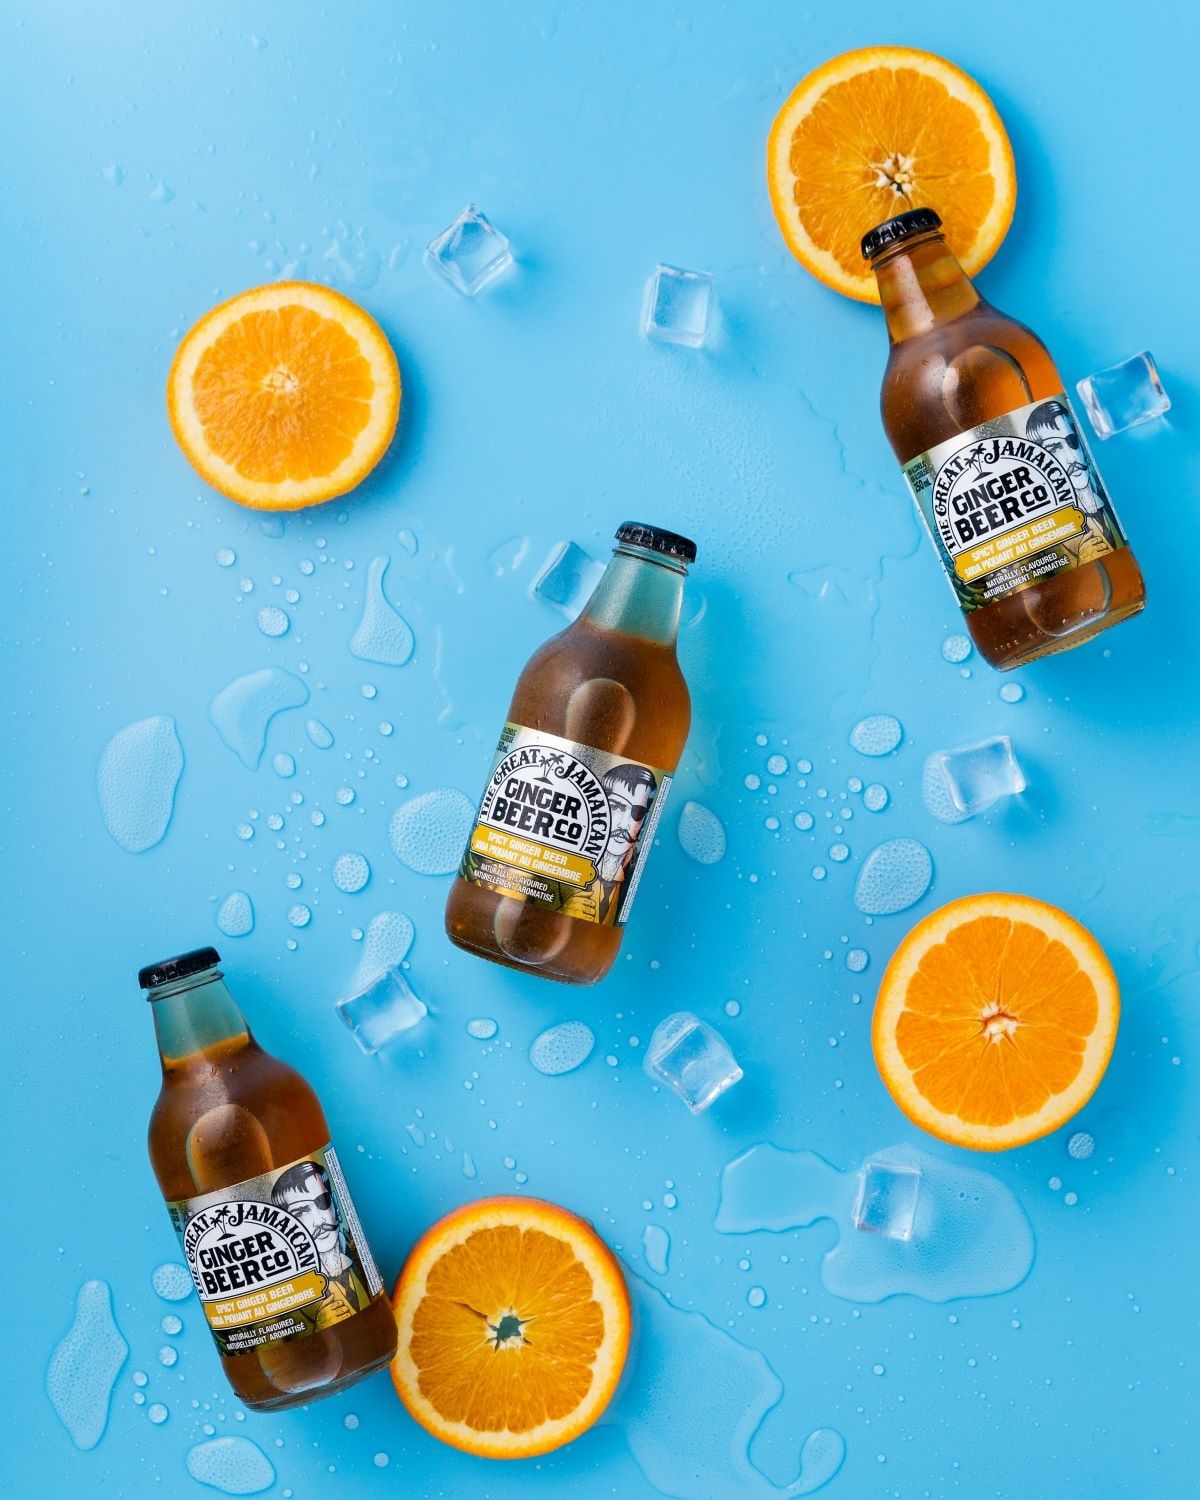
2. Group shots
Group shots are product photo shots that feature several products at one time. You typically use this type of shot if you want to feature a collection of products, a variety of sizes of the same product.
So imagine that you have a bag of protein powder that comes in four different sizes, and you want to showcase the different sizes. The best way to do this is to line them up and show them in one picture. This fits most modern webshops, as the customers can select the different sizes on one product page.
3. Packaging shots
Packaging shots are product photos where you either take a picture of the product side-by-side with its packaging or only show its packaging. The most common option is usually the former.
The reason you do this is that customers want to see the packaging. It just makes for a better overall presentation when you also show the beautiful packaging it comes in.
Essential gear for product photography
Do you want to become a product photographer? Well, then you'll have to invest a bit of money into it! We will go through the essential equipment of product photography and why they're of paramount importance.
A camera
It goes without saying that if you want to venture into any branch of photography, you're going to need a camera. If you're just starting out and don't want to invest too much, you can always use your smartphone.
Most newer models actually have a good camera, which can be great for beginners. This is sufficient if you're doing product photography for your own webshop. However, if you plan on shooting for other people, just know that the output will be much better with a great camera.
If you choose to buy a camera or already have one, you're also going to need a lens. For most types of product photographs, you want to take detailed pictures. That's why you should consider acquiring a 50mm lens and a macro lens for when you want to get really into detail.
A tripod
While you can easily do photoshoots where you're holding a camera yourself, there are plenty of advantages to shooting with a tripod. First of all, it removes the distortion and blur caused by shaky hands. When taking pictures of the product, you want your photos to be clear as possible.
Furthermore, most product photoshoots feature more than one product. If you're doing a photoshoot for a webshop with a large variety of products, consistency in quality is vital. With a tripod, you make sure that all photos are taken from the same angle. The webshop gets a much cleaner look when consumers are scrolling through.
A white background
The most commonly used background is white. That's because white is the least distracting color, and it makes sure that the consumers are purely focused on the product. Furthermore, it also makes sure that everything on the product is visible.
A great option in terms of backgrounds is to buy a white paper sweep. It is essentially a roll of paper that you can easily roll out and replace whenever needed.
If you're hired by companies, they might not have any backgrounds available, so it's always great to have one yourself. And as it is the most commonly used background, most clients will appreciate the service.
White bounce cards
No matter what style you are going for, you want to control the shadows of your products. This can be a hard achievement and requires loads of training. What you need to help control or diminish shadows is a bounce card.
A bounce card helps reflect the light, typically the flash, to make for a pleasant photograph. A white bounce card reduces the shadows cast on the product. If you look at most product photos, you'll notice that they have little to no shadows on them.
However, if you're shooting a white product, you should consider black bounce cards to create a shadow. That's because a white product on a white background can look weird, and a shadow can help give it edges.
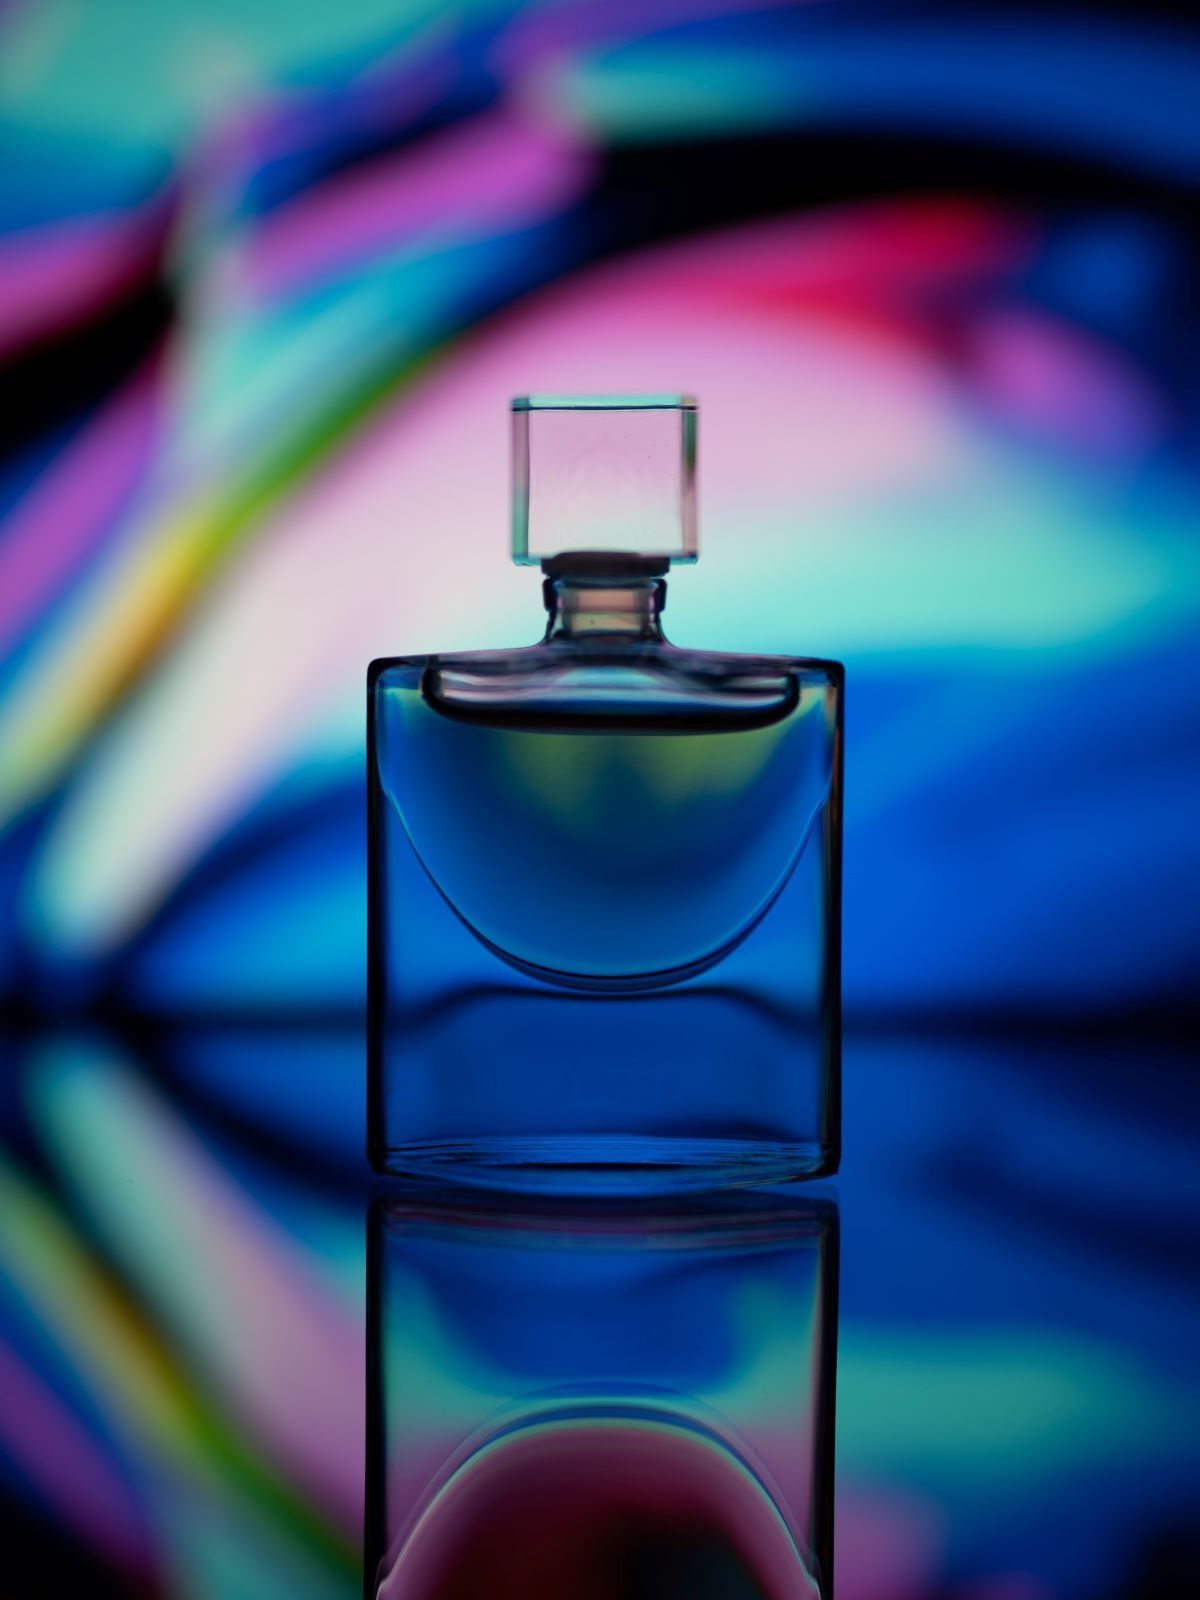
Lighting
Lighting really makes the difference between a product photo and an incredible product photo. Your key light is typically the flash on your camera.
But you want to make sure that the light isn't too strong, creating contrasting highlights on the product. If that is the case, consider turning off your flash and using other light sources to even out the lighting.
To combat shadows and dark areas of the product, you can use a fill light. The fill light is a light source that fills up the dark spaces of your shot.
7 tips to take excellent product photos
Now you've got all the equipment down, and you are probably ready to shoot. I'm not gonna stop you.
I hope you will read these 7 tips so that your product photos become incredible.
1. Set up your table
The most commonly used prop in a product photoshoot is a table. It makes for a much easier shoot if you're setting up your products on a table. This obviously depends on the size of the product. You can't do it in a car.
When you have your table ready, make sure it's angled with your lighting. Then you can put up your background, use some tape to mark where the products should sit, and set up your bounce cards. It's simple as that!
2. Adjust your camera settings
Ensure that your camera and camera settings are set up correctly.
- ISO: 100 (or the lowest)
- White Balance: Off
- Flash: On/Off (depending on light sources)
- Format: RAW (or the highest JPG resolution)
- F-stop: The highest possible number you have.
3. Shoot from multiple angles
When you're taking product photos, you want to be taking shots from multiple angles. The reason is to give the consumer as good an option as possible to inspect the item online. Remember that a significant disadvantage of online shopping is that you can't physically pick up the product.
That's why you should take pictures from different angles like Bird's eye and High-angle shots. Make sure that you give the consumers lots of options to choose between. If it is a piece of clothing, you want to make sure that you show off all of the features.
4. Fill or bounce your light to soften shadows
As mentioned earlier, using fill or bounce lighting is vital for a great product photo. Most of the time, you want to reduce or soften the shadows on your product photos.
The best way to do this is to use bounce cards or fill light on the more dark areas. You can figure out the dark spots by taking a test photo of the product.
5. Understand the rule of thirds
Understanding the rule of thirds is a great way to make sure that the composition of your photos is always superb. It's essentially the idea of breaking an image into a 9 squared grid. You can use this to find the golden spot for the subject in the frame.
You can learn more about the rule of thirds here.
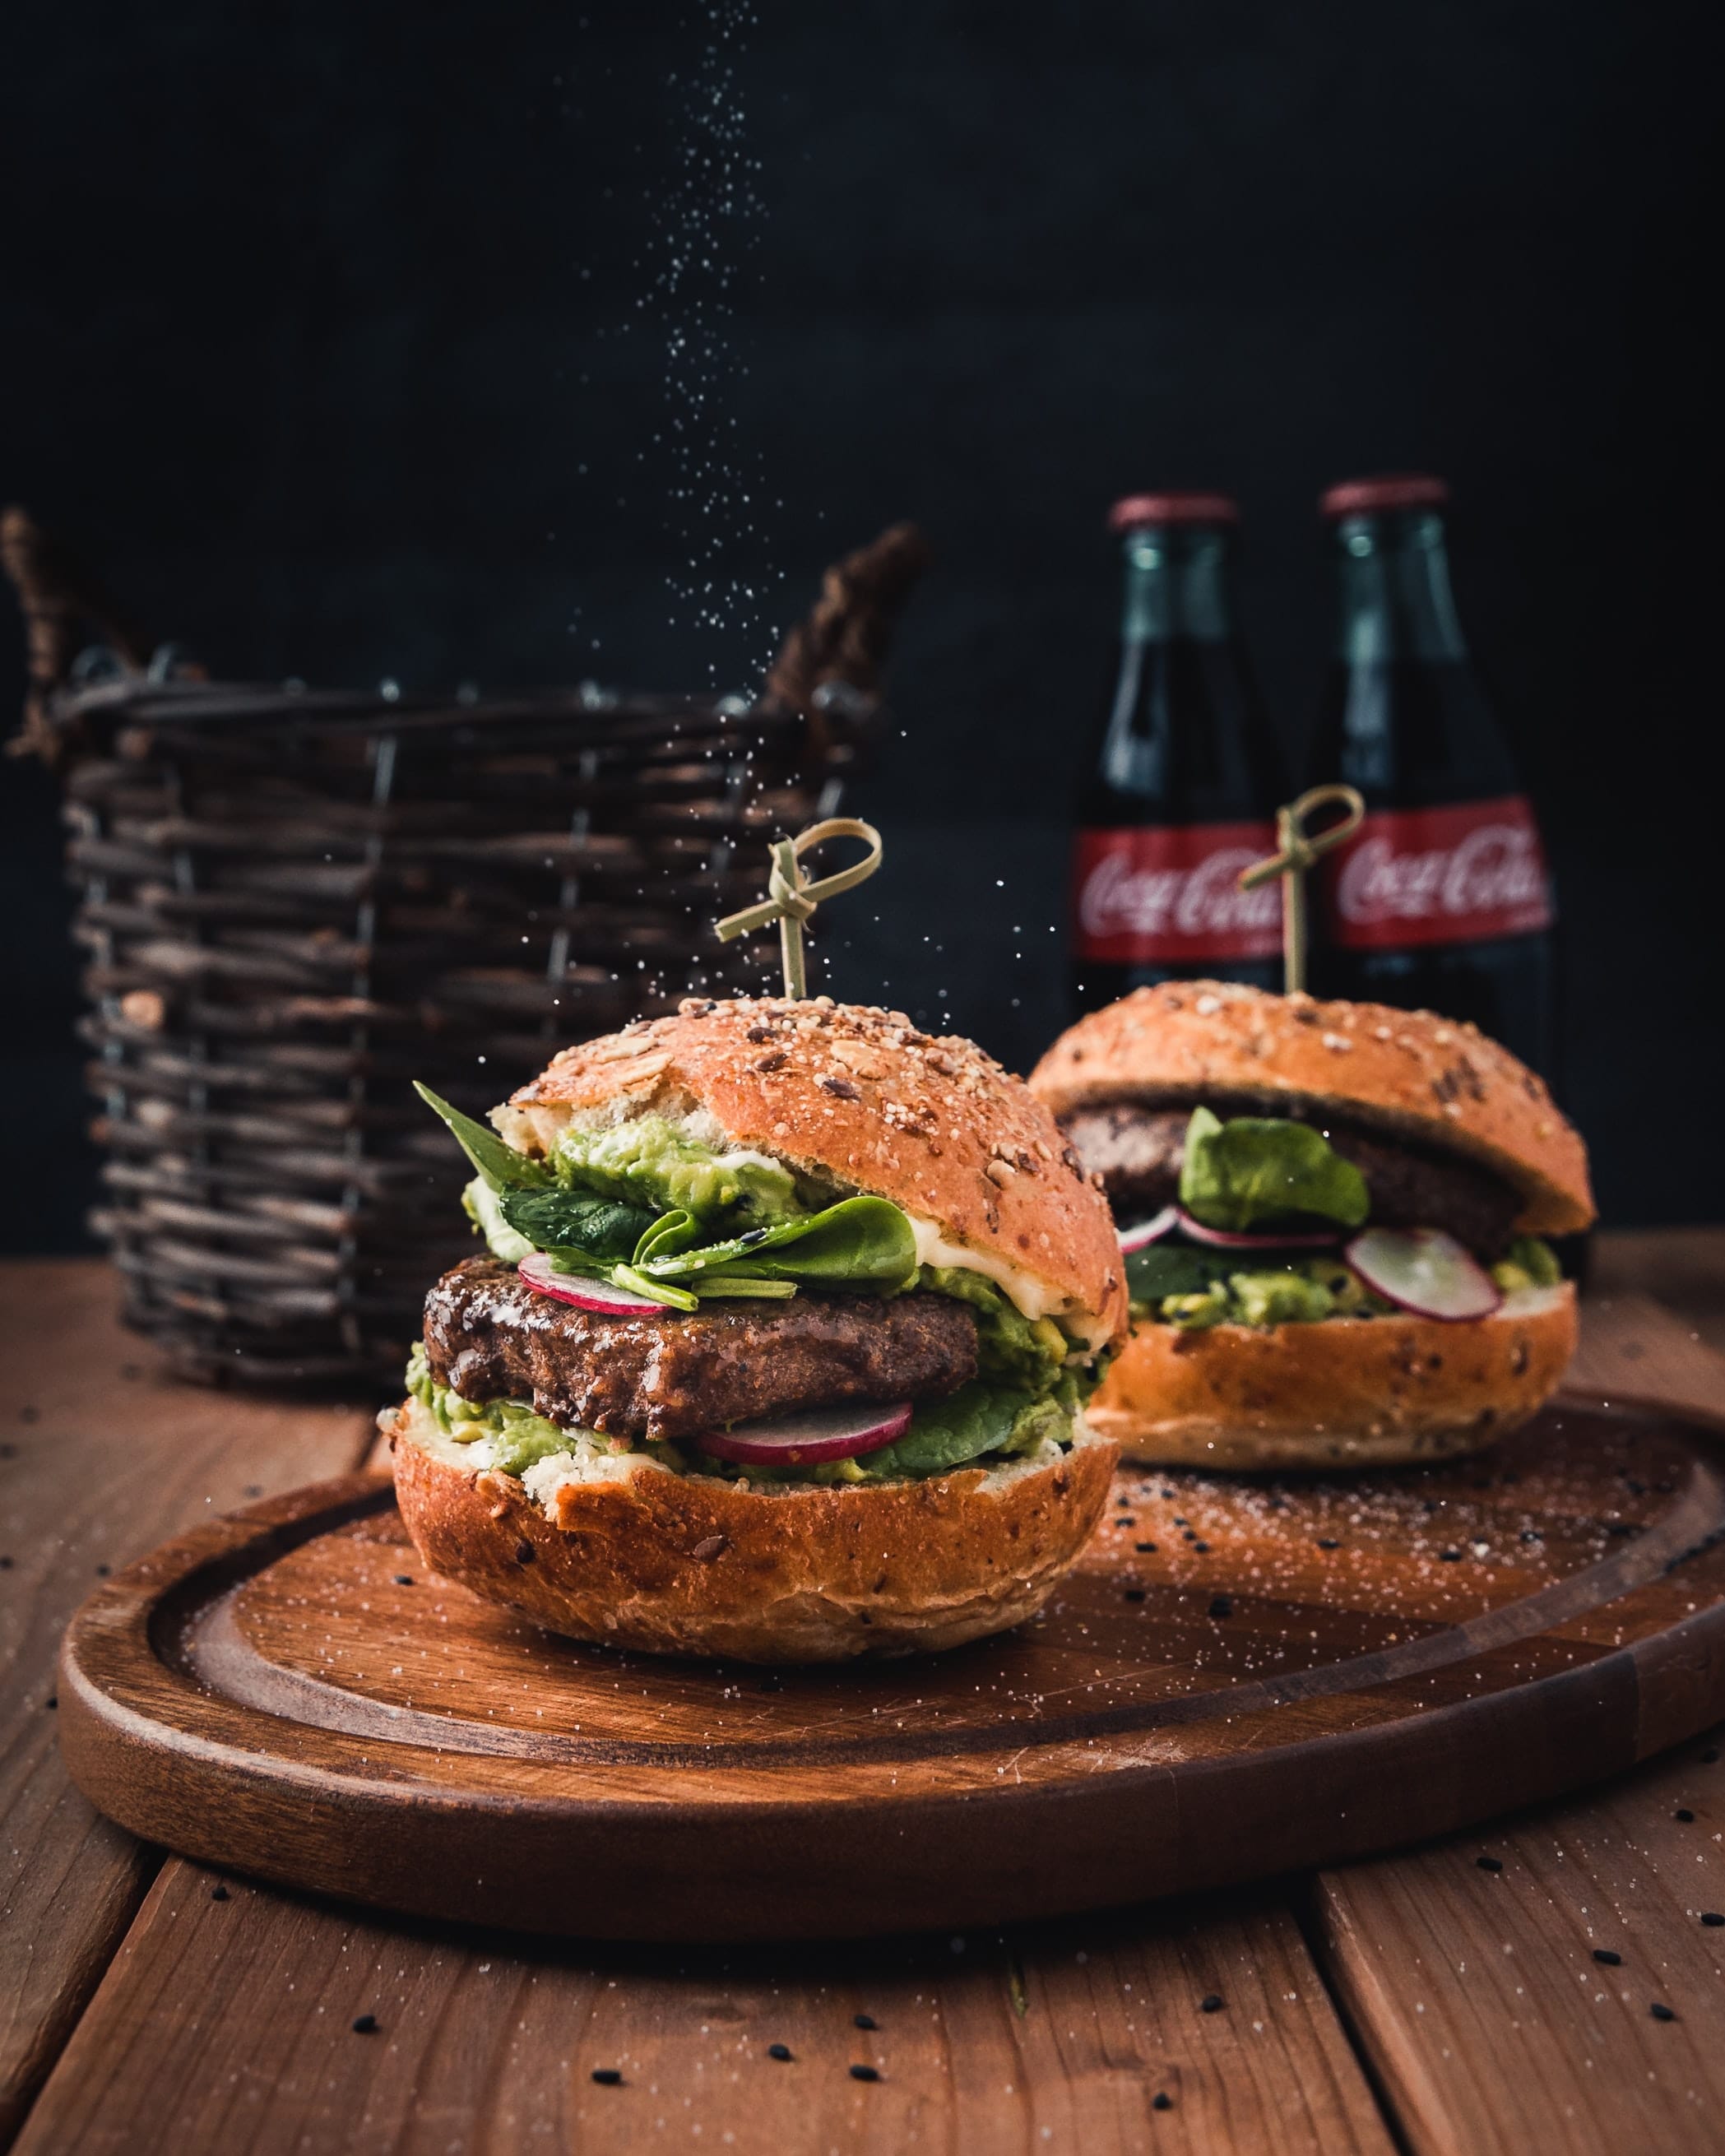
6. Style your product with simple props
If you want to make the product photos look unique, consider using some props in the mix. It can be anything from plants, food, or different objects.
You can use these props to create a theme, an association, or just for a color scheme. A simple example could be hotdog buns. Have you ever seen a product photo of that without a hotdog in it?
7. Edit your pictures
There's no shame in editing your images. Of course, it would be less time-consuming if everything went right in the photoshoot, but when does everything go right?
When your photoshoot is done, you should head into lightroom or photoshop or whatever preferred image editing software. Here you can work with the colors, saturation, or whatever is wrong with the picture.
Become a better photographer
I hope you learned a bit about product photography, and that you’re ready to take on any product photography-related challenge!
If you want to become a better photographer, consider reading our article on photography.
How much to charge for product photography?
You should charge between $15 and $50 per photo. You can make it easier by charging around $200 per product.
How to do product photography?
You will need lighting, bounce cards, a camera, a lens, a white background, and a tripod. Then you set up your product on a table and make sure that the products have as little of a shadow as possible. To do this, you must configure your lighting.
What are the three types of product photography?
Individual shots, Group shots, and Packaging shots.
How do I become a product photographer?
Offer your work to different webshops. Practice your craft on products in your home. Build a portfolio.