5 Steps to Light a Green Screen & 4 Hacks to Make It Look Pro
Hire film gear from local filmmakers.
Hire film gear from local filmmakers.


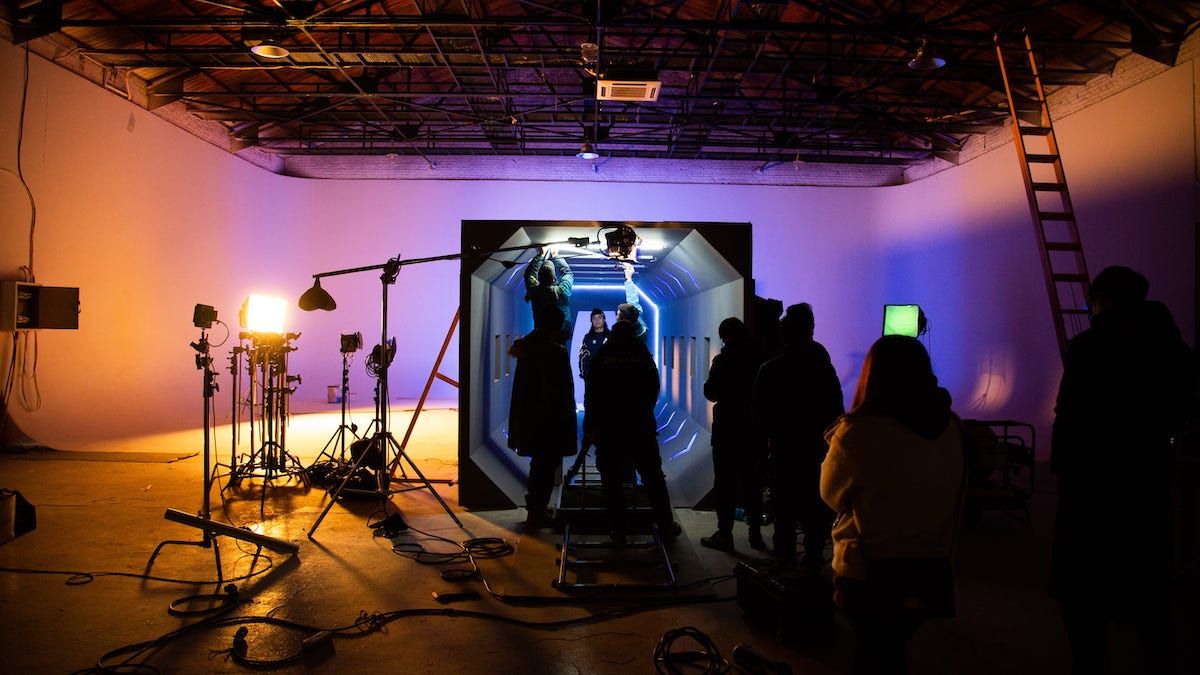
If you're a filmmaker, chances are there was a point in your life where you had to work with the green screen. And let's agree: lighting a green screen might be the trickiest thing.
How to find balanced lighting for your talent and your screen?
How to position the lights?
Find answers in this article - read on to learn a step-by-step green screen lighting technique!
New to the filmmaking world? Don't worry; there is always a place to start - like this ultimate guide on film production.
How to light a green screen in 5 steps
1. Set up the green screen equipment
First things first: the green screen!
If your green screen is made of paper or fabric, smooth out the material. It needs to be pulled as tight as possible to ensure no wrinkles.
Anything like lines or little wrinkles will cast shadows and make it harder to key out later in the post-production.
Also, keep it clean: dirty marks will give you a headache when editing.
The rule of thumb with the green screen - avoid reflective materials in the shot. Jewelry, glasses, and similar things will complicate the shooting process. Create a list of necessary props and those you shouldn't use, and adjust everything as needed.
Prepare the lights - it can be a cheap $10 green screen lighting kit or more pro-level. FIlmmaking experts recommend Kino Flo fluorescent lights and Diva 400s for decent results.
Explore film lighting equipment in depth here if in doubt!
2. Get the same lights
The most essential point you should never neglect is using the exact same lights.
Why?
Because when you're using different lights, you can face exposure or temperature issues since other lights will give different light temperatures, which will be pretty detectable on the footage.
Any creative lighting decisions are up to you, but keep the type of lights consistent.
3. Light the subject first
Be sure to light the talent first and only then figure out how you will light the green screen.
This way, you will avoid making the scene too bright and overexposing the skin.
This rule is especially relevant if you're working with digital equipment, which is very reflective by nature.
Place your talent about eight feet away from the green screen. Use the three-point lighting technique to light them - here, we quickly break down the three lights you're going to need:
1. Key light
The key light is the primary light source for the subject.
When placing it, think of where the light will be coming from in the final scene and put the key light accordingly - make sure it is a few feet higher than your talent.
2. Fill light
The fill light is a weaker light used to eliminate shadows cast by the key light. It also creates ambiance in the scene.
Place the fill light on the other side of the key light and adjust it until there are no shadows on your talents.
3. Backlight
Backlight helps separate the talent from the background and creates a soft halo effect in the talent's hair.
Place your backlight behind and to the side of the talent to give them a three-dimensional look.
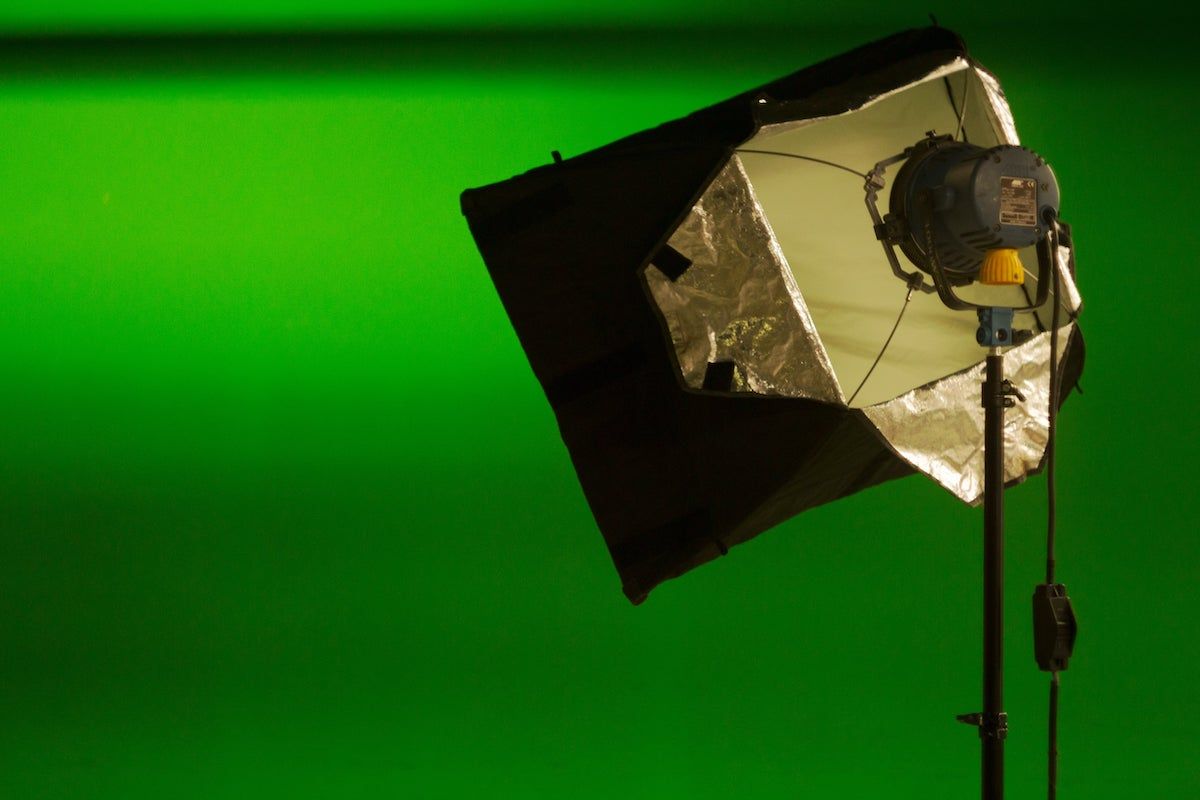
4. Light the green screen
Once you have placed the lights around your talent, it's time to position the lights for the green screen.
It's a good idea to keep the two green screen lights on either side of the green screen, the same distance away from each other, so that the lights intersect precisely at the subject.
This way camera won't capture any shadows behind the subject, and you will get a solid green screen - the best lighting for the chroma key.
5. Examine your camera monitor for correct exposure
Now that the lighting is set examine your camera monitor to check the exposure.
You need a little less brightness than usual, so you don't capture colors outside the green screen. Try using a waveform monitor - it's more accurate than just looking at the camera monitor.
If you don't have this monitor type, simply download an app like Cine Meter or Green Screener - these apps can check how evenly your lights are placed and how properly exposed the scene is.
Placing green screen lights
When placing the green screen lights, keep several tips in mind.
First, place the lights a few feet away from the screen and level them at 45 degrees. Be sure not to put a light directly in front of the screen, as this will generate a hotspot with more light concentration.
Always take a step back and check how the lights are filling in and if there are any shadows. Your key goal is to get a consistent green color.
If your green screen is enormous and the lights on the sides can't light it all evenly, get two additional lights and place them at the bottom of the screen, pointing up.
Start with the basic lighting setup and only adjust and add anything else - too many lights will increase the amount reflected back on your talent. This will complicate the separation of the subject from the screen later.
Explore all the hidden tricks and lighting techniques in film here.
4 quick tips for lighting a green screen
1. Begin with a smaller green screen
Begin with a smaller green screen for a simple reason - try placing the lighting setup correctly.
When you've mastered that, move on to bigger screens.
Another trick: sometimes you won't need a huge green screen!
This is true if you're filming a close-up on a single person, for example. A smaller screen will save your budget and cause fewer headaches with the lighting.
Remember, the bigger the screen, the more lights you need and the chances of them being reflected.
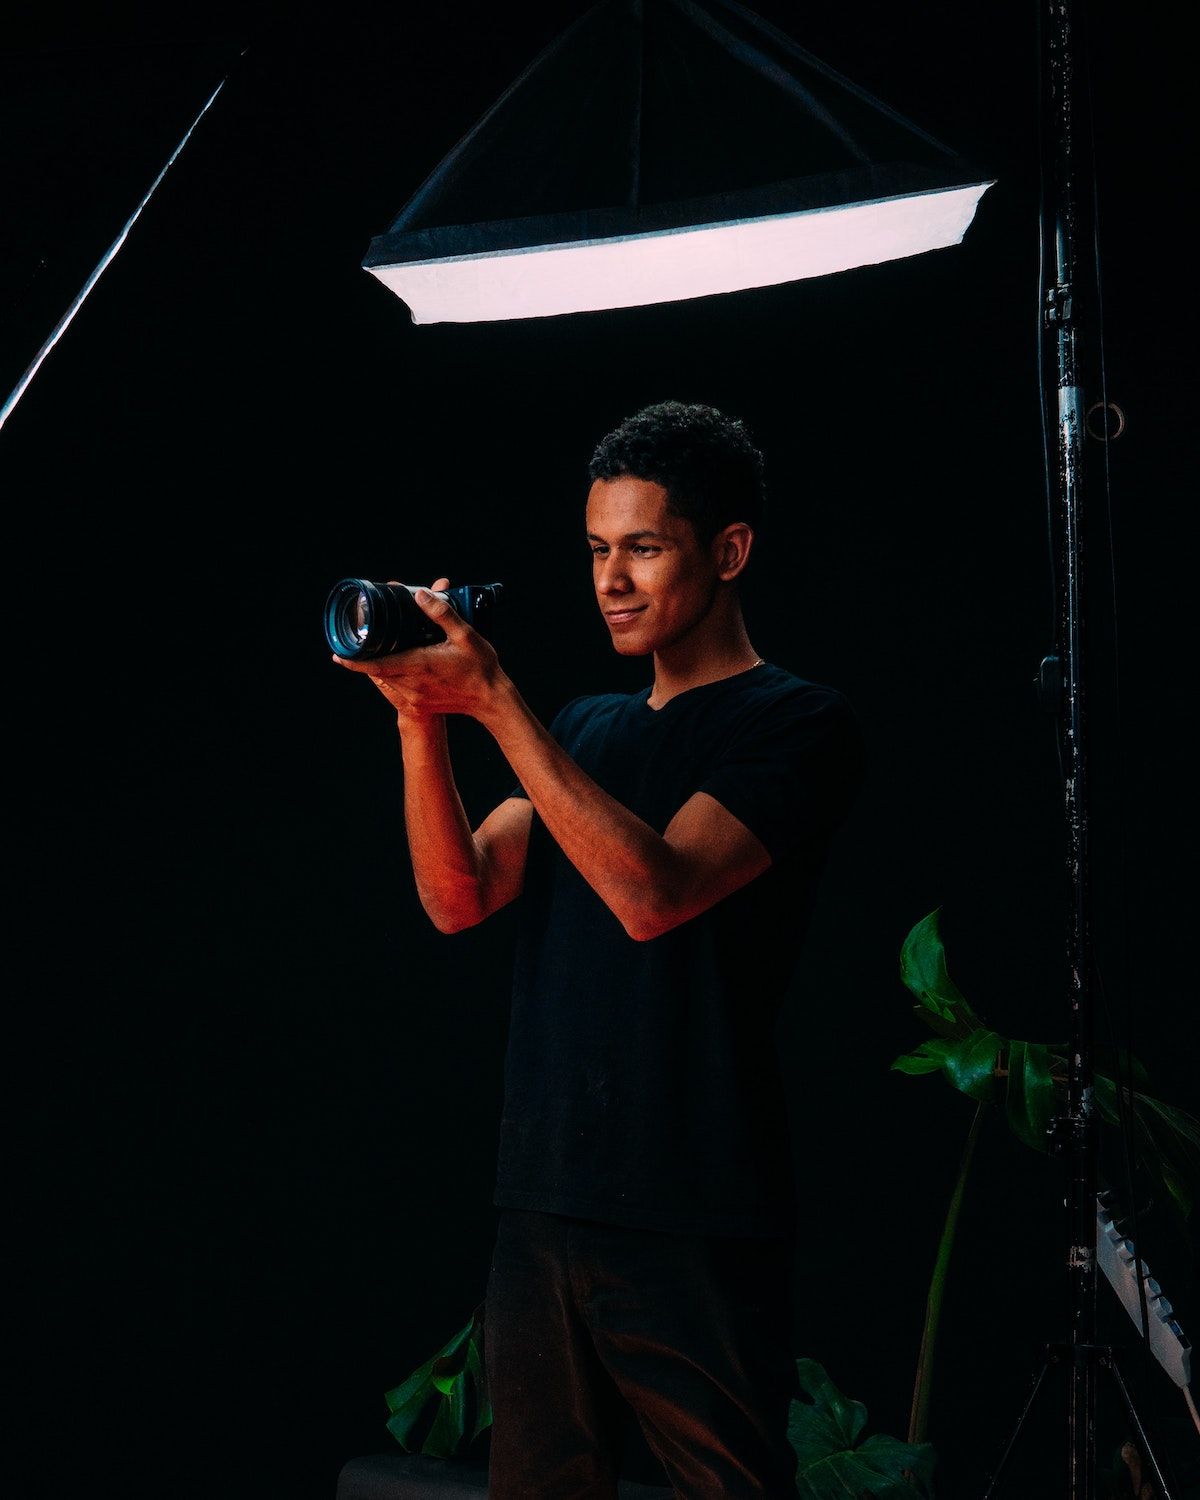
2. Understand the fundamental camera settings
Knowing how to position the lights doesn't lift the necessity of knowing your camera settings.
You're a filmmaker, after all!
Know the exposure triangle inside out and get the hang of all other crucial camera settings like focus and white balance - learn more about it in this guide.
3. Use post to your advantage
Lighting your screen and talent adequately before filming will save you tons of post-production time.
However, we are all humans, and mistakes happen.
You may not notice a shadow on the screen until the editing day or a slightly overexposed talent's face.
Even though fixing your green screen in post is difficult and time-consuming, it's still doable. Programs like Premiere Pro will help you out with correcting anything you need.
4. Light your subject before your green screen
We can't emphasize the importance of this trick: first talent, then screen.
The lighting setups for the two are different, and the one for the talent is a bit more complex - apart from the basic setup, you might need to add more fill lights and so on.
Additionally, the subject is more important than the screen (if we can say so here, for the sake of highlighting the importance) - you will edit the screen out later, and if your talent is poorly lit up, there is no way to change that.
Learn how to use a green screen for videos
Hope you're ready to go on set and start positioning the lights for the green screen!
Next step - learn how to use the green screen for videomaking. Explore this definitive guide and master the art!
How to light a green screen?
Set up your green screen equipment, get the same lights, light your talent first and only then the screen, and examine your camera monitor for correct exposure.
How to light a green screen with two lights?
Place the lights a few feet away from the screen and level them at 45 degrees. keep the two green screen lights on either side of the green screen, the same distance away from each other, so that the lights intersect exactly at the subject.
What color light is best for a green screen?
Filmmaking experts recommend using 3200K temperature lights to get a balanced image that is neither too blue or too orange.
How do I light a green screen for streaming?
The same way as for video making - light the subject, light the screen, shoot!