Three-Point Lighting: How to Use Key, Fill & Backlight in Film
Hire film gear from local filmmakers.
Hire film gear from local filmmakers.


Light is crucial in filmmaking as it can be the difference between mediocre footage and a Netflix documentary. If you are a beginner, we understand that the first impression you get from a professional studio may resemble a surgery room from Greys Anatomy – intimidating. However, handling lights doesn't need to be puzzling, and a good way to start is by using a standard light setup called "three-point lighting".
What is three-point lighting?
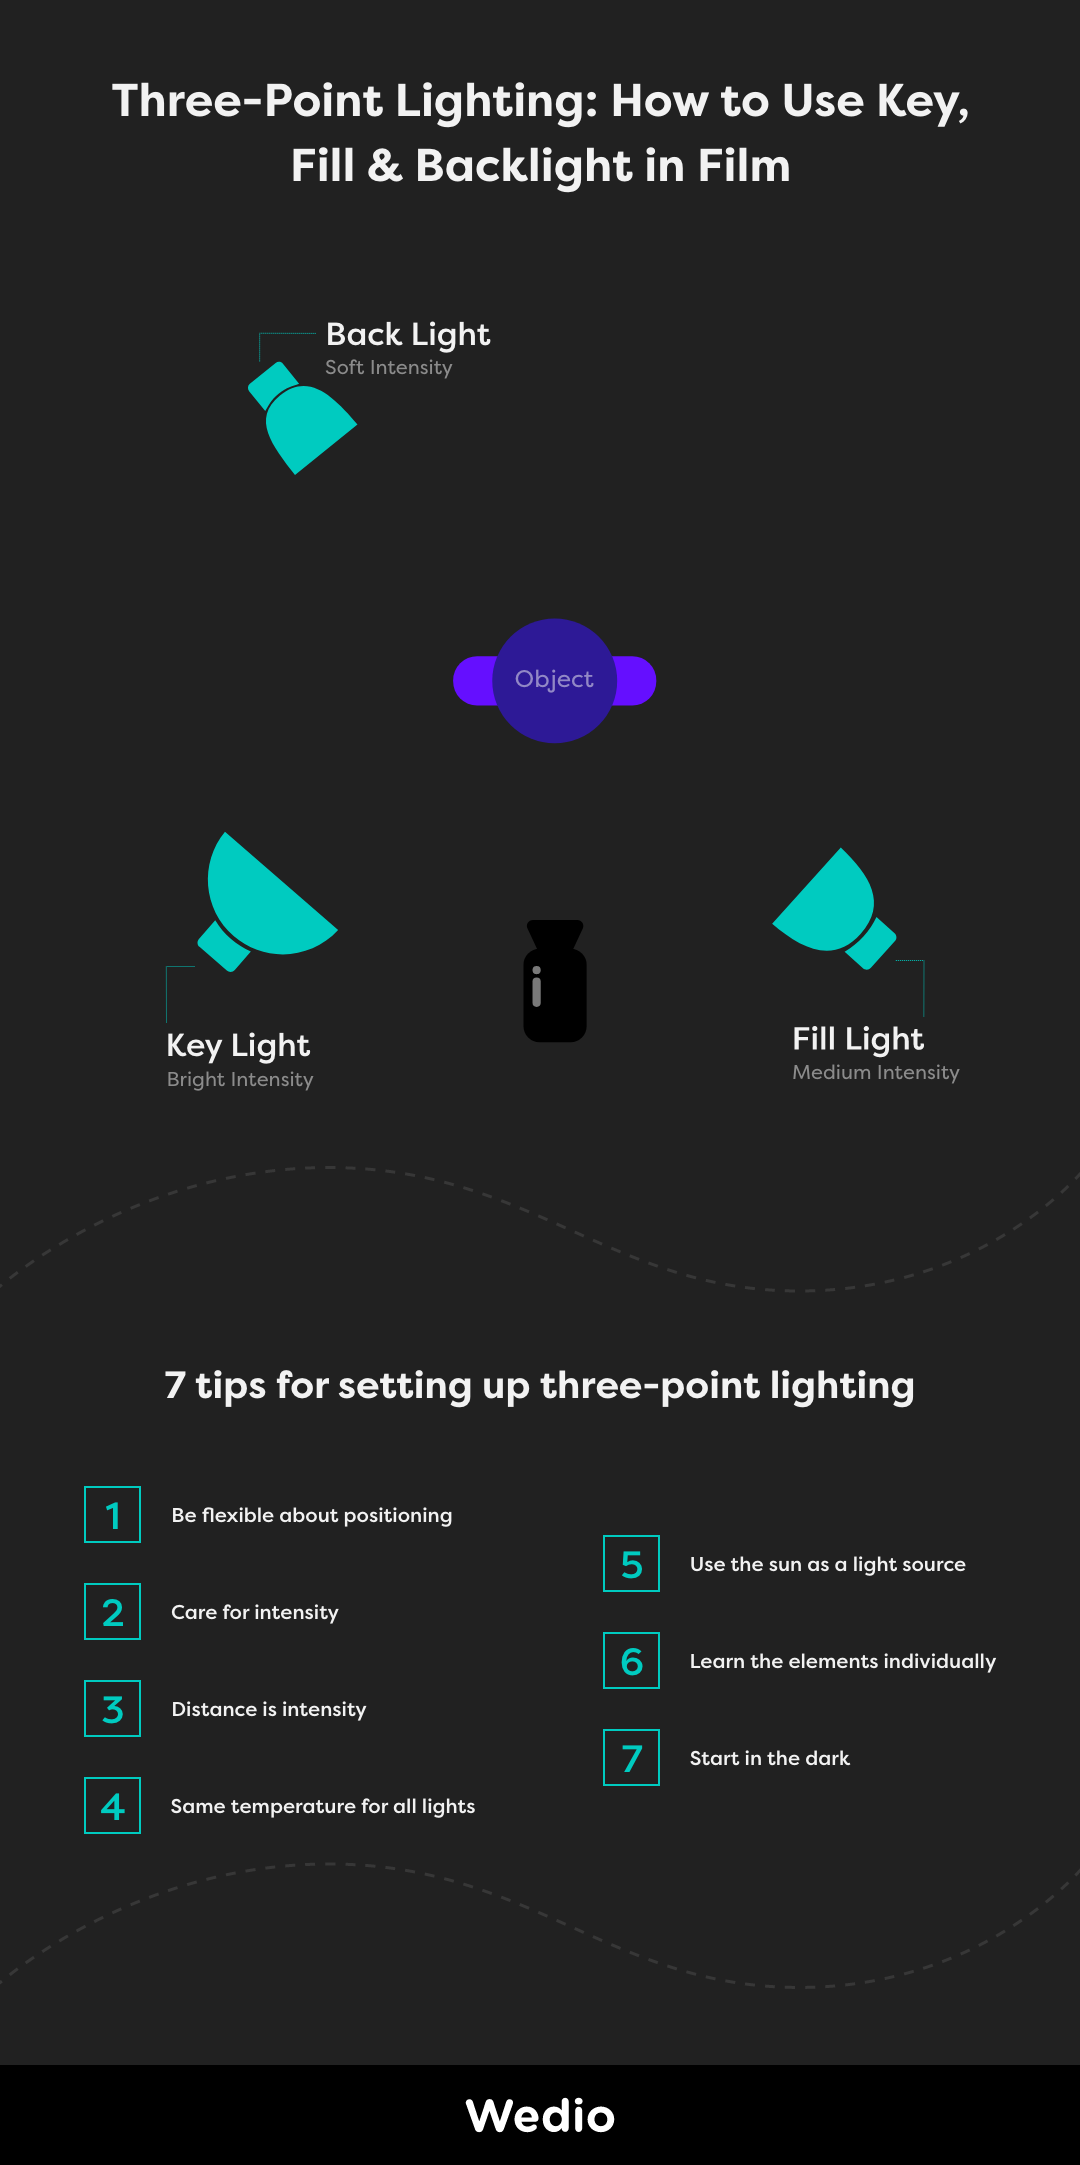
The three-point lighting is the go-to lighting setup for many filmmakers and photographers. It is very appreciated because of how simple it is to put together and manipulate. This technique uses three light sources: the key light, the fill light and the backlight. These will illuminate the different facets of your subject, bringing dimension and depth to your shots, instantly making them look more professional.
Key light
The first one you place is the key light. It is the chief source of light and the brightest and will be responsible for exposing our subject. Typically, you position it in front of your object, angled between 15 and 45 degrees from the camera.
Fill light
Once your subject is exposed, you will notice shadows on the opposite side where you placed the key light. To make the subject's right and left sides balanced, you will want to smooth those shadows by using a fill light. In this sense, its position is similar to the key light, but on the contrary side.
Still, the point isn't to cancel the contract, so the fill light should be less intense than the key light (about 25%-50% less).
Backlight
Your three-point lighting setup is nearly ready with only one more light to go: the backlight. As the name suggests, this light goes on the back of your subject to separate it from the background. Usually, it's positioned slightly above its head at an angle, on the same side as the key light. The backlight will create a beautiful halo effect around your subject's edges, bringing depth and a cinematographic look.
This light is supposed to be soft and tender, so you may want to diffuse it.

When to use three-point lighting
The three-point lighting setup is very adaptable and will elevate the quality of your work in many situations. Regardless, this technique is perfect for creating a studio type lighting effect, and it works best when there is only one subject (as in interviews, for example).
How to get creative with three-point lighting
Although this method is called three-point lighting, it's possible to put this setup together with less than three lights. In reality, you only need one, which you will use as a key light. Nevertheless, we recommend having at least two, using the second one as a backlight. Having at least two lights, in your setup, with only the fill light missing, means you can easily replace it with a reflector that will bounce the light from the key light onto your subject.
7 tips for setting up three-point lighting
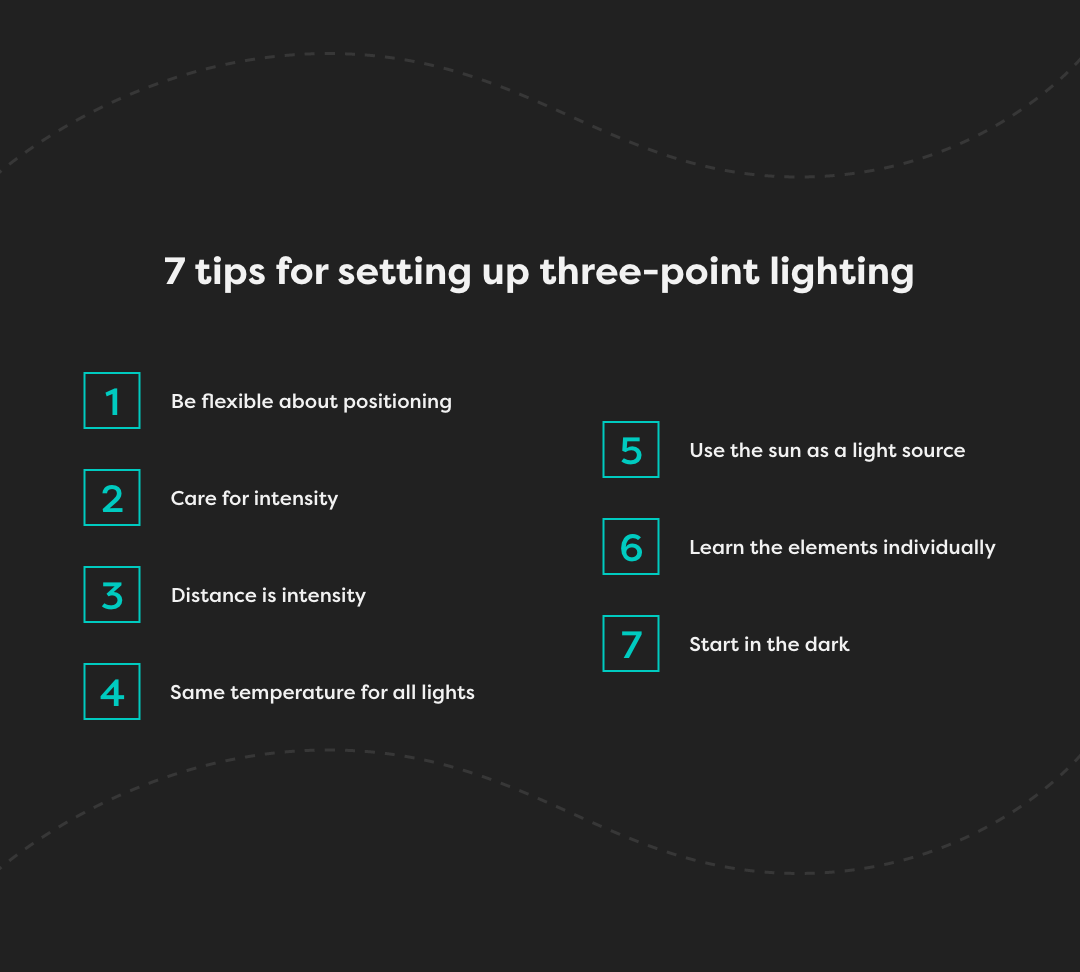
1. Be flexible about positioning
Although it is good to follow the references on placing your lights, don't be too strict about it. The results you are looking for will come from playing around, so don't be afraid to move them a little bit to the left or an inch to the right (it's not like you are building a roller coaster).
2. Care for intensity
As mentioned, your setup is not supposed to look like a shining football stadium blinding your subject. All three lights have different purposes and accentuate distinct facets intentionally, so it's useless to have homogeneous brightness.
3. Distance is intensity
You can manage intensity without a softbox or other fancy equipment. All it takes is distancing the lights accordingly: the further from your subject, the softest (and vice versa). Obviously, having the proper equipment to help you with perfecting your film lighting won't hurt.
4. Same temperature for all lights
Choosing between cooler or warmer lights depends on your personal preference and on the outcome you have planned. However, since the point of this technique is to get a natural and balanced effect, you must set all your light sources to the same temperature.
5. Use the sun as a light source
Despite this being a popular indoor setup, creating the same results in an outdoor situation is possible.
First of all, make sure the sun is not too... sunny. It won't produce smooth results if the daylight is intense, so get out there when the sun has lowered (golden hours are always a good choice). Then, place your subject with their back to the sun (it will be your backlight). For the key light, use a reflector so that the sunshine hits your subject's face. You won't have to worry about the fill light because the sun naturally bounces back from the surfaces around you.
6. Learn the elements individually
Even though the three-point lighting is composed of three components, it's helpful to understand each one individually. When setting up your lights, pay attention to the effect each creates and how each behaves when you make changes. Such will make you increasingly more familiar with lighting techniques in general, improving yourself as a filmmaker.
7. Start in the dark
It might seem contra-productive; you want to light the scene, not darken it?
The thing is when preparing for any film, video or photo shoot; you'd want to start with the lights turned off. This will give you a pretty good idea of how the scene looks without light and where you should focus your light.
Master your film light techniques
When getting into filmmaking, the three-point lighting is a good start. But there are so many ways you can play with light to create that cinematic look, that omph* to your film.
Get to know all the other film lighting techniques you can use to elevate your footage.
Three-point lighting FAQ
What is three-point lighting?
A popular lighting setup that uses three lights; key light, fill light and backlight.
Why should I use three-point lighting?
It is easy to set up and adjust, and it elevates the quality of your work.
When should I use a three-point lighting setup?
To create a studio-like professional-looking lighting effect, ideally when shooting one subject.
How to do 3 point lighting?
Illuminate your subject from 3 different angles with different intensities:
Key light (bright and placed forward, either tilted to the left or the right).
Fill light (medium intensity and placed forward, on the opposite side to the key light).
Backlight (soft intensity and placed on the back, at an angle).