How to Edit Videos on iPhone – Ultimate Step-by-Step Guide
Hire film gear from local filmmakers.

Hire film gear from local filmmakers.
So you want to learn how to edit your videos from the comfort of your iPhone?
Well, you’ve come to the right place to learn!
Read on to discover our step-by-step guide on how to edit and adjust your videos right from the phone in your pocket.

How to edit a video on iPhone
Here is an easy step-by-step guide on how to edit videos on your iPhone:
- Enter the Photos App and tap on the video you wish to edit.
- Tap ‘Edit’ in the top right-hand corner.
- From here, you have a few options to edit your video. You can trim the video, rotate or crop it, add a filter, or adjust your video’s aesthetics by tapping the icon of a big circle with little ones around it.
- When you are satisfied with how your new video looks, press ‘Done’ in the bottom corner to save your changes. You can override it to the same video or a new one.
How to trim a video on an iPhone
- Open the photos app on your iPhone and tap the video you wish to edit.
- Tap ‘Edit’ in the top right-hand corner.
- Move the sliders on both ends of the video timeline to alter the stop and start times. You can press the play button to preview your trimmed video.
- Tap ‘Done’. You can save the video over the old one or save it as a new clip.
How to add a filter and rotate your videos on an iPhone
Once you have recorded your video, open the Photos app and tap ‘Edit’ in the top right-hand corner. When in the Photos app, you can rotate, add a filter, and adjust the look of the video.
If you don’t like the new look of your video, tap ‘Cancel’ to revert the changes.
To rotate: Tap the icon in the lower right-hand corner that looks like a crop feature. Here you can rotate and crop your video.
To add a filter: Tap the icon of three circles intersecting at the lower bar. You can select a filter from Apple’s catalog here.
You can play with the aesthetics of your video by tapping the next icon along, where you can find features like exposure, contrast, and saturation.

How to slow-mo a video on iPhone
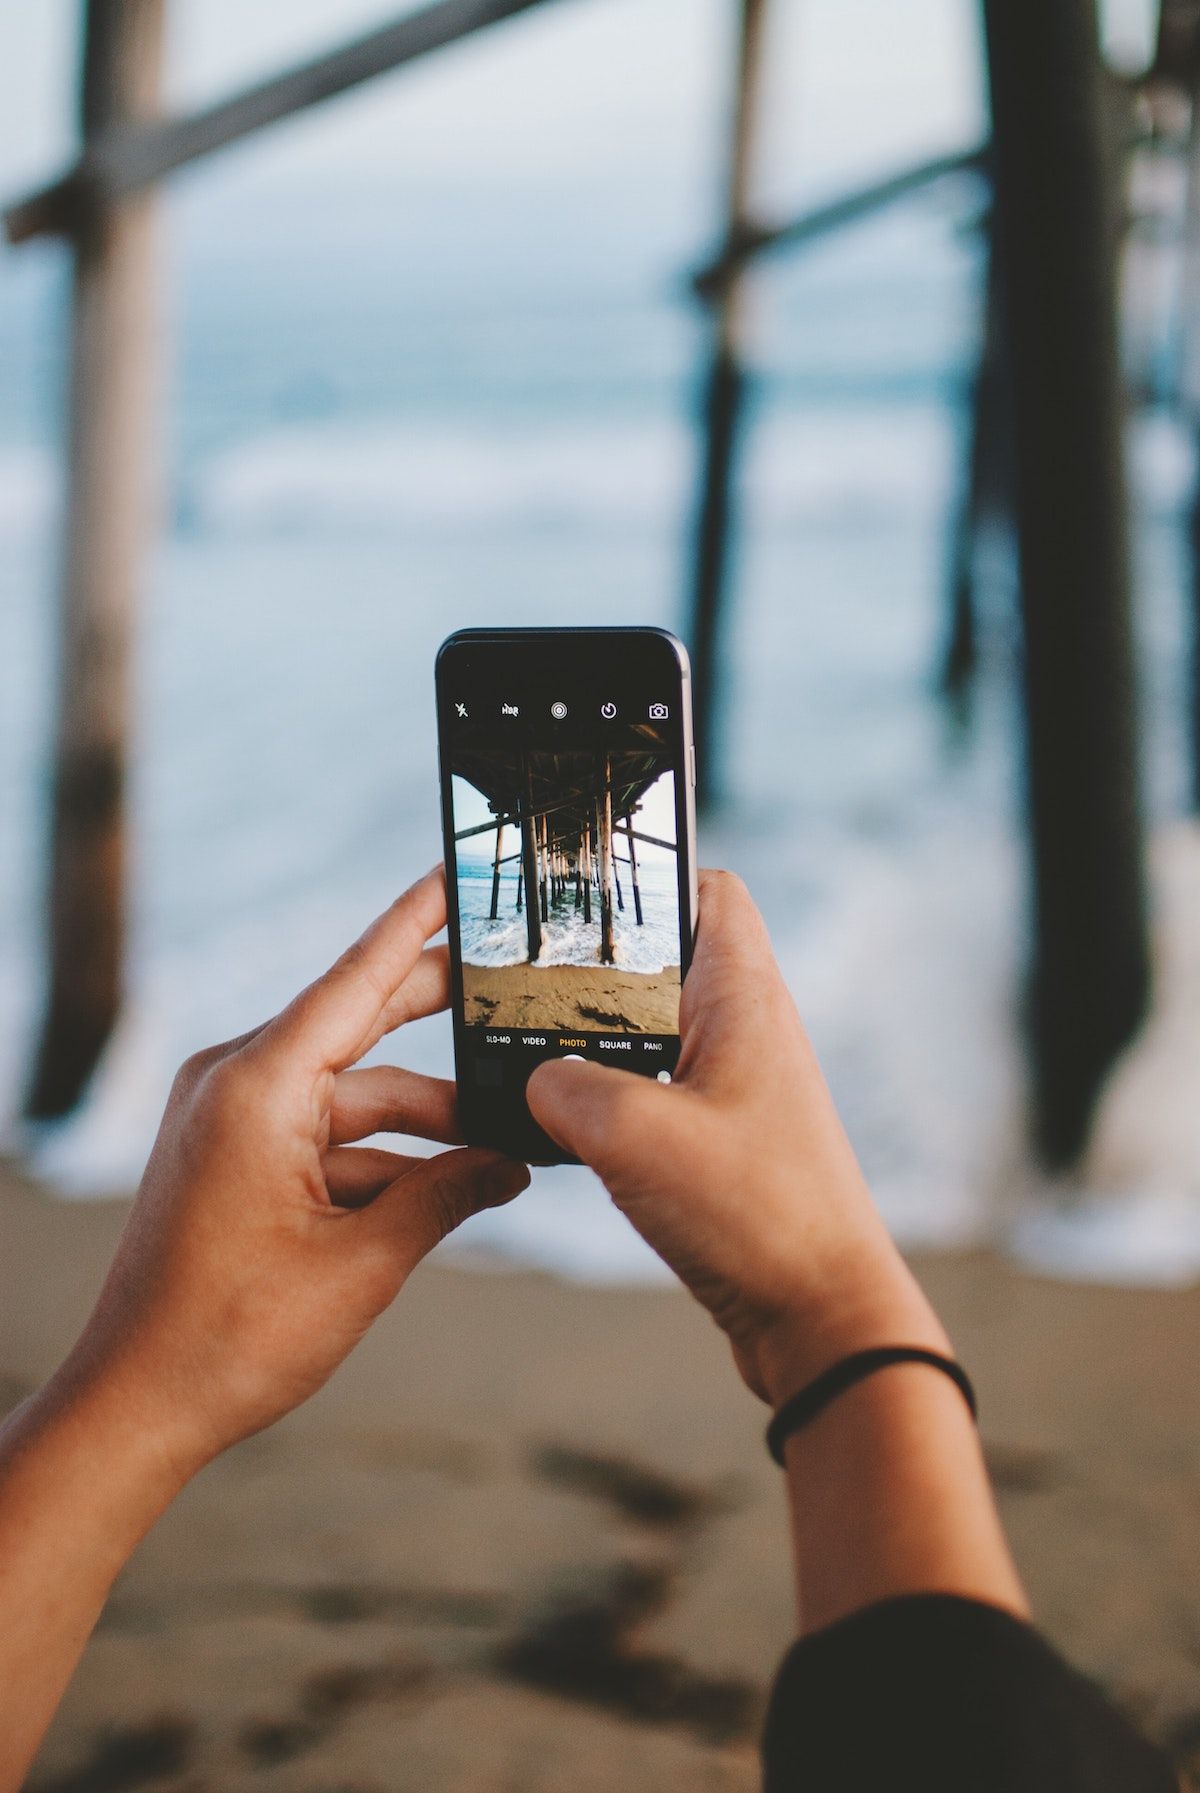
You can make a slo-mo video on your iPhone by going to the camera app and scrolling along the bottom bar until you have reached the ‘slo-mo’ option.
After you record your video using this function, you can edit which part of your video plays in slo-mo. This means that some sections can play at regular speed, but you can slow down others you don’t want to miss.
- When you are on the slo-mo video you want to edit, tap ‘Edit’.
- Use the vertical white lines on the video timeline to adjust when the slo-mo starts and ends.
How to adjust video exposure and contrast
You can also edit various aesthetic parameters using your iPhone. Here you can adjust exposure, contrast, highlights, shadows, brightness, black point, and more.
Here’s how:
- Select the video you want to edit. Tap ‘Edit’ in the top right-hand corner.
- Tap the adjustments icon. It is a large circle surrounded by some smaller circles.
- Scroll through the various functions, and move the slider to adjust each one to your liking.
- When you’re happy with your video, press ‘Done’.
The 5 best third-party app for editing video on iPhone
If you’re not fulfilled with what your iPhone can offer you, there are many third-party apps you can download to edit your videos further.
Here are our top 5 recommendations:
1. Premiere rush
Key features:
- Allows you to shoot video in the app and get editing right away.
- Adobe classic editing features for video.
- Customize animated titles.
- Thousands of royalty-free sounds to choose from.
- Multitrack timeline.
- Easy to share, whatever the platform.
2. LumaFusion
Key features:
- You get six tracks for audio and video.
- You also get six more for other audio, including music, voiceovers, or sound effects.
- Markers
- Ability to link or unlink clips.
- A wide range of frame rates.
- Custom aspect ratios.
- Able to copy and paste different attributes.
- Effect layering.
- Audio filters and equalization.
- Keyframes for audio levels and panning.
3. iMovie
Key features:
- 14 trailer templates to make your own Hollywood-style trailers.
- Ability to connect trackpads, keyboards, or a mouse.
- Add sound effects or soundtracks from a large library.
- Easily transferable and sharable between Apple products.
4. Filmmaker Pro
Key features:
- Create unlimited projects.
- Composition fade in/ out options.
- Able to change background colors, aspect ratios, and export frame rates.
- 4k video support
5. Quik
Key features:
- Able to keep all your videos in one spot.
- You can share your videos from anywhere.
- Automatic highlight videos.
- Powerful editing tools: speed, frame grab, filters, etc.
- Share to your socials with ease.

Learn the ways of iPhone filmmaking
Now that you know how to edit videos on your iPhone, it’s time to get behind the camera!
Check out our page on iPhone filmmaking for the basics, or head over to our page on filmmaking for more.
How to edit videos on iPhone?
Edit videos on your iPhone by going into the Photos app and tapping the video you want to edit. Tap ‘Edit’ in the right-hand corner to get started.
How to edit videos on iPhone for YouTube?
You can edit videos for Youtube on your iPhone. Through the photos app, you can trim, rotate, crop, adjust the aesthetics, and add a filter to your video.
What is the best app for editing videos on iPhone?
Lumafusion is one of the best apps for editing videos on your phone. It costs $30, compared to some of the editing software you can buy for your computer, it’s a bargain.
Does iPhone have a video editor?
You can edit videos on your iPhone through the Photos app. If you need more options, there are plenty of third-party apps to choose from, such as Premiere Rish, LumaFusion, iMovie, Quik, and Filmmaker Pro.


