Film Lighting Explained: Understanding Cinematography Lighting
Hire film gear from local filmmakers.

Hire film gear from local filmmakers.
Go in-depth with:
Proper cinematography lighting is fundamental to all filmmaking projects – it sets the mood, atmosphere and gives the audience a sense of meaning. Think about it this way; no good film lighting? No perfect picture!
Cinema Lighting 101: Everything You Need to Know by Max Paterson @ Valley Films
Ever heard lighting is the most crucial in every aspect of filmmaking? Chances are if you’re a filmmaker, you have! Learn the cinema lighting with Max💡
Trailer
OPgF5ADW2ts
Intro
1
c1vqQdlRZ6Y
Theory of light
41
Face types
298
Light modifiers
393
Light tools
574
High key light
915
Low key light
996
Back light
1087
Practicals
1203
Lighting techniques
1366
3 point light
1630
Location scouting
2112
Light setups
2281
Ending
3210
Meet Max
F6-KsK84nxc
What you’ll learn
Learn cinematic lighting even before you learn how to operate your camera.
Low key lighting is creating a much higher contrast.
All about fixtures & modifiers.
Daylight is 5600 Kelvins.
Film Lighting 101:
Complete Guide by Andrey Beresnev
Ever heard lighting is crucial in every aspect of filmmaking? Chances are, if you’re a filmmaker, you have! Learn the basics of film lighting with cinematographer Andrey Beresnev.
Trailer
4H4EsVpkA8g
Intro
1
N0vjfJ5OML0
Light factors
50
Accent
61
Volume
82
Mood
149
3-point lighting
194
Key light
234
Fill light
255
Back light
264
Equipment
320
Different roles
555
Importance of lighting
645
Tips & tricks
727
Location
755
Light motivation
773
Side key light
826
Ending
845
Meet Andrey
q3o7eggVYW0
What you’ll learn
Nail the 3-point lighting: Key, fill and back light.
Use negative fill: For creating an artificial shadow.
Work with different light sources to overpower the sunlight with artificial light.
Reflect light & achieve cinematic lighting by diffusing light on a negative field.
Contrasting the image: The main principles of light and shadow contrast.
Essential factors in film lighting: Accent, volume, mood & atmosphere.
Why film lighting is important
Well, if the "perfect picture" appeals to you, then getting proper film lighting is fundamental to your film.
A great cinematographer needs to know how achieving cinematic lighting plays a significant role. The reason that film lighting is so important is, well, it's several things. Firstly, it guides the audience on where to look – should they focus on a specific character, a prop, a part of the scene? That's up to the film lighting to help determine that.
Secondly, lighting is an excellent way to showcase the psychology of your film characters. Think of Schindler's List (if you're part of the Generation Z – Google it). Steven Spielberg managed through various cinematic lighting tools and techniques to mirror the character's ever-changing mood – despair, hope, anger, and triumph, all by the hands of light.
Lighting is an essential part of cinematography. It has infinite types, techniques, and setups (joy!). There's no universal "one-setup-fits-all" you're scene can be lit in numerous ways, each with a different mood and impact on the footage. In short: It can get confusing. So, we've created a list of the different lighting techniques, placement and setups, essential for your misé en scene.
Without further ado – let's fire up those bulbs and get started.
Who determines the lighting setup for a scene?
Depending on the film crew's size, different people will play a role in the lighting setup.
Who determines it, however, that's another thing.
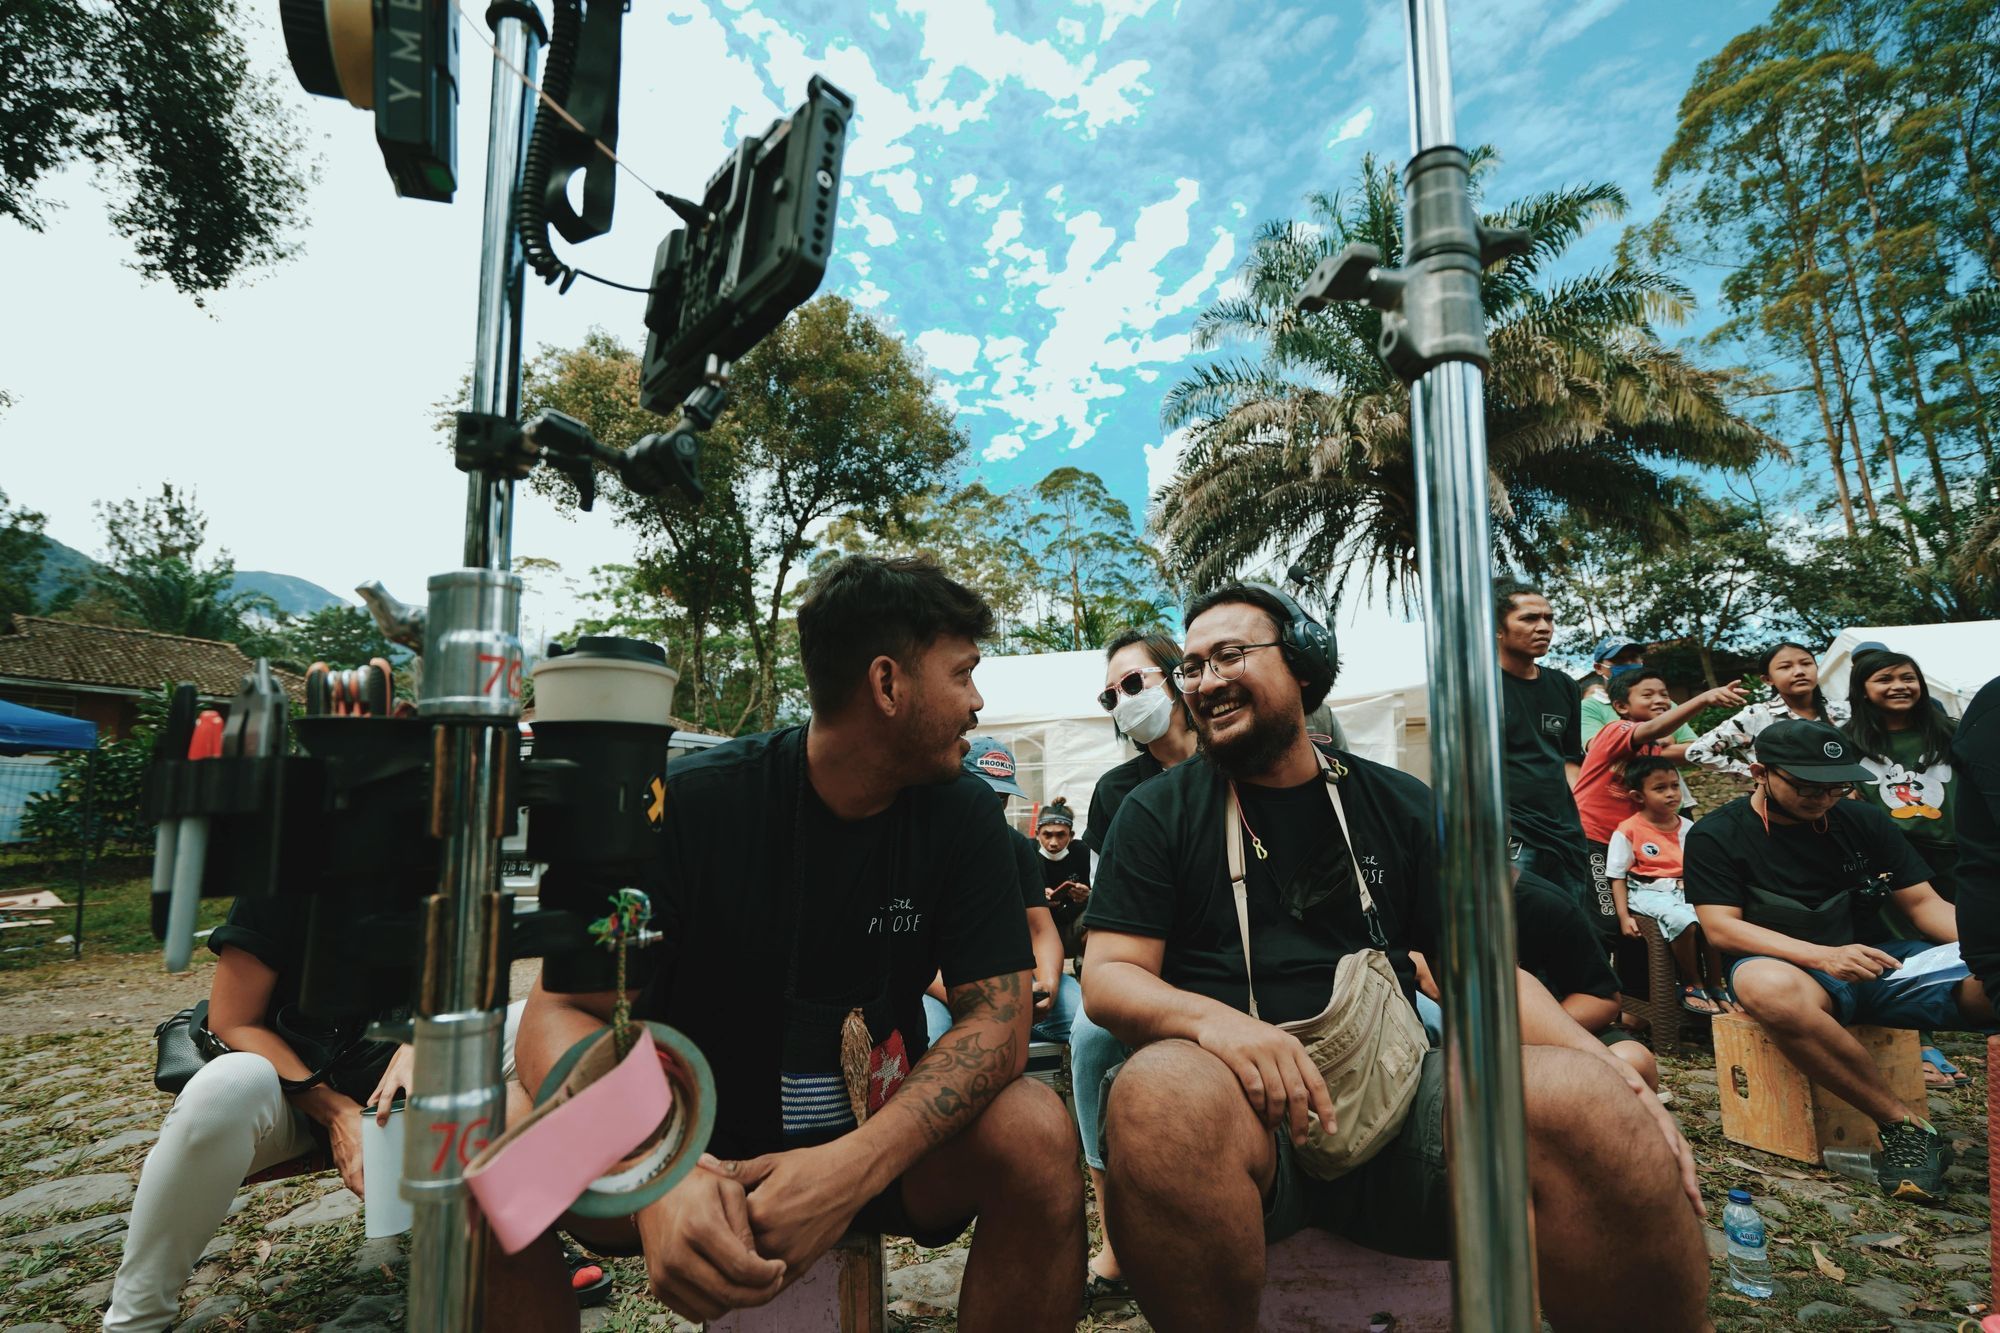
Usually, the film director will share his visual inspirations and ideas for cinematography lighting. Then the person who creates the lighting plan, of course, based on the director's vision, will be the director of photography. And lastly, but certainly not least (it's no fun if it doesn't rhyme) – the gaffer. The gaffer is the person in charge of designing and executing the cinematographer's lighting plan.
Film lighting techniques
Natural light
It seems natural for me (pun very much intended) to start with the lighting that you already have in the image.
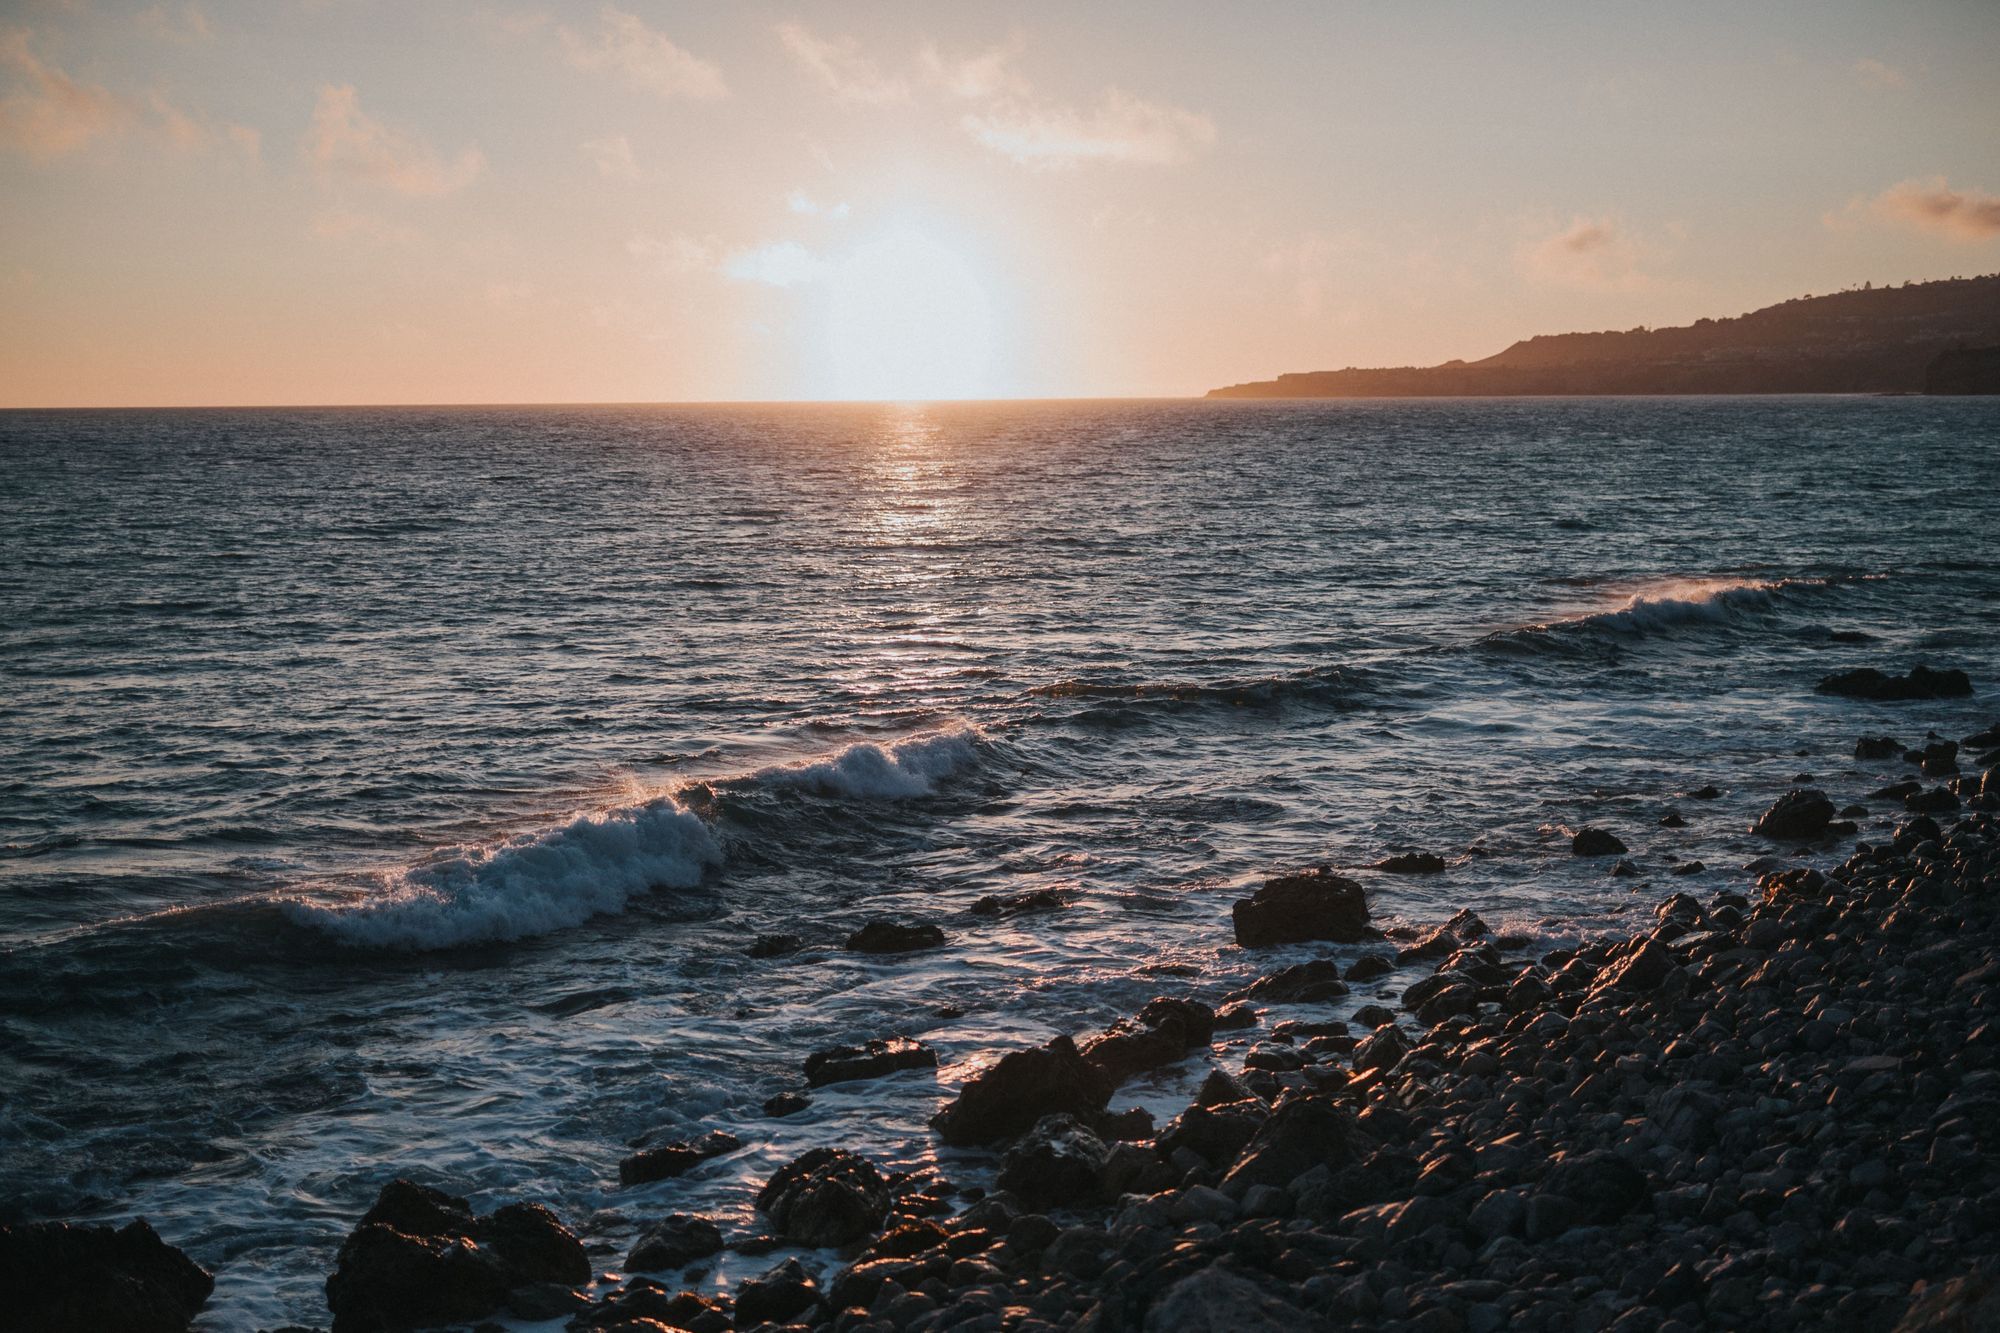
Natural lighting changes every hour of the day, and you can't move it. Working with this type of film lighting sounds difficult; the whole "change every hour and can't move it-part" understandably, will create some challenges. You have to be aware of location, weather changes, and so on. The fact is, a cinematographer controls a lot, but mother earth? Not sure that's included (yet).
Before you shoot with natural lighting, a good idea is to head out on the location with your camera to test how well the natural light holds up. From there, you can decide if and what additional lights you might need. Since natural film lighting can't be manipulated, bounce cards or flags can help you alter the natural light. Potentially, you can use black flags to block it completely.
Soft light
Technically speaking, soft lighting isn't a type of light source. It refers to a cinematography lighting technique, eliminating shadows as the light wraps around the subject, casting only diffused shadows with soft edges. Soft light comes from a light source that's relatively large compared to the subject, close to the subject or hits the subject at a steep angle.
Key light
The key light is the primary (or key if you will) light source. It's the most intense and direct light source in the footage and registers most prominently in your frame. A key film light illuminates the form of the subject or actor.
A key light doesn't refer to a specific type of lighting equipment per se – key lighting can come from anything – from a lamp to a camera mounted flash unit. Essential to remember about key lighting is to avoid placing your key light near the camera; if so, your light will seem flat and featureless.
High key light
High key lighting reduces the lighting ratio in the scene, keeping your lighting bright and balanced, creating next to no shadows. You'll achieve a high key light by heightening the key light and using fill lights generously.
In the prime of Hollywood life, obviously the 1930s and 40s, the high key light was particular used for comedies and musicals. And today the high key light is used for…. comedies and musicals. High key lighting is a classic for film lighting – and it fits perfectly with comedies, sitcoms and such. It creates a bright, happy look in the film and sets more of an optimistic and hopeful tone – and now, who doesn't want that in their comedy film?
Although, high key lighting has found its place in more drama based cinema. For example, in the James Bond franchise… ever wondered how you somehow always notice when he's got a Vodka Martini "shaken not stirred" in his hand?
High key lighting is primarily white tones from bright lights. It has minimal use of blacks and mid-range tones. It's usually produced from frontal lighting, and it will have a low lighting ratio. However, you need to be mindful of high key lighting because it can tend to overexpose some areas of the image.
Low key light
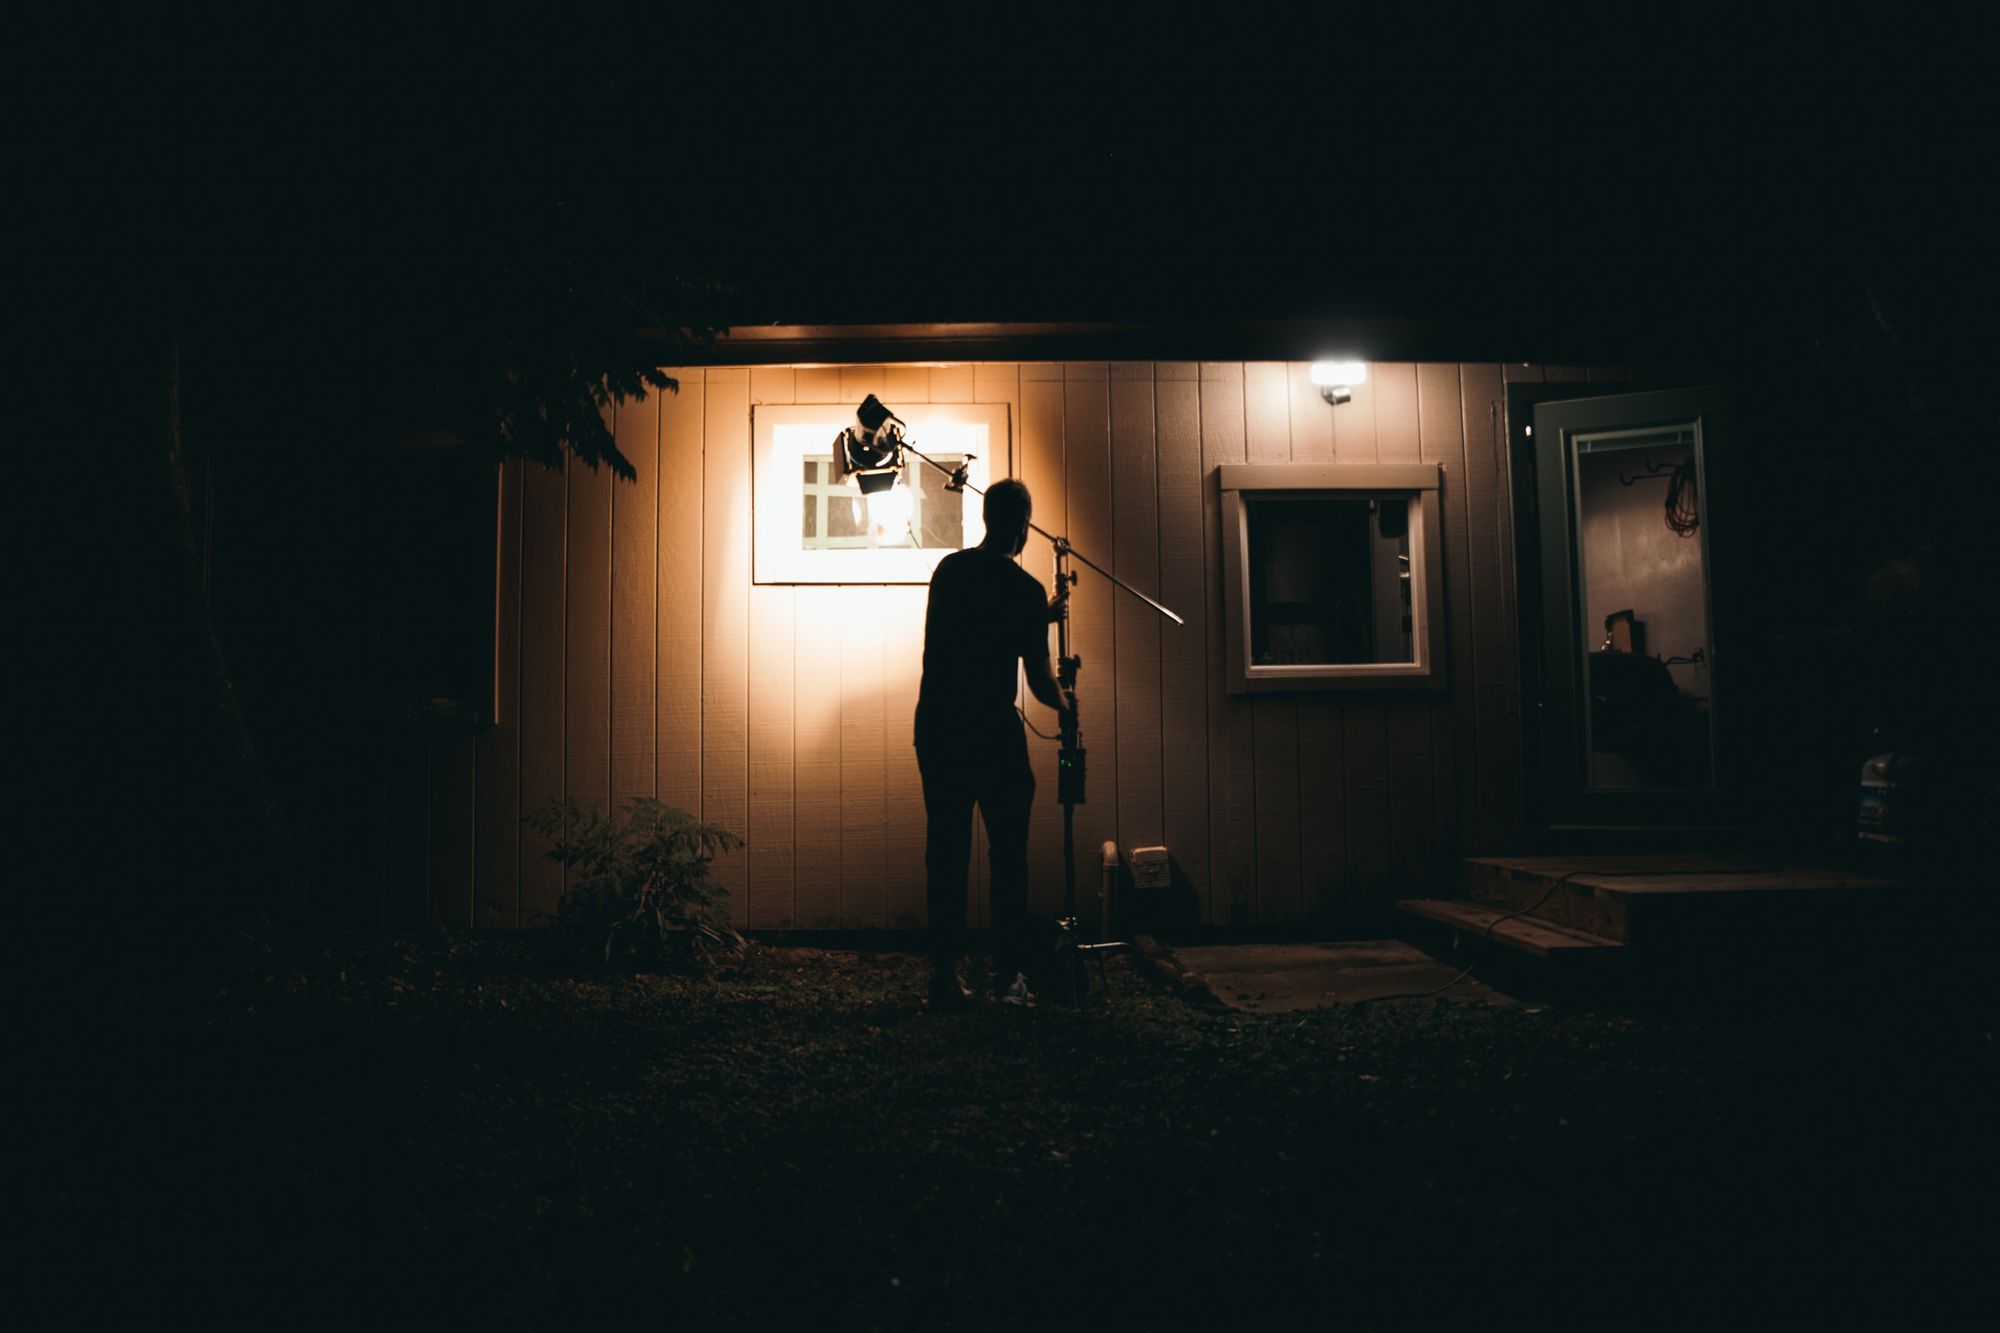
To much surprise, low key film light is the opposite of high key lighting (mind-twister). It's a film lighting style that uses a hard source to encase your scene in dark tones and black shadows.
This type of cinematography lighting refers to minimizing or sometimes eliminating the fill light, creating dramatic, suspicious or even scary effects. It's commonly used throughout horror and thriller film productions. You'll often achieve low key lighting by using just one single lighting source.
A good thing to note about low key film lighting is that it works best when using a hard light source, and unlike the high key light, it will have a high lighting ratio. I know; could it be more paradoxically?
Fill light
Fill lights fill in the shadows on your frame – a pretty easy rule of thumb. A fill light cancels out the shadows created by the key light. Fill lights are almost always used on the opposite side of the key light to balance everything out, meaning they'll typically never as powerful as the key light.
Its light output measures in fill light ratio, also known as a key/fill ratio. It describes the relative amount of light from the key and the fill. For example, if you have a ratio of 1:2, that would indicate that the fill light is half the key light intensity.
Be sure that the fill remains indistinctive, that it doesn't have its characteristics, and you make sure it doesn't create any shadows. Remember, the closer the fill light is to the camera, the fewer shadows it will create. Luckily, fills are not that hard to make. If you don't have another light source, you can either rent it (ever tried Wedio?) or place a reflector on the opposite ¾ to the key light. The light will then spill onto the reflector and bounce up to your subject.
Backlight
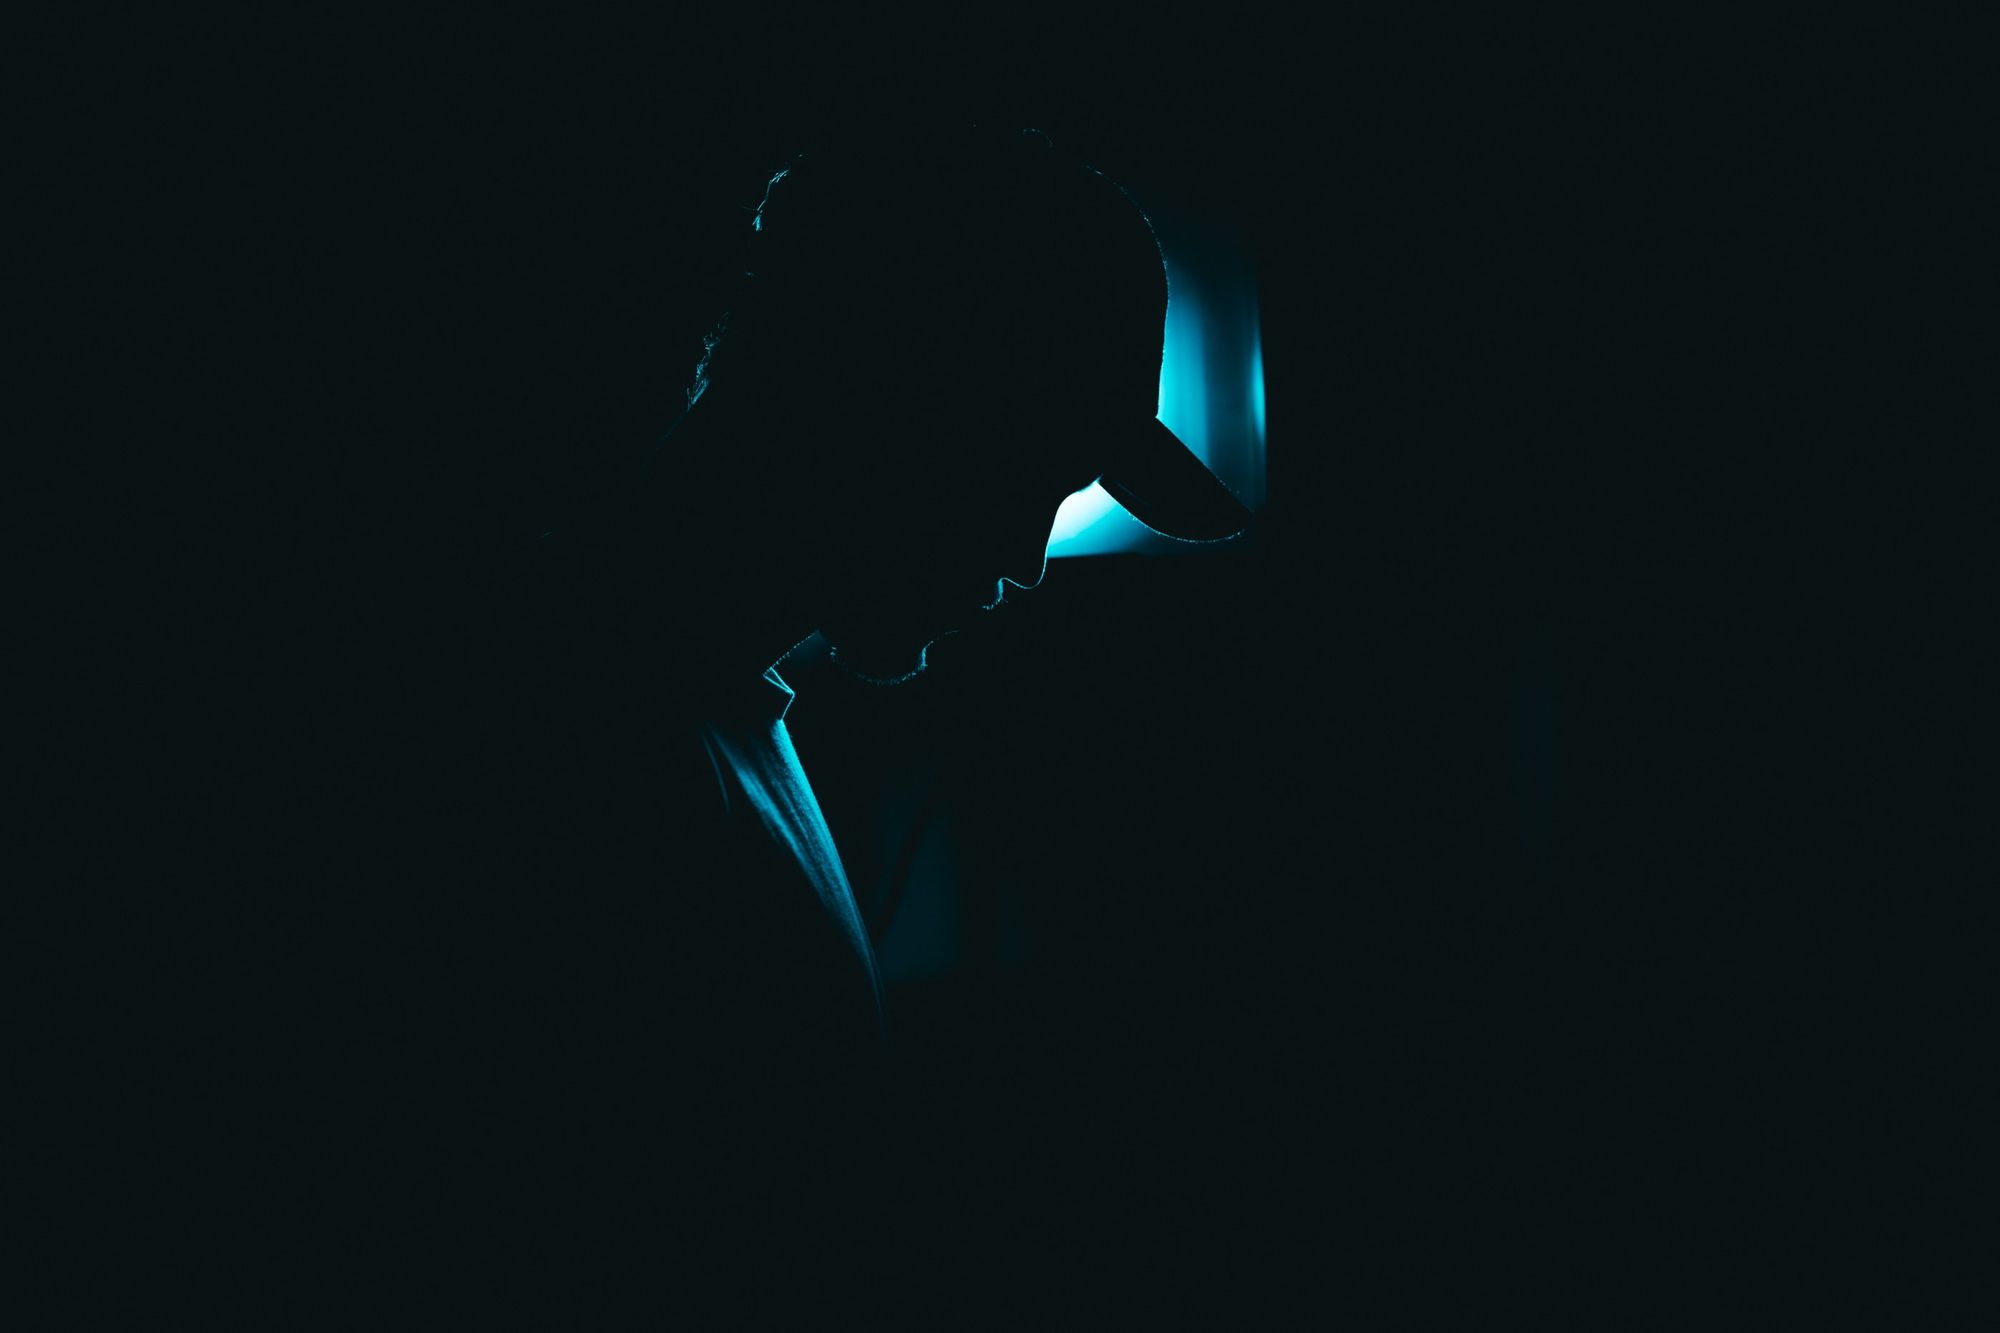
Trust me when I say, whoever named these film lighting techniques, weren't that creative (and thank God). A backlight is, as the name suggests – a light that hits the actor or subject from the back.
It's placed above the subject and used to separate an object or actor from the background. This gives more shape and depth to your image, ensuring that your footage doesn't end up looking flat and two-dimensional. If you're keen on making the sun your backlight, consider using a reflector or a foam board to bounce the sun at a lesser intensity.
Practical film light or ambient light
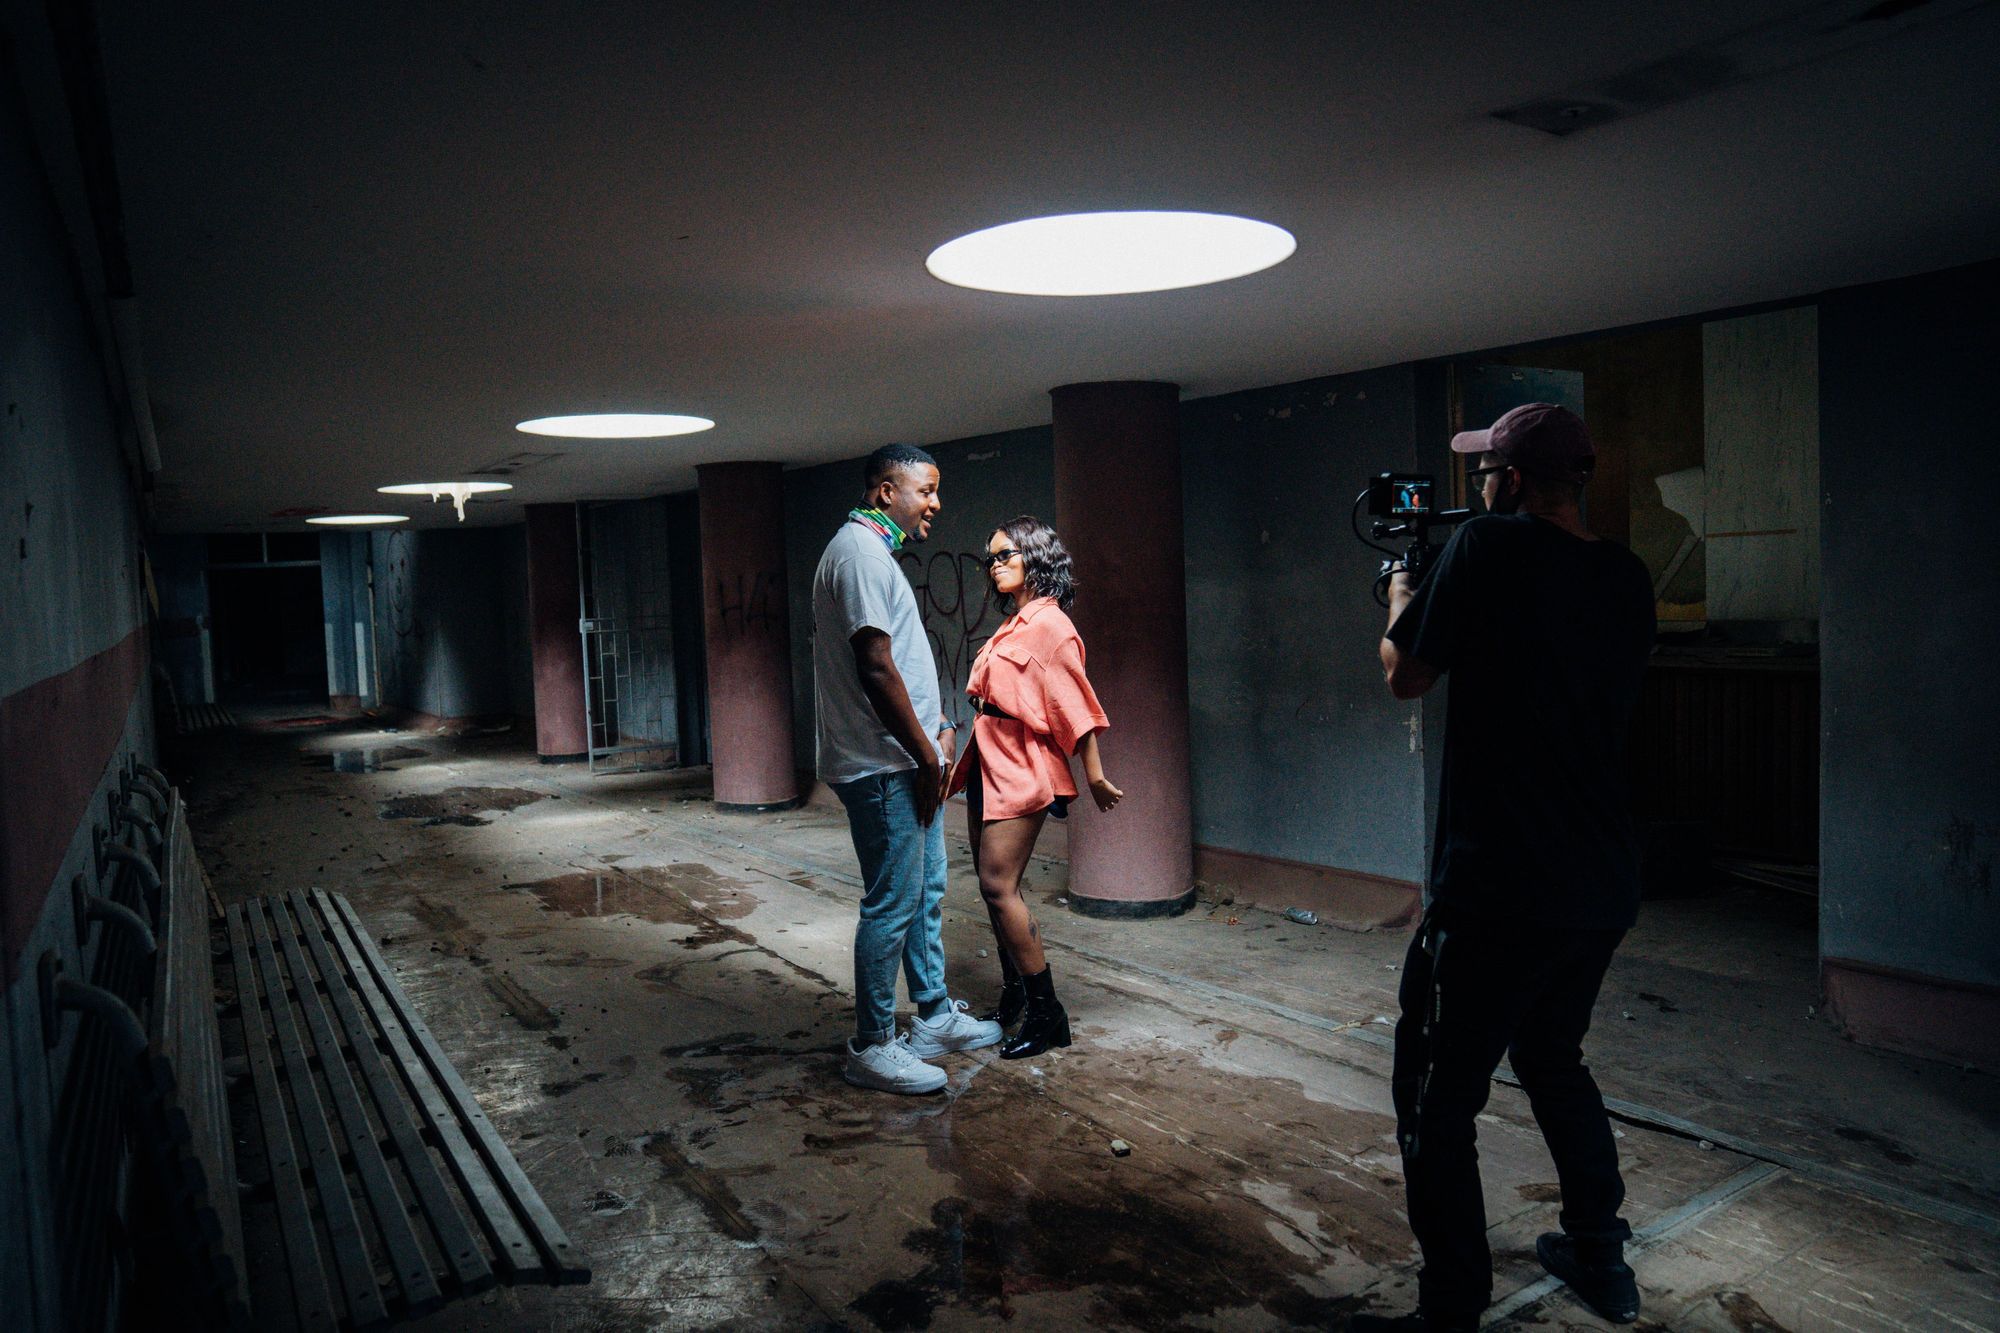
How about the light sources already in the scene? Excellent point! It's rare to go into a restaurant, an airport or even Hogwarts – without some sort of light already present. While you might not have magical lighting sources, you'll most likely have something like a lamp, candle, or television. These lighting sources, we refer to as practical film lighting.
Practical light can be pretty helpful when you need to reveal wide portions of the set or move around in longer takes. Take, for example, the movie Children of Men. Cinematographer Emmanuel Lubezki uses natural lighting to construct an increasingly paranoid and fragile sense of the first world on the verge of collapse.
So, not only is ambient film light nice to use, as it's already there – it can also help establish the mood and atmosphere you'd want in your film.
However, be mindful when using practical film lighting. It often requires swapping the bulb in the light source with a bulb using a different wattage to match the colour temperature. The common practice for practical lighting is for the lights to have a dimmer of some sort. However, if that's not available to you, you can cut some diffusion gel and place it around the bulb.
Hard light (specular light)
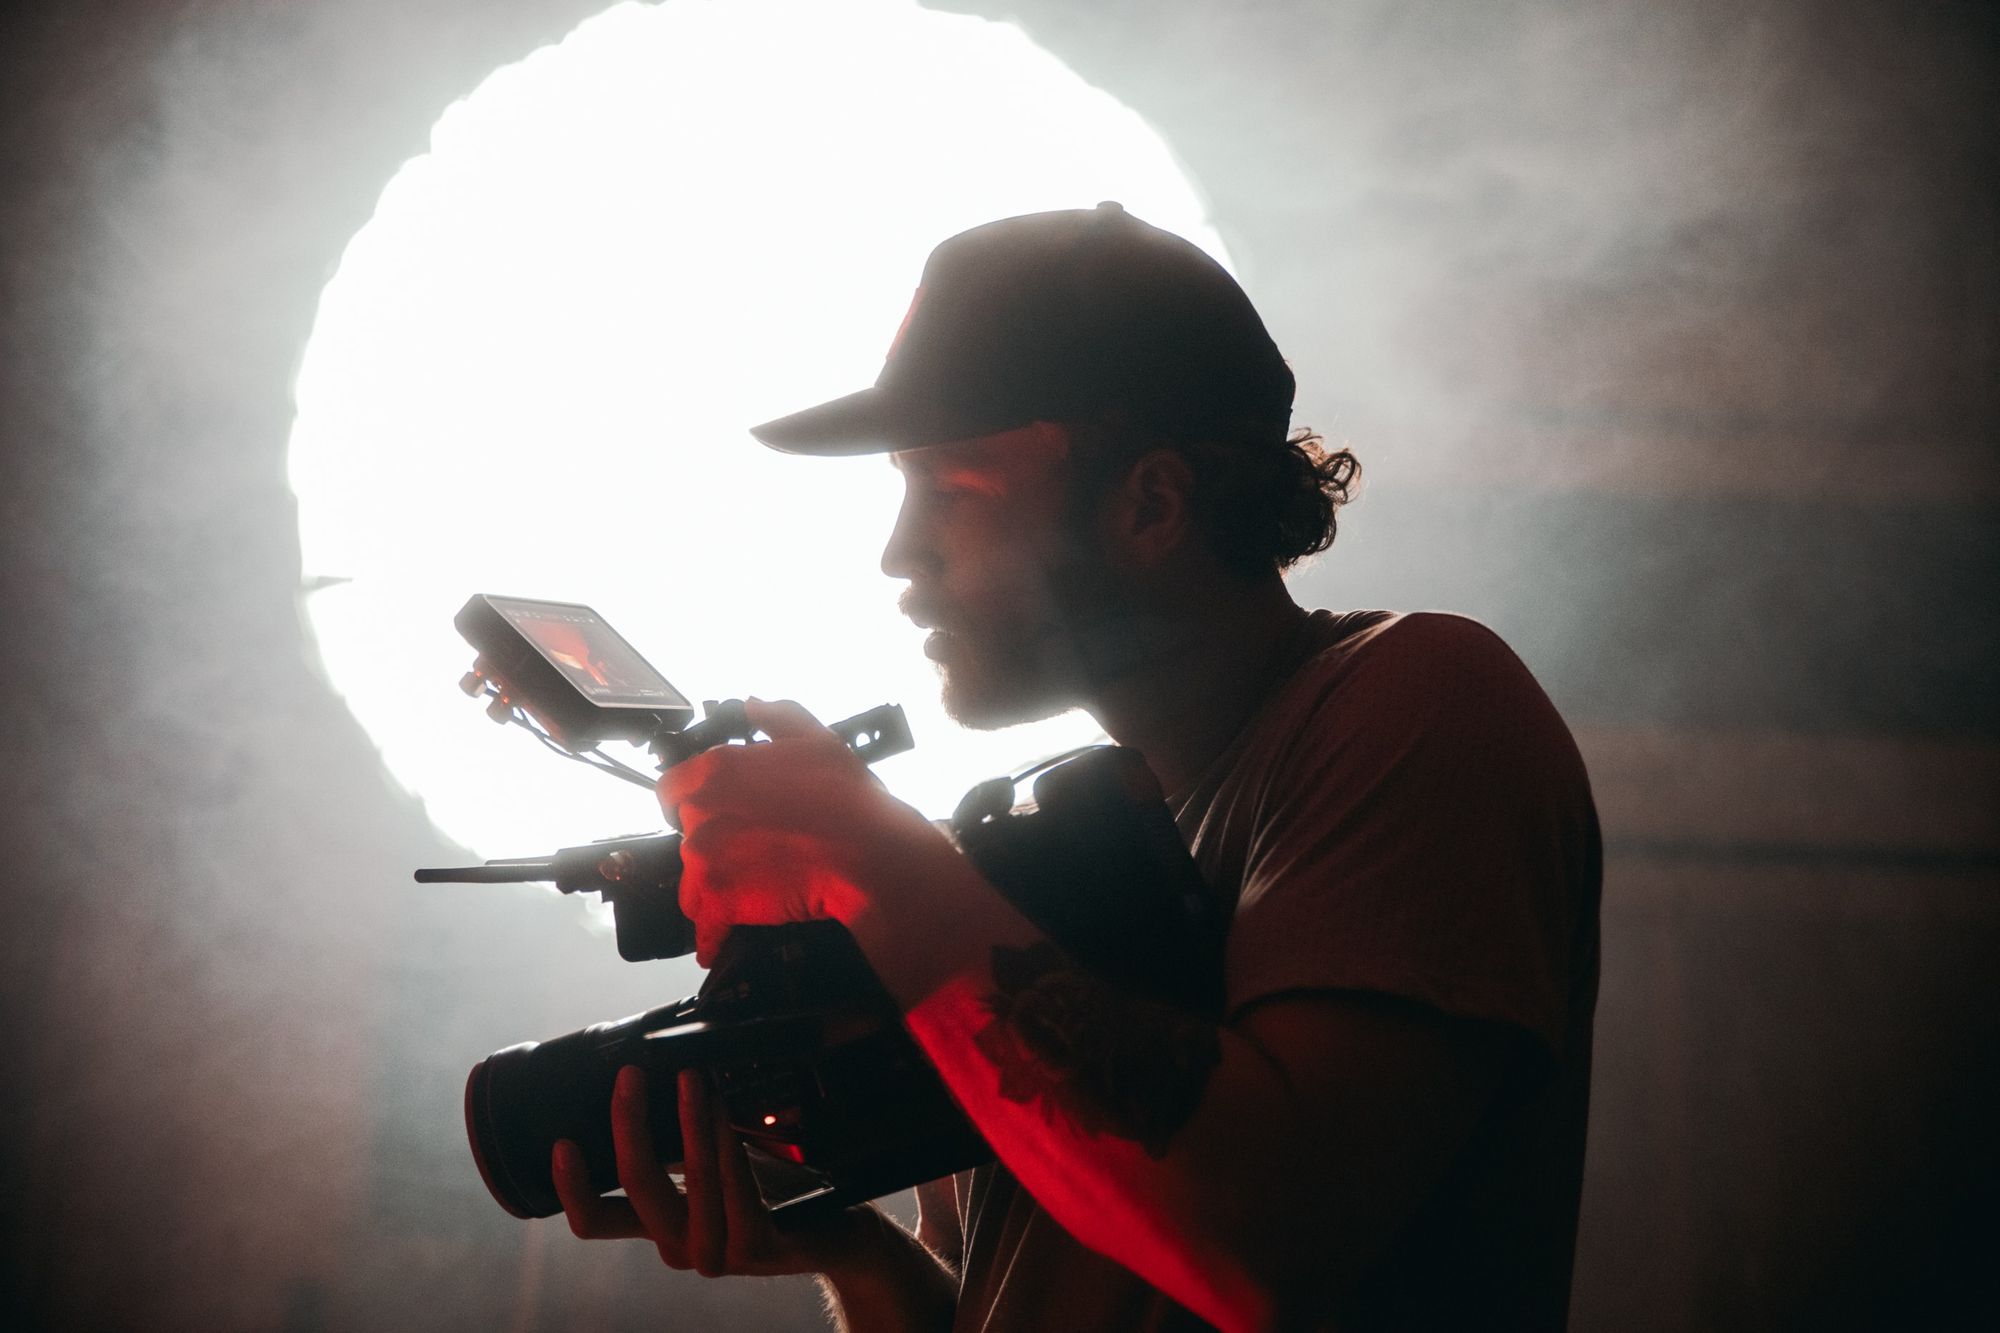
Hard cinematic light creates sharp and harsh shadows with a direct beam from a light source alternatively from the sunlight. Although often avoided, it can be of excellent use; for example, in Film Noirs, where you want dramatic cinematography lighting effect to reflect the suspicious and volatile characters.
Hard light is fantastic to help draw the audience's attention to somewhere in the frame and is often used to create silhouettes and highlights. Whether you'll achieve a hard film light or soft lighting, it will depend on the lighting source's size. A smaller light will produce hard light, and a larger light will create soft light.
Bounce cinematography light
A bounce film light is when the light is reflected or bounced off a surface. Got a whiteboard or white card at hand? Then you can use that to bounce light from different lighting sources, such as the sun, a lamp, or in general any film lighting kit to indirectly highlight a subject within the frame.There are designated tools to use, like a silk or a foam board. However, you can use (almost) anything that's at your disposal – a wall, ceiling, even a white (or coloured) sheet.
Using a bounce light creates a larger area of evenly spread light. It highlights the subject without directly shining on them. If executed correctly, bounce lights can be used to create a much soft light, fill light, top, side, or even backlighting.
Sidelight (chiaroscuro lighting)
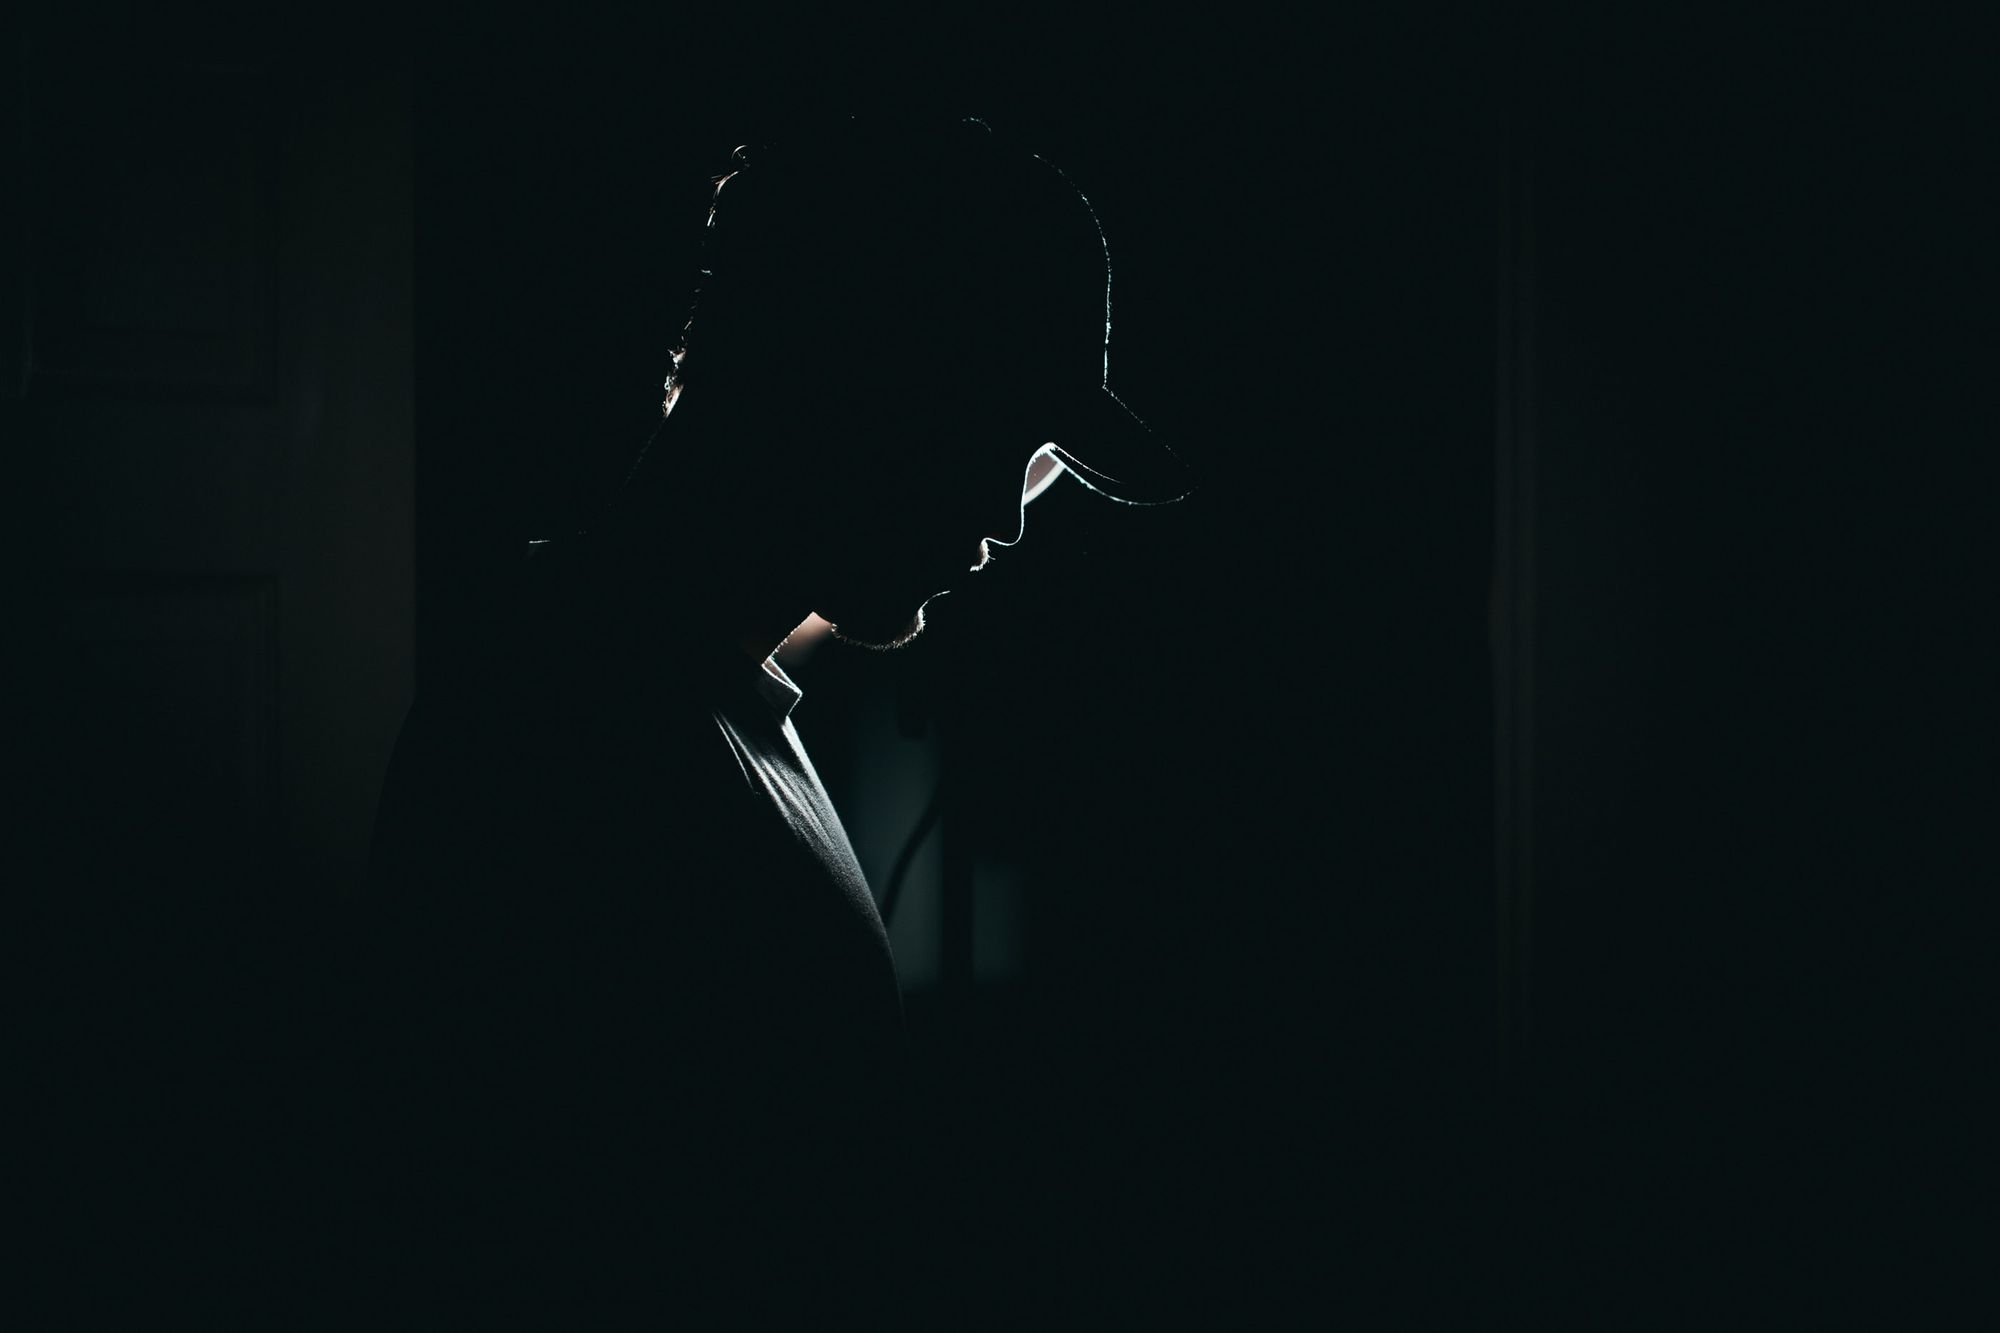
Side cinematography lighting refers to light that enters the frame from the side to highlight the subject. The side light will possibly provide harsh shadows (if not diffused), and so, it's excellent for building contrast.
It's often used to create a dramatic mood to the scene and has found popularity in genres like film noir.Side lighting is often referred to as chiaroscuro lighting as well. To achieve chiaroscuro lighting, you need a strong contrast and a low-key to accentuate your subject's contours. If your side light is used to fill a scene, you may need to bounce it or deal with high-key effects.
Motivated cinematography light
Let's pretend you're on set, but there's no available natural or practical lighting sources. Who you're gonna call? Motivated-lighting-busters.
Motivated cinematography lighting seeks to imitate natural lighting sources. So, you don't have access to the sun, street lights or anything of the sorts – find a stand-in.
You can use flags or bounces to help create a more natural appearance. For example, imagine you're filming in Azkaban (yes, big Harry Potter fan), so you only have the moon as a lighting source. In that case, you can enhance it with motivated lighting using another lighting source that gives off the same colour.
Final comments
While we've separated each technique, these will often overlap and combine in actual film-life. One light placement term can very easily merge into a dozen other placements. So, this is your chance to experiment a bit more with cinematography lighting techniques.
Simple but effective lighting setup
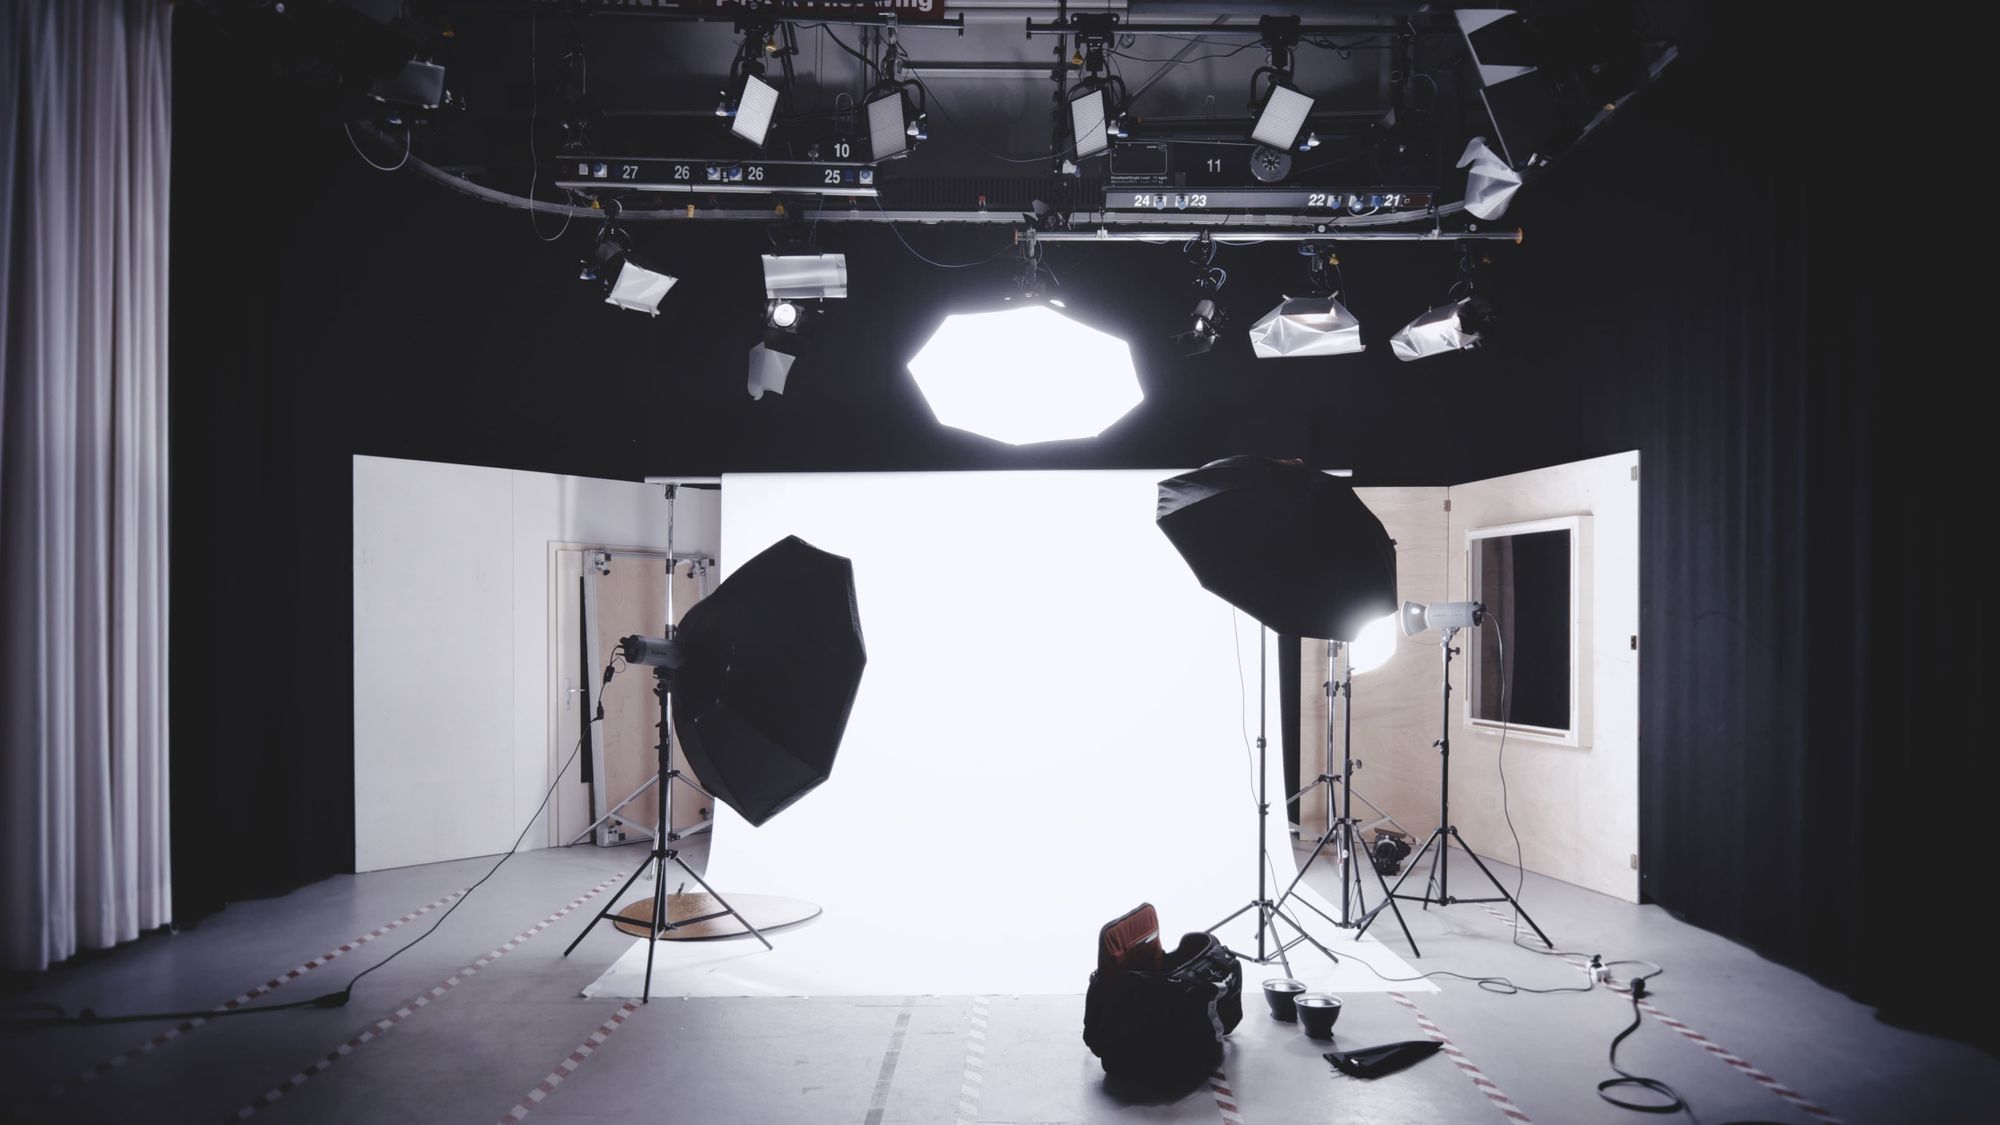
The three-point lighting setup
Although there are infinite possibilities for lighting setups, over time, there is one that has become quite the go-to – the three-point basic lighting setup. The key light, back light, and fill light all make up the three-point lighting setup. This setup is excellent for highlighting the character or subject of a scene and helps set the characters apart from their background.
Let's take a quick look at what this classic film lighting setup looks like:
1. The key light: Place your primary and strongest source of light off to one side of the actor to create a slight shadow on the opposite side of their face.
2. The fill light: Add a second light on the actor's opposite side to soften any harsh shadows created by the key light.
3. The back light: Place the third light behind the actor to help define and highlight their features and outlines.
The three-point lighting setup is one of the core fundamentals of cinematography lighting. So, once you've got that down, you'll be able to start exploring and eventually master any lighting scenario.
Cinematography lighting tips – potpourri style
Whenever you're prepping the lighting for a specific scene, you want to think about various misé en scene elements, such as framing, composition, camera movements, etc. This will help you achieve professional-looking footage. Besides knowing all the different film lighting techniques and setups – here's a little round of cinematography lighting tips.
Make it dark
If you want to get an understanding of how big an impact your various lighting sources will have. You need to make it dark – blackout windows and all other sources of light. Any light leaking into the frame will potentially impact your image. Eliminating all light sources, except for the ones you're working with, can give you a much better idea of the lighting impact.
Choose the light angle that fits your shot
The angle at which the light hits your subject shapes how the audience perceives the subject. A sidelight will provide depth and texture to a person's face. With the right angle, it will achieve the subtle character of Rembrandt lighting.
A frontal light, on the other hand, tends to make faces appear flat and uninteresting. In which case, a backlight will help separate your subject from the background. The height of the light will also impact your image. For example, can an overhead light create harsh shadows on the subject's face. In contrast, an underlit subject will appear unnatural or creepy.
Set the colour temperature to match the scene's atmosphere
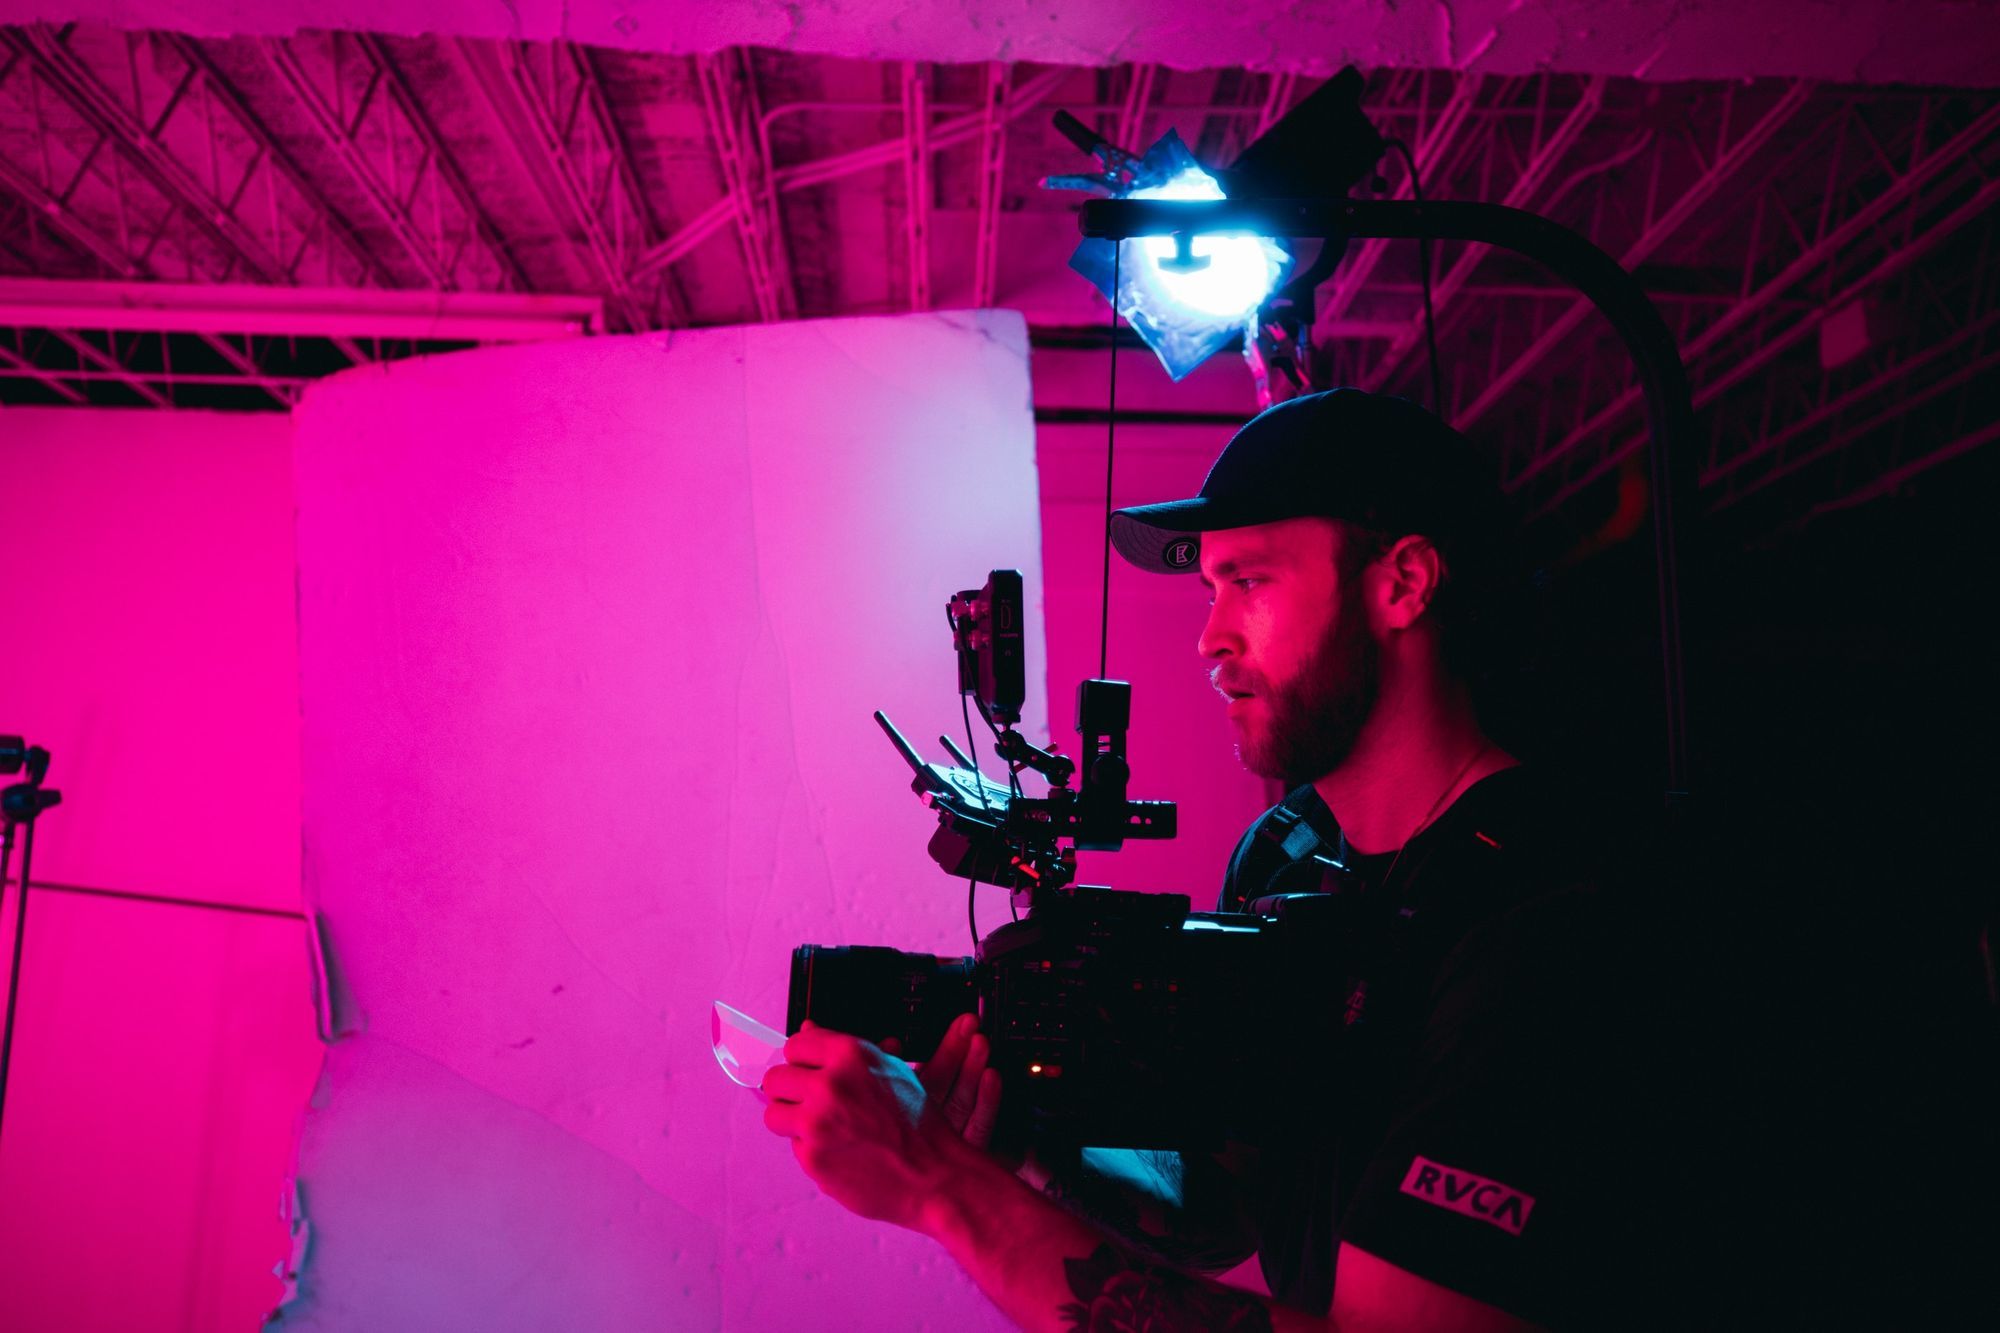
An important cinematography element is the scene's colour temperature. The colour temperature scale runs from "warm" light that we see as red, orange, and yellow to "cool" light, which we see as blue.
Suppose you're doing a scene where the characters stand in front of a neon light café sign. In that case, you might want to match that with a bold red or magenta colour. Suppose the characters are sitting in front of a computer screen. In that case, you'll want to emphasize that on the character's face with more of a bluish-green colour adjustment.
Hard light vs soft light
When we talk about light quality, there are two conversations to be had: soft lighting and hard lighting. Now, you read about what each type of film light is, but do you understand what each of them will do to your footage?
Hard lighting hits the subject directly, creating distinctively high contrast and punchy image. Hard cinematic lighting directs and shapes easily, meaning it's commonly used for backlighting in film.
On the other hand, soft film lighting falls off in a slow gradation from lighter areas to darker ones. It's often used to fill or to create flattering shots of the subject's face. Soft light fills a surface or subject more evenly than hard light because the bounced or redirected rays of light are not parallel.
Having a good understanding of the difference between hard and soft filmmaking lighting is essential for your ability to light a scene professionally.
Types of film lighting equipment
We've talked about lighting setups and terms used on sets, but how about the actual light bulbs and fixtures that create the light? Well, I'm getting to that just now.
Open-Faced Fixtures
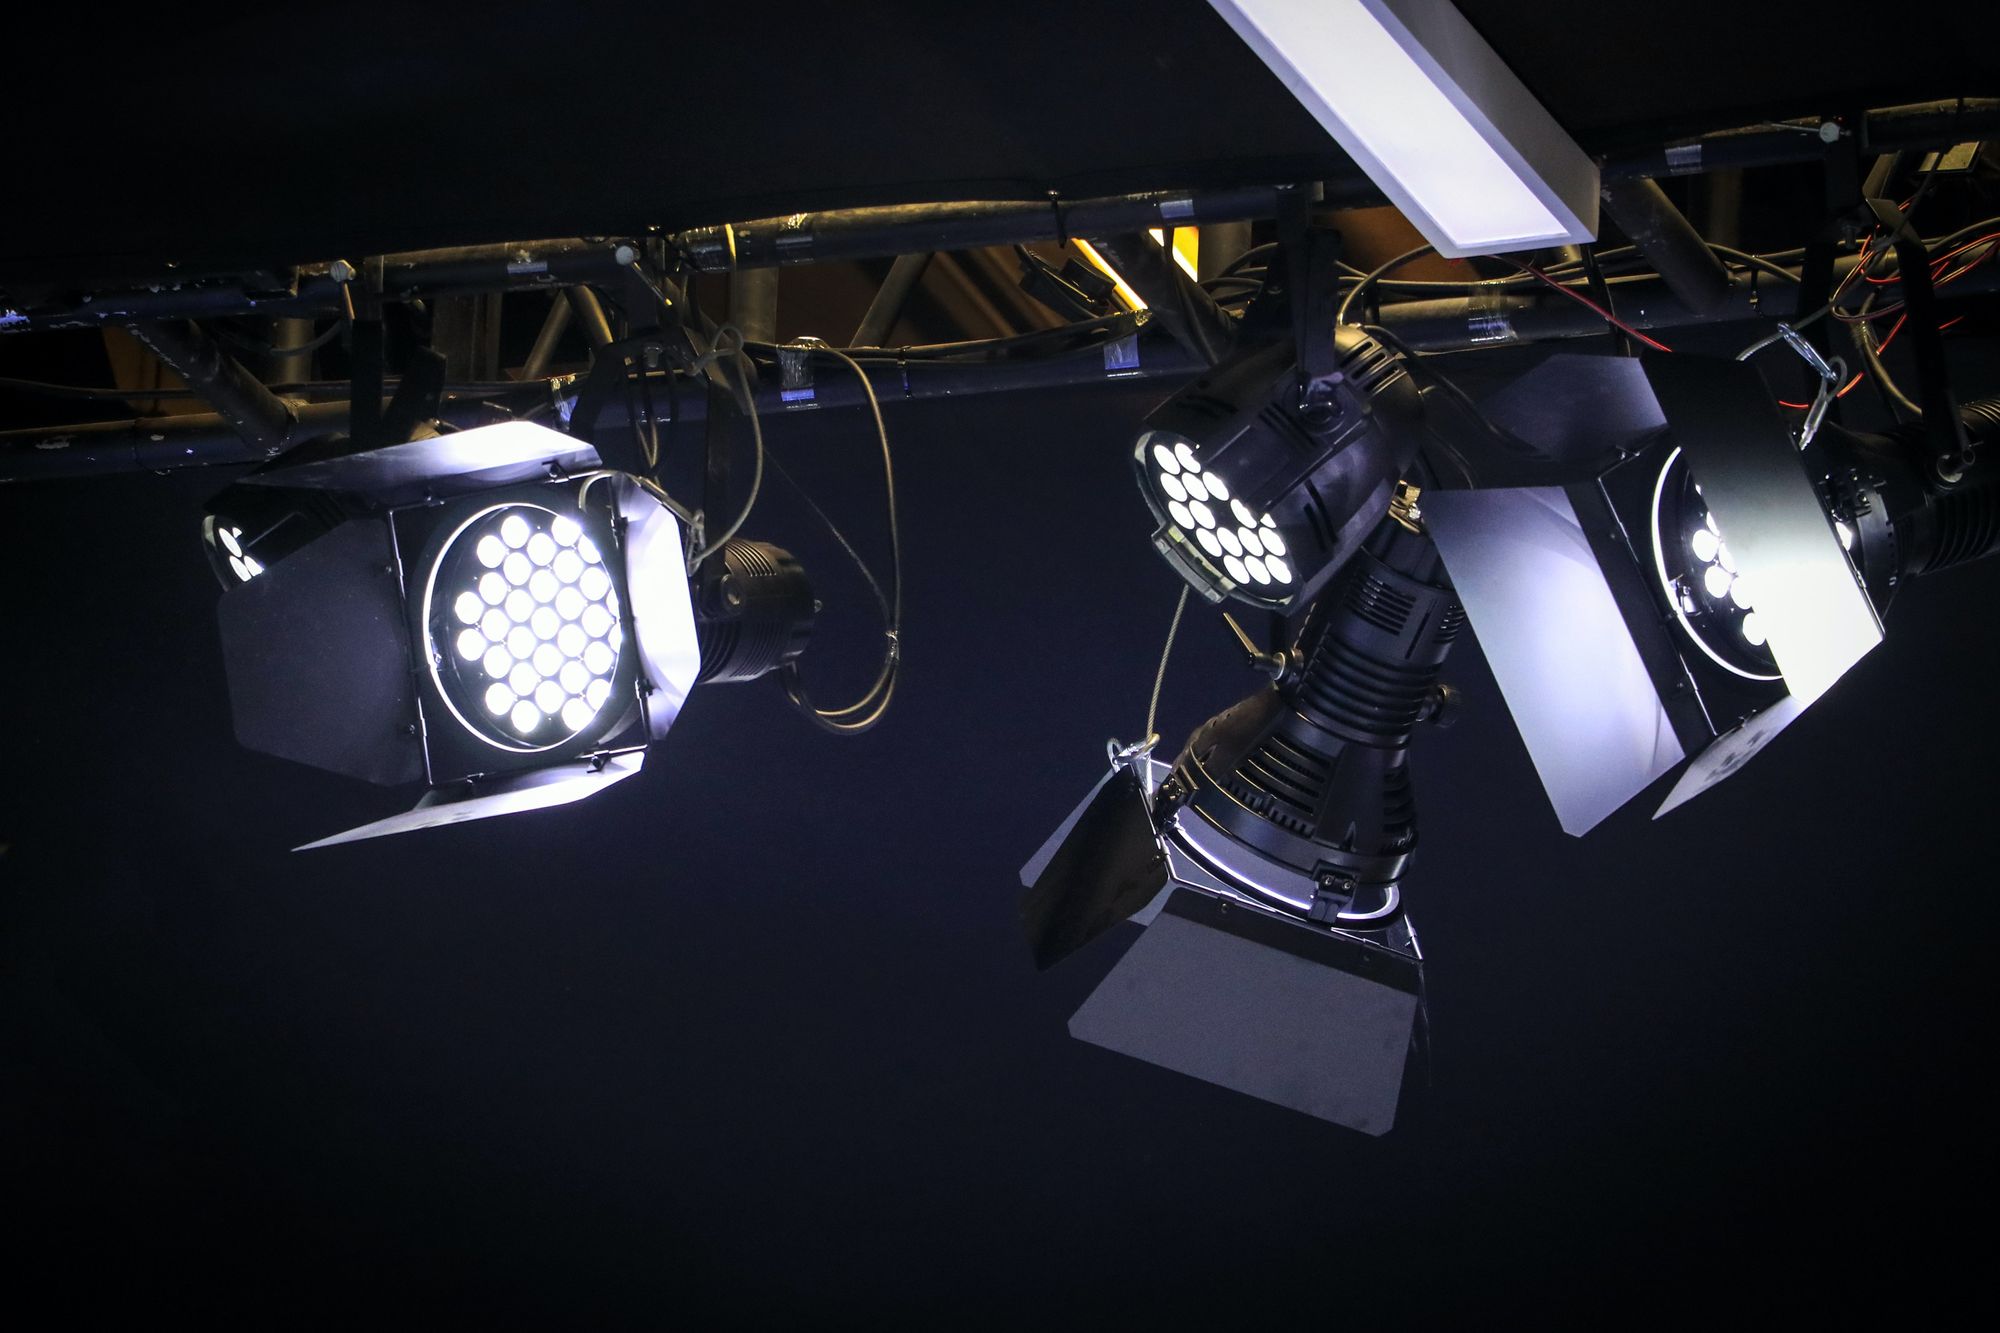
These are used for creating hard light and dark shadows. Open-faced fixtures are simple lighting equipment that consists of the housing and a reflector for the bulb, and that's it.
Fresnels
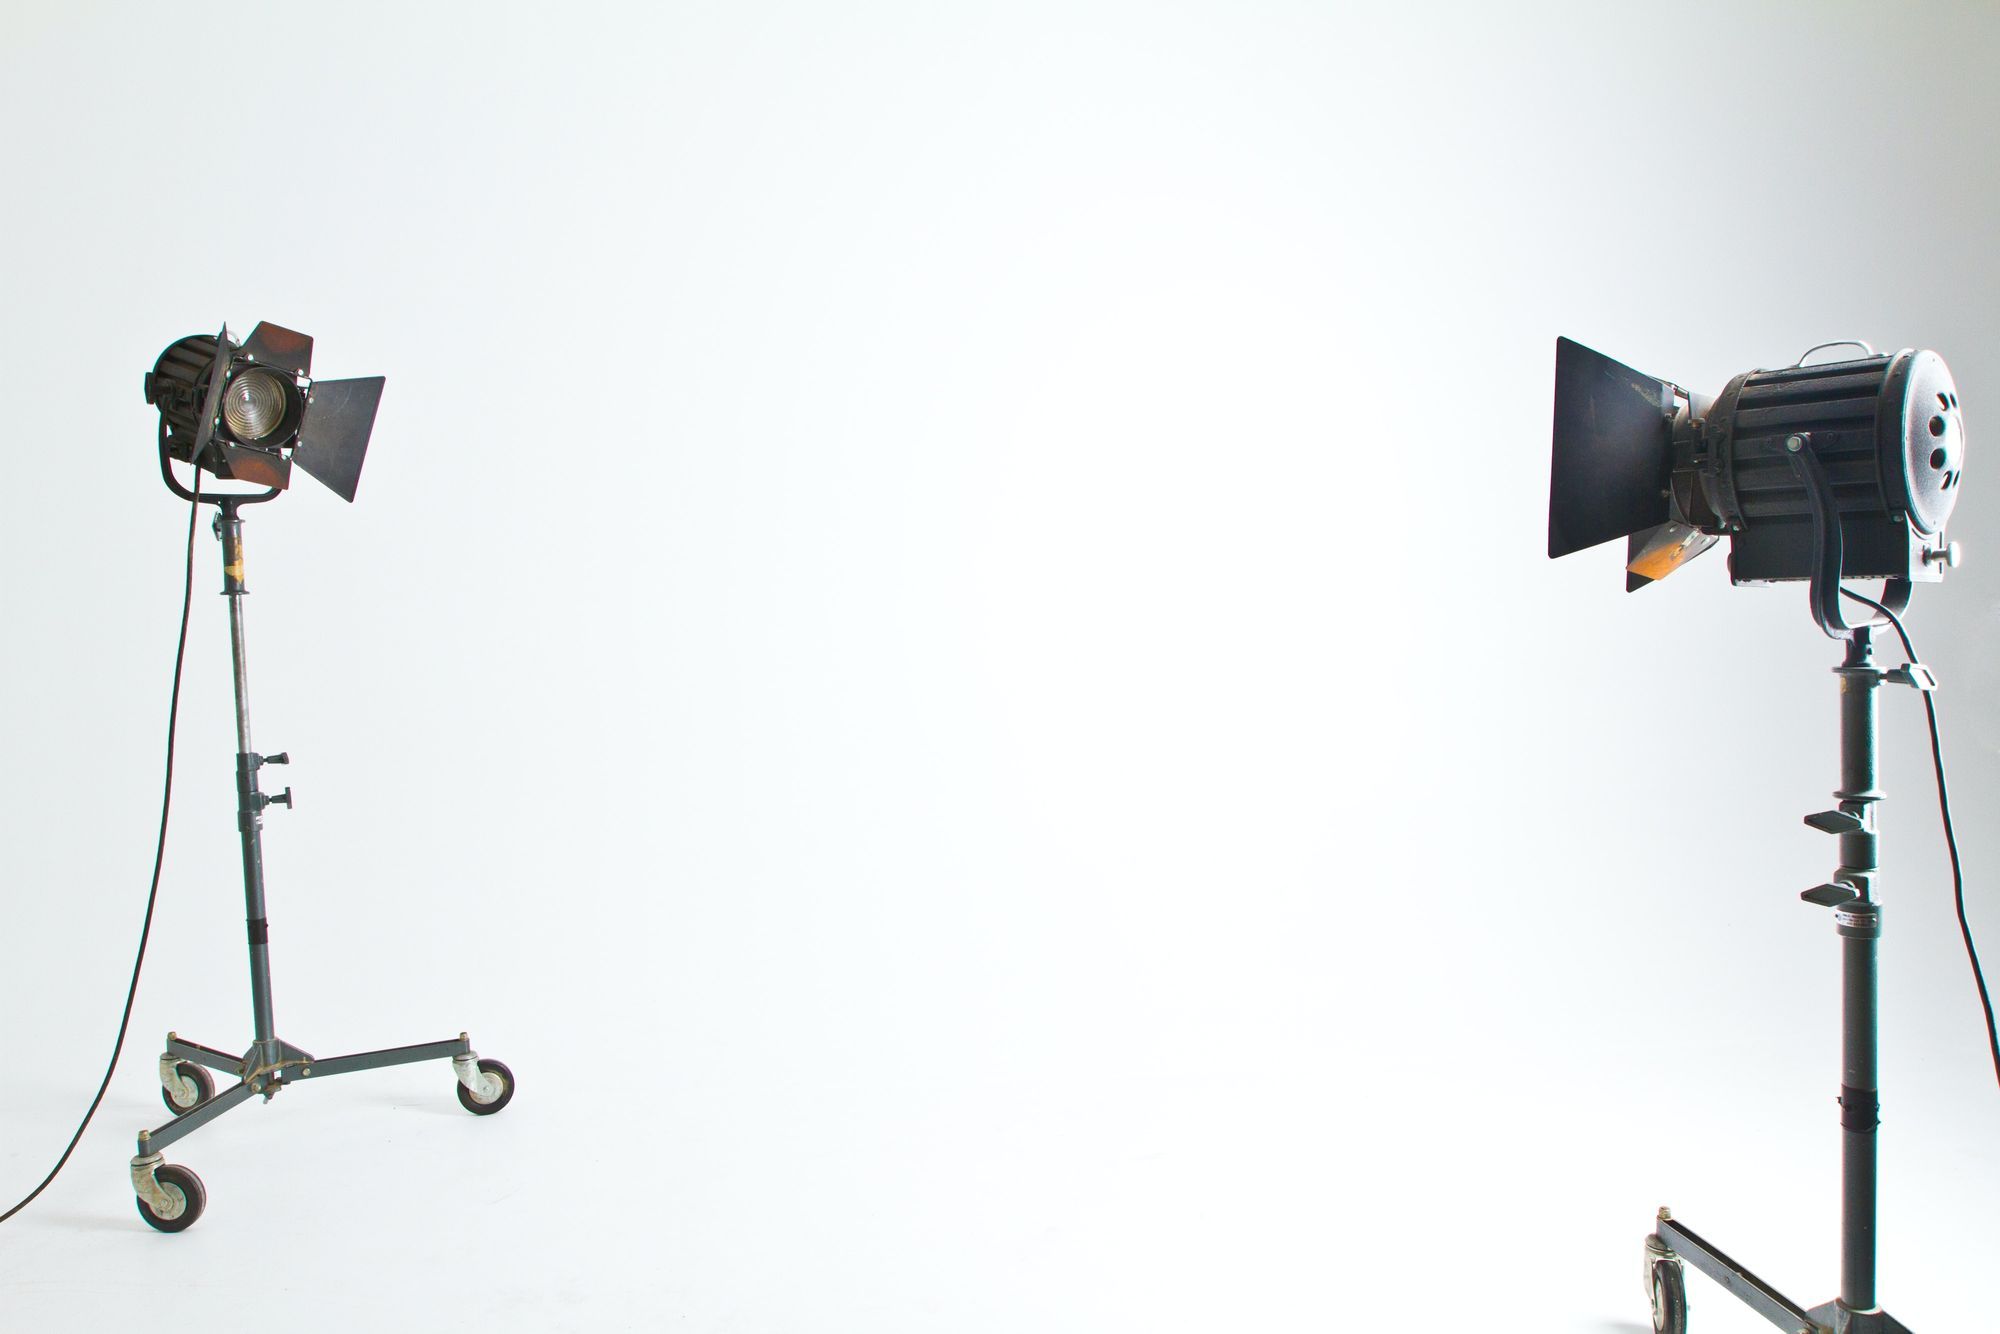
A unique lens makes up the Fresnel. It's divided into concentric circles, making it much thinner. It produces even and varied lighting from flood to spot by changing the distance between the lamp/reflector unit and the lens.
Tungsten (Quartz Halogen/Tungsten Halogen)
Tungsten's bulbs use a halogen cycle. Meaning, there's a pressurized halogen gas inside the bulb, which helps to redeposit evaporated tungsten metal back onto the filament. They produce a high colour temperature and luminous efficiency. A tungsten light provides a warm light. However, if that's not the look you're going for, you can simply use blue gels to correct the colour and achieve more of a daylight look.
HMI Lights
HMI lights are metal-halide gas discharge medium arc-length lamp. These types of film lights are capable of between 85 and 108 lumens per watt. The specific mix of gasses in an HMI bulb is designed to emit a 6000K colour temperature light close to matching the sunlight.
Fluorescent Lights
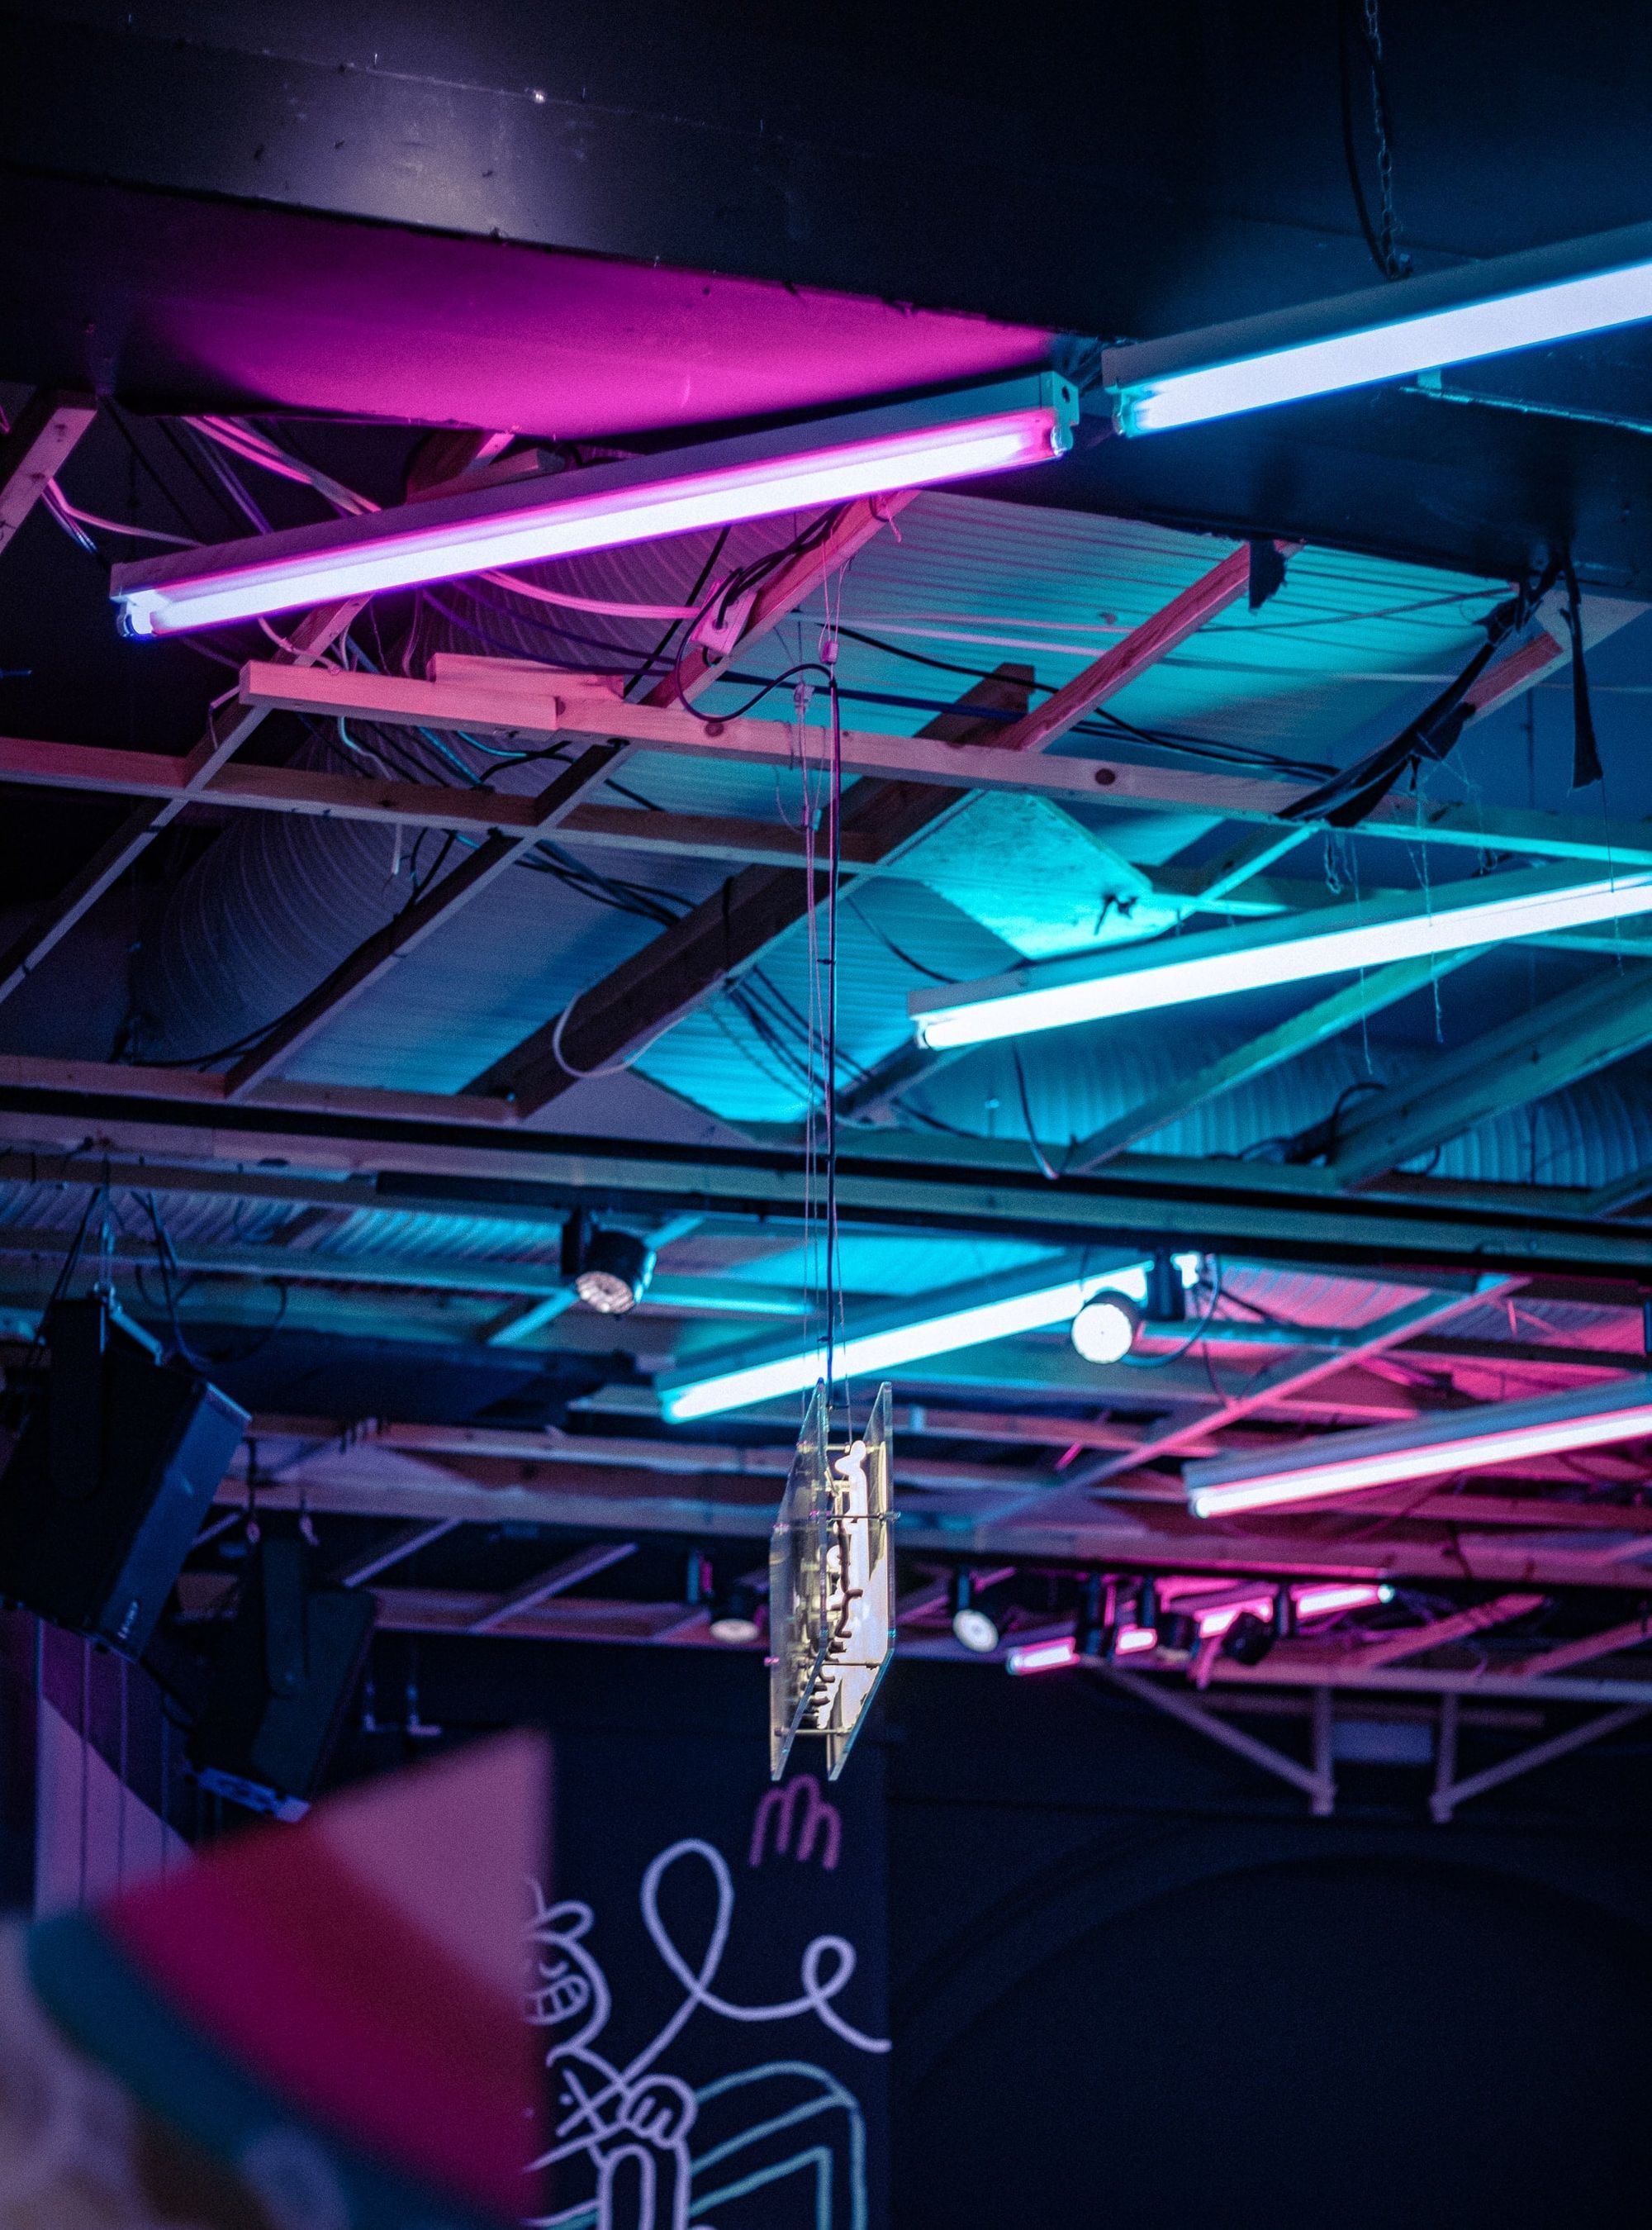
A fluorescent lamp uses low-pressure mercury vapour to produce ultra-violet light. This causes a phosphor coating on the inside of the glass tube to glow, giving off light in the visible spectrum. Fluorescent light gives off almost the same output as an HMI and is a lot more efficient than an incandescent light.
LED Lights
The LED film lights are a newer concept on the market. However, they are highly efficient and can reach similar outputs as many of the above-mentioned film lights. LED lights can be daylight or tungsten balanced, sometimes switchable or having a variable colour temperature.
Granted, this was a very quick (and short) go-through of the different cinematography lighting types. If this didn't satisfy your thirst for film lighting (we all got our stuff), learn about the best lighting types and setups for YouTube.
Or you already know what type of cinematography lighting you want? In that case, rent or subscribe to the lighting you need.
What's next?
While lighting is a crucial aspect of achieving a cinematic look and feel to your film. There are multiple cinematography techniques and elements that are important to know if you want to get your movie on the big screen.
Learn the different cinematography techniques going beyond film lighting to enhance your storytelling.
FAQ
Why is lighting important in producing film?
Lighting can guide the audience on where to look and direct their focus. It also helps showcase the psychology of your film characters!
How does lighting affect mood in film?
Lighting can help set the mood of your film. Steven Spielberg's films provide an excellent example: he managed through various lighting techniques to mirror his characters' ever-changing mood – despair, hope, anger, and triumph, all by the hands of light.
What is lighting in film?
Film lighting refers to all light elements working together to guide the audience's attention and mood. This includes the quality, direction, source and even the color of the light!
What is practical lighting on a film set?
The light sources already in the scene or on set are referred to as practical film lighting. This lighting technique is cheap and easy to use, and it can help establish the mood and atmosphere you'd want in your film.
However, be mindful when using practical film lighting. It often requires swapping the bulb in the light source to a different wattage bulb to match the colour temperature, or use some sort of dimmer.
What is high key lighting in film?
High key lighting reduces the lighting ratio in the scene, keeping your lighting bright and balanced, creating next to no shadows. You'll achieve a high key light by heightening the key light and using fill lights generously.
In the prime of Hollywood life, the high key light was particular used for comedies and musicals. And today the high key light is used for…. comedies and musicals. It creates a bright, happy look in the film and sets more of an optimistic and hopeful tone, as opposed to low key lighting.
What are the different lighting techniques called?


