Shooting During Golden Hour: 9 Tips for Nailing Your Shot Outside
Hire film gear from local filmmakers.

Hire film gear from local filmmakers.
Natural light is beautiful and cheap, making it a treasured asset for every filmmaker and photographer. The downside is that the sun is not a bulb you can regulate. Instead, you are the one who suffers the adjustments.
Meaning, you must work during the periods when the sunlight is most flattering. For warm tones fans, such a time is called the golden hour.
Before you start looking for the perfect time to take pictures, you should know all of the basics of photography. Read our article to learn everything you need to know.
What is golden hour?
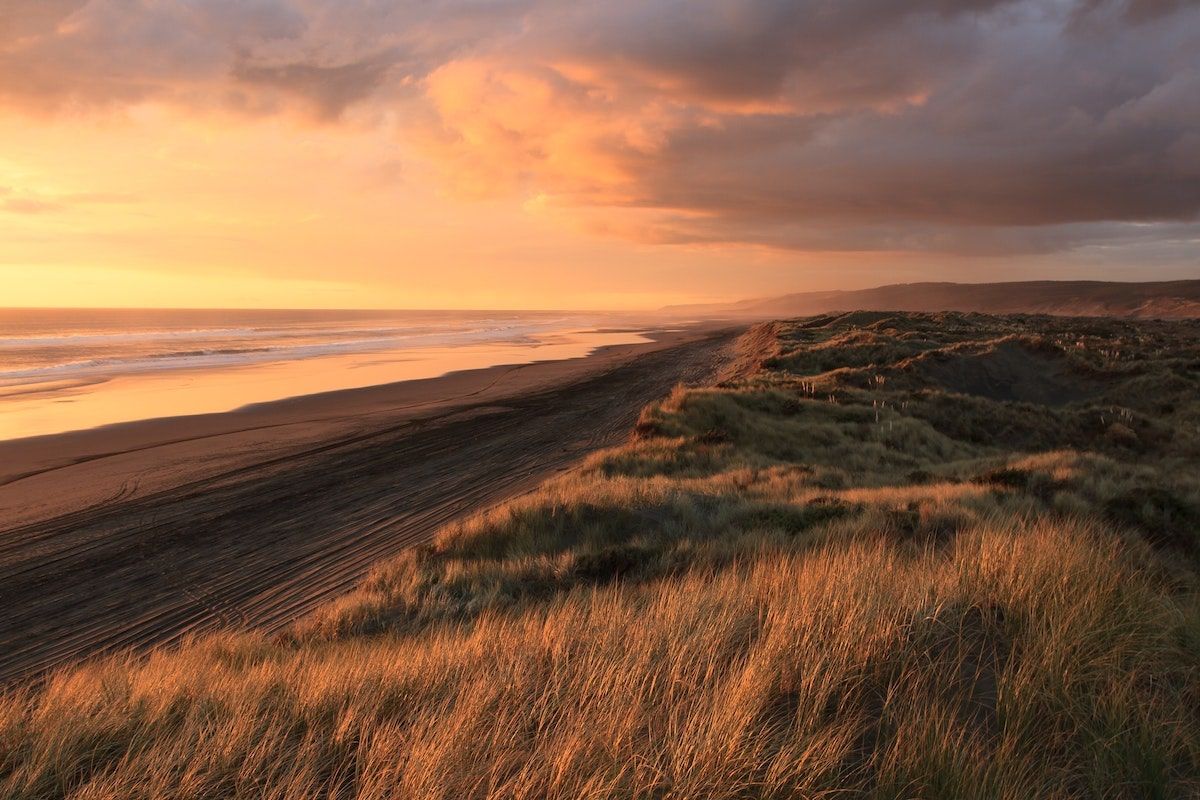
The golden hour is when the sun sits close to the horizon, making its light smooth and warm. This light is perfect for photography and filmmaking as it is not too bright, and the contrasts are soft.

What are golden hours good for?
- Portraits
- Landscapes
- Architecture
- Travel
- Nature
When are golden hours?
The golden hour happens twice per day. Roughly speaking, it occurs during the first hour after dawn and the last hour before sunset. However, the length of the golden hours varies based on your location and the time of year.
Golden hour calculator
Before you sign up for meteorology classes, several websites and apps can give you a hand. These consider your location and season to tell you what time is the golden hour. Some will even tell you the light contrast, direction and temperature, and more. Here are a few examples: Photo Ephemeris, PhotoPills and GoldenHour.One.
9 golden hour photography tips
1. Plan ahead of time
The golden hour happens in the blink of an eye. Considering the hustle of adjusting your equipment and settings, you may easily lose the perfect timing. To prevent such, use an online Sun Calculator to determine when it will be at just the correct angle at your shooting location. Plus, be familiar with the area and arrive with some ideas for subjects and perspectives to photograph.
2. Adjust white balance
To make sure you seize the authentic golden hour hues, you might want to alter the white balance setting. Both the Cloudy and Shade white balance options will warm up your images, enhancing the gorgeous aesthetic that the golden hour is known for.
3. Use a wide aperture
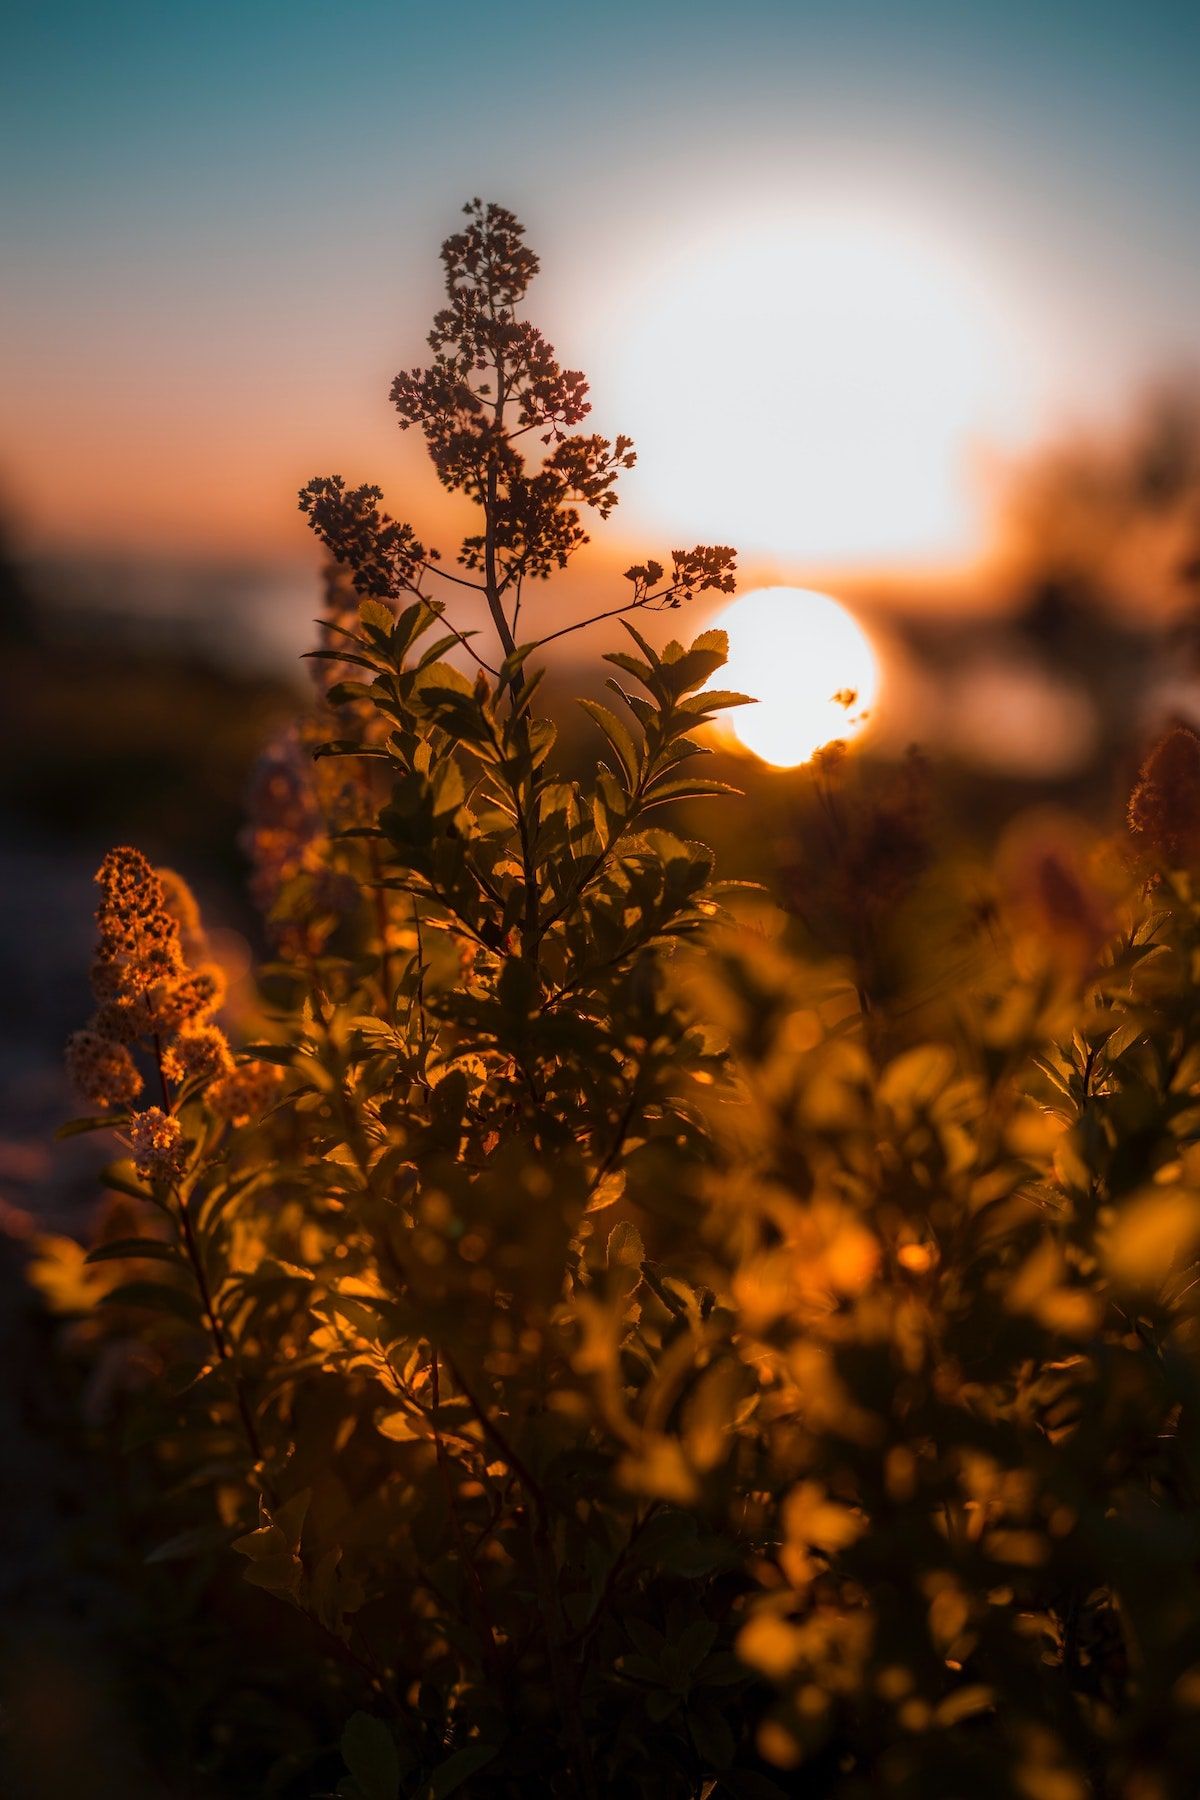
Using a wide aperture will provide you with two things: more exposure and a shallow depth of field (the foreground is in focus, and the background is blurry). If the light is inefficient or if you want to isolate a single subject, a wide aperture is exactly what you need.
4. Experiment and take plenty of photos
The light changes every minute. To guarantee that you record every change, shoot more pictures more often. It is better to have more possibilities to deal with afterwards than to feel like something is missing (and who knows what gems you may accidentally capture).
5. Increase ISO
Due to the low light levels during this period, you may need to experiment with a higher ISO setting. Nonetheless, keep in mind that this may result in increased noise.
6. Avoid unwanted shadows
Low-angle light casts longer shadows, adding drama and complexity to your image. Still, not all are welcome. In that sense, use a reflector to control the direction of the golden rays.

7. Underexpose
Underexposing will highlight the vibrant colours of the sunset or dawn. Besides, it is harder to darken an overexposed image than to brighten one, so you will be making your future self a favour in post-production.
8. Use a tripod
The golden hour will provide beautiful light but will not make your images sharper for you. In that sense, a tripod will help you keep your photographs clear when playing with a variety of apertures.
9. Prepare gear and camera settings well in advance
Again, the sun will not slow down for you to organise yourself. As such, plan the results you are trying to achieve and prepare your gear and settings in advance. For example, as said earlier, you may want to consider a larger aperture or higher ISO.
Explore depth of field
Now that you know when the sun behaves best, it is time to understand how your camera acts. To isolate your subjects and create beautiful bokeh effects, you must explore depth of field.
Golden hour FAQ
What time is golden hour?
It is the first hour of light after sunrise and the last hour before sunset.
What time is the golden hour for selfies?
It is the first hour of light after sunrise and the last hour before sunset.
When is golden hour?
It is when the sun lays close to the horizon.


