3 Easy Steps & 4 Essential Tips – How You Setup Lighting for Video
Hire film gear from local filmmakers.
Hire film gear from local filmmakers.


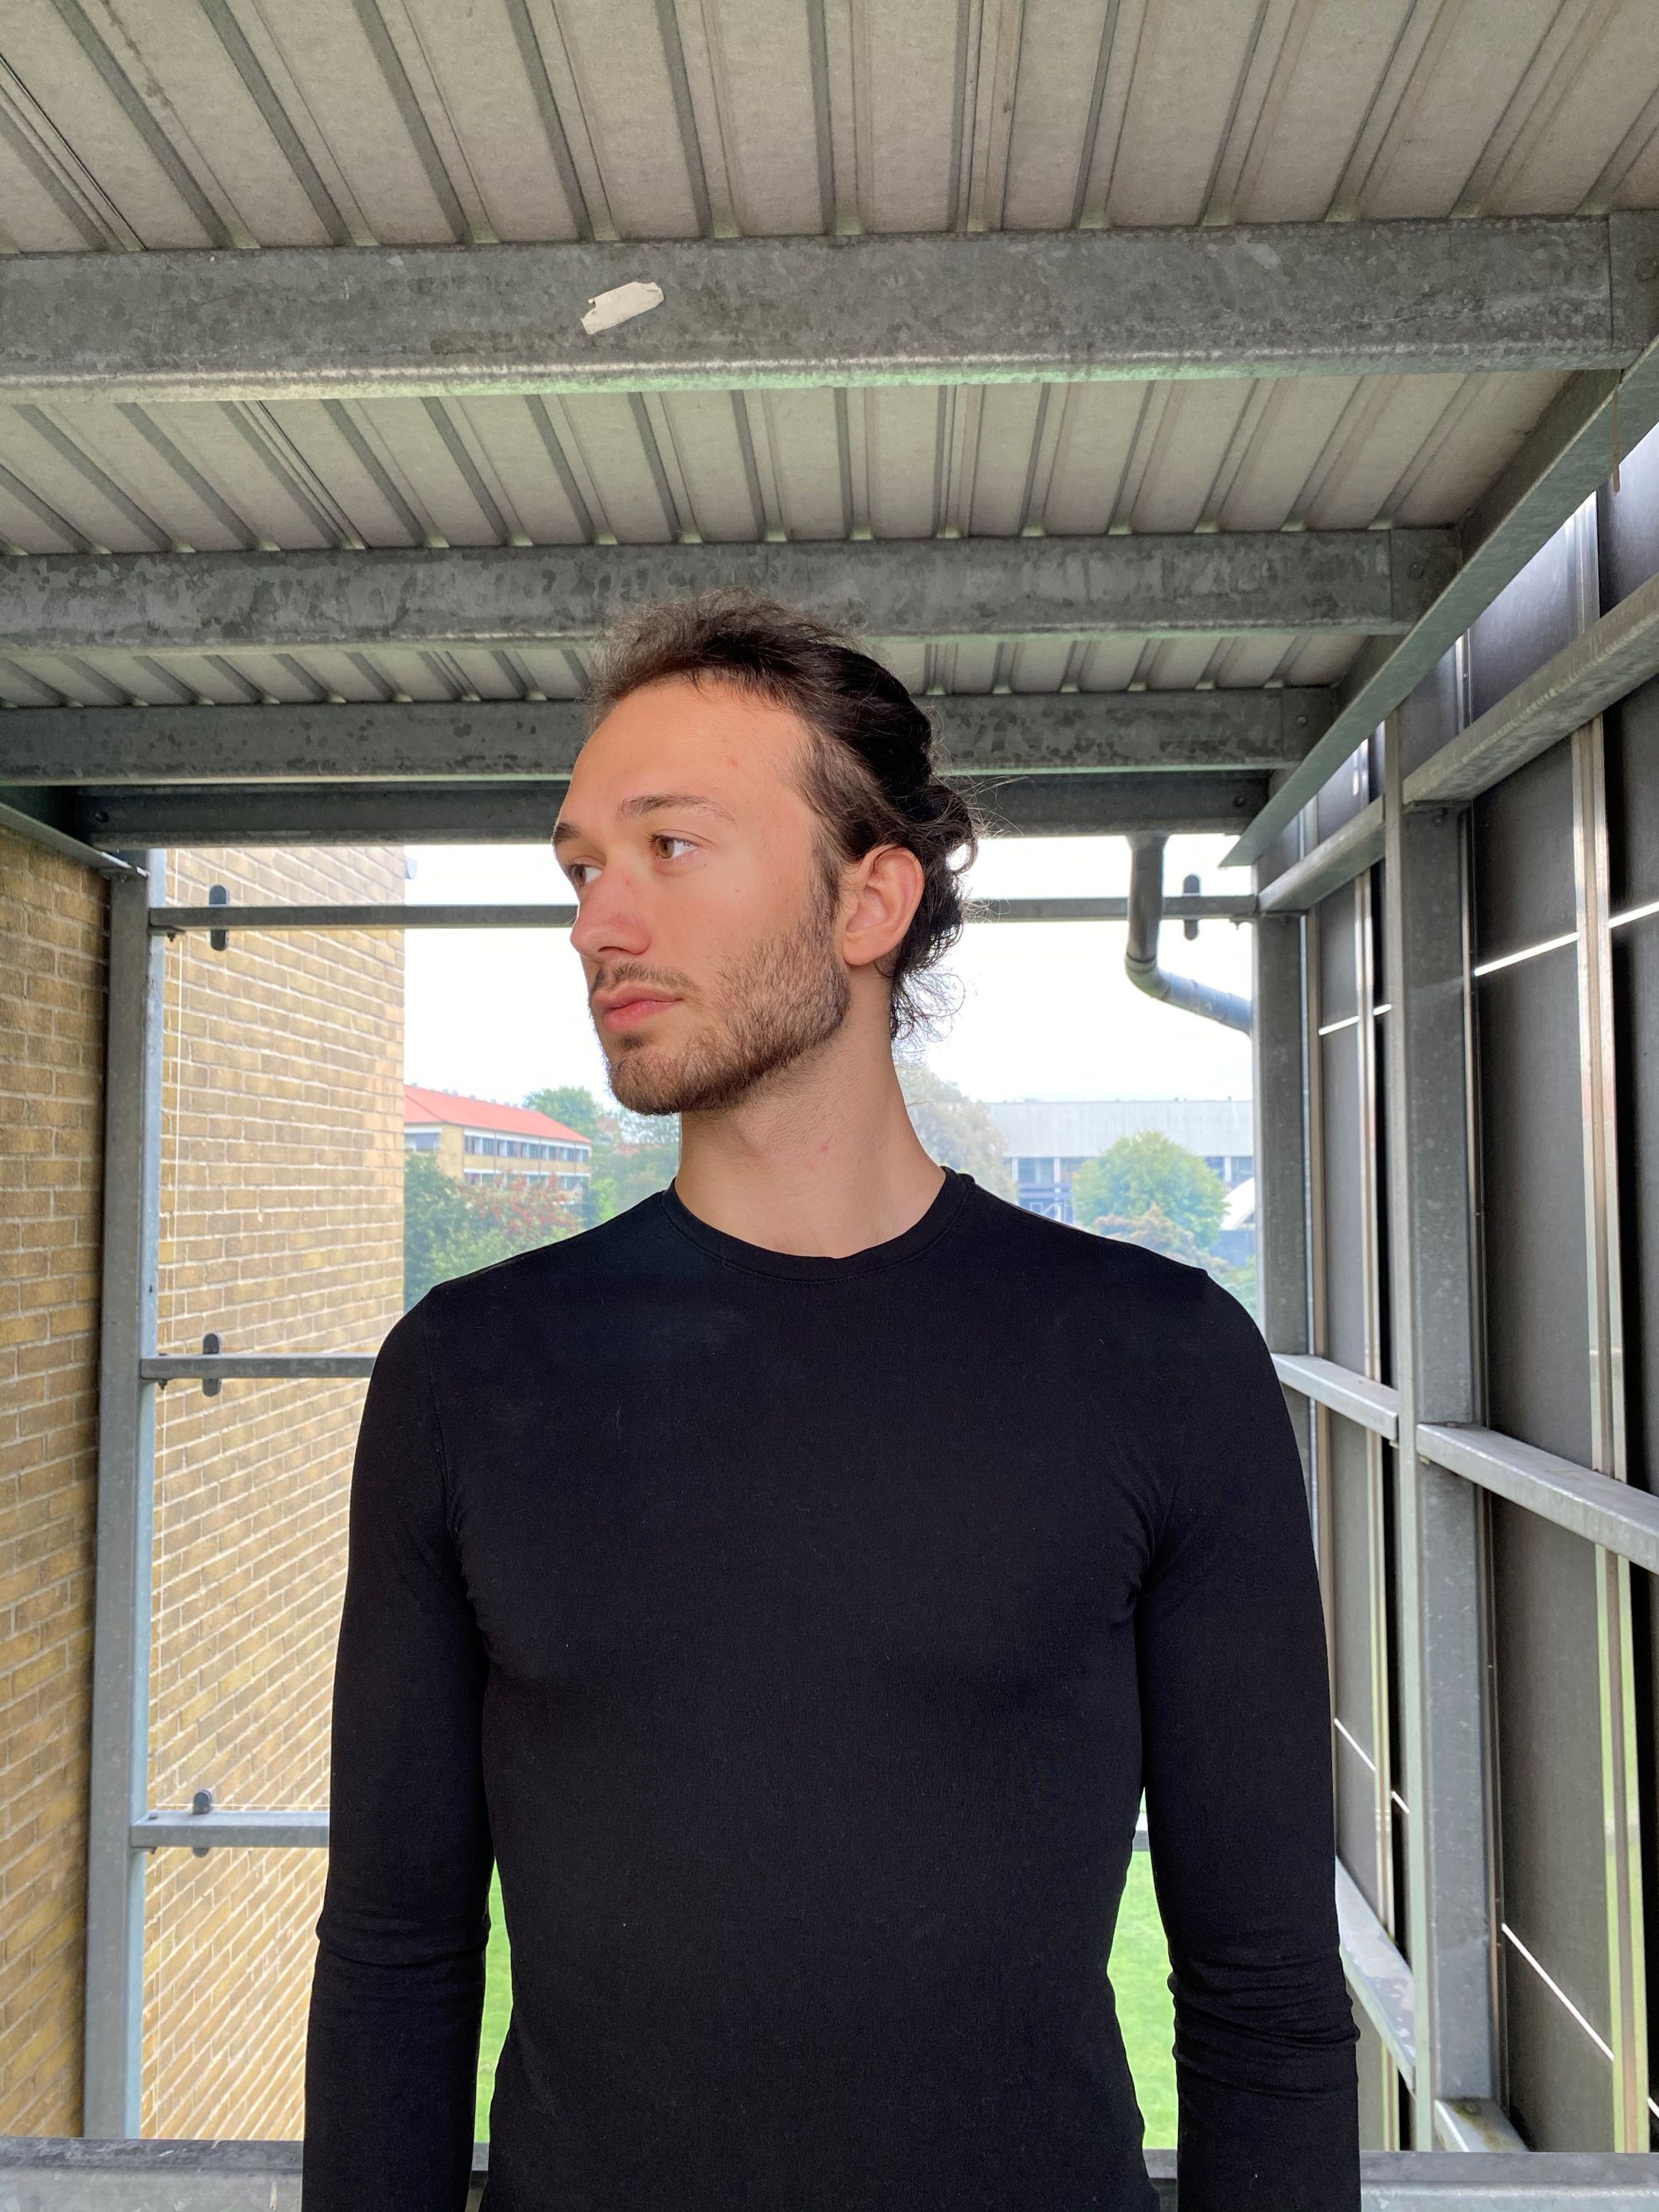
Learning to light your videos properly can be a daunting task, especially for beginners. There’s a massive difference between how we see and how a camera captures scenes.
Don’t worry, here we have broken video lighting down so you can create beautifully lit videos in no time.
Before you master your video lighting setup, you should know the basics of making videos. Check out our page on video production to get started.
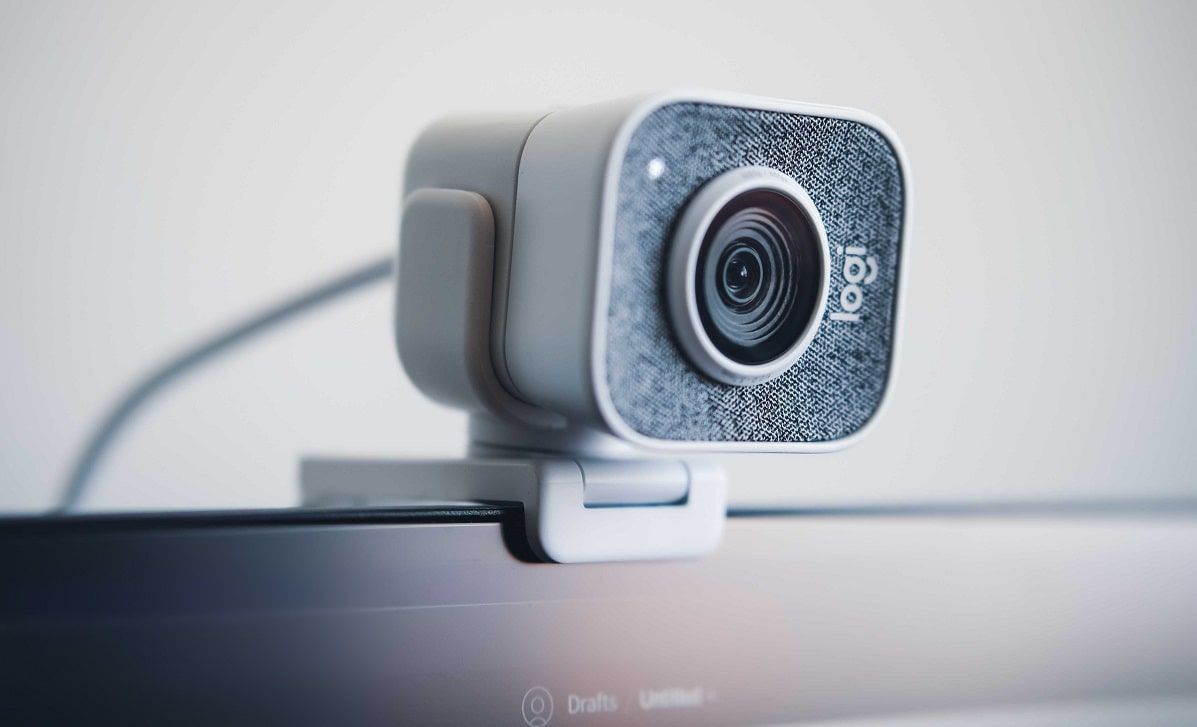
Webcam lighting
Here are some tips for setting up your webcam:
- Make sure you have enough light. Either make sure you’re filming in a spot with enough natural light or invest in some lighting equipment.
- Make sure your face is evenly lit to avoid unwanted shadows. Play around with the placement of your webcam to get the perfect setup.
If you’re on a budget, try placing your webcam in front of a window, so the natural light hits your face. If you don’t have access to natural light, don’t fear; there are many cheap ring lights you can use to up your lighting game.
How to light a video
Step 1: Prepare for the shoot
Scout your location before you start shooting. Keep in mind that natural light is subject to change very quickly- one minute the sun is there and the next it’s disappeared!
These kinds of changes can prove disastrous for your lighting setup. Make sure you account for this and have lighting backups to ensure your video lighting is constant.
Step 2: Decide on a lighting source
Lighting on a budget:
Natural lighting can be gorgeous if it stays constant, but you can’t depend on the weather to remain the same throughout your video. If you have this luxury, use it! It’s also the cheapest option.
There are plenty of cheap alternatives. You can get a bunch of different clamp lights online – but you don’t have much control over dimming and brightness, so watch out for this.
You can get creative with adjusting your lights. If you want to create a softer filter, you can buy diffusion paper and tape it over your lights. Play with different reflectors to bounce your light, so it’s not so harsh as well.
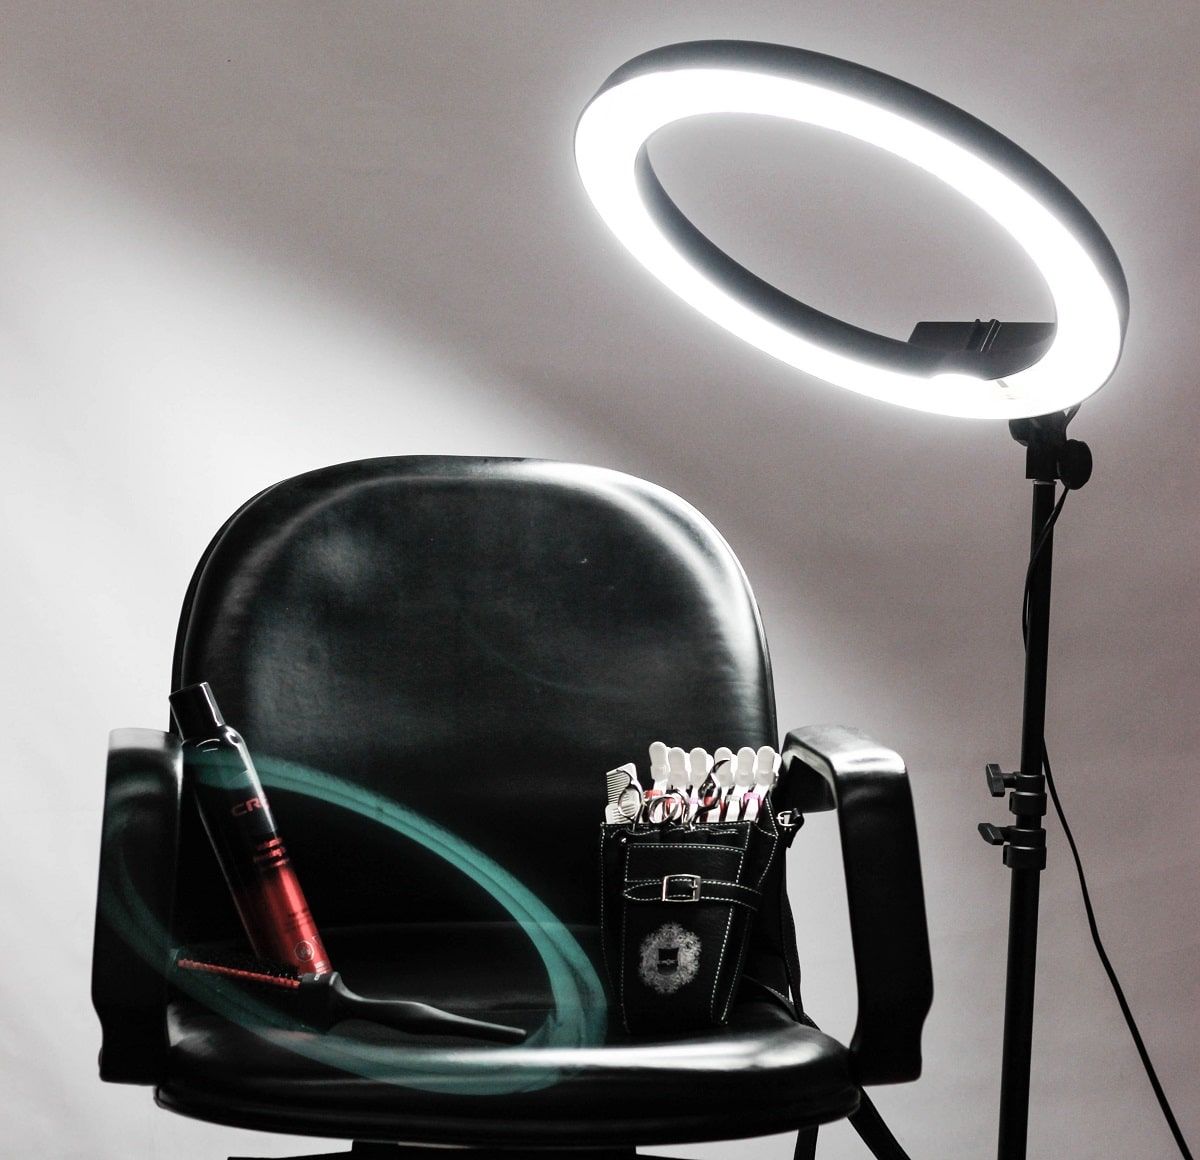
Mid-range:
If you have a few hundred dollars to spend, then you can get some decent studio lights for your setup. Many of these studio lights can often be pretty bulky, but you can fish around to find a good size for your setup.
It’s a good idea to get one with a light stand, as lighting facing down is always a flattering angle.
High end:
You can get lighting setups with some very fancy features. This is a good idea if you’re shooting quality videos regularly and need to control things like dimmers and colors.
It’s a good idea to rent these expensive setups first to check if they are worth the money for your videos. Check out our website to do this.
Step 3: Position your lighting
Next, you’ll want to position your lights and reflectors for your video setup. The most common way of doing this is called the three-point setup- read on to find out exactly how to do this.
Step 4: Adjust light color temperature
Depending on the light you choose, it may give off a cooler or warmer tone. This affects the mood created in your videos, and you typically don’t want to mix these tones.
Color temperature is measured in Kelvin (k), so do your research before buying your lights.
The three-point video lighting setup
This setup has a key light, a fill light, and a backlight. Imagine your setup as a clock, with your camera at 6.
Your key light is approximately at 4. It provides the most light for the scene.
Your fill light sits at 8. It fills in and softens the shadows created by the key light. It should have about half the intensity of your key light.
The backlight should be around 1 or 2. It diffuses your subject into the background to avoid a flat-looking shot.
3 video lighting tips
1. Diffuse harsh lighting
Lights that you can’t dim or filter are known as ‘hard lights’. They help shoot high-contrast videos but don’t suit every setup. You can diffuse them using everything from barn doors to diffusing paper. Get creative with your soft light!
2. Watch for glare
If your scene has reflective surfaces, you need to account for glare. This is especially the case if your subject wears glasses. Try to shoot at such an angle (either to the side or from a higher angle) to reduce glare.
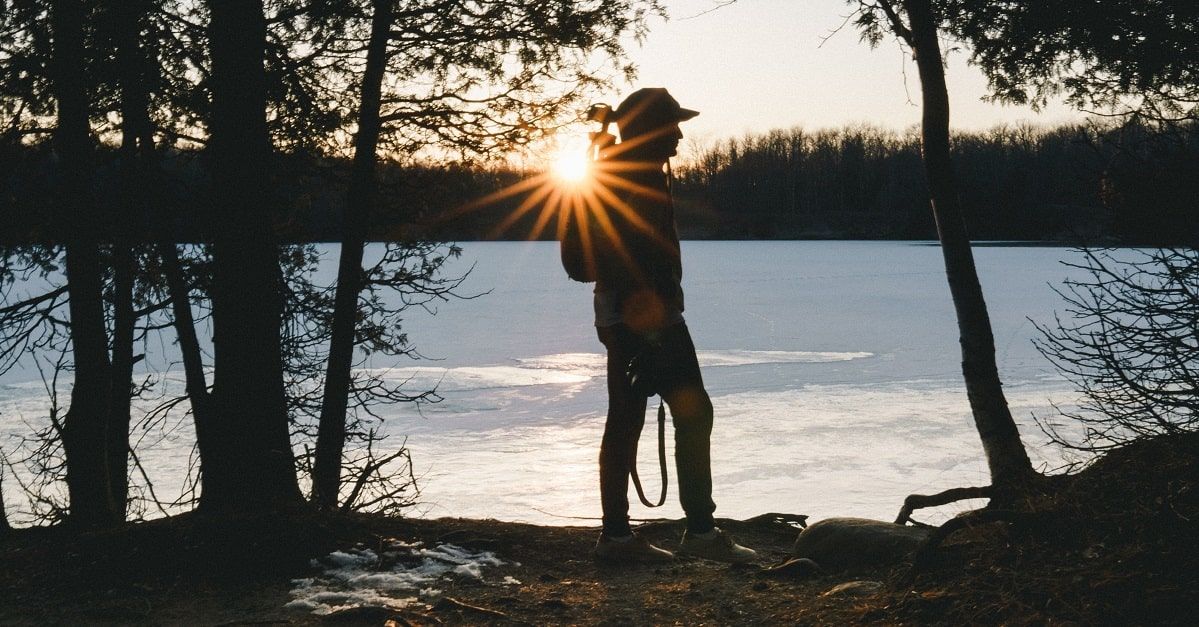
3. Be mindful of natural lighting
Natural light changes quickly as the sun moves. Therefore, you don’t want to rely on the sun as your only light source. Keep a backup plan in case the sun leaves you hanging.
Learn how to make better videos
Eager to learn more about lighting setups? Head over to our page on film lighting to dive in. Then check out our page on filmmaking to take your videos to the next level.
Video lighting FAQ
How do I set up video lighting?
This will depend on your location and what lighting you’ve chosen to use. If you’re stuck, go with the three-point setup.
How do I light a video professionally?
A great way to add that professional look to your videos is through your setup. The light is only the beginning of your setup: play with diffusers, reflectors, and fill lights so that your videos look like they’ve been shot by a professional.
Where should lighting be placed in a video?
You can use natural light with your subject facing a window that the camera is in front of. If you can't rely on natural light then refer to the three-point set up for an easy plan to follow.