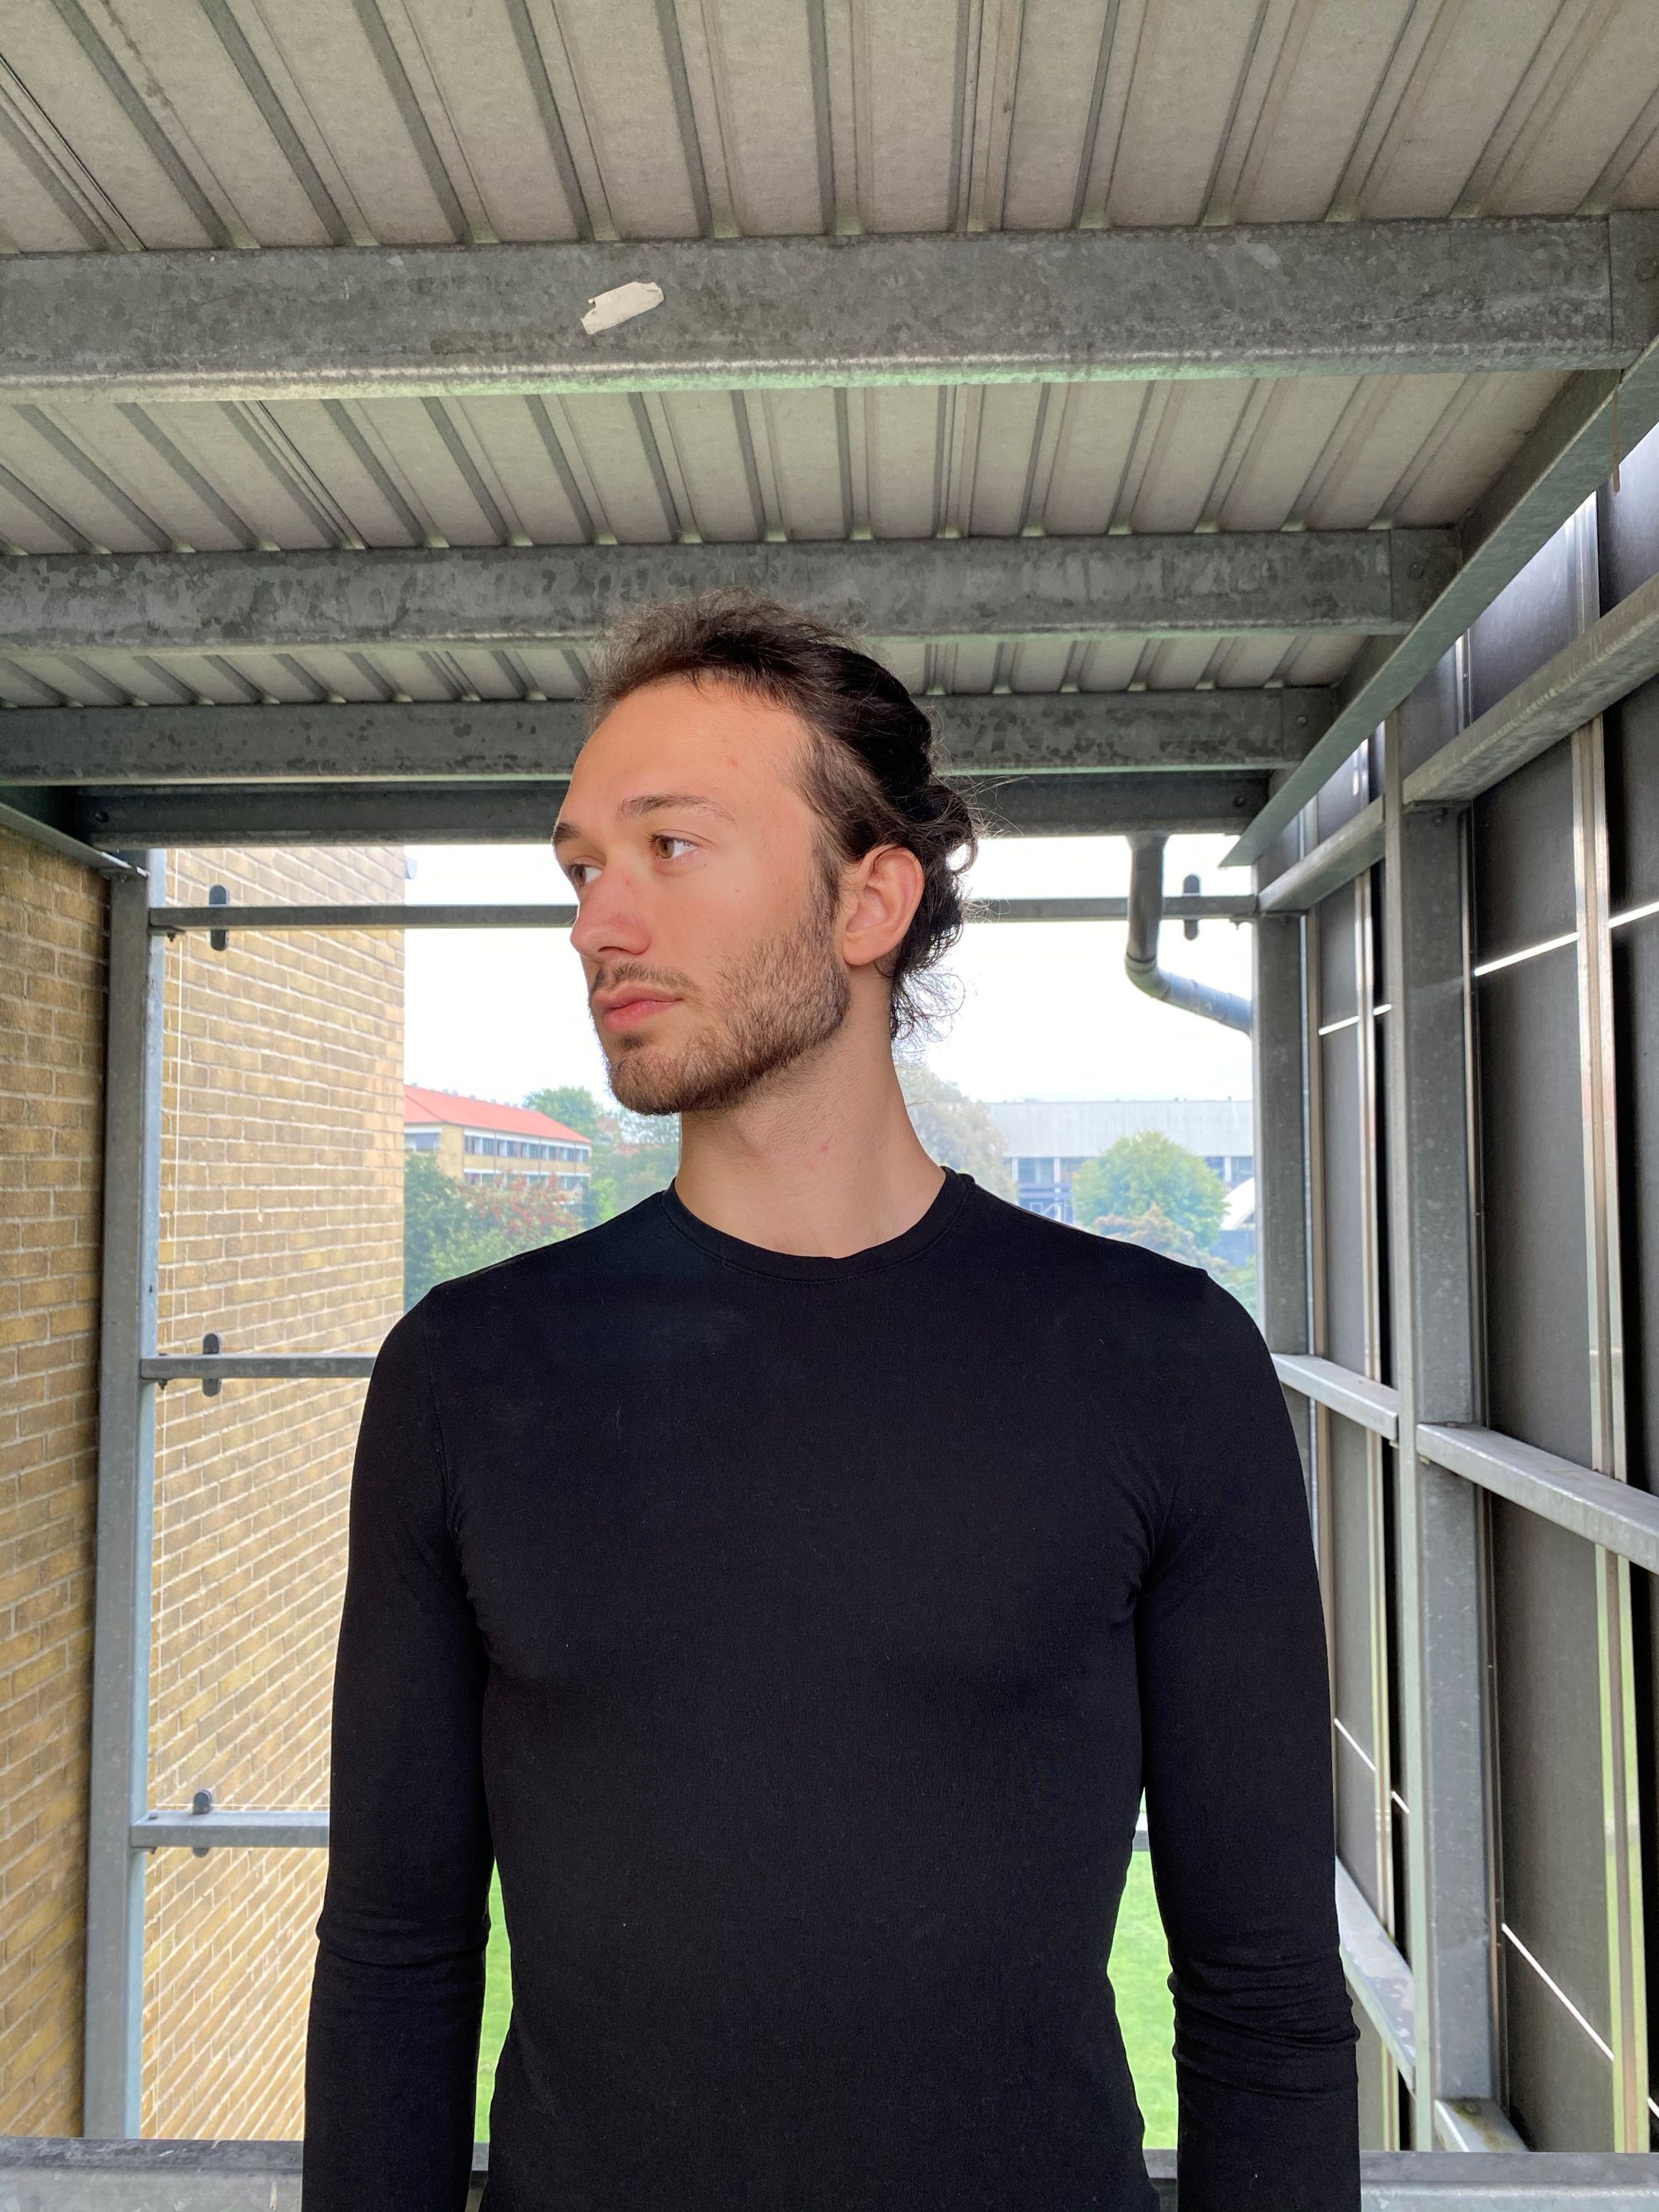
Planning a Photoshoot: 9 Essential Steps for Succesful Photoshoot
Hire film gear from local filmmakers.
Hire film gear from local filmmakers.


Okay, so you want to do a photoshoot but you're not sure what exactly do you need to prepare for.
You can breathe easily again.
This article will guide you step-by-step through the 9 essential steps of planning a photo shoot. Rest assured, after going through this list, you will be prepared and ready.
Now, if you're a beginner with a newfound passion for all things photography, read our introduction to photography to get a general overview.
How to plan for a photoshoot in 9 steps
Whether you're an amateur or a seasoned pro, it always helps to have an overall plan of the things you need to prepare for the photo session.
That way, you don't have to think as much about all the organizational details, and only focus on your work - creating beautiful photography.
You don't have to go through these steps in the precise order we list them.
For instance, if you already know the location beforehand, you will have to work around that. In general, we think this is the most practical order of the steps.
1. Develop concept and define goals
The first step is always the same. Develop your core idea. In other words, the concept of what do you want to create.
Without this step, you can't move forward. Well, you can, but you will be lacking direction in the photoshoot.
Think about the theme and the style you want to create in your photos.
Maybe you want to imitate a movie or a historical event. Or a scene from your favorite book.
What kind of mood should the photos have? You are free to develop the idea here.
Scary, with low light and dark colors. Or a futuristic-looking, light-filled extravaganza?
You can always gather inspiration by searching for ideas online. There are literally endless possibilities.
2. Create a mood board
Once you have a good grasp of the idea you want to go with, create a mood board.
Moodboard sets the visual direction and the mood of the photoshoot.
Collect images and graphics that inspire you in one place. Play around with new ideas and discuss them with your subjects/clients.
Slowly, you should be able to define individual aspects like lighting, makeup, styling, clothes, and other factors more and more.
3. Pick the right location
Now it's time to figure out the location (unless you know it from the get-go).
This part can get tricky. But again, options are only limited by your creativity!
When considering location, think about the following:
- Is it an outside place or a prepared photoset?
- Does it fit with your mood board and idea?
- Is it a transportation-friendly place? (You don't want to cancel your session just because the model wasn't able to get there or find the place)
- Will you be moving or staying in one location?
- What is natural lighting like? Do you need to bring your own lighting?
- Is it possible for the model to change their clothes on the scene?
- Do you need a permit to shoot there?
A little hack many photographers use - whenever you scroll Instagram, save posts with attractive locations in your area. This way you can find some really improbable but beautiful spots.

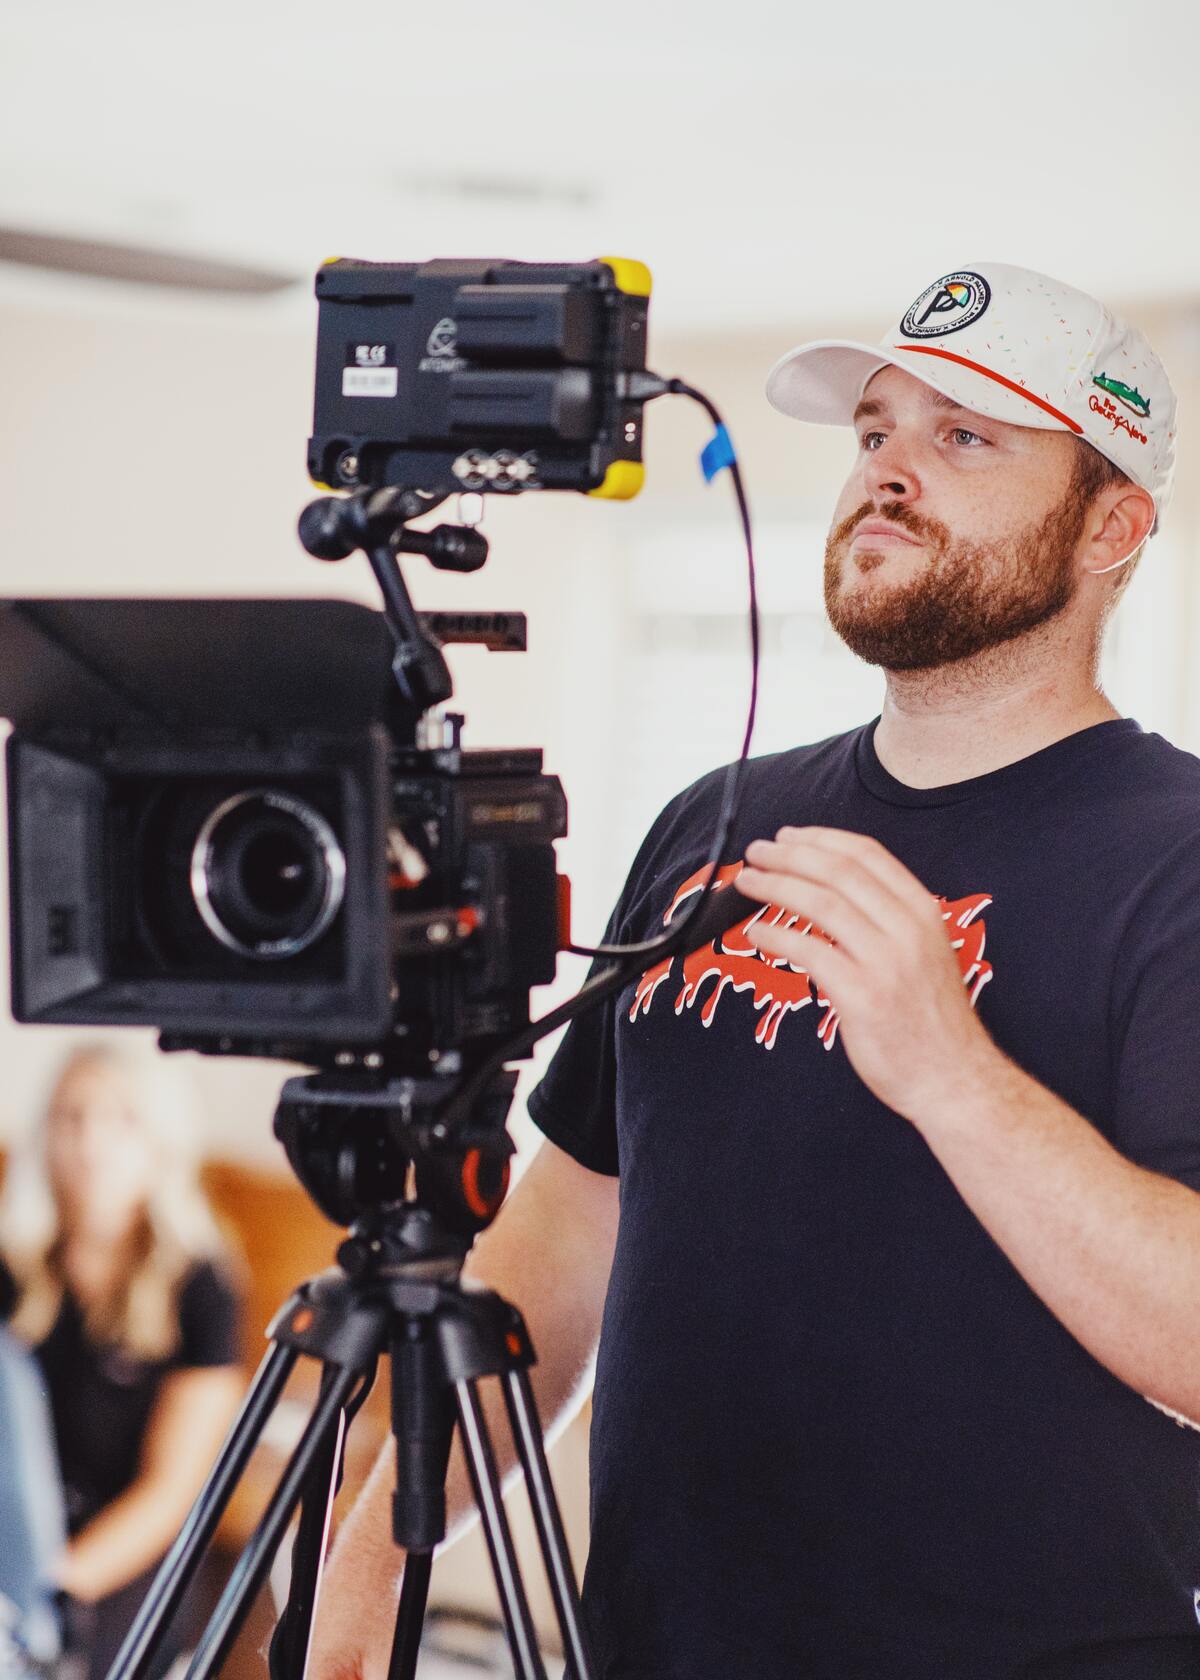
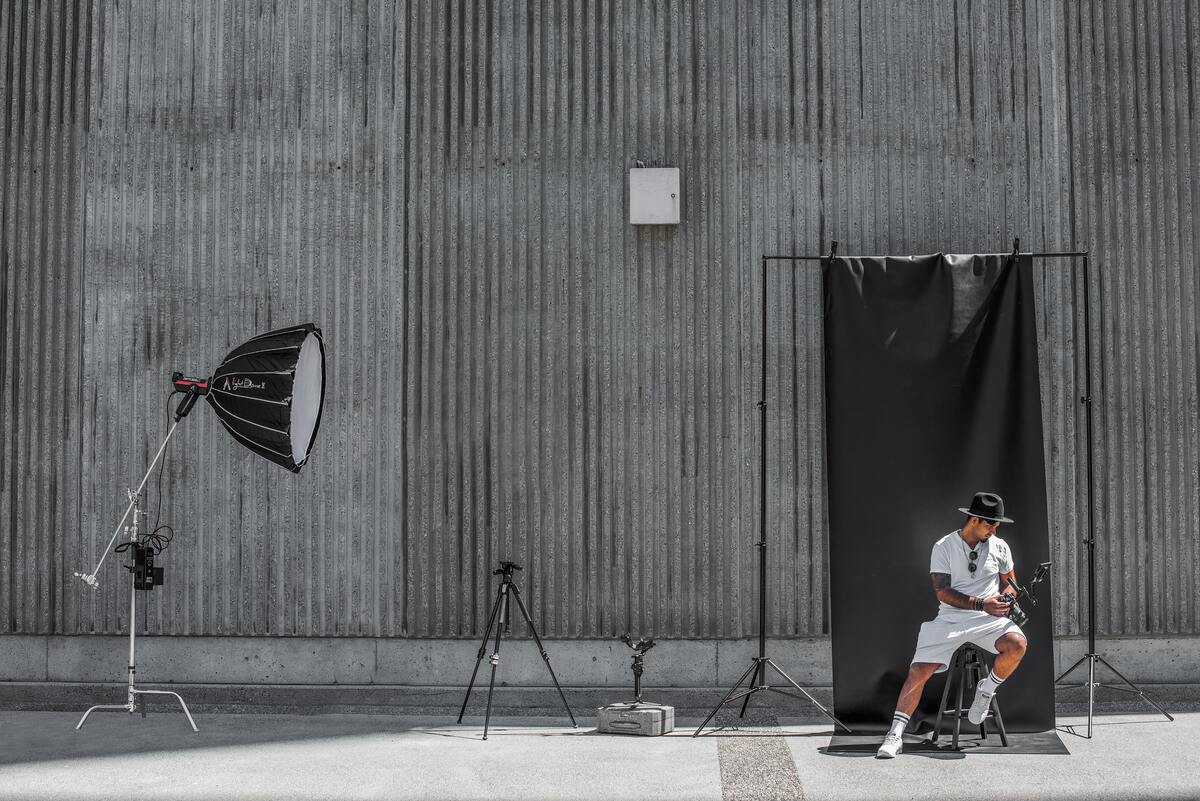
4. Scout needed camera equipment
If you decided on the location, the next step is to get the camera gear suitable for your photoshoot.
Depending on the type of shoot and location, consider different gear.
- What kind of lens will you need?
- Do you need a tripod or do you only shoot standing?
- What will you do when it gets dark - do you need a flash?
- Don't forget a spare memory card and batteries. The last thing you want is to run out of space or juice during your photoshoot.
For instance, if you are a photographer at a friend's wedding, you probably want a spare memory card, fully-charged spare batteries, wide-angle and prime lens, and an off-camera flash maybe.
5. Plan each shot with a shot list
Okay, you got your idea, location, and gear ready. What now?
Organize a shot list. Basically, develop a detailed checklist of your shots. Shot lists are a helpful reminder while shooting.
Again, there are many things to think about while taking the photos. During the session, you are should be focusing on doing your best with the camera. Having a reminder about a specific shot type, movement, lighting, or angle is really helpful.
6. Plan execution for each shot
How are you going to achieve the look you want?
Plan for the execution of each shot you want to have. Think about where you'll position the camera and what angle is needed to capture your desired image.
7. Organize your crew and talent
To do this, you should create a call sheet.
A call sheet is a brief with all of the information that your team needs to know. It often includes the following information:
- Date and time
- Shoot concept & background information
- Location - parking options, public transport.
- Responsibilities and tasks of each person. What kind of gear/clothes are they expected to bring?
- Contact details of everyone involved - especially phone numbers. You don't want to be looking for those on the day of the shoot.
- A detailed schedule for the day. Everyone has to know when they have to be up and ready for the shooting.
- Any special instructions or notes
The contact sheet can be very brief if it's just you and the model. Let them know about the organizational details and what they should prepare for.
When finished, send this sheet to your team/models, so there's space for changes.
8. Outline your shooting schedule
This step is here is to let you know how important the schedule really is.
As mentioned in the previous step, you do need a detailed schedule for the day. Especially if you're more than 2 people. Organizing the team can get messy real quick.
Whether someone forgets to bring indispensable gear/clothes/items because they overslept or a herd of cows blocked the road - these things can seriously impact the success of the photoshoot.
We're not saying you need to have planned minute by minute of the day, but you do need an exact starting time. Don't forget breaks and a longer lunch break.
Finally, make sure that everyone is on board with the schedule.
9. Prepare a contact sheet
To wrap it all up, prepare a contact sheet.
This is a post-photo session step.
A contact sheet is a gallery of the best pictures you've taken. There will be many photos that don't make the cut. Preparing a list of the best ones makes life easier for you and the client/model.
Then, you and the client choose together the best photos from the list. These may be edited further.
And that's it. You are now prepared for your photoshoot.
Reminder: Don't forget snacks. You will have a much better time catching the perfect moment when you're not angry.
Pick the best gear for your photoshoot
You should have a solid overview of how to prepare for your photoshoot now. Each case is individual, so always think about your specific situation and cater to the needs of your client.
The only thing you're missing now is the gear! Even the best plan won't work if you try to shoot it on Nokia 3310 (The real GOAT in my opinion).
You can rent or subscribe to all kinds of camera gear on Wedio.
How do you plan a photoshoot?
Planning a photoshoot requires a lot of idea development and organization. Here are 9 steps to never forget anything:
1. Develop concept and define goals
2. Create a mood board
3. Pick the right location
4. Scout camera equipment
5. Plan each shot with a shot list
6. Plan execution for each shot
7. Organize your crew and talent
8. Outline your shooting schedule
9. Prepare a contact sheet