Step-by-Step: Here's How You Make a Time-Lapse Video
Hire film gear from local filmmakers.
Hire film gear from local filmmakers.


Have you ever seen a time-lapse so majestic it blew your mind?
Stunning time-lapses pull in viewers by showing impressive detail and dynamic movement within just a few minutes. Whether you want to capture the beautiful clouds rolling in or the city coming to life, try this technique!
Learn how to make a time-lapse video in several different ways by reading on.
Interested in more filmmaking? Check out our comprehensive guide on filmmaking.
What is a time-lapse video?
A time-lapse video is a film or footage that has been artificially sped up. It often features events that would normally be unremarkable at a natural speed. It’s the perfect method to show dynamic change over time.
There are two ways of creating time-lapses. You can either capture a video and speed it up in the post-production phase or piece together a series of photos.
How to make a time-lapse video with stills
Photographing stills at a specific interval over a period of time is one of the most efficient ways to go. Follow these steps to learn how to make a time-lapse video with stills.
Step 1: Focus on a subject
What story do you want to tell? Will you showcase the rainclouds rolling in or remake the entire Lord of the Rings trilogy with LEGOs?
Anything can be a fascinating subject as long as it moves! Come up with an idea of what you want the final result to look like.
Follow photography’s rules of composition and figure out how you want to frame your shots. They apply in many cases!
If you want to brush up on the basics, learn all you need to know about photography.
Step 2: Begin with a tripod or a stable surface
Once you find your subject and story, it’s time to get started. Your camera mustn’t move in the duration of your recording. Otherwise, your footage will be ruined!
Use a tripod or stable surface to level your camera and check that you’re satisfied with the framing. Make your setup 100% steady and check for potential disturbances that could ruin the shot.
Step 3: Use still photo mode on your DSLR
Set your DSLR or mirrorless camera to photo mode and put it on manual exposure. Fiddle with the settings until you’re satisfied.
You shouldn’t adjust them during recording unless the shooting conditions change.
Step 4: Use a slower shutter speed
Using a low shutter speed will avoid the annoying jumps in your time-lapse that make the viewers feel like they’re constantly blinking.
A shutter speed below 1/125 s is a decent place to start, and the lower you go, the more fluid your video will turn out.
Step 5: Use a timer
Check if your camera has a time-lapse or interval mode built-in. Take advantage of it if you can!
It’s important to find suitable intervals to shoot at, but unfortunately, there is no one-size-fits-all solution. The perfect settings depend mainly on how fast your subject is moving.
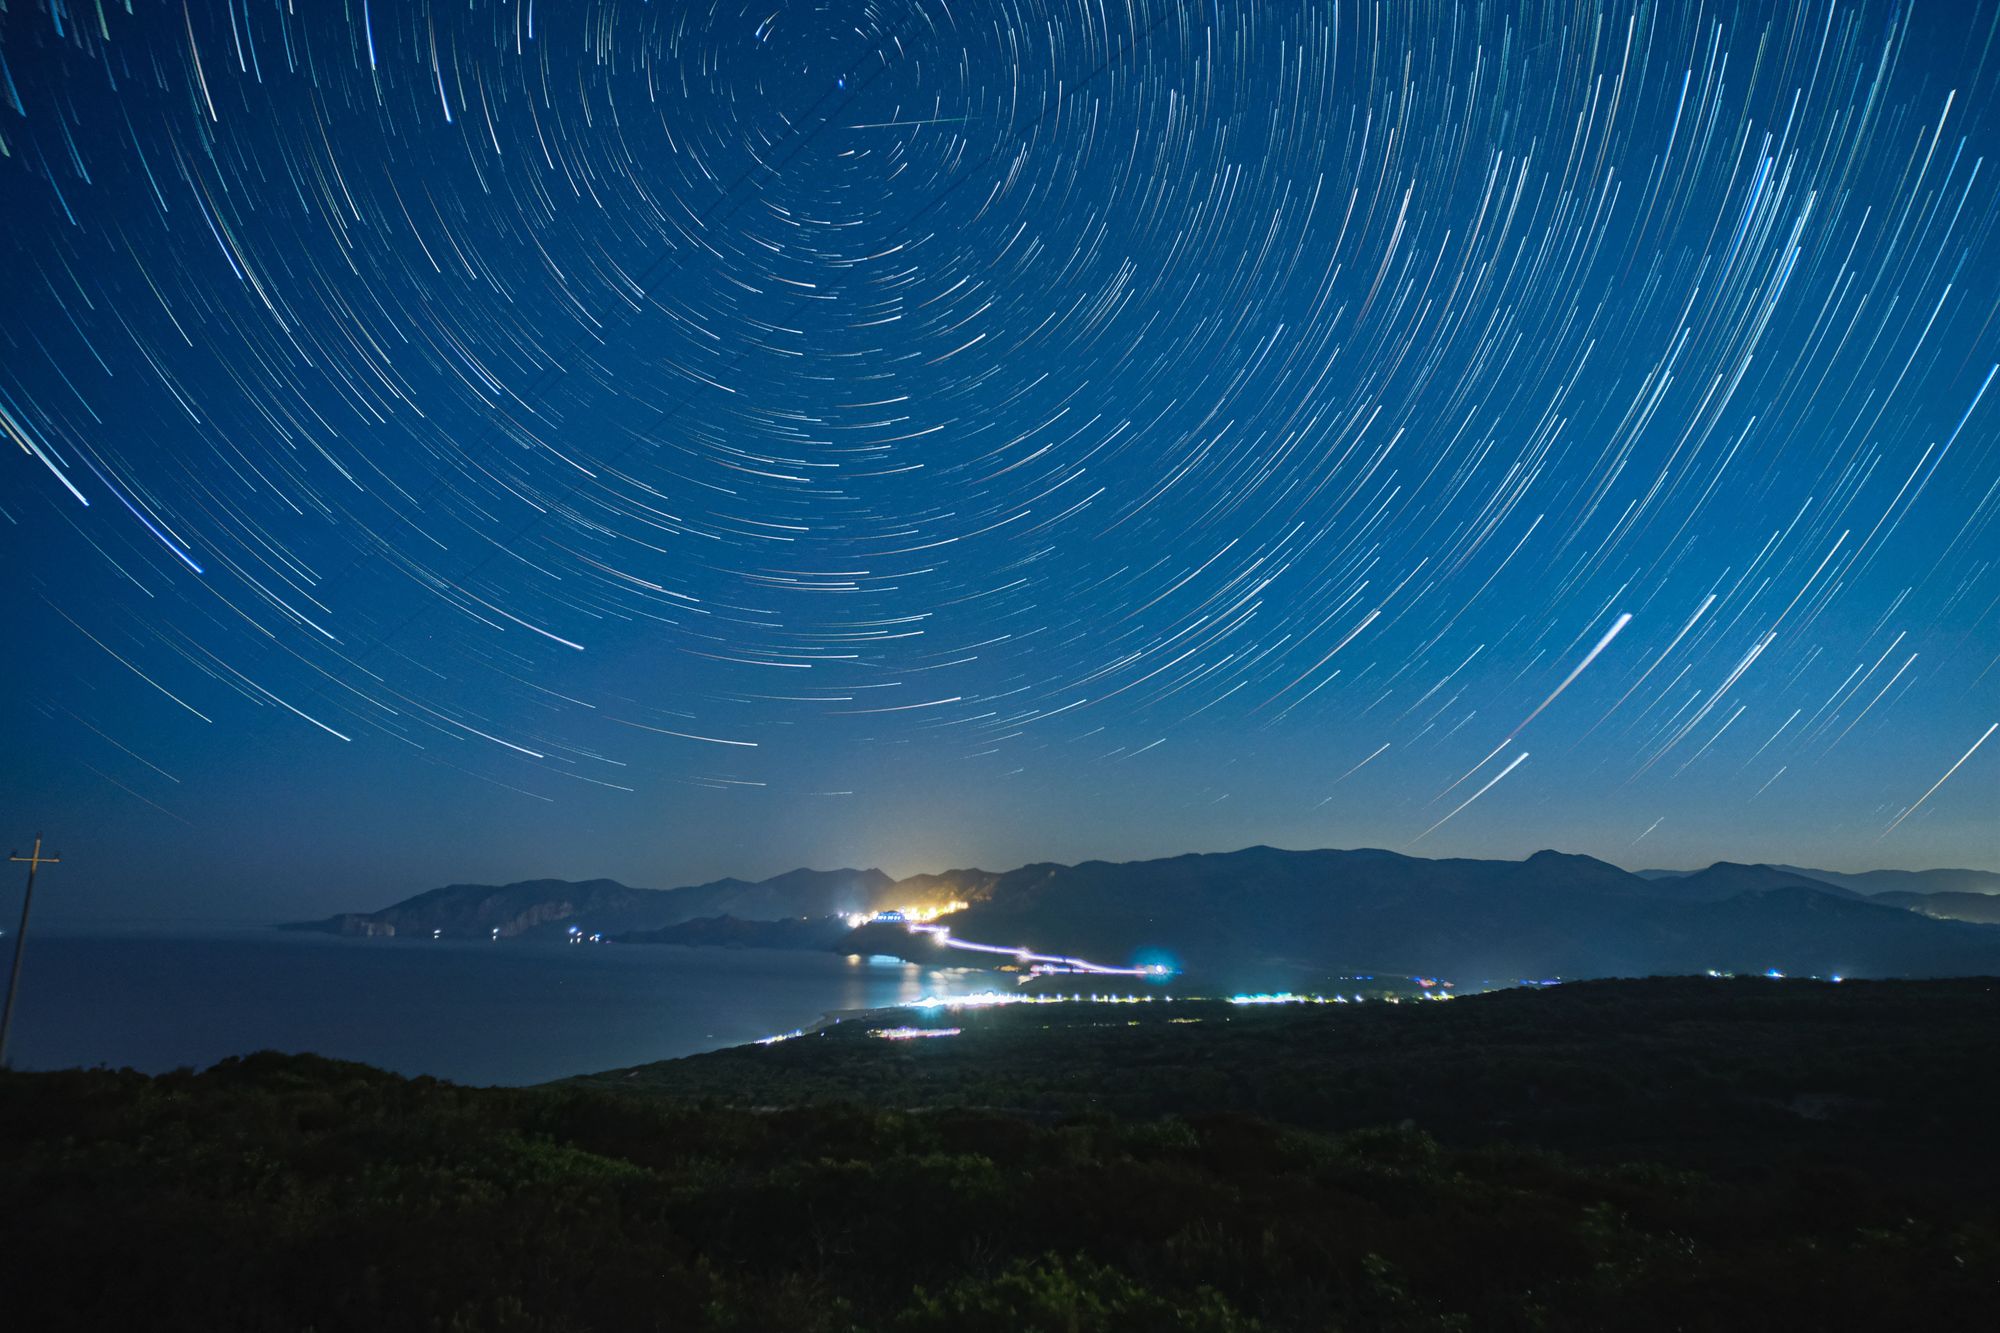
The ideal interval for photographing the sky is generally between 5-15 seconds, depending on the weather conditions. For the stars, you can’t have longer intervals than 20 seconds to avoid the video turning out too blurry or hazy.
Step 6: Consider an intervalometer
An intervalometer lets you set a timer at which your camera will take pictures in lieu of an inbuilt timer.
Follow the same advice from step 5 and experiment with settings until you’re satisfied.
Step 7: Import and stitch together
Once you capture the photos you hoped for, import them into your editing software to stitch them together. Most software, free or paid, is able to do this! Just search for stitch or time-lapse, set your desired fps, and watch the magic happen.

How many photos do I need to make a time-lapse video?
In a time-lapse, one frame is equal to a photograph. The standard frames per second for movies and TV shows is 24fps.
This means that if you want to imitate a similar fluidity, you’ll need 24 frames for every second of your video. Learn about frame rates to find out more.
Therefore, 1440 shots are needed for a full minute-long time-lapse and almost 15000 for a 10-minute video.
How to make a time-lapse video with an iPhone
You don’t need the best high-speed camera on the market, nowadays you can achieve most effects with the smartphone you already own!
Here’s how to make a time-lapse video on an iPhone or Android.
Step 1: Go into the camera app
Navigate to the camera app on your home screen.
Step 2: Find the Time-Lapse feature
Find the Time-Lapse function by swiping in the camera app or opening “more”.
Step 3: Set up your iPhone
Similar to pro-grade cameras, finding a stable spot is absolutely crucial. Place your phone on a level surface and check if you like the framing.
Step 4: Hit record
Hit the record button to start your video and tap it again when you’re finished. The video will automatically playback at a higher speed.
Step 5: Share your time-lapses
Nothing left to do besides sharing your video with your network. Experiment with the function and enjoy!

How to make a time-lapse video from a video file
If you’d rather record a video or work with a video file, you may turn your footage into a time-lapse in the editing phase.
Here’s the step-by-step guide on how to do it:
Step 1: Find a tripod or a stable surface
Whether you’re using photos or already recording video, stable footage is an absolute necessity for a successful timelapse. That’s why experienced creators will always advocate for tripods when asked how to make a time-lapse video!
It’s almost impossible to achieve your desired results with a handheld camera.
Step 2: Select video mode on your camera
The next step is quite simple: select video mode on your camera! Most models on the market have dedicated time-lapse modes to make calibrations easier. This provides excellent guidance to beginners.
For the best results, however, consider manually tweaking your settings. This ensures your videos are appropriately exposed.
Step 3: Choose a slow shutter speed
You can take any prerecorded video and speed it up, but you’ll notice that the footage might look jumpy or choppy. To make the movement appear natural, use the slowest shutter speed possible.
This will create a natural motion blur on dynamic objects that will trick the viewers’ eyes.
Compensate for this setting by lowering the ISO and aperture settings to keep your video properly exposed. Learn more about video production to explore more.
Step 4: Record your video
Time to hit record! Set your camera on the tripod and check your framing of the subject.
There are two important things to keep in mind here. The first is to always check that your batteries are fully charged, otherwise, you might be in for an unpleasant surprise. Don’t come back to find that you lost all your footage due to a dead battery.
The other thing to consider is how the weather and time of day will affect your footage. If shooting outdoors, make sure to weatherproof your camera or use sturdy models like GoPros that can handle extreme weather.
Step 5: Edit your time-lapse video
Once you collected your hopefully intact camera, time to export your footage to a computer and edit it. Be prepared that this step can take quite a while due to the large file you’ll be working with.
Speed up the footage to the desired effect. The last thing is to share your time-lapse video with the world and collect praise.

3 of the best apps for creating a time-lapse video
Here are the best apps in 2023 to use for your time-lapses on iPhone and Android.
1. Lapse It
Lapse It is an intuitive, ultra-high-definition time-lapse app available for iPhones and iPads. It features RAW capture capabilities and bracket mode to always get your exposure right!
2. Framelapse
Framelapse for Android allows you to create stunning time-lapses even in 4K. The app lets you adjust frame intervals and compensate for the exposure and white balance.
It also comes with a handy calculator to help you determine what settings to use for your desired results.
3. Hyperlapse from Instagram
Instagrams own app, Hyperlapse features the iconic app’s in-built stabilization and promises extremely stable footage in any condition. It creates hyper lapses of up to 12X speed.
It seamlessly integrates with Instagram and Facebook, so you can share your creations within seconds.
Up next: Explore frame rates
Get out there and start recording time-lapses! Explore the best settings to use and challenge yourself to create something captivating.
If you want to expand your knowledge further, learn more in-depth about frame rates.
How to make a time-lapse video?
You can create a time-lapse video by stitching photos together or speeding up video files.
How to make a time-lapse video from photos?
Any editing app can make a time-lapse by stitching photos together. Simply search for the timelapse or stitch tool.
How do you make a time-lapse video for free?
You can use any modern smartphone to record a time-lapse video. Most phones have a dedicated mode, while others take regular video that can later be sped up.
How do you make a pre-recorded time-lapse video?
If you want to turn a pre-recorded video into a time-lapse, simply speed up the footage in any editor.