Food Photography: 9 Effective Tricks to Help Make Your Photos Look Juicy
Hire film gear from local filmmakers.

Hire film gear from local filmmakers.
Have you ever seen a food billboard and thought: Well, I have been visiting the wrong restaurants because my meals don't look like that?
That means the photographer and designers did a good job.
Whether it is for commercial purposes or merely to enhance your Instagram page, there is a lot of art involved in food photography (and a lot of room to profit from it too).
9 Highly effective food photography tricks
1. Experiment with multiple angles
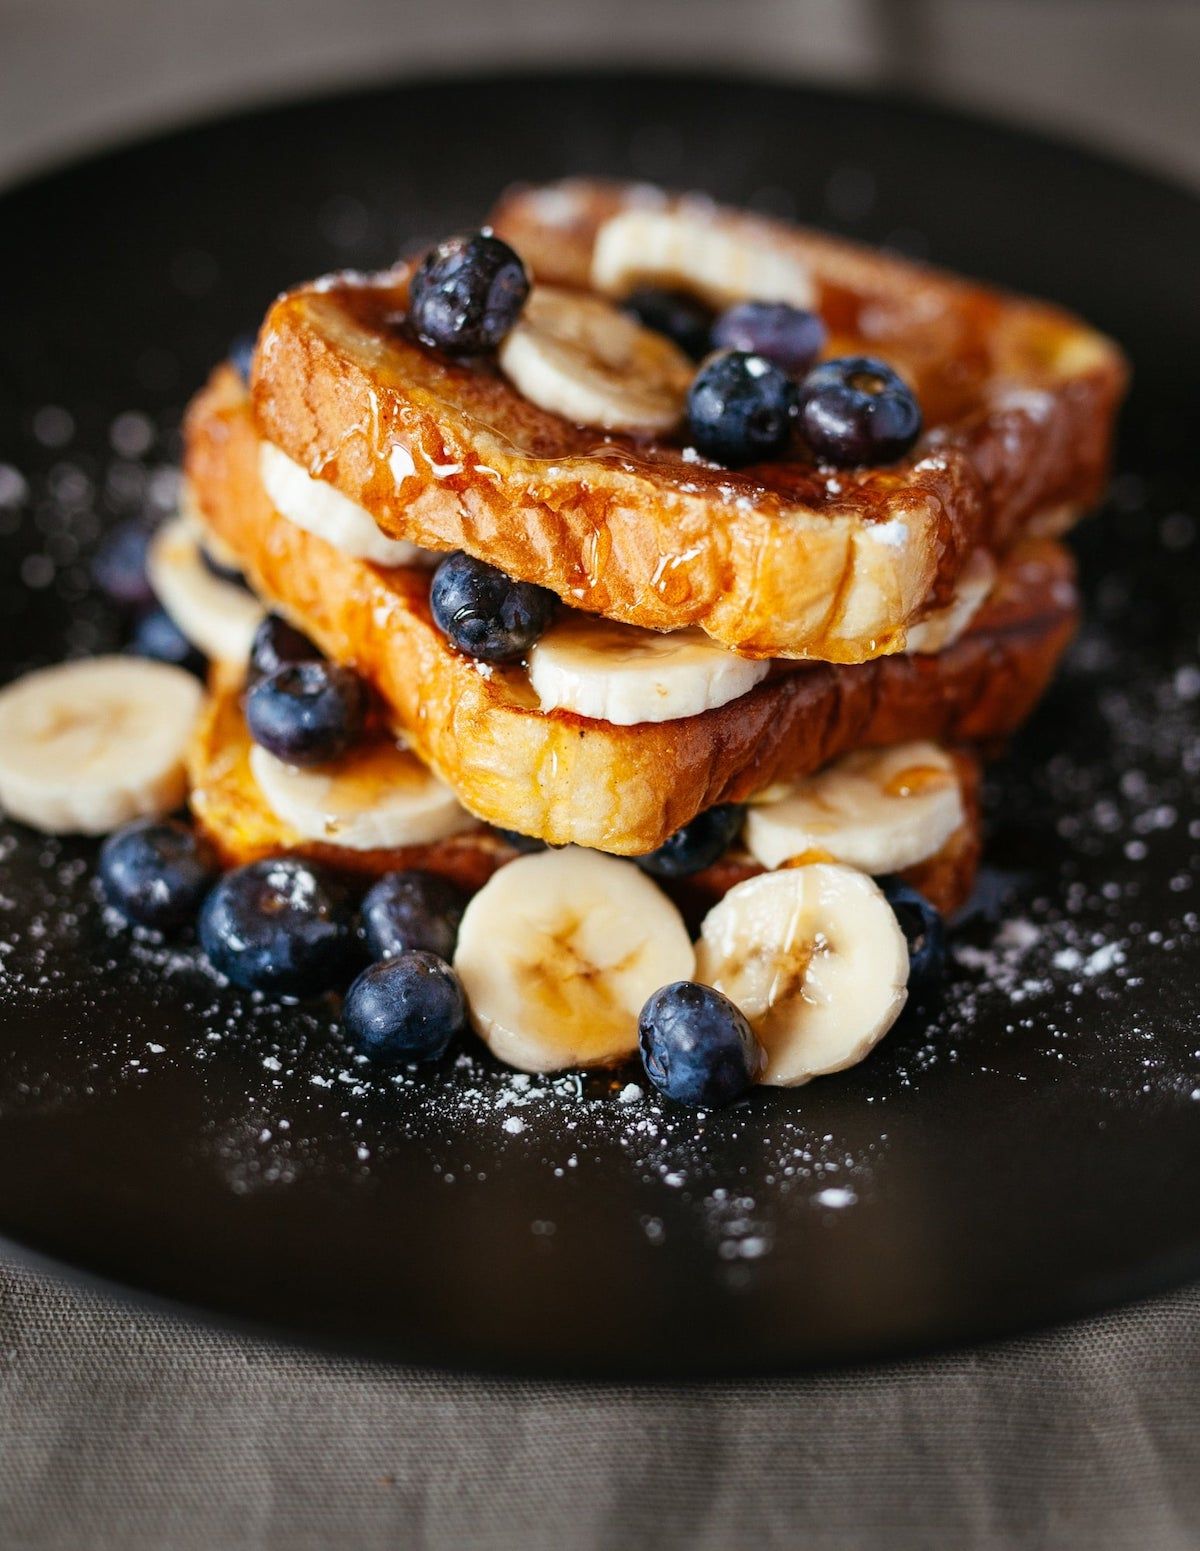
Just as with portraits, different angles will have other impacts. Unfortunately, your burger will not pose for you, so you are responsible for finding the angles that flatter it the most.
There is no formula for this, so experimenting is the way to go. While some dishes look better from above (like, pizza), others will be more interesting from the side (such as pancakes) or even at a 45-degree angle (like a yogurt parfait).
2. Pick a focal point and minimize clutter
Your picture should have a clear protagonist. In other words, the viewers must know precisely where to direct their attention.
In that sense, do not clutter your composition with unnecessary elements. Simplicity is key.
3. Take advantage of natural lighting
Natural lighting (apart from direct sunlight) is the holy grail for any photographer. It is the most affordable way of enhancing the colors and resolution of your images.
Besides flattering your models, it will make your garlic bread look the most handsome in town.
Now it makes sense why your Instagrammer friend always asks for a table by the window, right?
4. Find a striking composition
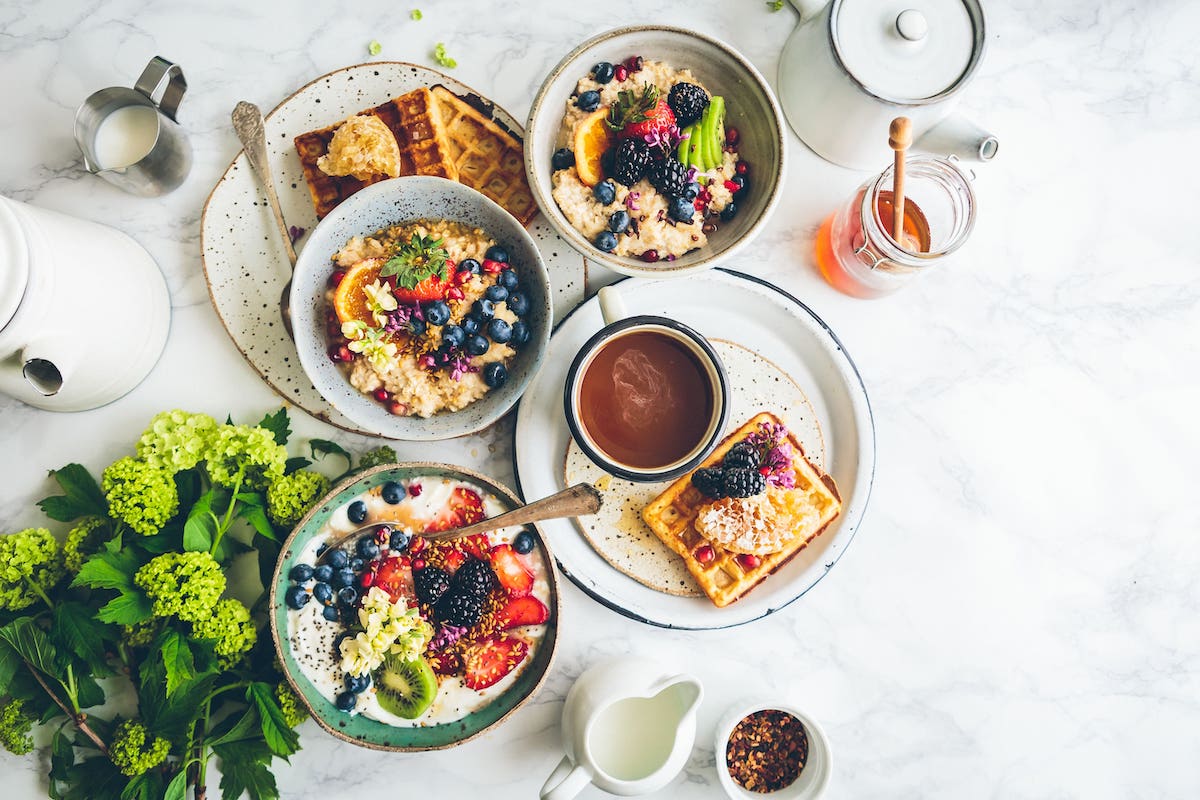
Composition is a broad term for the arrangement of stuff in your shot. A well-composed picture will catch the viewer's attention and tell a straightforward story.
A good way of achieving it is through the rule of thirds. That is, divide your frame into a nine-part grid. Then position your main subject (your bowl of soup or cookie) along those lines or at their intersections.
Using colors, props, lines, textures... and just like with any form of art, each of your elements must have a role to play.
5. Think carefully about styling
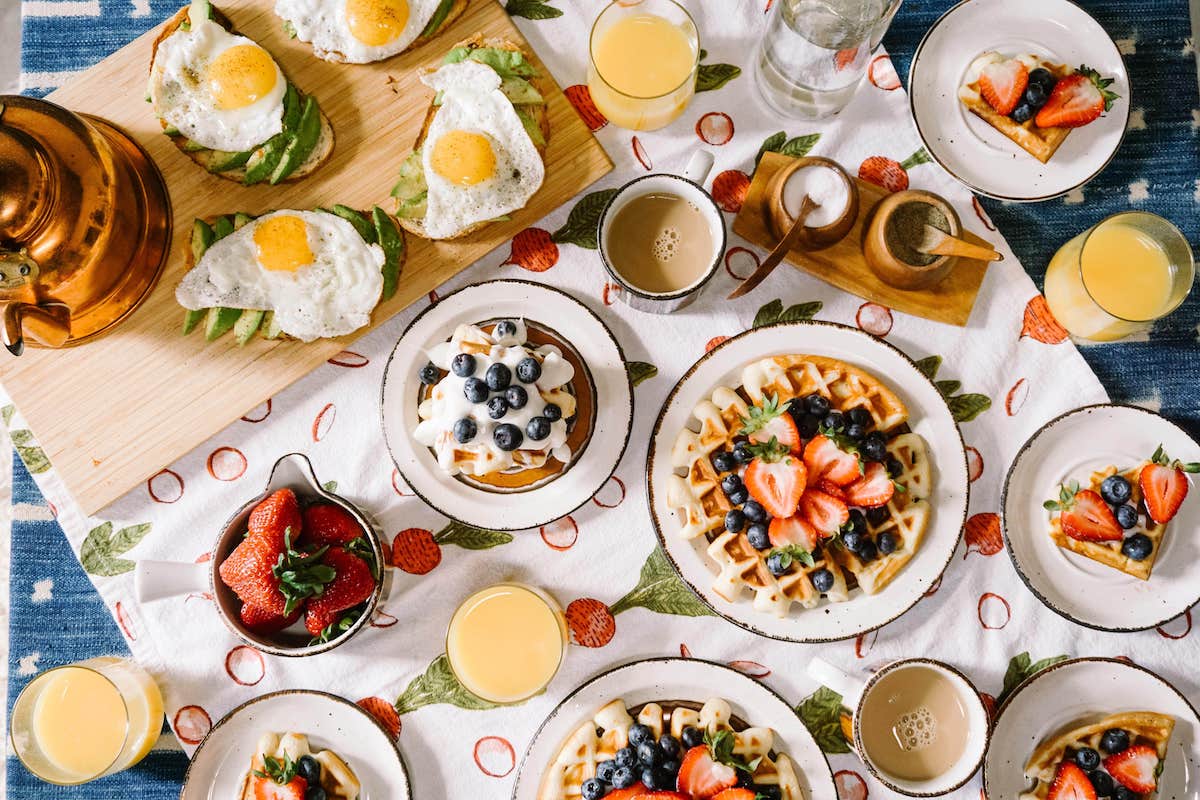
Unlike humans, food melts, wilts and crumbles. In other words, you can not make endless adjustments until you find something you like. Before even getting the food, plan what you look to achieve (draft it on a piece of paper even).
Consider all elements from colors, props, textures. Make sure your accessories contribute to the narrative (oh, and make sure they are clean).
6. Balance depth of field and shutter speed
If you have photographed before, you know the power of depth of field and shutter speed in highlighting a subject. You may want to blur the background or draw attention to a particular detail (like a drop of honey).
Unquestionably, playing around with focus will elevate your images. Still, you do not want it to ruin your exposure.
For a perfectly illuminated (yet intense) result, balance any changes in depth with shutter speed.
7. Use negative space
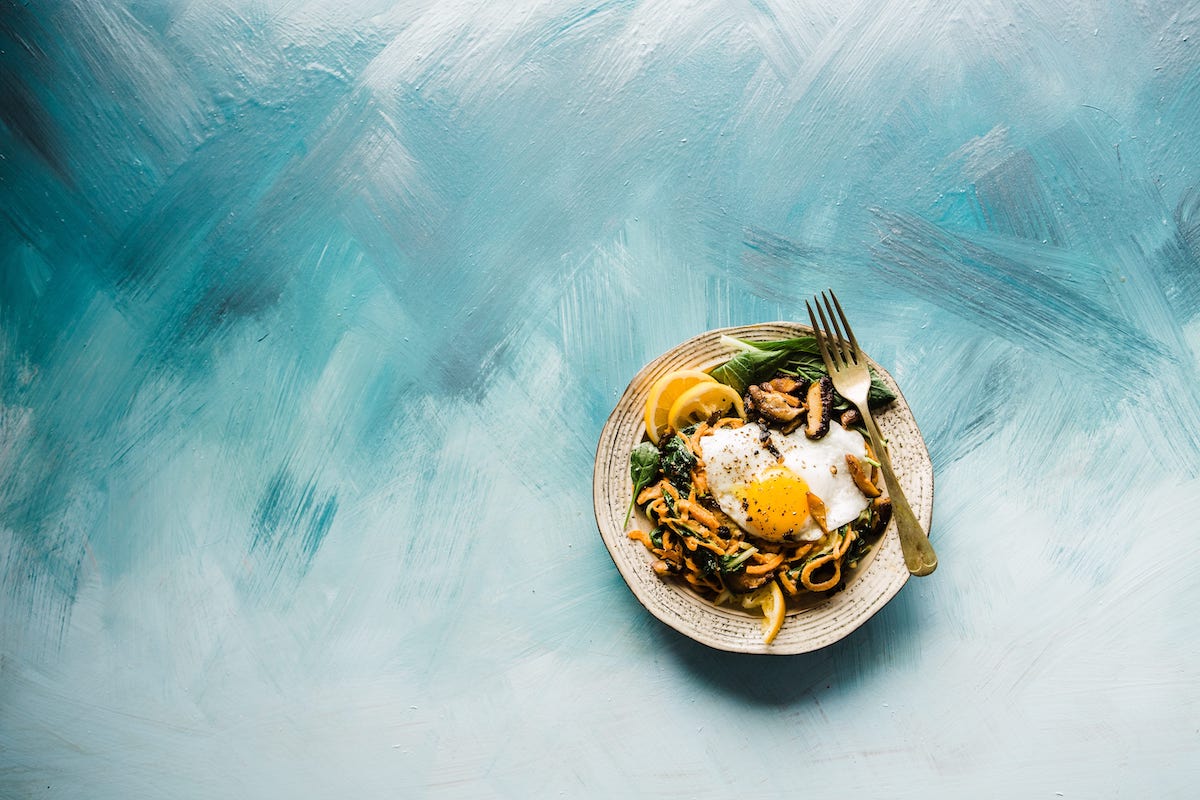
Emptiness should be one of your main props. Besides downsizing clutter, avoid zooming in all the way.
Allow some negative space in the picture for your viewer to breathe.
8. Limit colors to simplify the composition
Even though colorful props are fun, they may steal the attention from your food. When selecting the backdrop and accessories, prioritize neutral tones such as grey, brown, black, silver, and white.
Above all, opt for colors that contrast with your food.
9. Use lines, layers, and texture for the best composition
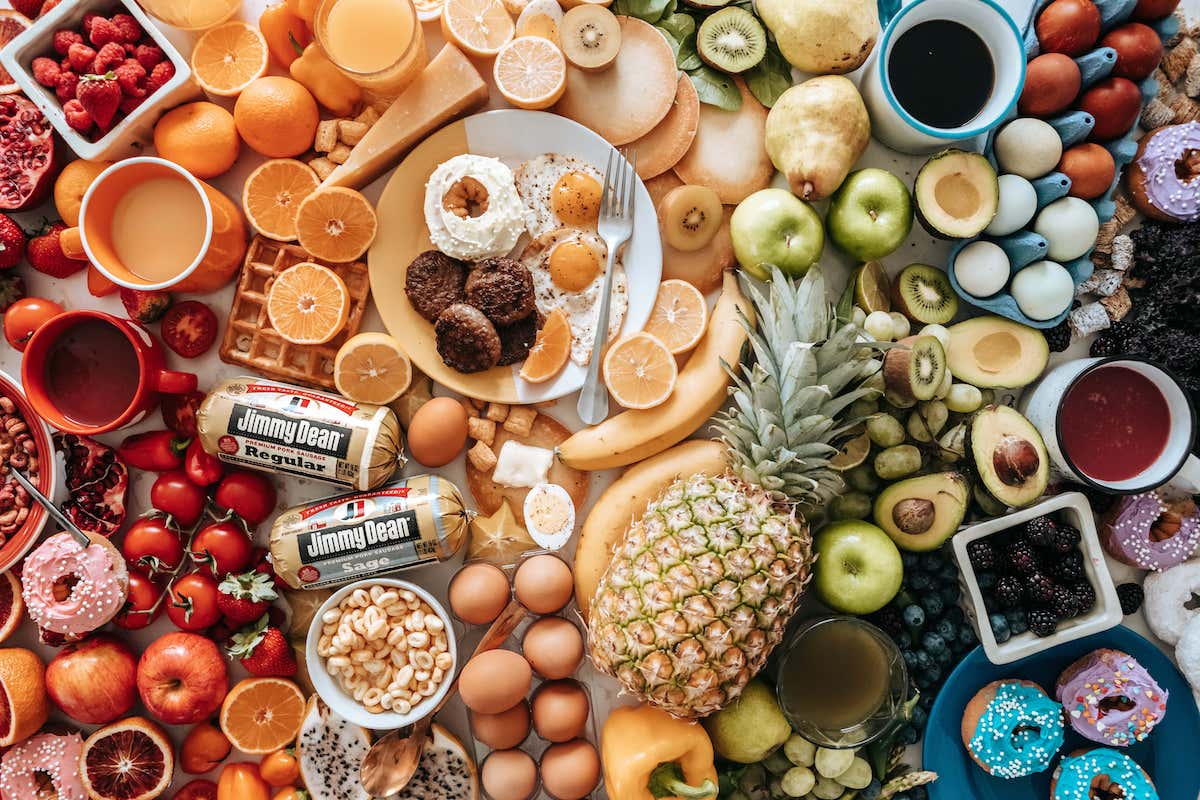
Just because you can't put a skirt on your pizza does not mean you should disregard layers and textures. For instance, a wooden table will tell a different story from a white counter or a towel.
There are many ways to make your images more captivating and no limits to your creativity.
2 Common challenges with food photography
1. Blurry photos
Holding your camera steady is easier said than done, so it is no wonder sometimes pictures come out blurry.
To fix this, consider using a tripod with remote control. If you do not have those accessories, you can adjust your camera's setting to your advantage.
Try using a faster shutter speed (which requires a wider aperture or a room with more light), or increase your ISO so that you do not need as much light (but this will increase the noise in your image).
2. Colors are not true to life
Even with the perfect lighting and composition, colors may deviate from reality. Your plate may have undesirable yellow tones, or your kiwi may not look green enough. Fear not. You can fix nearly any color issue by adjusting the white balance.
In that sense, we advise you to shoot in RAW format, as it makes it easier to make these adjustments in post-production.
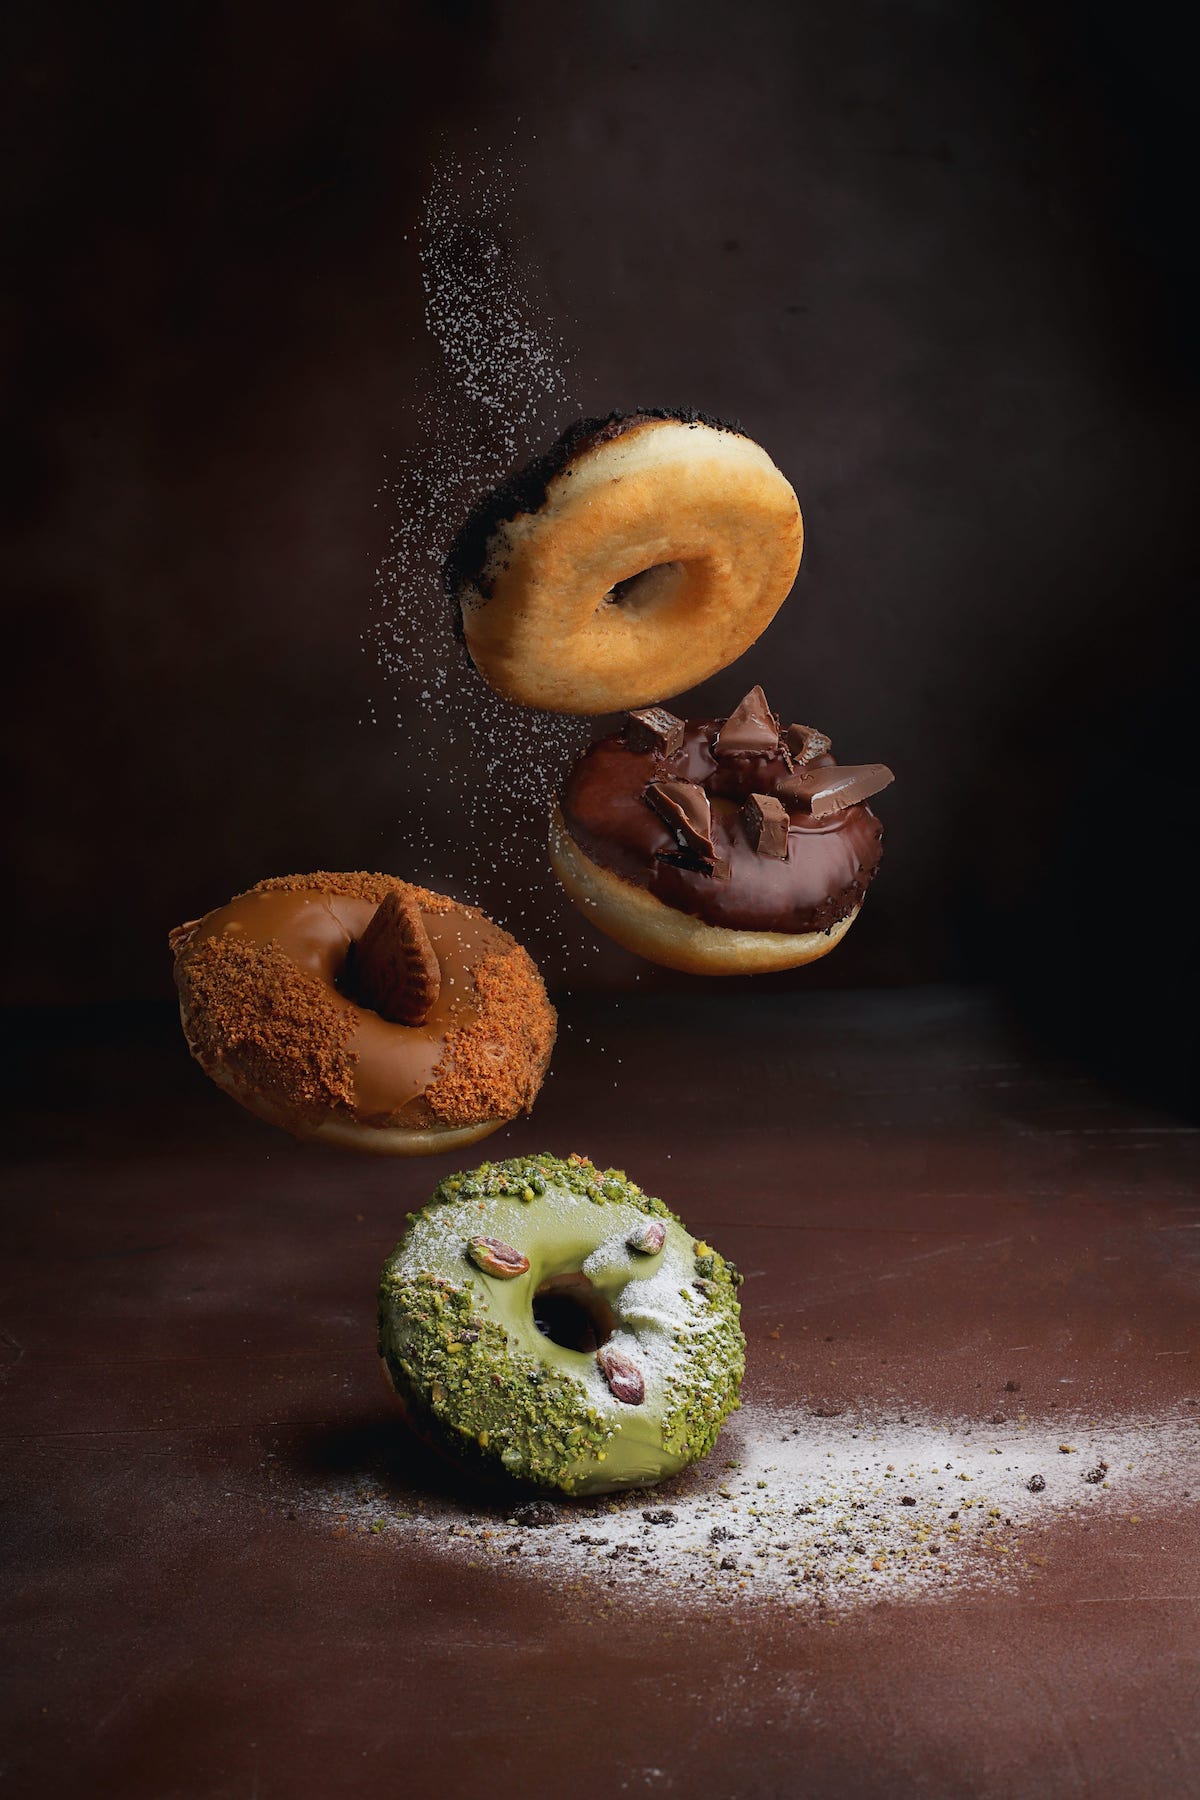
Learn more. Become a better photographer
If you like food, eat. If you would like to get into food photography, you need a little bit more than that.
First and foremost, become a better photographer.
Learn to master the art of photography here.
How to photograph food?
Plan and do careful styling and composing.
What lens should I use for food photography?
It depends on what you want to achieve. A broad option is a 50 mm one.
Is food photography a good career?
Yes.
What do I need for food photography?
A camera, food, nice lighting, and creativity.


