What Is a Focal Point? Learn 5 Ways to Nail It In Photography
Hire film gear from local filmmakers.

Hire film gear from local filmmakers.
Do you love taking pictures but just think your end product is off? Are you having a hard time getting the meaning across in your photos?
Then you should probably consider creating good focal points.
An experienced photographer will know exactly how to set up the focal point in a picture, and so will you after this article!

What is the focal point in photography?
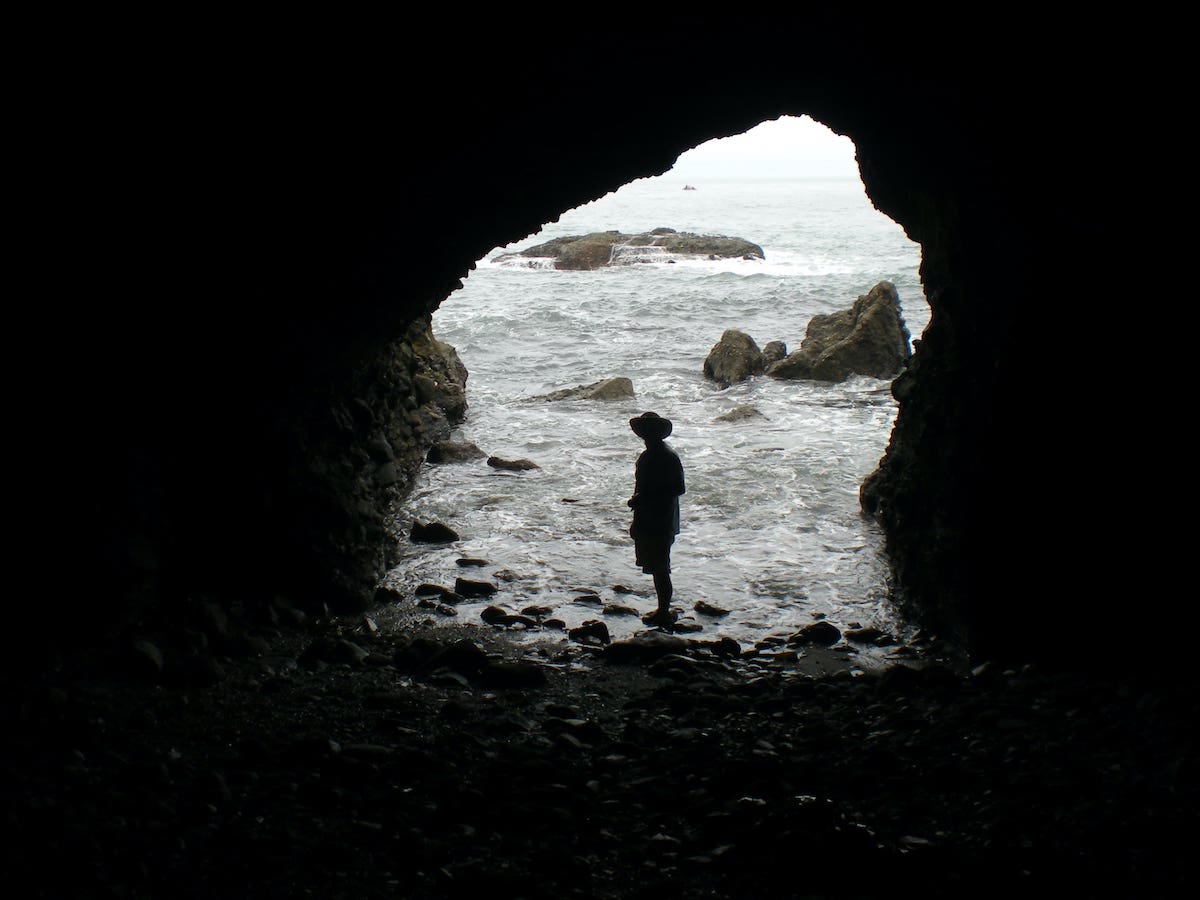
The focal point is the point of a picture that draws in the viewer and gains their attention. The focal point is also known as the principal focus.
Essentially the focal point is when the visual elements in the photograph converge.
The focal point can change the meaning of a picture, depending on where it is. It is essentially a tool for the photographer to lead the viewer's focus to what the photographer thinks is essential in the photo.
Without a focal point, the viewer would be left confused about what they're supposed to be looking for in a photo. With a focal point, a viewer can tell what's important without receiving any context from the photographer.
Why is the focal point important in photography?
- It can show the scale of different elements in a photo.
- It can create meaning in the photo.
- It can be used to isolate elements from the background.
- It adds a resting point for the viewer's eyes.
5 ways to create a focal point in photography
So how exactly do you go about creating a focal point in a photograph?
Well, there are several ways to do it. So we've listed five of the best ways to make a focal point in photography.

1. Use the rule of thirds
The rule of thirds is excellent to learn if you want to create a focal point.
The rule of thirds is a photography rule that is great for beginners. Essentially you should look at your frame as a 3x3 grid which usually can be seen on your camera's viewfinder. Imagine the image is divided by two horizontal and two vertical lines.
You would then want to position your subject/point of interest at the intersection points of the grid where the horizontal and vertical lines meet.
This creates a focal point on the intersection for the viewers' eyes to rest upon. So you want to position your main subject in one of the intersections.
If you have a modern camera, you should be able to see the rule of thirds grid directly on your LCD screen.
2. Select an appropriate aperture and DoF ("selective focus")
Another way to capture a focal point is by adjusting the aperture and utilizing the Depth of Field (DoF).
- Aperture is a setting measured in f-numbers that influences how much light can hit the light sensor. The aperture setting can affect the DoF.
- The DoF refers to how much of the photo that's in focus. The lower the f-number of your lens is, e.g., f/2.8, the more shallow the focus will be.
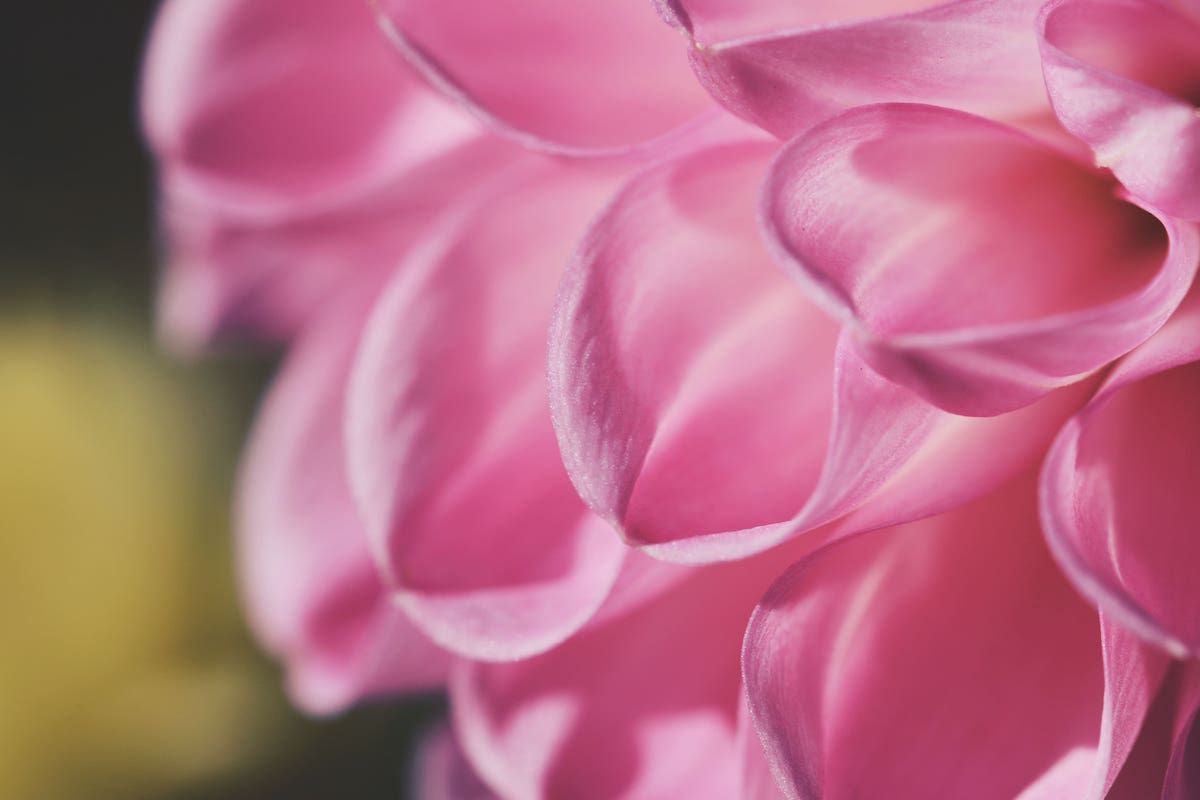
Essentially you can use low aperture settings to focus on your main subject and make everything else blurry.

3. Try to underexpose your images
If your main subject or the visual elements you want to point out are bright, then consider underexposing your pictures.
Underexposing it will make sure that any area lit up will immediately stand out as a focal point.
Even if the subject isn't naturally bright, you can use lighting to put focus on your main subject. You can, however, also use sunlight as natural light.
The shadows cast and bright areas caused by the sunlight are an excellent opportunity to take contrasting photos with natural focal points. If you have a specific subject in mind, such as a statue or a building, you'll have to figure out what time the sunlight will light it up to get the best photo possible.
4. Look for colors and contrasts
When scouting for some great picture opportunities, consider finding some colors or contrasts that stick out.
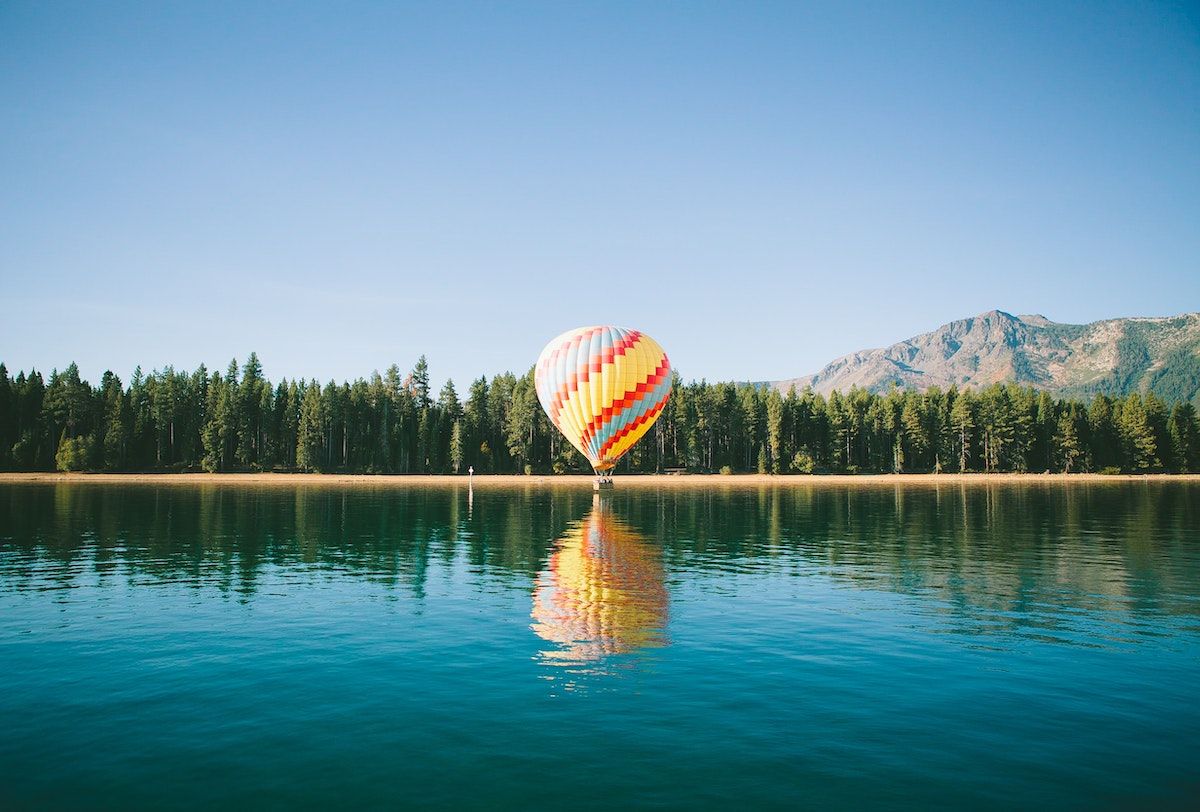
This could be any brightly colored subject/object that immediately draws the eyes of the viewers to it.
Generally, any color that sticks out will be a great focal point in a picture.
One of the natural ways you can create a colorful contrast is by utilizing the Golden Hour or Blue Hour.
- Golden hour is the hour(s) when the sun is close to the horizon, giving off a warm glow in the sky. It makes for great natural lighting for amazing-looking pictures.
- Golden hour typically occurs in the first hour after dawn and an hour before sunset. So check the time of sunset and sunrise before you plan out your shoot.
- Blue hour occurs when the sun is so far below the horizon that the sky looks completely blue. The remaining sunlight takes on a blue shade.
- Blue hour typically occurs for 20 minutes after sunset and 20 minutes before sunrise, with a 10-minute buffer. If the sun rises at 6 am, the blue hour would be 5:30 - 5:50 am.
5. Experiment with slower shutter speeds
Our last tip for you is to consider experimenting with slow shutter speeds. The slower your shutter speed, the longer your sensor will be exposed.
This means you let in more light, but it also means that any movement in the amount of time your sensor is exposed will be recorded.
The slower your shutter speed is, the more blurry the moving elements will be, which can create a focal point if your central visual part is standing still.
You can also create a focal point on the moving elements.
One of the photography genres that make great use of this technique is astrophotography. Here photographers use shutter speed to show movement in the night sky.

Become a better photographer
I hope you learned something about creating focal points in a photograph!
If you want to learn more techniques for your pictures, you can read our article on photography. Here you'll learn everything you need to know about different camera techniques!
What is a focal point in photography?
The focal point is the point of a picture that draws in the viewer, and gains their attention.
What does a focal point mean in photography?
The focal point is the point of a picture that draws in the viewer, and gains their attention.


