10 How-to's of DaVinci Resolve: Master Video Editing With This Guide
Hire film gear from local filmmakers.

Hire film gear from local filmmakers.
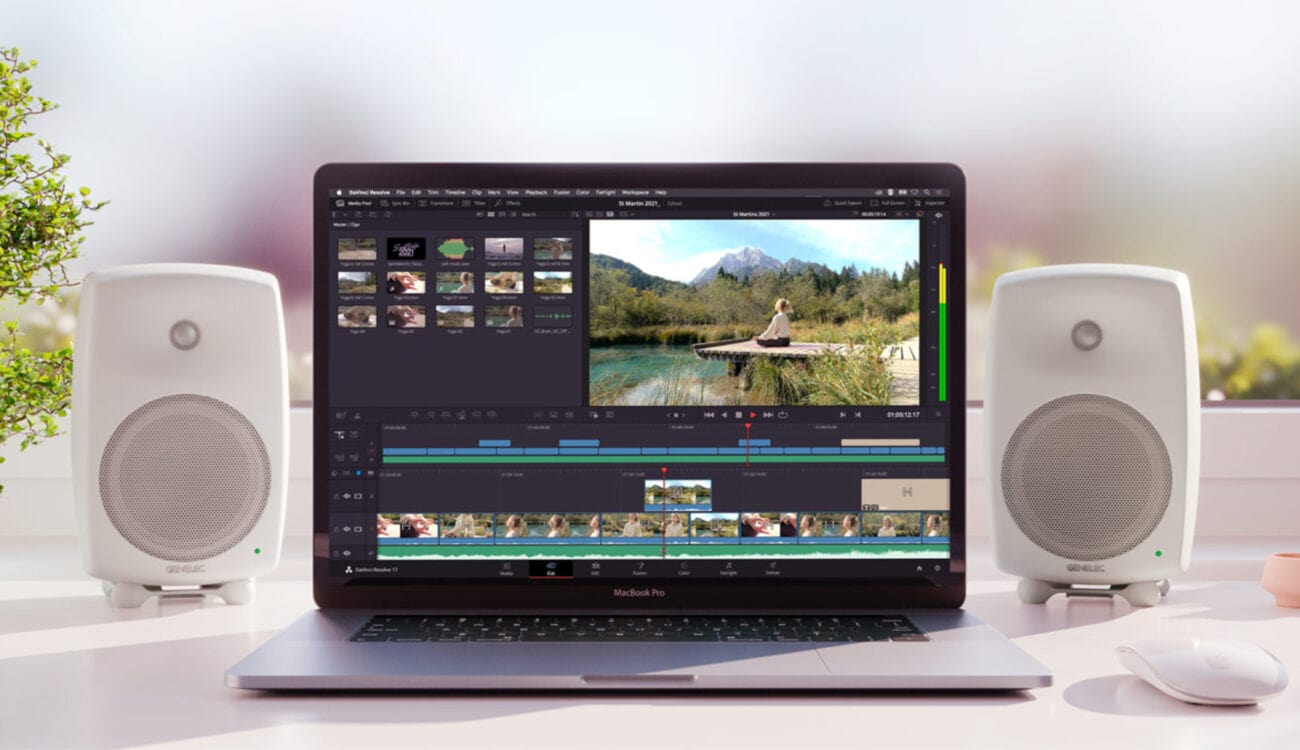
Are you fighting to get into video editing but just can't seem to understand all of the buttons? We get it - it's complicated. But it doesn't have to be!
That's why we've made an article with a bunch of helpful tips to use DaVinci Resolve, so you can get started right away. DaVinci Resolve is a free-to-use editing software, and it's great for both beginners and professionals.
If you want to know more about making films and videos before you start, try reading our article explaining the basics of filmmaking here.
Color Grading 101: DaVinci Resolve Color Grading Tutorial by Gabriel Kaunitz
Are you looking for a quick crash course on color grading in Davinci Resolve? Learn everything you need with Gabriel 👉
Trailer
Qe7Vc-TxgAQ
Intro
1
Sjoc58IiQUY
Davinci Resolve
26
Color grading an interview
31
Color grading a music video
591
Color grading a product video
1120
Ending
1766
Meet Gabriel
NqK8GfvgJaw
What you’ll learn
How to color grade a cinematic interview?
How to color grade a music video?
How to color grade a product video?
Get comfortable with Davinci Resolve
How to create a new project in Da Vinci Resolve
- Launch DaVinci Resolve;
- Go to the Project Manager and click on "New Project";
- Name your project;
- Press the "Project Settings" button. It's the Cogwheel in the lower right;
- Set your Timeline Frame Rate to match your footage. The default setting is 24fps, but it depends on what you shot your footage in;
- Set your Playback Frame Rate and Video Format to match your footage as well;
- Press on the "Cut" tab at the bottom of the screen;
- Press File > Import > Import Media;
- Import your footage from your computer.
How to edit and export in Da Vinci Resolve
- Press on the "Edit" tab at the bottom of your screen;
- Edit your videos as you see fit;
- Once done - click and drag so you have the entire timeline you want to export selected. (This can be seen by the grey bar on top of your clips in the timeline. This is what will be rendered);
- Go to the bottom and press the "Deliver" button;
- Adjust your render settings, file formats, save location, etc;
- Press "Add" to Render Queue;
- Press "Render All".

How to trim videos in Da Vinci Resolve
- Click on the "edit" tab;
- Go to your timeline and pick a clip to trim;
- Click and drag on the edge of the clip to trim it.
How to split videos in Da Vinci Resolve
- Click on the "edit" tab;
- Go to your timeline and pick a clip to split;
- Press "B" to activate the blade tool;
- Press on the clip where you want to split it.
How to add text in Da Vinci Resolve
- Press on "Titles" in the top left;
- Press and drag Text to the timeline (place it above the clip you want to add text to);
- Press on the title you just added;
- Go to the Inspector;
- Edit the text, fonts, color, etc.

How to add subtitles in Da Vinci Resolve
- Right-click on the track above your video track on the timeline;
- Press "add Subtitle Track";
- Press on the "subtitle track" on the timeline;
- Go to the Inspector and edit the subtitle;
- Trim the subtitles to have the right length.
How to add transitions in Da Vinci Resolve
- Press on the "Edit" tab at the bottom;
- Press on the "Effects Library" panel in the top-left;
- Go to Video Transitions;
- Click and drag a transition of your choice to the timeline, between two separate clips;
- Press the transition icon on your video timeline;
- Go to the Inspector panel in the top-right;
- Here you can adjust the frames, to make the transition look as smooth as possible.
How to add special effects in Da Vinci Resolve
- Go to the Effects tab in the bottom-left;
- Find the effect you want to add and click and drag it to your clip;
- Go to the Inspector in the top-right;
- Go to the Effects tab in the Inspector and adjust the effect;
- If you regret adding the effect, simply click the trashcan icon.

How to color correct in Da Vinci Resolve
- Select your clip on the timeline;
- Press on the Color tab at the bottom;
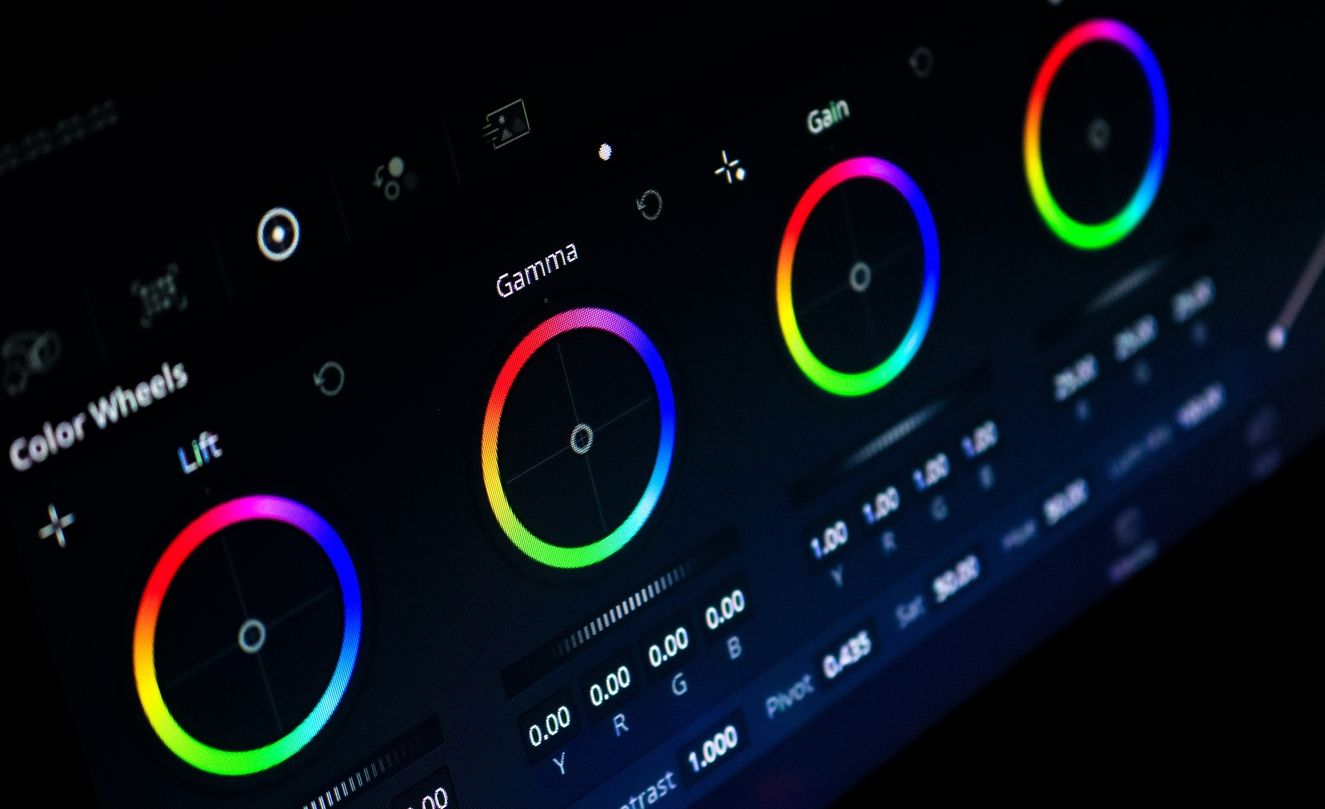
- Change your Gain to affect the brightness of bright areas in the frame;
- Change your Gamma to affect the mid-range colors in the frame;
- Change your Contrast to affect the contrast levels in the frame;
- Change your Saturation to affect the amount of color in the frame.
How to change video speed in Da Vinci Resolve
- Right-click on the clip you want to change;
- Press Change Clip Speed;
- Drag the arrow in the popup window to change the video speed to be either faster or slower;
- (Optional) write the speed manually;
- Press on the Change button to confirm.

Become a pro at video editing
I hope this helped you with your video project, and that you now feel a bit more comfortable using DaVinci Resolve.
If you want to learn more about editing, check out our article on video editing. Here you'll learn all of the basics of video editing, and what is important to look for as a video editor.
Is Da Vinci Resolve good for beginners?
Yes. It's very beginner-friendly.
How do I use Da Vinci Resolve?
Create your project. Edit your clips. Color correct your clips. Export your video.
How long does it take to learn Da Vinci Resolve?
It can take a couple of months for you to feel like a natural.


