Get Familiar With Color Gel Photography With These 8 Tips
Hire film gear from local filmmakers.
Hire film gear from local filmmakers.


Ever wondered how some portraits and pictures can feature such strong blue, red, pink, and purple colors?
With this article, you are about to find out what color gels are, in which different setup they can be used, and lastly how you can use them to perfect your shots!
What are color gels?
Also known as lighting gels, a color filter, or simply gel, a color gel is a transparent colored material used to modify light.
Placed over light sources, these thins sheets of heat-res istant plastics are used in theatre, photography, videography, and cinematography to color the light and correct it if needed.
Their lifespan is yet limited, as the color will eventually fade away, or even sometimes melt, as the light source might be slightly too warm for them.
This is why for some permanent installations, such as in theatre, colored glass or dichroic filters are used. The main reason why these are not used in photography is their cost and the limited selection of colors that come with them.
What is the purpose of color gels in photography?
The colors gels’ purpose, as we’ve seen above, is mainly to modify the light source in photography or videography. But they come with three specific uses.
To give a hint of color
While normal photography could only be taken with white light, placing on top of its light beam a color gel will instantly change the scenery of the picture. From a single to a three-lights setup, the mix of gels can give, if used correctly, a hint of color on either the skin or the hair of your model, or just make some texture pop out from an object.
To add a subtle glow
Portrait photos can be slightly improved by using a color gel, which will add a sort of warm glow to them, mainly by using a two-lights setup, with only one of them set up with the color gel.
To provide a dimensional background
The most famous use of light gels is to give the model a dimensional background, by lighting, coloring, and saturating the background of the model.
5 Lighting gel techniques
In the world of color gels, the possibilities are endless. Whether it is to create a specific mood, change the scenery or add a certain glow to some textures, lighting gels can sometimes really improve the quality and overall look of your picture.
But how to get them right? Here are 5 lighting gel techniques and arrangements to use to perfect your technique.
1. One-color gel setup
This is by far the simplest and most traditional color gel look. No head scratch over how to use this one, you can achieve the one color gel setup by simply replacing your white light source with a colored one, by placing a single (or multiple) sheets of gel in front of it.
Of course, saying that this is the simplest setup doesn’t necessarily mean that it won’t be hard to create a perfect picture. Hopefully, we have some tips for you, for example, don’t hesitate to use a very vibrant and saturated color gel to avoid creating a flat picture. You can also put your light source behind the subject to make it stand out, and create a very different scenery. You can also play with your camera settings, the shutter speed, the distance, the angle, and even during the post-processing to make these colors pop.
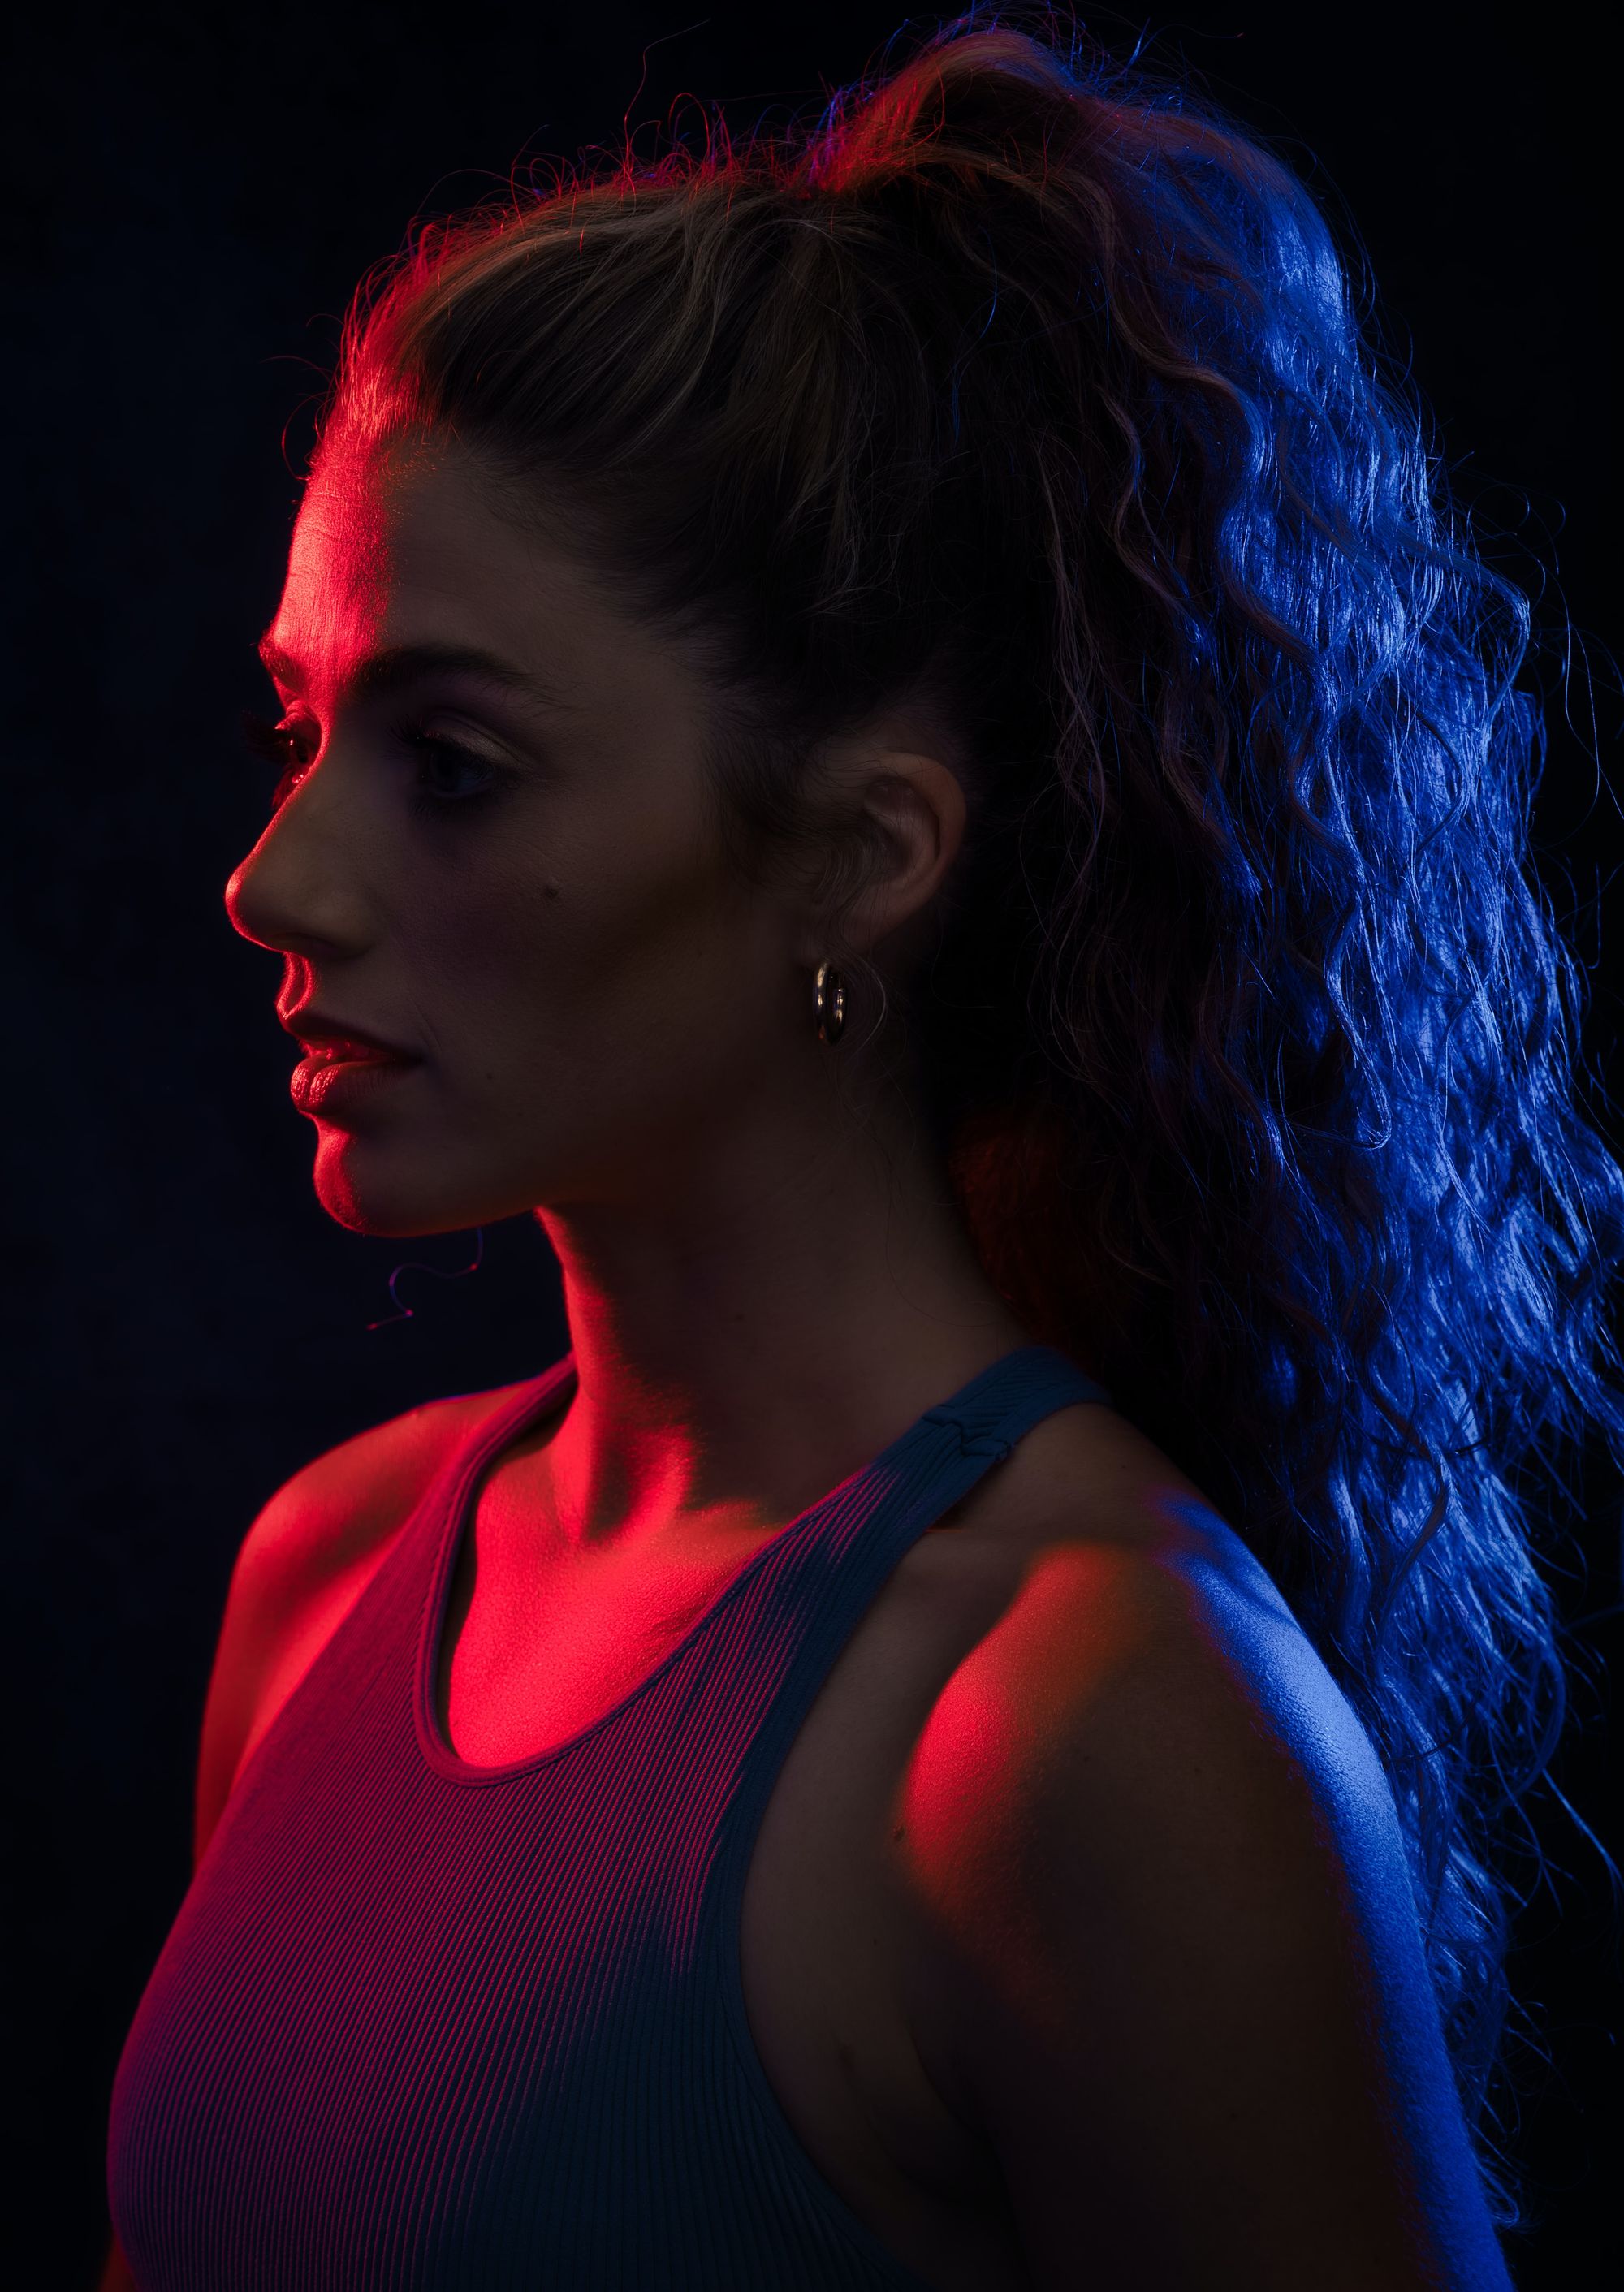
2. Double colored gel setup
The next setup is of course the double-colored gel setup. For this, just add one more light source to the simple gel setup, put a lighting gel on top, and you are good to go! Then place your two light sources on each side of your model, and you are ready to shoot.
However, when using this setup, you need to be aware and careful about color division, as you want to make sure that it hits the proper spot (which is generally in the center of the picture).
3. Tri-color gel setup
And, as you guessed, the next setup is the tri-color gel setup. And you also probably guessed how to realize that setup: just by adding another color source to the double-colored gel setup.
Nevertheless, when using this setup, we highly recommend using one of these three color sources as a white one, or at least a lighter color than the ones on the side. The reason for this is very simple: with three bright and light colors, the whole picture could end up being way too saturated, giving it an exaggerated look.
What about the light sources’ placement then? Depending on which effect you want to achieve, you can put two lights on the side of the subject and one in front of it, or two behind it and one in the front, or even all of them directly on its side, to give it a more intense look.
4. Rim light color setup
Let’s talk about the fourth set-up now, and no, it isn’t the quad-color gel setup. This setup is called the rim light color setup, as you can use gels … as rim lights!
For those who aren’t sure about what rim lights are, rim light photography uses an external flash to create a ring of light that goes around the rim of your subject. The flash should be put behind the subject and directed towards the photographer to achieve this rim look.
Of course, depending on your model structure and on the placement of your light sources, a rim light color setup can give your pictures a very edgy, and even dramatic look. To use gel colors in this setup, just put the colored light sources on the side of the subject, slightly pointing forward.
5. Background light setup
And finally, the background light setup. This setup is mainly used to create the dimensional background effect we were talking about earlier.
For this, just direct your colored light sources straight towards the wall in the background, put a white source in front of your subject, and that’s it. The different colors will allow your subject to pop out, and to look well separated from the background.
8 tips on using color gels in photography
Now that you know which setup is commonly used with color gels, we still need to give you some tips to make your shot look amazing. So, here are 8 quick tips on how to make your color gels stand out:
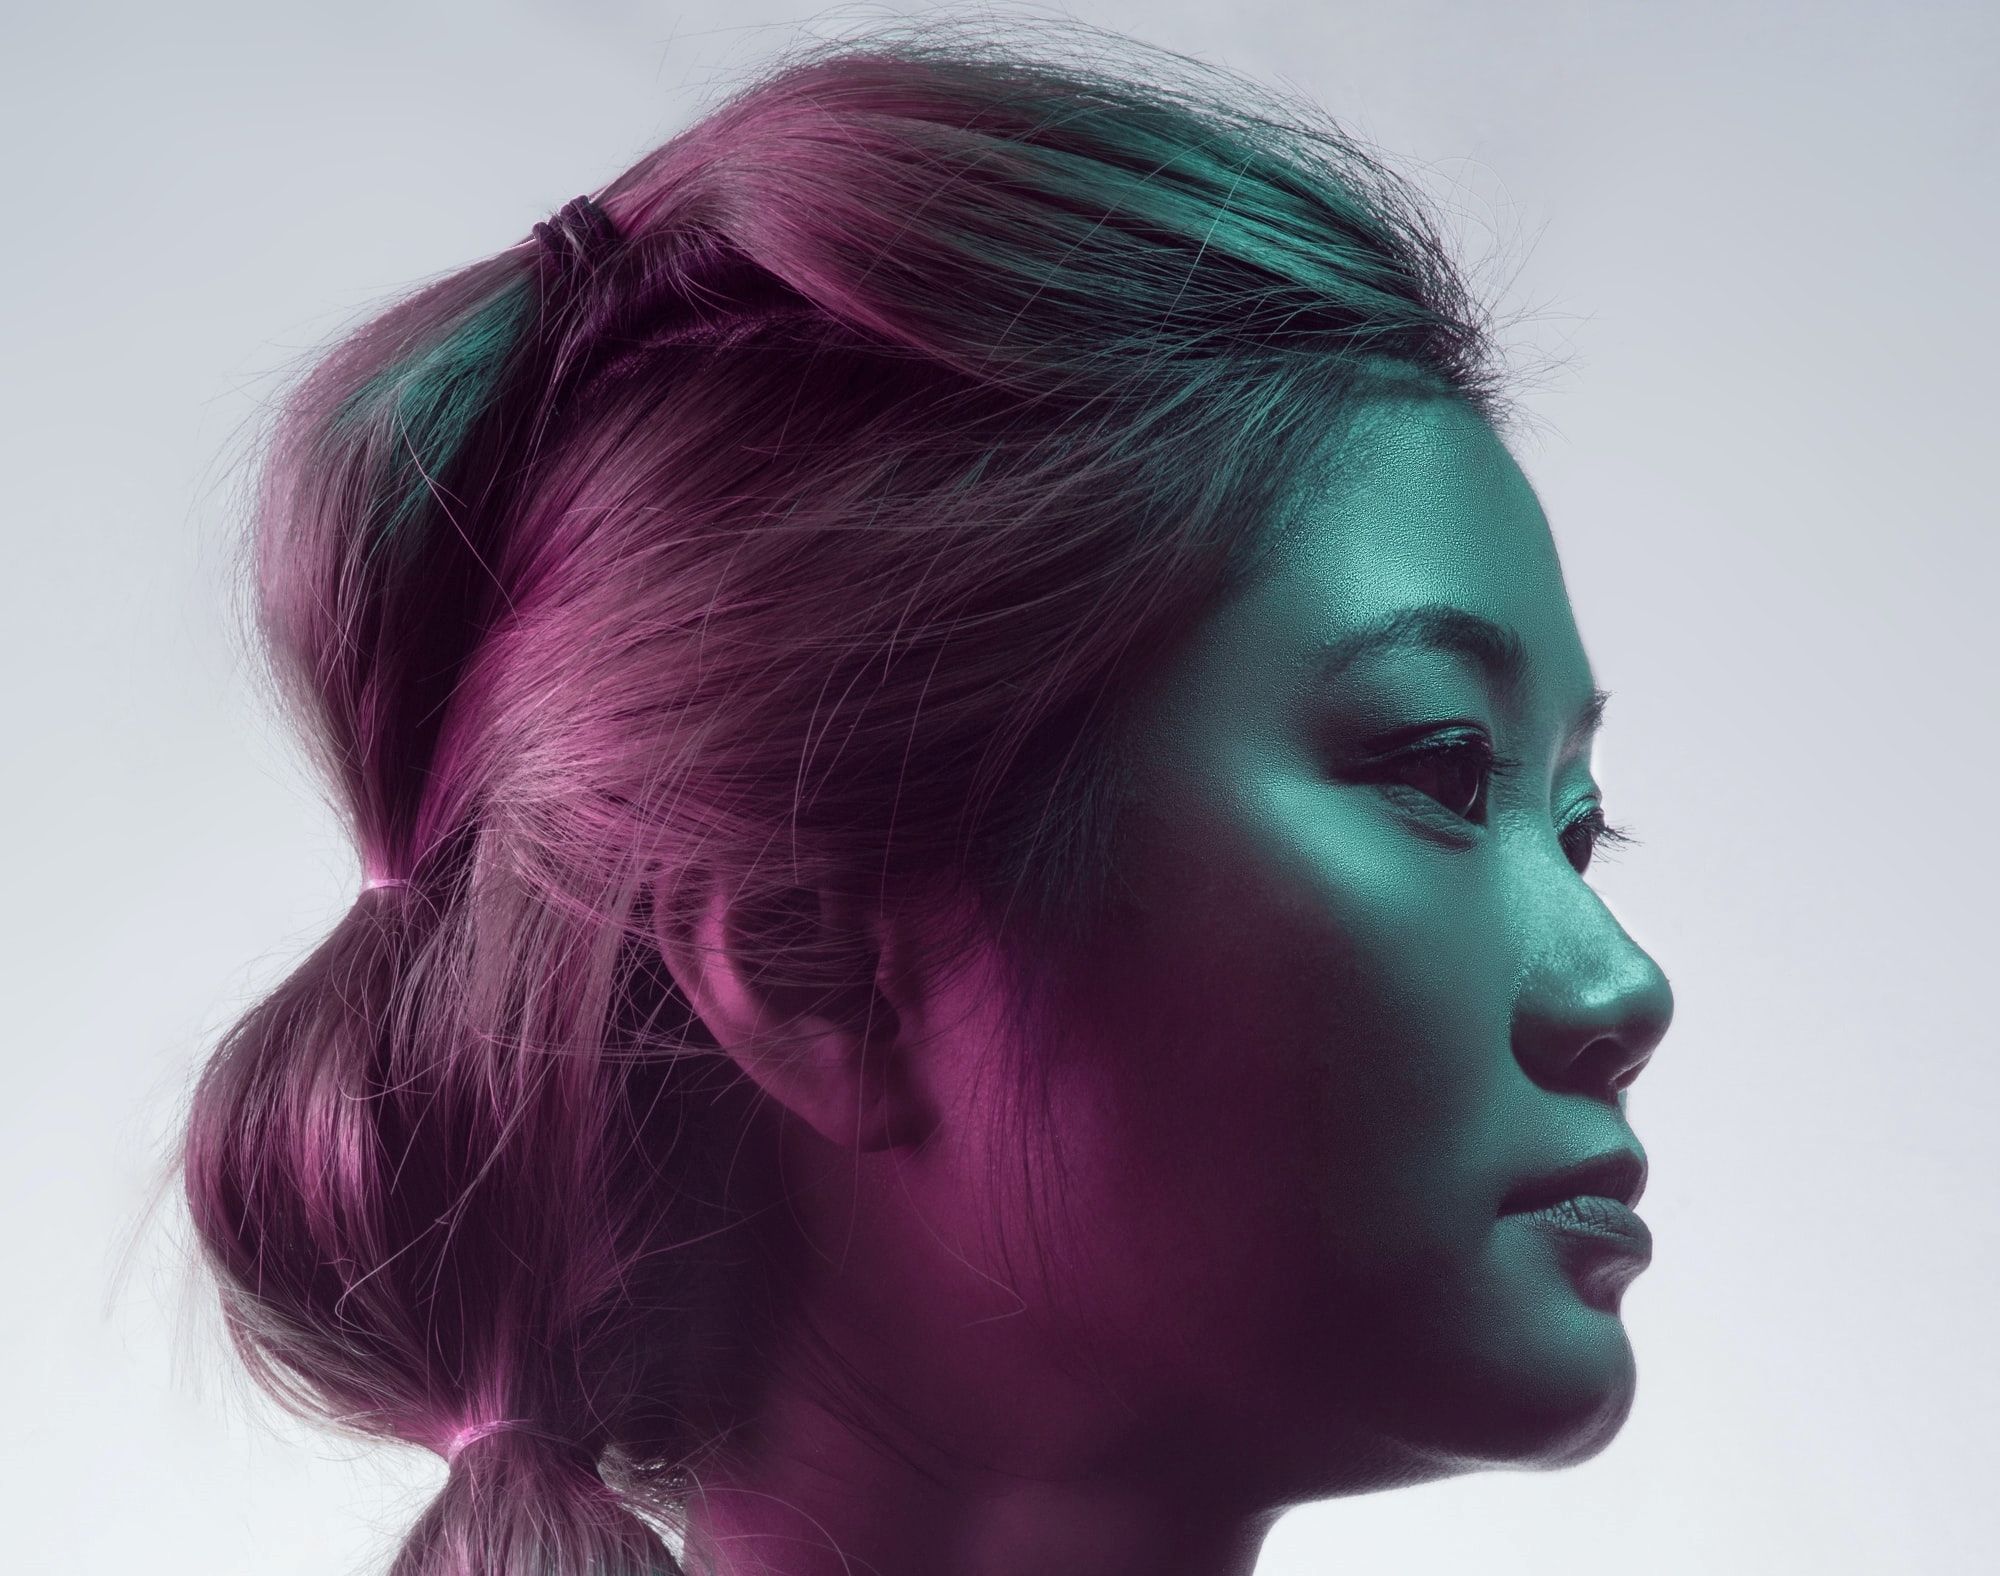
- Use different colors to create specific moods. As seen in photography and cinema, the color grading of a picture can drastically change the entire mood of a photo or a scene. For example, blue and green will likely be used to create a feeling of nostalgia or coldness, while yellow and red will warm up and intensify your shot. Just make sure that your colors are complementary to each other.
- Use an external flash. To change the direction of a light beam, we highly recommend using an external flash, or, if possible, strobes light. With the external flash, you can manually change the intensity of a beam, which will give you more control over the outcome of your pictures.
- Use different flash positions for a more natural look. By changing the position, the placement, and the angle of your flash, you will be able to make the light on your picture look more natural.
- Trigger your flash wirelessly. Using a wireless flash has many benefits, such as giving you more freedom in your creating choices by allowing you to create pictures and effects which would have not been possible with a build-in-flash. They can also cover wider angles while being as well more powerful than normal flashes.
- For more creative pictures, use light painting. By illuminating the background with color gels, you will be able to create fantastic light painting shots. If you don’t know what they are: light painting shots use a long aperture, so more light can come in, resulting often in pictures where letters are being drawn mid-air using a small light source.
- Don’t forget to mix white light. As we said earlier, using a white source is important, as we do not necessarily want our entire picture to be splattered over with colors. Moreover, using a white color source will allow the subject to pop out and bring more attention towards itself. Of course, this color source shouldn’t overpower the light coming from the color gels.
- Create atmospheric portraits. By using a double-colored setup, you will be able to make your portraits stand out. Just put a colored light source towards the background and one towards your subject and the result will look marvelous.
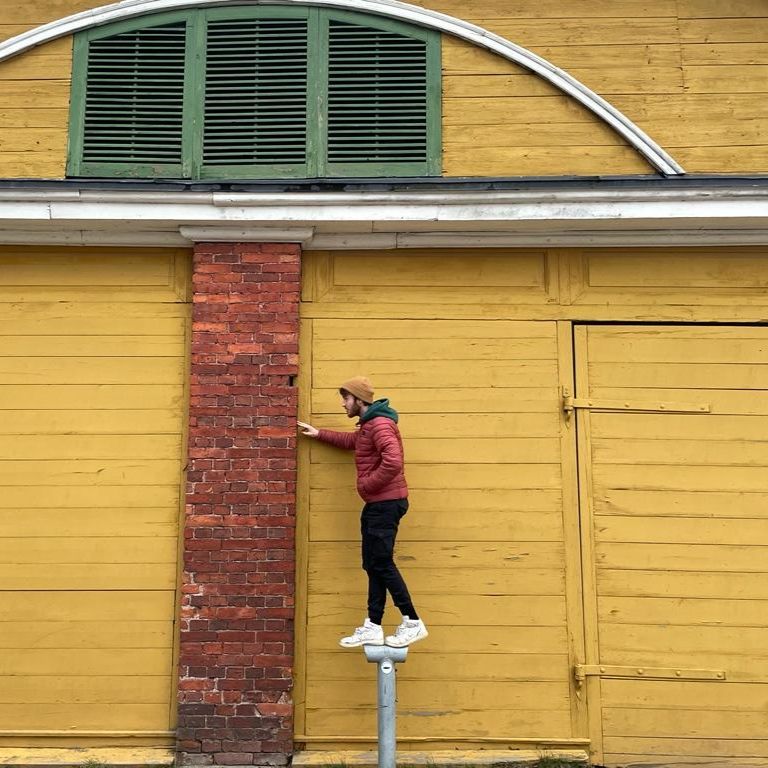
- And finally, get out of the studio. Using color gel in the studio is one thing, but using them outside might give you a new creative opportunity. Of course, it could be easier to take pictures while the sun is down, but we are not saying that you cannot try.
Next Up: Dive into photography lighting
Now that you know everything you need to know about colors gels, go out there and play with those colors!
If you want to know more about lighting in photography, we suggest reading this article about photography lighting!
What are color gels in photography?
Color gels are heat-resistant plastics used in theatre, photography and videography to color light and for color correction.
How to make color gel bright in photography?
The reason why color gels are bright in photography is the use of an intense light source right behind them.
What are lighting gels in photography?
Lighting gels and color gels are synonyms.
What is colored gel in lighting?
A colored gel is used in lighting to change the whole scenery of the mood of a specific picture or scene.